Salted Caramel Mocha Lava Cake
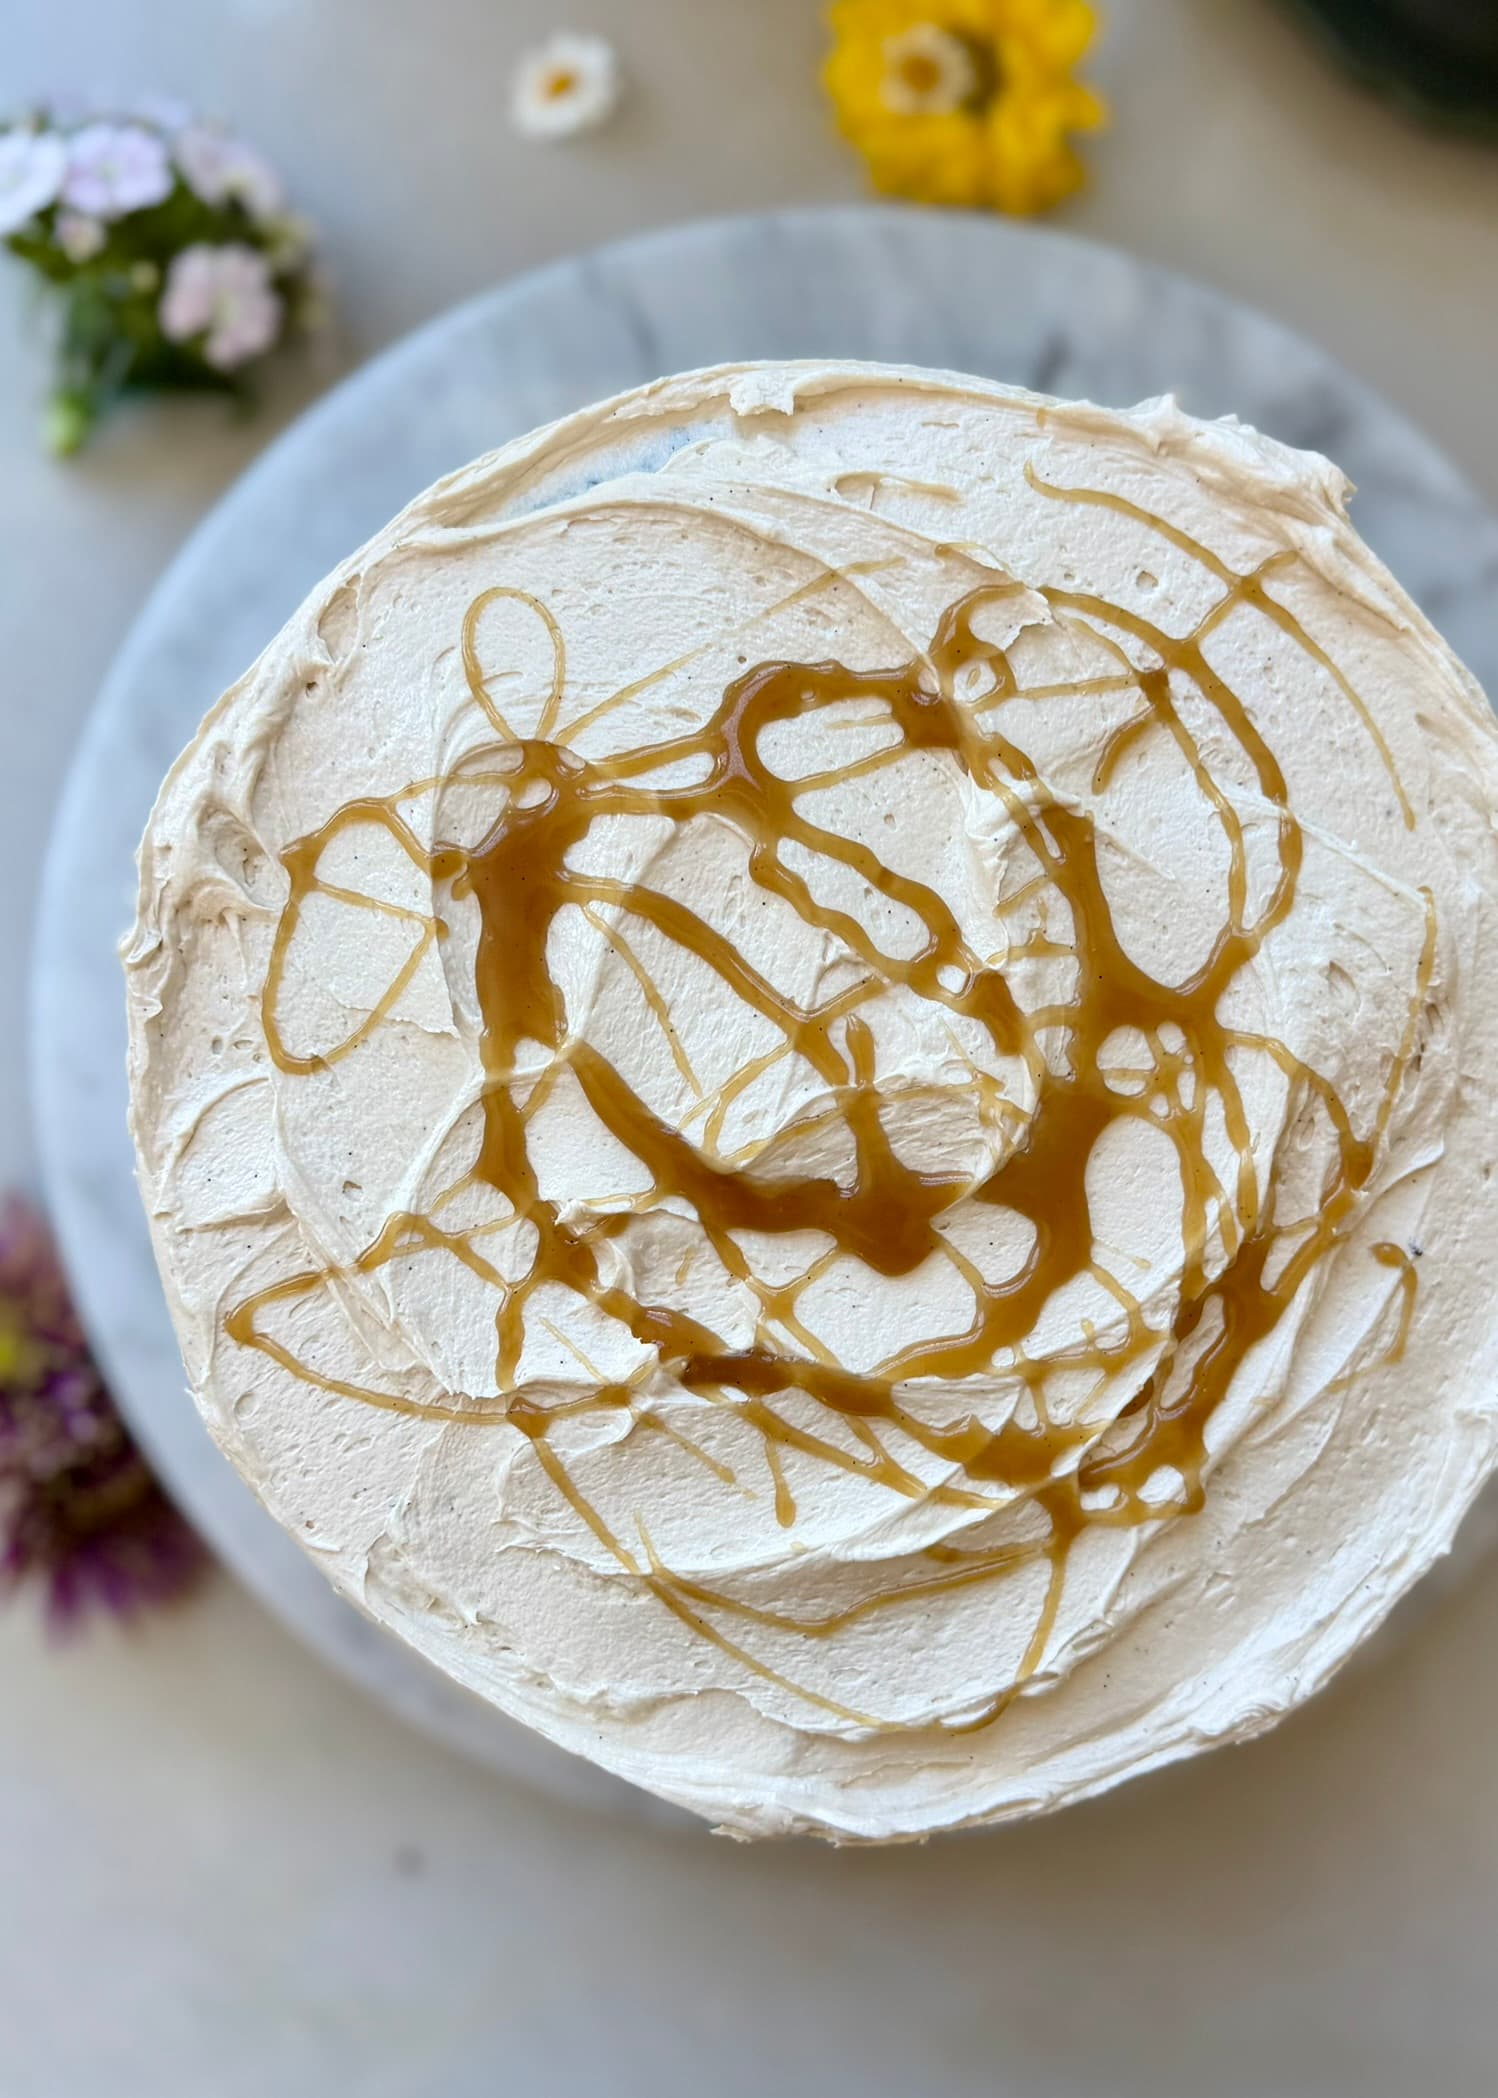
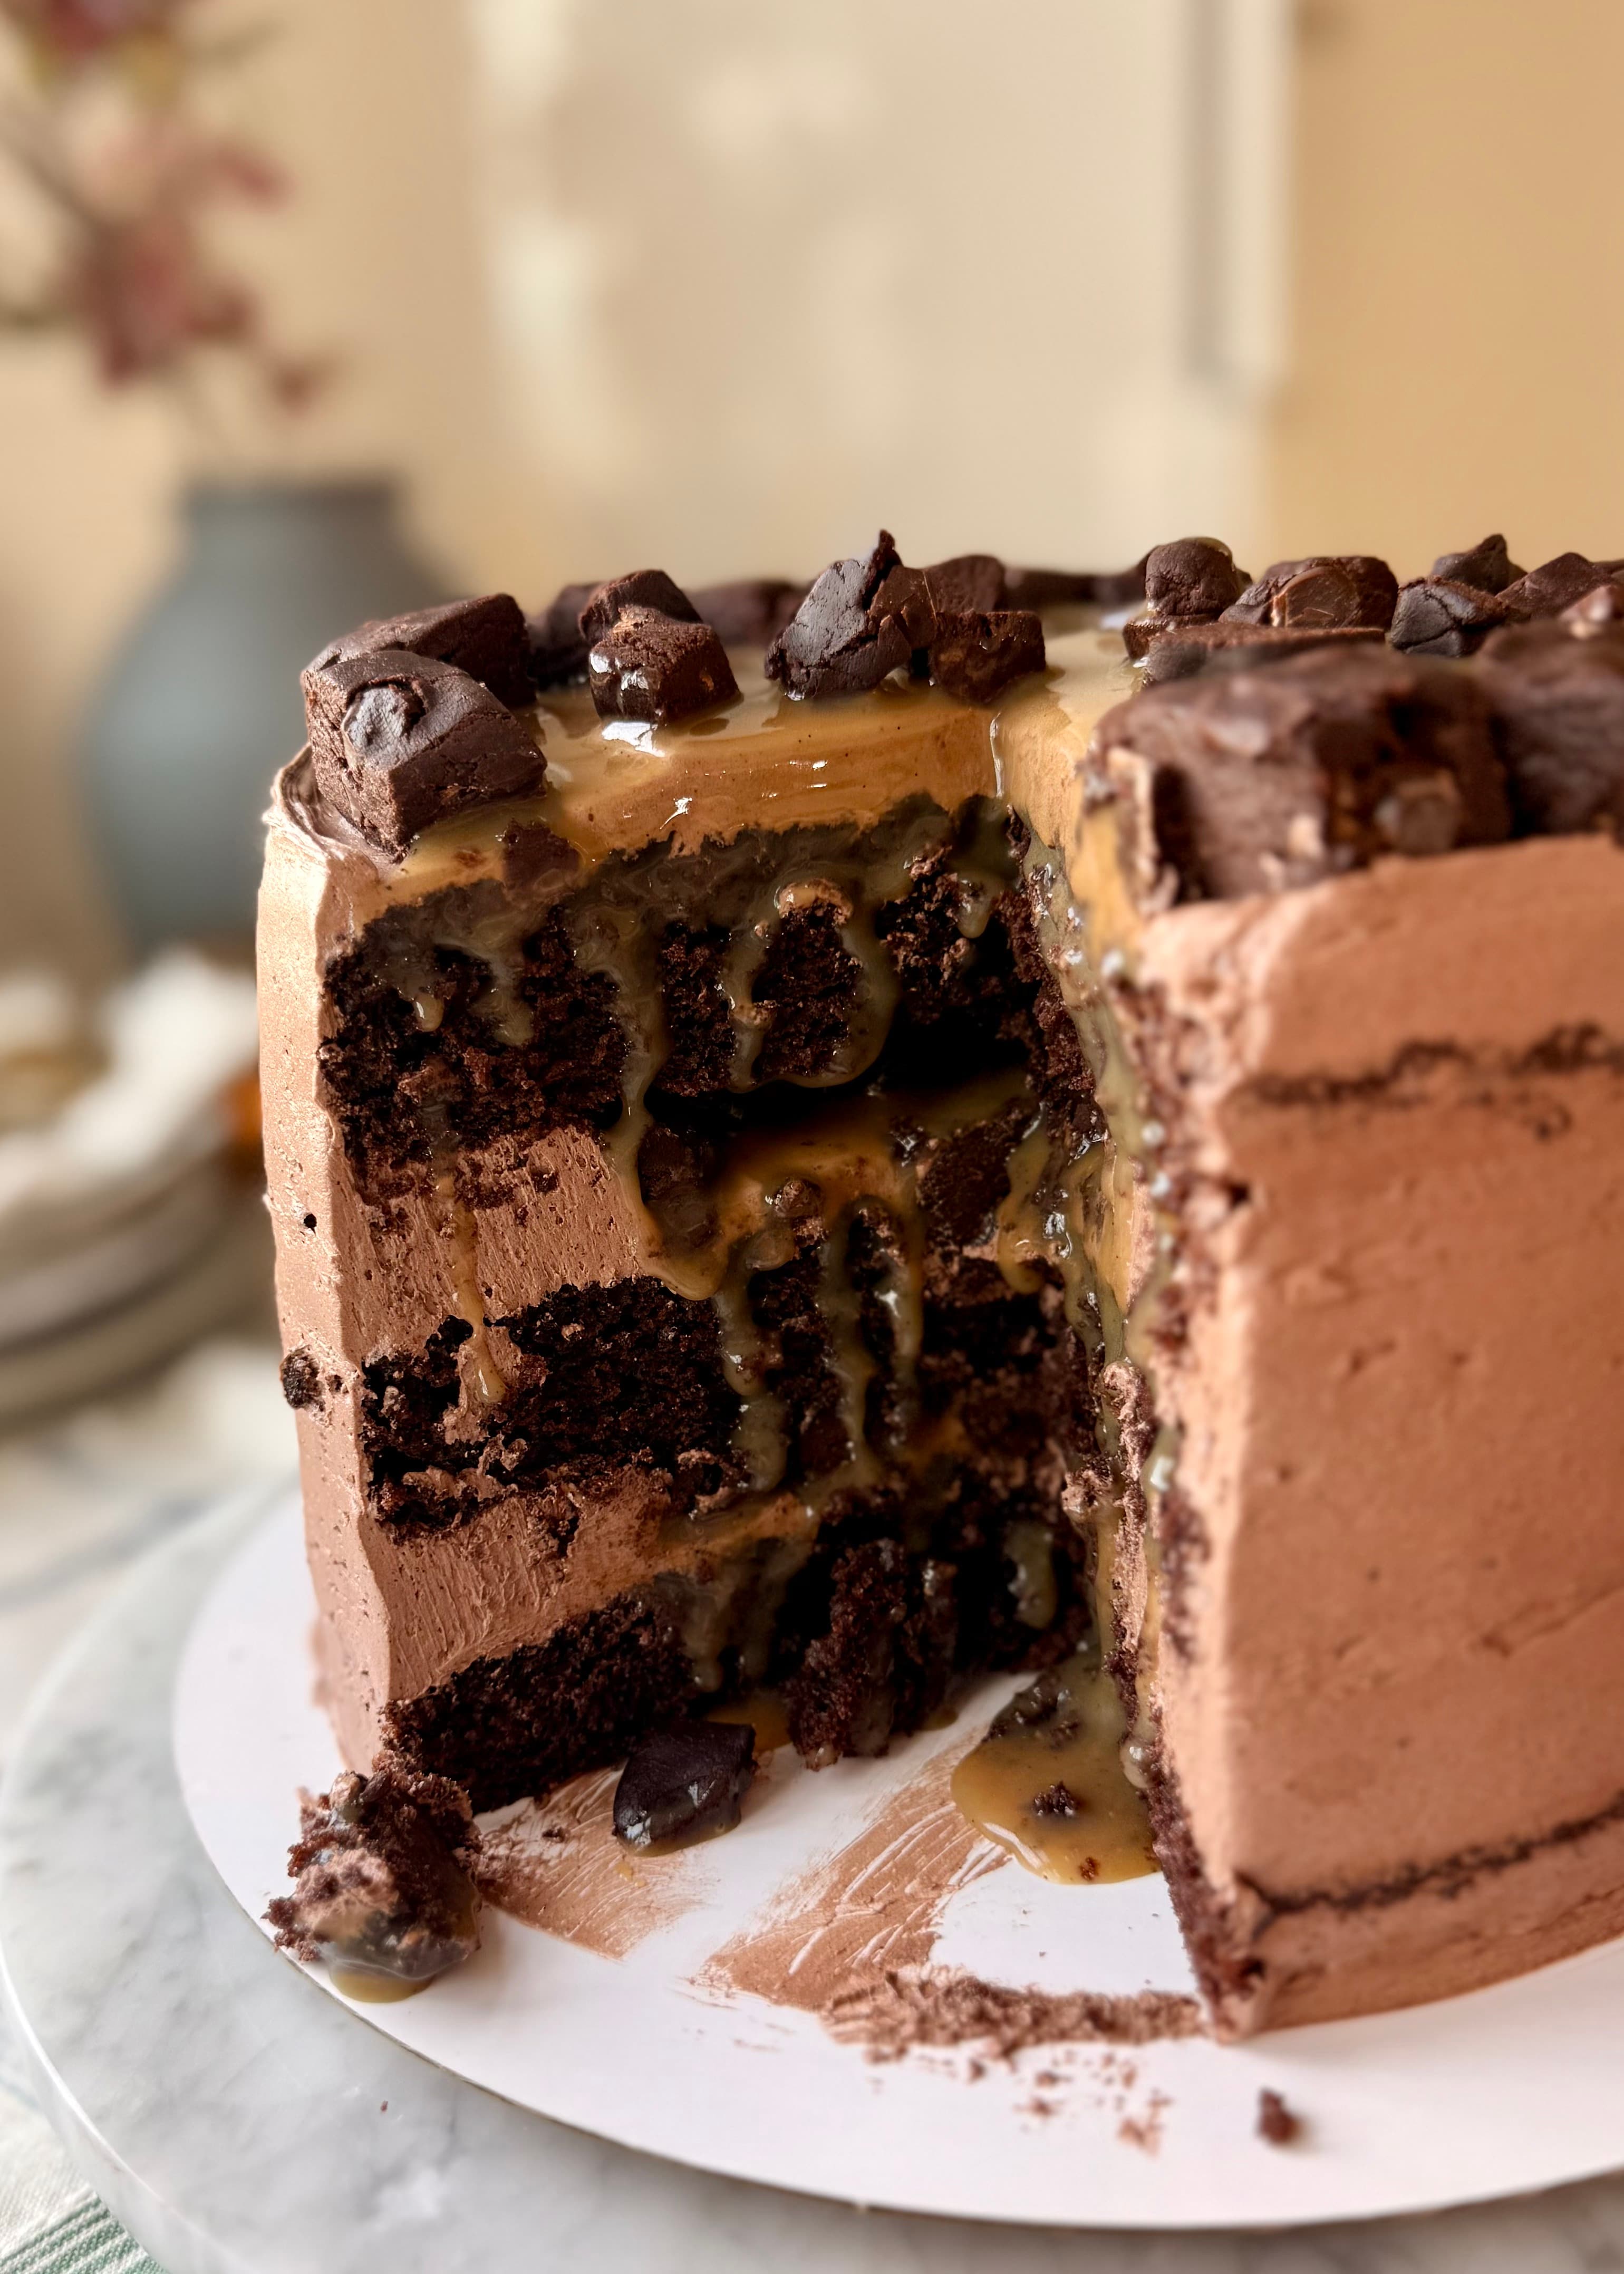
Be the first to reviewThis Salted Caramel Mocha Lava Cake brings dark chocolate cake, espresso, vanilla latte buttercream, and salted brown sugar caramel into one dramatic layer cake.
The coffee sharpens the chocolate and balances the sweetness, while the pale, silky buttercream gives the dark cake the contrast I love. Use a restrained layer of caramel inside the cake, then save the rest for pouring over individual slices.
Save this recipe
Want to save this recipe for later?
Enter your email and I’ll send it to your inbox.
The Coffee Cake I Wanted Next
I remake my cakes from time to time to make sure they are still as good as I remember. My tastes do not change completely, but I live and breathe baking, so new standards and ideas naturally find their way into the way I work.
I had recently remade my Salted Caramel Macchiato Lava Cake for exactly that reason, and it had me thinking about more coffee-shop desserts. Mocha came to mind immediately, but my personal preference with chocolate cake is always a dark chocolate base against a light, silky buttercream. Making that buttercream taste like a vanilla latte let me keep the contrast I love without losing the coffee-drink inspiration.
The espresso keeps the chocolate and caramel from feeling like a sugar bomb, and that little edge of bitterness and acidity makes the whole cake easier to keep eating. I cannot tell you how much I loved this one, and I hope you love it too.
Ingredient notes
Key ingredients
Dutch-process and natural cocoa
The two cocoa powders build a darker, more balanced chocolate flavor than either one alone. Sift both carefully because cocoa clumps easily, especially natural cocoa.
Coffee and instant espresso
Hot coffee blooms the cocoa while espresso powder gives the cake and buttercream a clear mocha flavor. Dissolve the espresso fully before mixing.
Light brown sugar
Brown sugar gives the caramel a deeper flavor and a softer texture than a traditional white-sugar caramel.
Vanilla bean paste
Vanilla bean paste softens the espresso in the buttercream and brings the latte flavor forward without making the cake taste overly sweet.
Fine sea salt
Salt keeps the caramel and buttercream balanced against the chocolate cake. Measure it carefully, then taste the cooled caramel before making any adjustment.
Brands I used for this recipe
These are preferences, not requirements. If you choose the non-dairy route, these are the products I test with. Dairy equivalents can be used at the same listed amounts and temperatures.
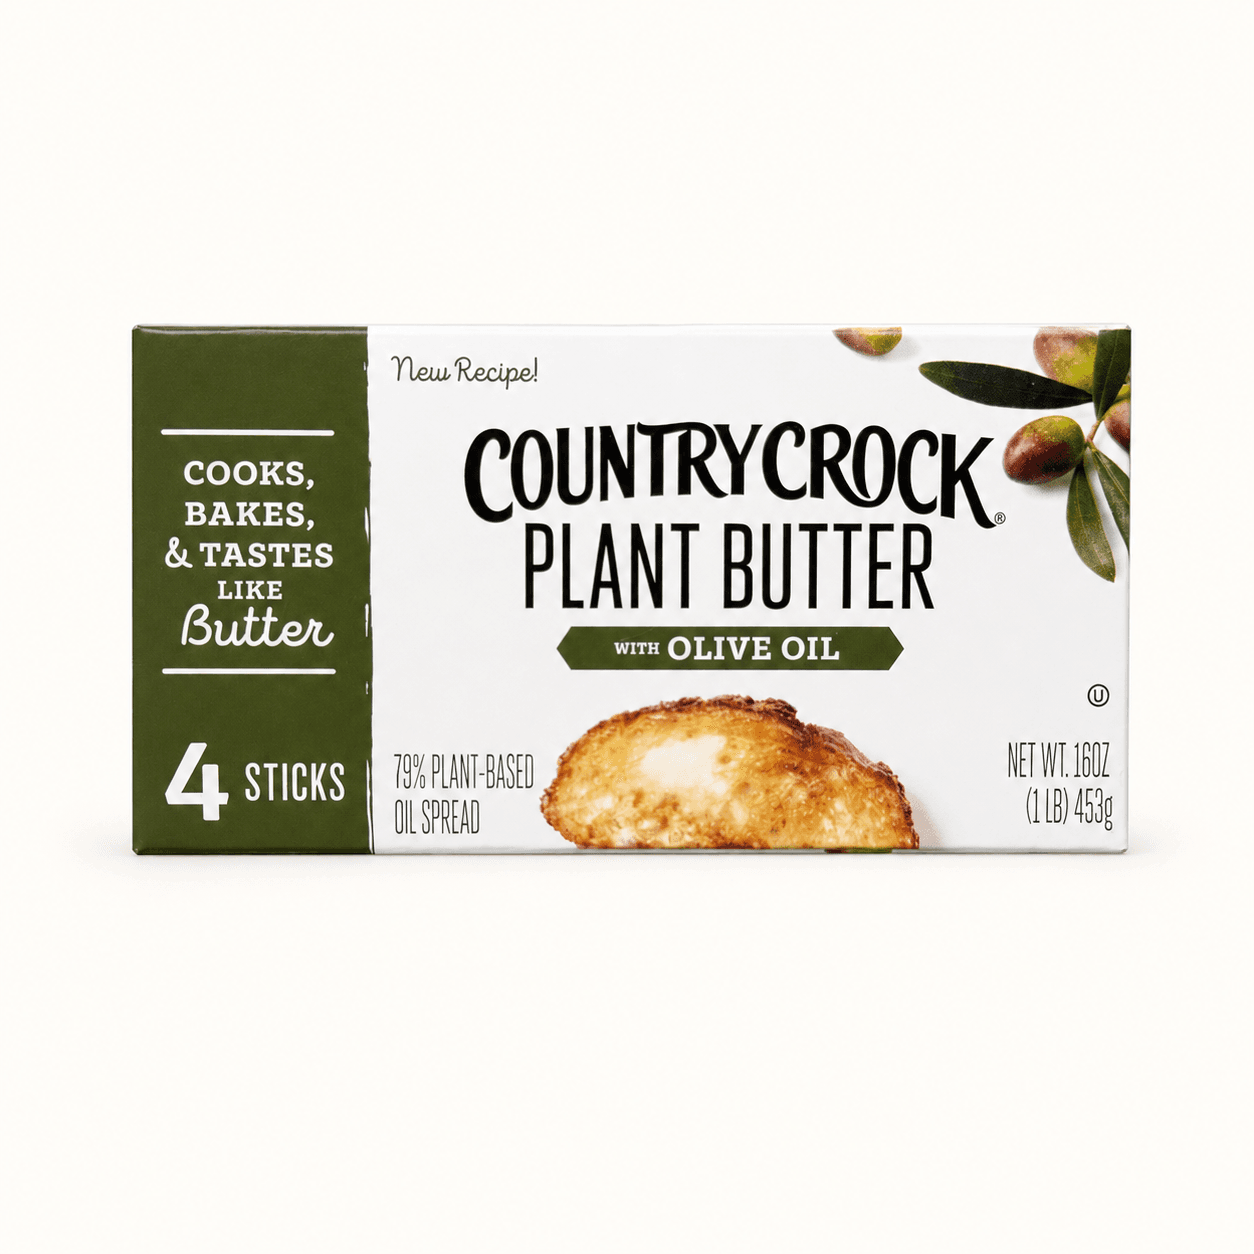
Country Crock Plant Butter Sticks
For a non-dairy version, I use Country Crock Plant Butter Sticks. They are dependable in both the salted caramel and vanilla latte buttercream, and they are usually easier to find in conventional grocery stores than at Sprouts or Whole Foods. Dairy butter can be used at the same listed amounts and temperatures.
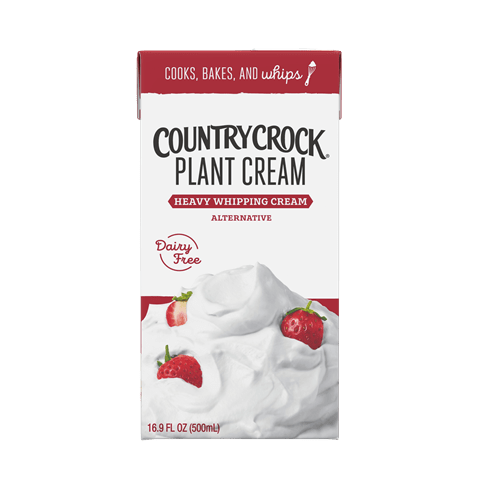
Country Crock Heavy Plant Cream
If you are replacing dairy heavy cream, I highly recommend Country Crock Heavy Plant Cream. It has no aftertaste, behaves more like dairy cream than any alternative I have used, keeps the salted caramel smooth, and makes the buttercream incredibly fluffy. I usually find it at Kroger or Fry's and wish every grocery store carried it. Dairy heavy cream can be used at the same listed amounts and temperatures.
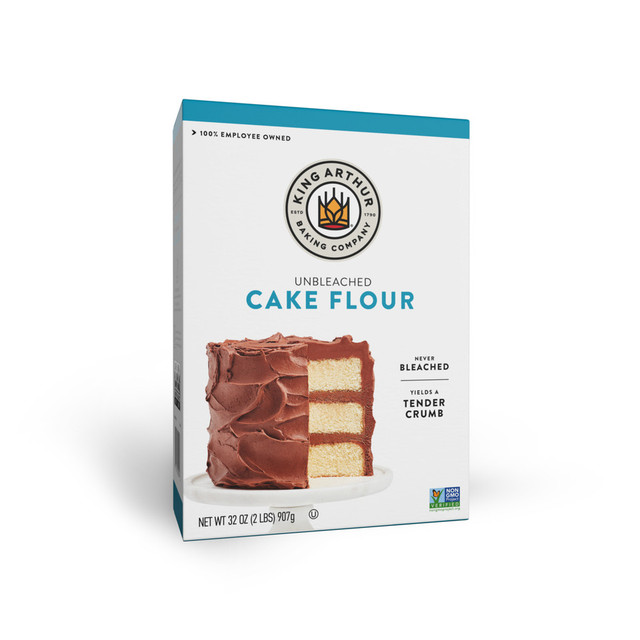
King Arthur Unbleached Cake Flour
I use King Arthur Unbleached Cake Flour for this recipe.

Rising Star Baking Supply Vanilla Bean Paste
I use Rising Star Baking Supply Vanilla Bean Paste for this recipe.
Testing notes
Why this works
Sift every dry ingredient
Cake flour, cornstarch, cocoa, and leaveners can all compact or clump. Sifting them directly over the wet mixture creates a smoother batter without extra mixing.
Add the coffee last
Whisk the sifted dry ingredients into the wet mixture first, then slowly stream in the hot coffee. This blooms the cocoa and loosens the batter evenly.
Cool the caramel completely
Warm caramel can melt the buttercream dam. At room temperature it should fall in a slow ribbon while remaining fluid enough to soften between the layers.
Use less caramel inside than you think
This filling is more fluid than the fillings in my other lava cakes. Keep the internal layers conservative and serve the rest alongside the cake for better control and cleaner stacking.
Step by step
How It All Comes Together
Step 1
Build a tall buttercream dam
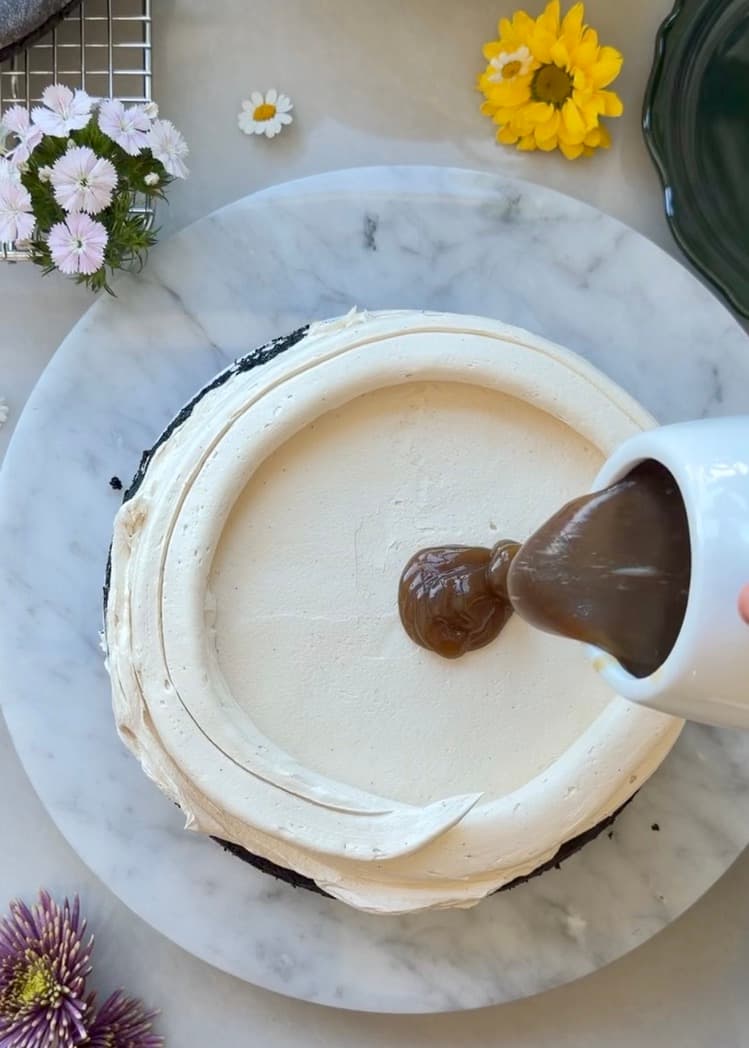
Place the first chilled mocha cake layer on a cake board, spread on a thin layer of vanilla latte buttercream, and pipe a tall, continuous dam around the edge.
A tall buttercream dam gives the fluid caramel a secure border. Step 2
Use a restrained layer of caramel
Spread completely cool caramel inside the dam and keep it below the top edge. This caramel is intentionally fluid, so save most of it for serving.
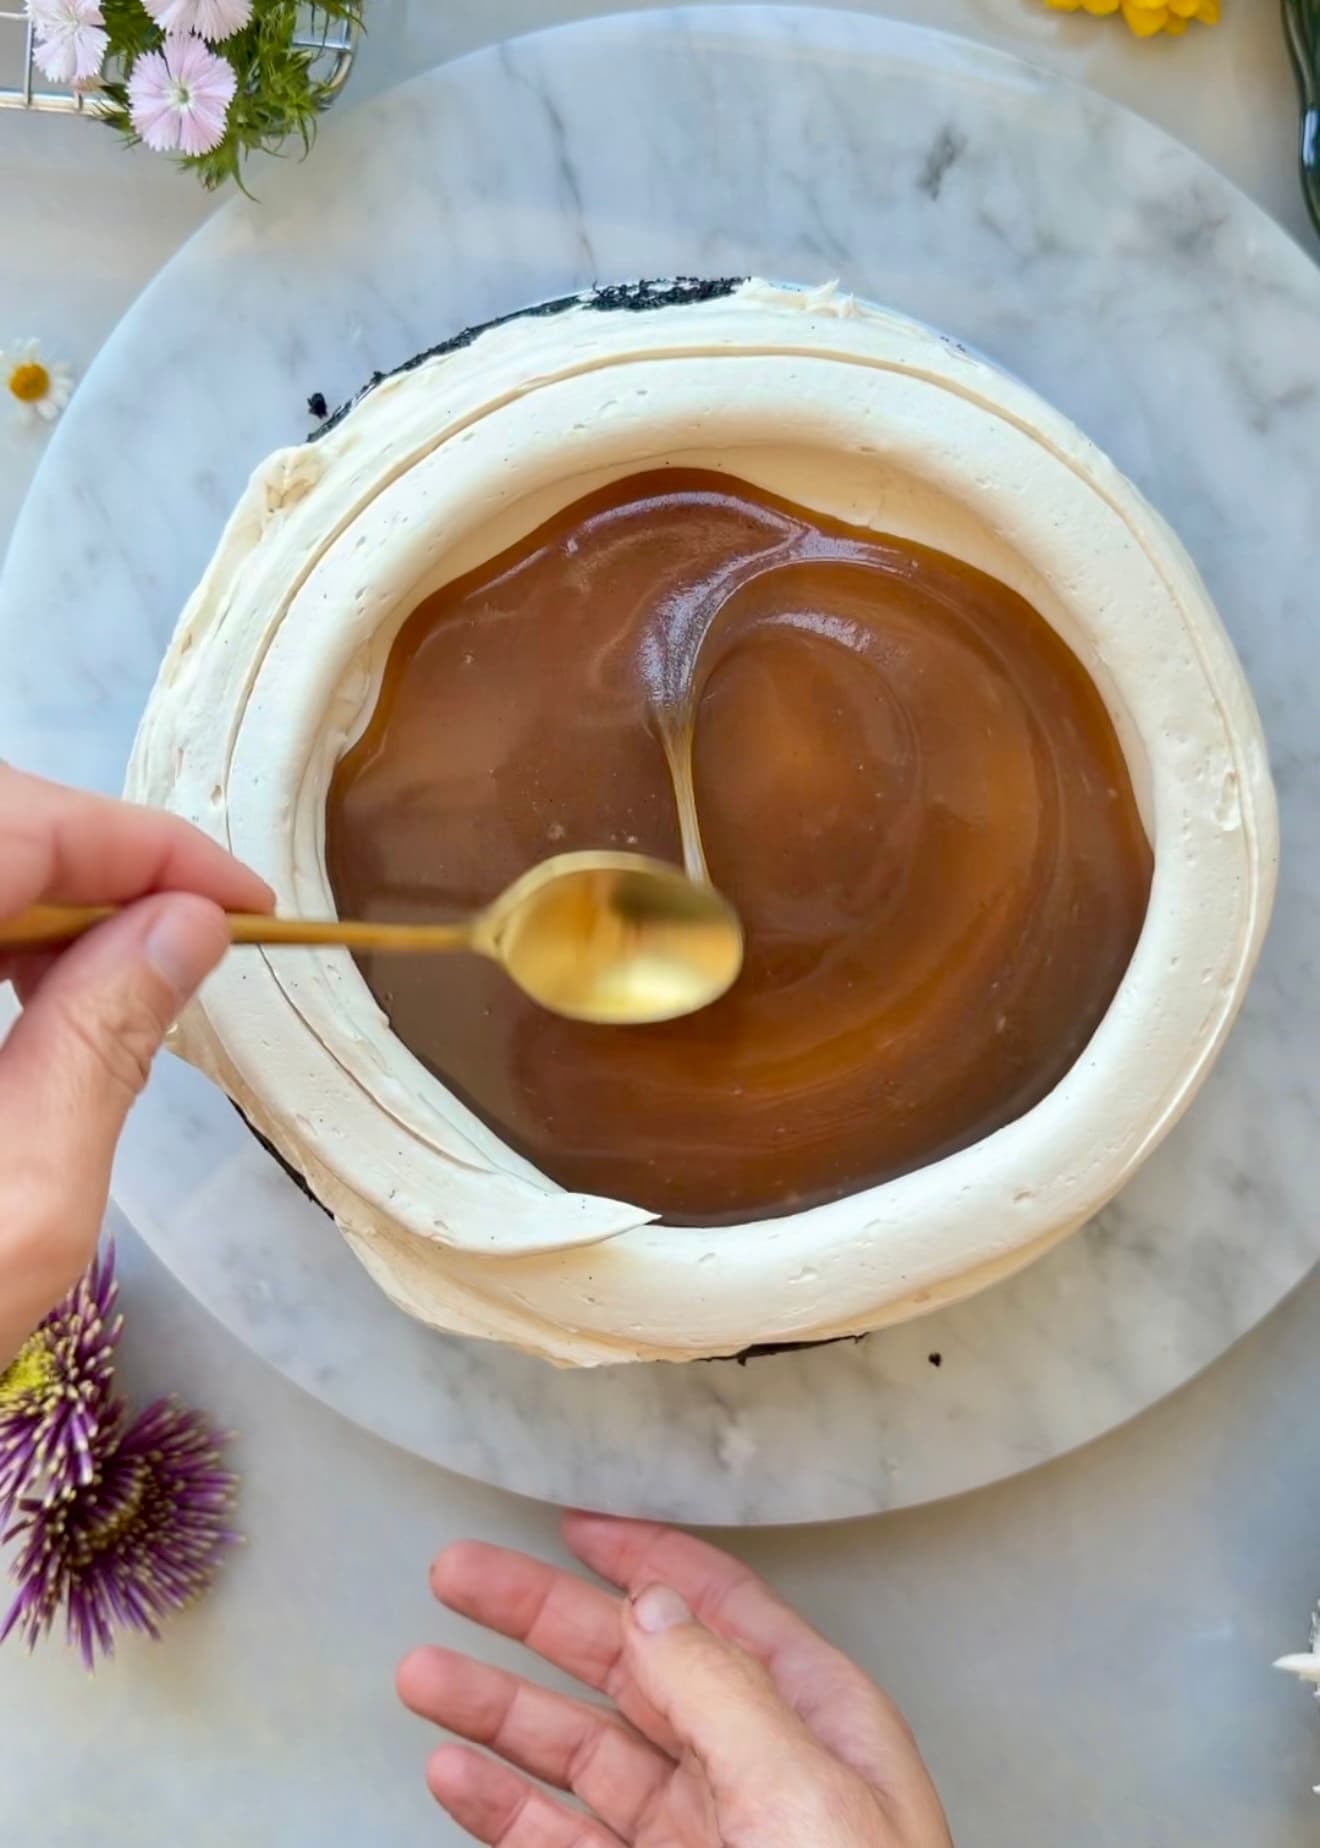
Use a conservative layer and keep it below the top edge of the buttercream. Step 3
Stack, crumb coat, and chill
Repeat with the second layer, add the final cake round, and apply a thin crumb coat. Refrigerate until the structure feels firm before adding the final buttercream.
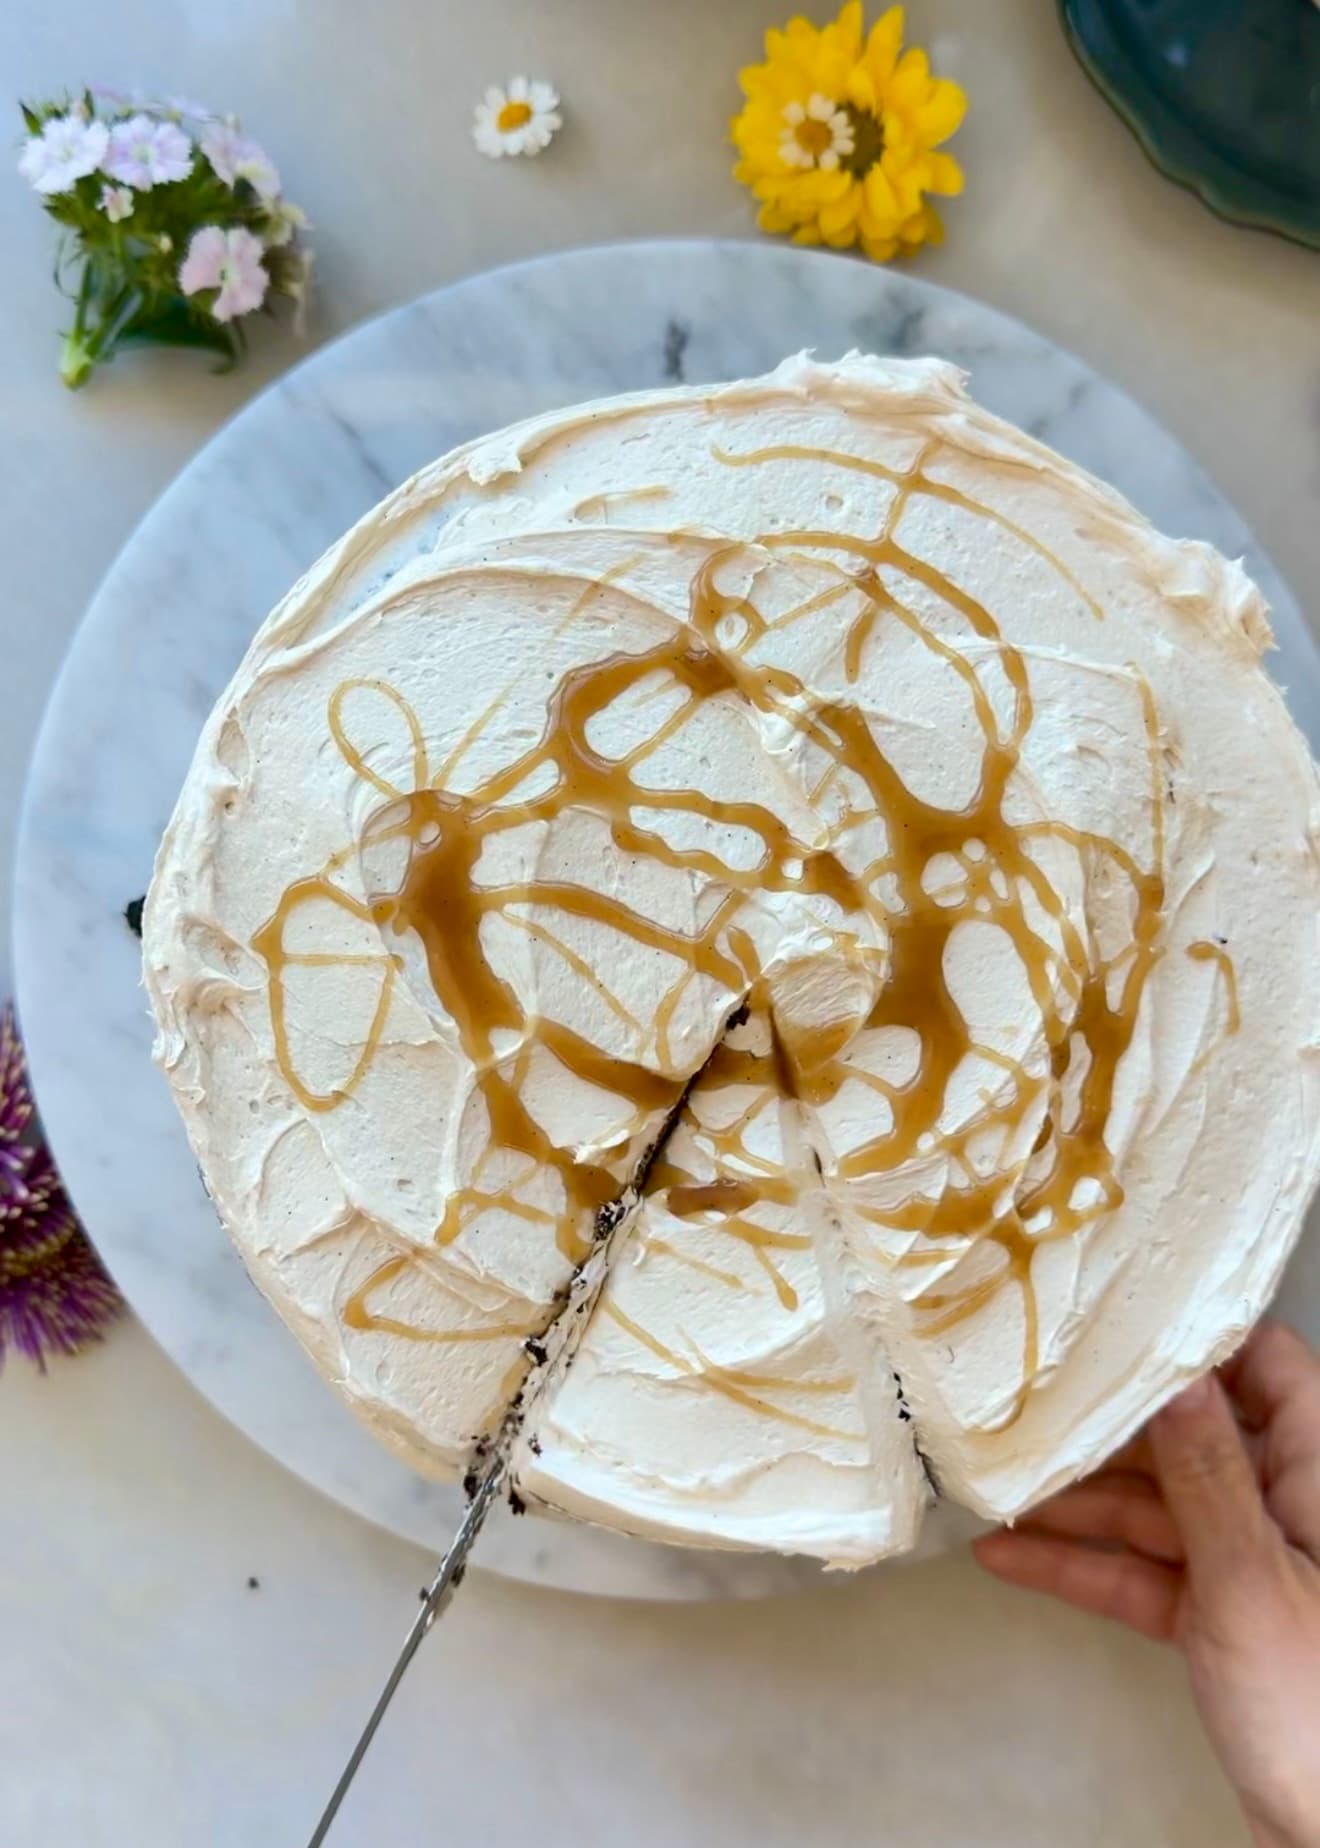
Vanilla latte buttercream gives the dark mocha layers a light, silky finish. A light caramel drizzle finishes the vanilla latte buttercream. Step 4
Cut the chilled cake
Give the finished cake a short chill, then cut it with a warm, clean knife. Let slices soften briefly so the buttercream relaxes and the caramel loosens.
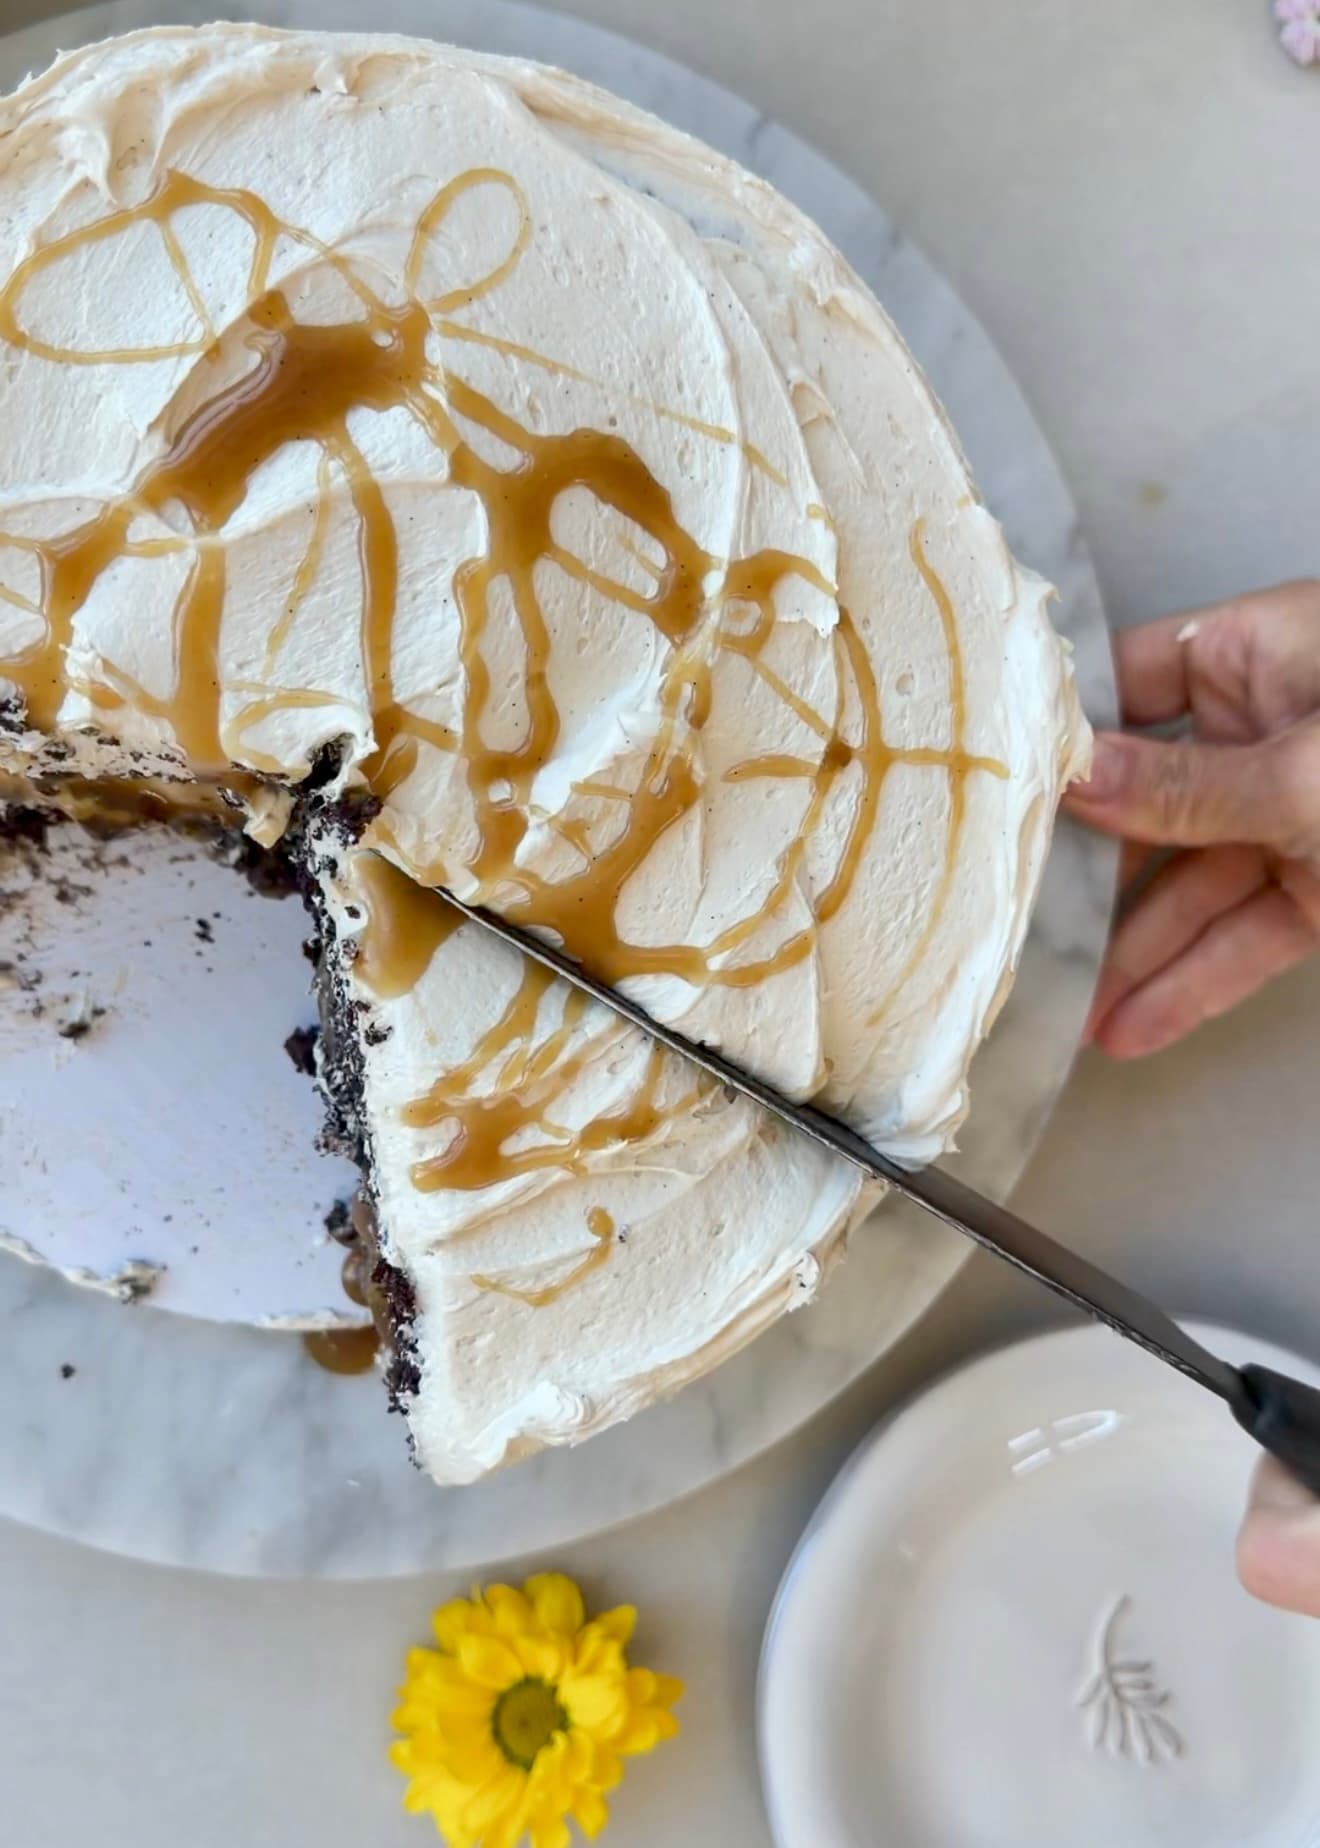
A short chill gives the cake enough structure for a clean first cut. 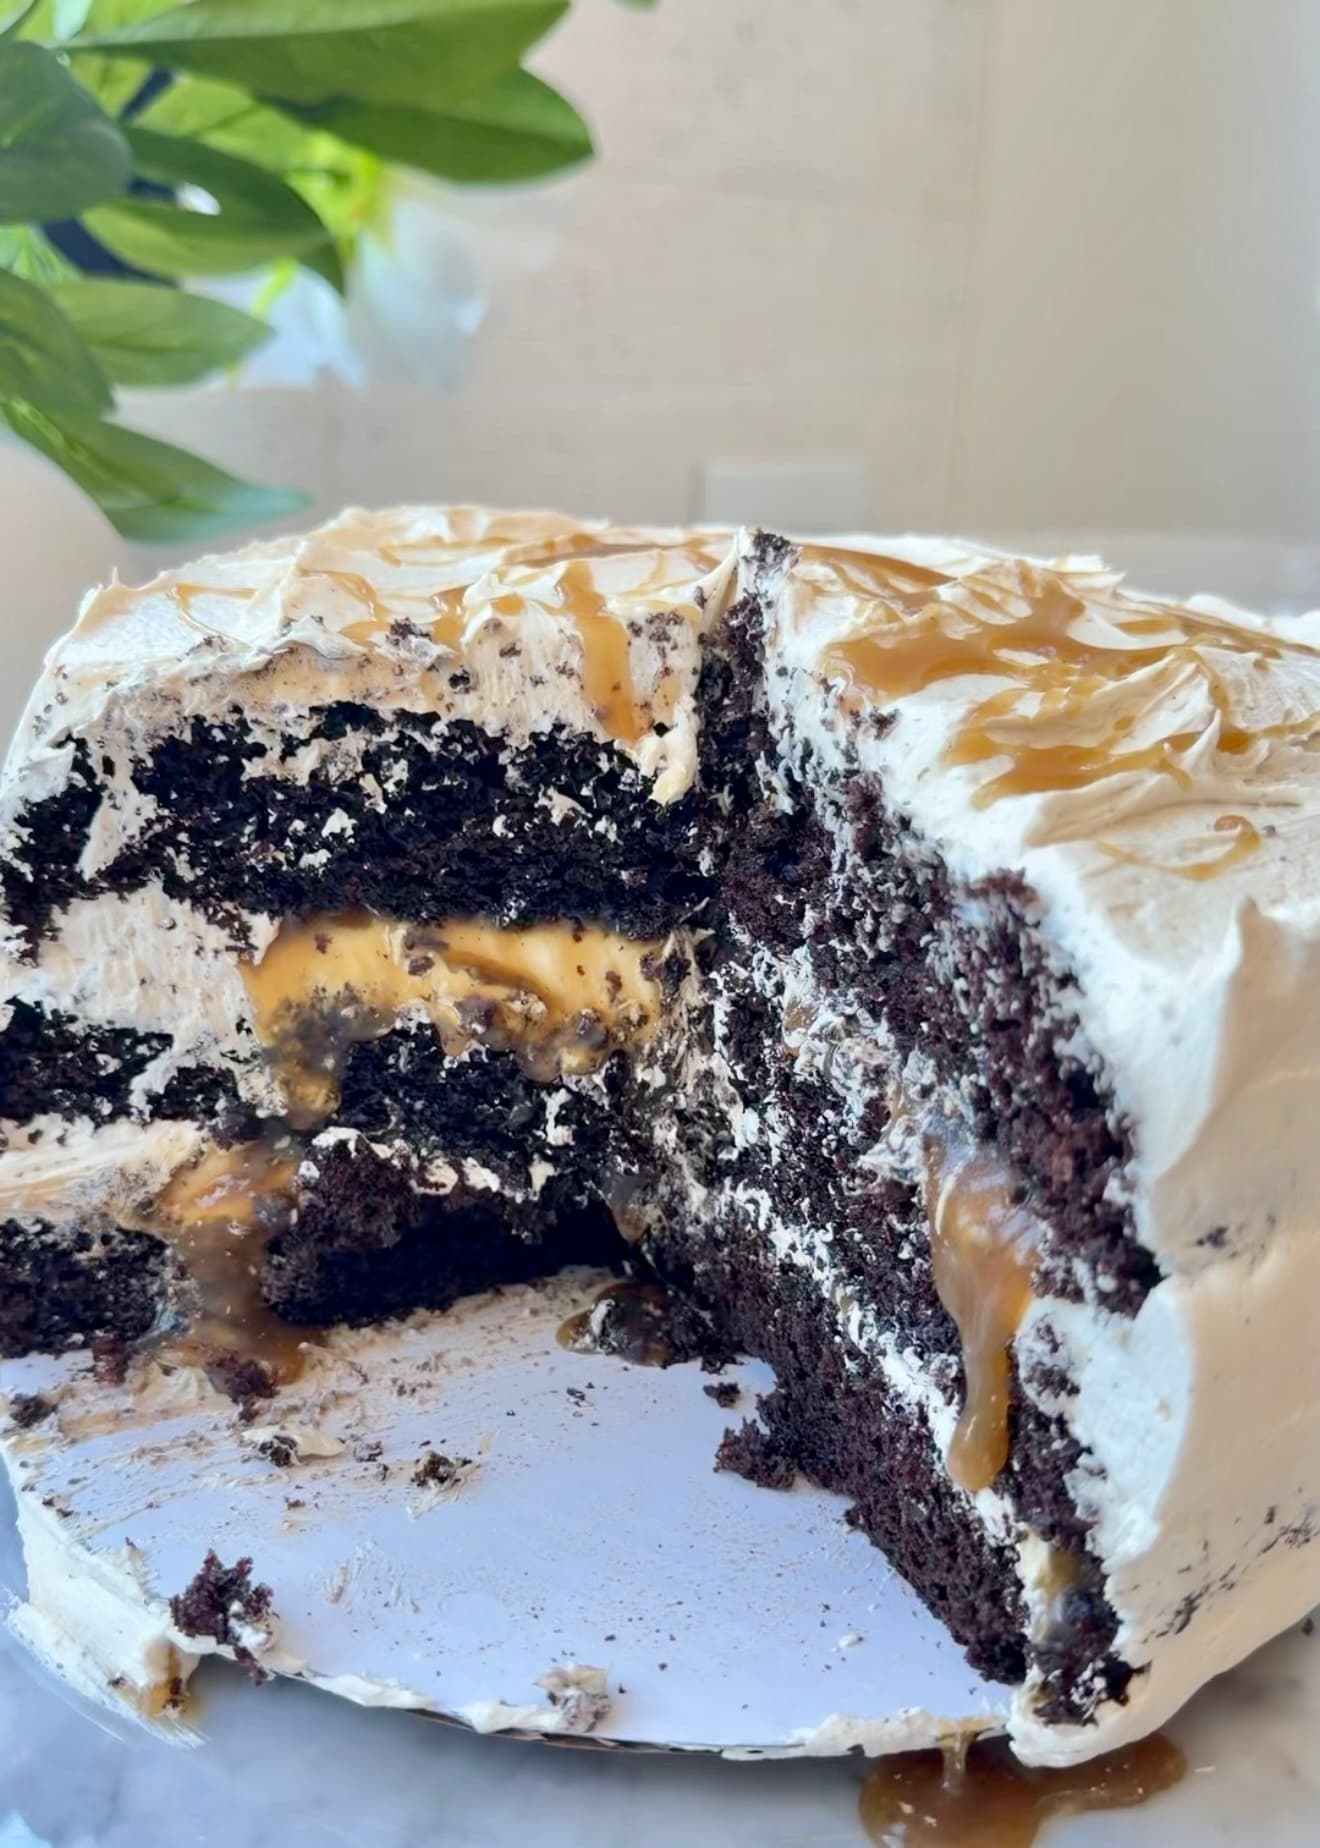
The finished cake shows the contrast between dark mocha cake and pale latte buttercream. Step 5
Pour on the reserved caramel
Serve the extra caramel with each slice. This keeps the cake easy to stack while still giving every serving the full salted-caramel finish.
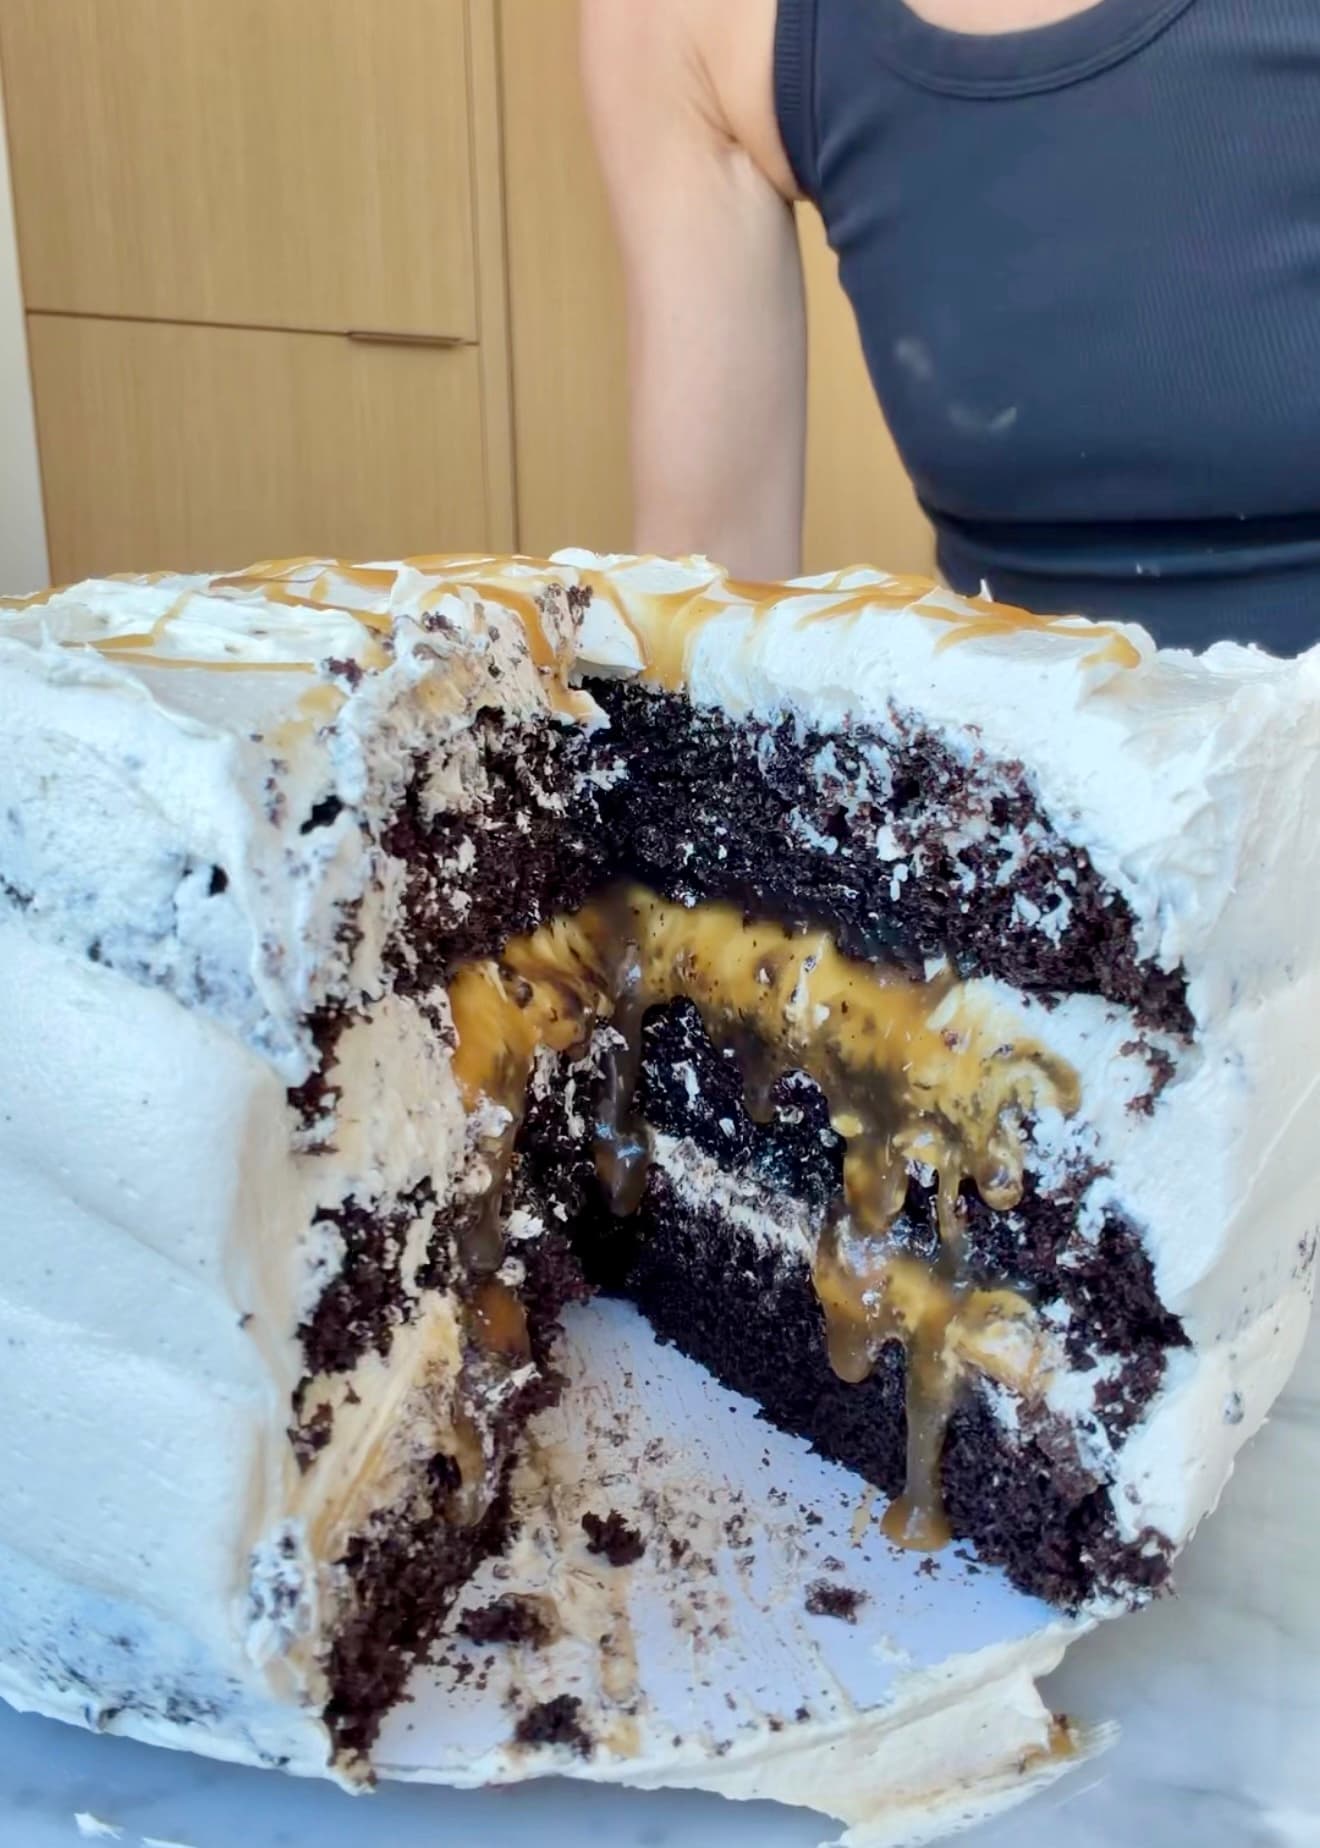
As the cake warms, the caramel settles into the dark chocolate crumb. 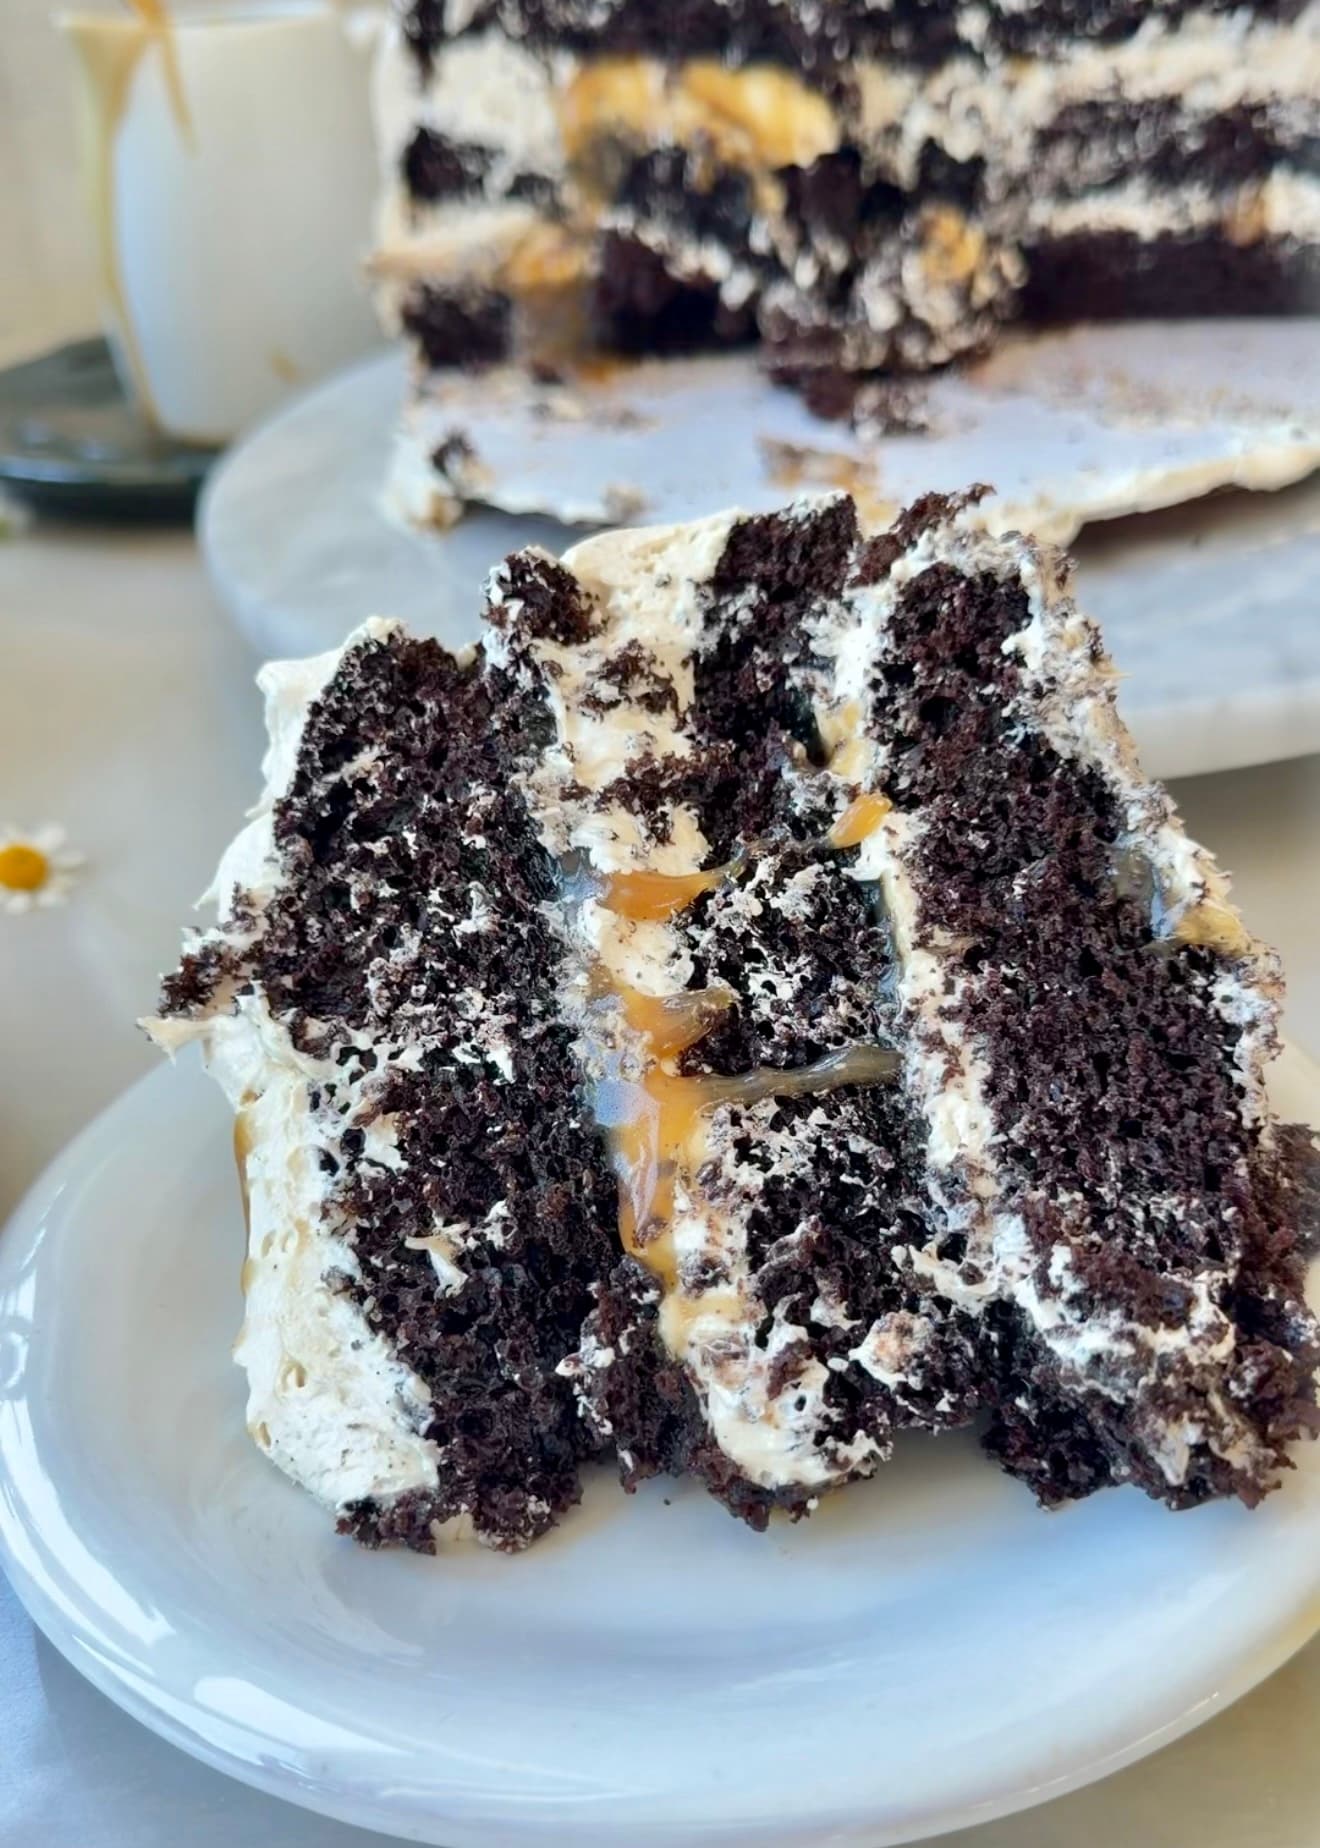
Serve the extra caramel with each slice for as much richness as you want.
From Instagram
Watch the reel
Watch the mocha layers, vanilla latte buttercream, and salted brown sugar caramel come together.
Open the reelSmall things that matter
Tips for the best cake
Bring the milk, yogurt, butter, and cream to the temperatures listed before mixing.
Sift the cake flour, cornstarch, both cocoa powders, leaveners, and salt directly over the wet ingredients.
Whisk only until the batter is smooth. Once the flour is added, extra mixing can make the crumb less tender.
Let the cake layers and caramel cool completely before beginning assembly.
Pipe a tall, continuous buttercream dam and keep the caramel below its top edge.
If this is your first layer cake, use an especially thin layer of caramel inside and save most of it for serving.
Chill the crumb-coated cake before adding the final buttercream, then let slices soften briefly before serving.
Troubleshooting
If This Happens
The caramel is leaking between the layers
Cool it completely and use less inside the cake. Keep it below a tall buttercream dam and reserve the rest for pouring over individual slices.
The cocoa will not mix smoothly
Sift both cocoa powders with the remaining dry ingredients. Add the hot coffee only after the dry ingredients are mostly incorporated, then stop mixing as soon as the batter is smooth.
The buttercream is too soft to hold the dam
Stop adding cream and chill the buttercream briefly until it is sturdy enough to pipe. The cake layers must also be completely cool before assembly.
The caramel became too thick in the refrigerator
Let it sit at room temperature and stir until it loosens. Warm only the caramel being served over slices, not the portion touching the buttercream.
Before you slice
Texture and serving notes
Serve extra caramel alongside the cake so everyone can choose how rich they want their slice.
For the softest buttercream and most fluid caramel, let the cake sit at room temperature for 30-45 minutes before slicing.
A warm knife creates the cleanest slices through the chilled layers.
Keep it good
Storage
Fridge
Store the assembled cake covered in the refrigerator for up to 4 days.
Serve
Let chilled slices sit at room temperature before serving so the buttercream softens and the caramel loosens.
Make ahead
The cake layers and caramel can be prepared one day ahead. Wrap the cooled layers well and refrigerate the caramel in an airtight container.
Recipe FAQ
Questions that come up
Is Salted Caramel Mocha Lava Cake beginner-friendly?
Yes. The cake, caramel, and buttercream are each straightforward. For the easiest assembly, use a thin layer of caramel inside a tall buttercream dam and reserve most of the caramel for pouring over individual slices.
Why do I need two kinds of cocoa powder?
Dutch-process cocoa brings deep color and smooth chocolate flavor, while natural cocoa contributes brightness and works with the baking soda. Together they create a balanced mocha cake. Sift both because cocoa powders clump easily.
Can I leave out the coffee?
I do not recommend it for this recipe. Coffee blooms the cocoa and espresso gives the cake its mocha identity. The finished cake tastes like chocolate and coffee together rather than plain chocolate cake.
How do I keep the caramel from leaking between the layers?
Cool it completely, pipe a tall continuous buttercream dam, and spread only a conservative amount inside. Keep the caramel below the top of the dam and save the extra for serving.
Can I use dairy ingredients?
Yes. I test with non-dairy ingredients, but dairy equivalents can be used at the same listed amounts and temperatures.
Should I weigh the ingredients or use volume measurements?
I strongly recommend weighing the ingredients in grams for the most reliable result. Volume measurements are included for convenience, but the amount in a cup can change depending on how an ingredient is filled, packed, or poured. These recipes are easy to follow, but their ratios are precise, so I cannot guarantee the exact same result when volume measurements are used. I still use teaspoons and tablespoons for small amounts like leaveners, salt, spices, and flavorings because those are the most practical measurements.
Can I make this recipe gluten-free?
I have not tested this recipe with gluten-free flour, so I cannot guarantee the same texture, rise, or structure. If you would like to experiment, a cup-for-cup (1:1) gluten-free baking blend intended to replace all-purpose flour is the best place to start. Results may differ from the recipe as written.
Can I use all-purpose flour instead of cake flour?
Yes, of course. Replace the cake flour with the same amount of all-purpose flour by weight. The cake will have a slightly sturdier, less delicate crumb, but it will still be great.
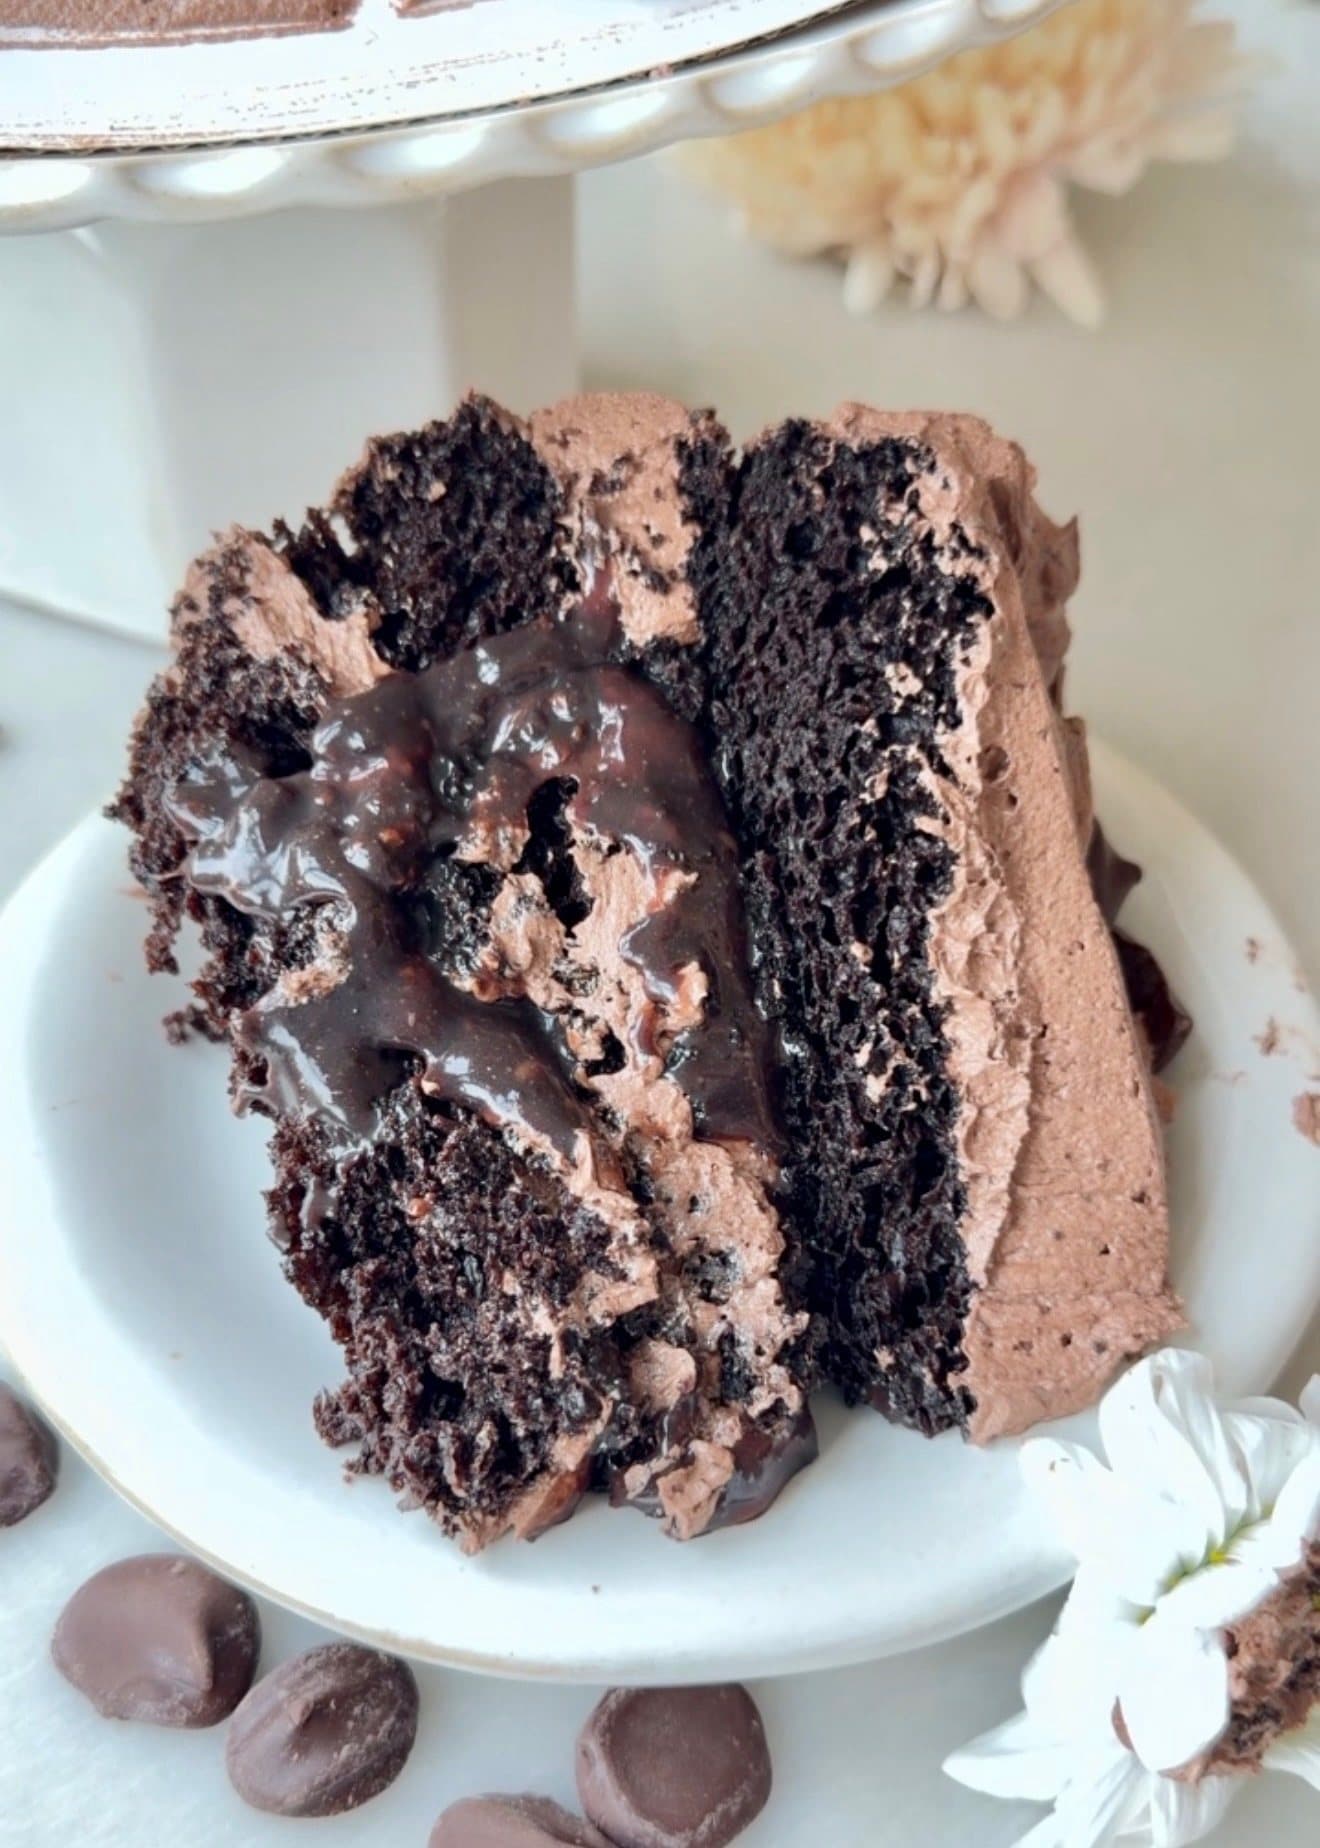
More lava cakes to try


- Prep
- 50 min
- Bake
- 25 min
- Total
- About 2 hr 45 min, including cooling and chilling
- Yield
- One 3-layer 8-inch cake
Measurement note
For the closest match to the recipe I tested, use grams. Volume measurements are included for convenience, but cups can vary, so I cannot guarantee the exact same result when measuring by volume.
Ingredients
Chocolate Mocha Cake Layers
- 225 g cake flour225 g (about 1 3/4 cups + 2 tablespoons) cake flour
- 18 g cornstarch18 g (about 2 tablespoons + 1 3/4 teaspoons) cornstarch
- 45 g Dutch-process cocoa powder45 g (about 7 tablespoons + 1 1/2 teaspoons) Dutch-process cocoa powder
- 25 g natural cocoa powder25 g (about 1/4 cup + 1/2 teaspoon) natural cocoa powder
- 8 g baking powder (weigh for accuracy)1 3/4 teaspoons baking powder
- 5 g baking soda (weigh for accuracy)1 teaspoon baking soda
- 5 g fine sea salt (weigh for accuracy)5 g fine sea salt (weigh for accuracy)
- 300 g granulated sugar300 g (about 1 1/2 cups) granulated sugar
- 50 g light brown sugar, packed50 g (about 3 tablespoons + 2 1/4 teaspoons) light brown sugar, packed
- 230 g milk230 g (about 3/4 cup + 3 tablespoons) milk
- 15 g apple cider vinegar15 g (about 1 tablespoon) apple cider vinegar
- 125 g neutral oil125 g (about 1/2 cup + 1 tablespoon) neutral oil
- 135 g plain unsweetened yogurt, room temperature135 g (about 1/2 cup + 2 teaspoons) plain unsweetened yogurt, room temperature
- 10 g vanilla bean paste (weigh for accuracy)10 g vanilla bean paste (weigh for accuracy)
- 115 g hot brewed coffee115 g (about 7 tablespoons + 2 teaspoons) hot brewed coffee
- 2 1/2 teaspoons instant espresso powder2 1/2 teaspoons instant espresso powder
Salted Brown Sugar Caramel
- 170 g light brown sugar, packed170 g (about 3/4 cup + 2 teaspoons) light brown sugar, packed
- 25 g water25 g (about 1 tablespoon + 2 teaspoons) water
- 115 g butter115 g (about 1/2 cup) butter
- 90 g cream90 g (about 6 tablespoons) cream
- 1/2 teaspoon fine sea salt1/2 teaspoon fine sea salt
- 1 teaspoon vanilla bean paste1 teaspoon vanilla bean paste
Vanilla Latte Buttercream
- 340 g butter, room temperature340 g (about 1 1/2 cups) butter, room temperature
- 500 g powdered sugar, sifted500 g (about 4 1/4 cups) powdered sugar, sifted
- 2 tablespoons vanilla bean paste2 tablespoons vanilla bean paste
- 2 teaspoons instant espresso powder2 teaspoons instant espresso powder
- 1 teaspoon hot water1 teaspoon hot water
- Up to 100 g cream, room temperatureUp to 100 g (about 6 tablespoons + 2 teaspoons) cream, room temperature
- 1/2 teaspoon fine sea salt1/2 teaspoon fine sea salt
Pan used
I use Fat Daddio's 8-inch anodized aluminum round cake pans for this recipe.
Instructions
- 1Preheat the oven to 350°F (175°C). Grease three 8-inch round cake pans and line the bottoms with parchment paper.
- 2Stir the 2 1/2 teaspoons espresso powder into the hot brewed coffee until completely dissolved. Set aside while you begin the batter.
- 3In a large bowl, whisk together the granulated sugar, light brown sugar, milk, apple cider vinegar, neutral oil, yogurt, and vanilla bean paste until smooth and emulsified.
- 4Sift the cake flour, cornstarch, Dutch-process cocoa, natural cocoa, baking powder, baking soda, and salt directly over the wet ingredients. Whisk gently just until mostly combined.
- 5Slowly stream in the hot coffee mixture while whisking gently. Stop as soon as the batter is smooth; do not overmix.
- 6Divide the batter evenly among the prepared pans. Bake for about 25 minutes, until the centers spring back lightly and a toothpick inserted in the middle comes out with moist crumbs but no wet batter.
- 7Cool the cakes in their pans for 10-15 minutes, then turn them onto wire racks. Cool completely, wrap, and chill before assembling.
- 8Make the caramel. Add the light brown sugar and water to a medium saucepan over medium heat. Whisk constantly as the thick mixture heats, continuing until it bubbles evenly.
- 9Add the butter and whisk until completely melted and smooth. Let the mixture bubble gently for 1-2 minutes, whisking frequently.
- 10Slowly pour in the cream while whisking continuously. Cook over medium-low heat for 2-4 minutes, until glossy and thickened enough to fall from the whisk in a slow ribbon.
- 11Remove the caramel from the heat and whisk in the salt and vanilla bean paste. Cool completely to room temperature before assembling. It should be thick but still slowly pourable.
- 12Make the buttercream. Dissolve the 2 teaspoons espresso powder in 1 teaspoon hot water and let it cool slightly.
- 13Beat the butter for 5 minutes, until very light and fluffy. Gradually add the powdered sugar and beat until smooth.
- 14Add the vanilla bean paste, dissolved espresso, and salt. Mix until silky and evenly combined.
- 15With the mixer on low, slowly stream in the cream as needed until the buttercream is light, fluffy, and spreadable.
- 16Assemble the cake. Place the first chilled cake layer on a cake board. Spread a thin layer of vanilla latte buttercream over the cake, then pipe a tall, continuous dam around the outside edge.
- 17Spread a conservative layer of cooled caramel inside the dam, keeping it below the top edge. Save the remaining caramel for serving.
- 18Add the second layer and repeat with the buttercream and caramel. Place the final cake layer upside down for a flatter top.
- 19Apply a thin crumb coat and refrigerate the cake for 20 minutes. Frost the top and sides with the remaining vanilla latte buttercream.
- 20Drizzle a little additional caramel over the top, if desired. Refrigerate for 15-20 minutes before slicing, then serve the reserved caramel alongside individual slices.

Meet the baker
Angela Heckler
Angela Heckler is the recipe developer, baker, and photographer behind Obsessed Cakes. Her Old-Fashioned Donut Loaf series is a growing collection of cake-donut-inspired loaves with soft, deeply moist crumbs, buttery streusel, and crackly glaze. Angela develops and tests every recipe in her Arizona kitchen. Follow Obsessed Cakes on Instagram, TikTok, and YouTube.
Made it? Tell us.
Ratings and reviews
Be the first to rate this recipe.
No reviews yet.
Make the recipe, leave a rating, and share how it turned out.Did you make this?
Share your bake on Instagram - tag @obsessedwithcashews and use #obsessedcakes.