Lava Cakes
Salted Caramel Brownie Lava Cake
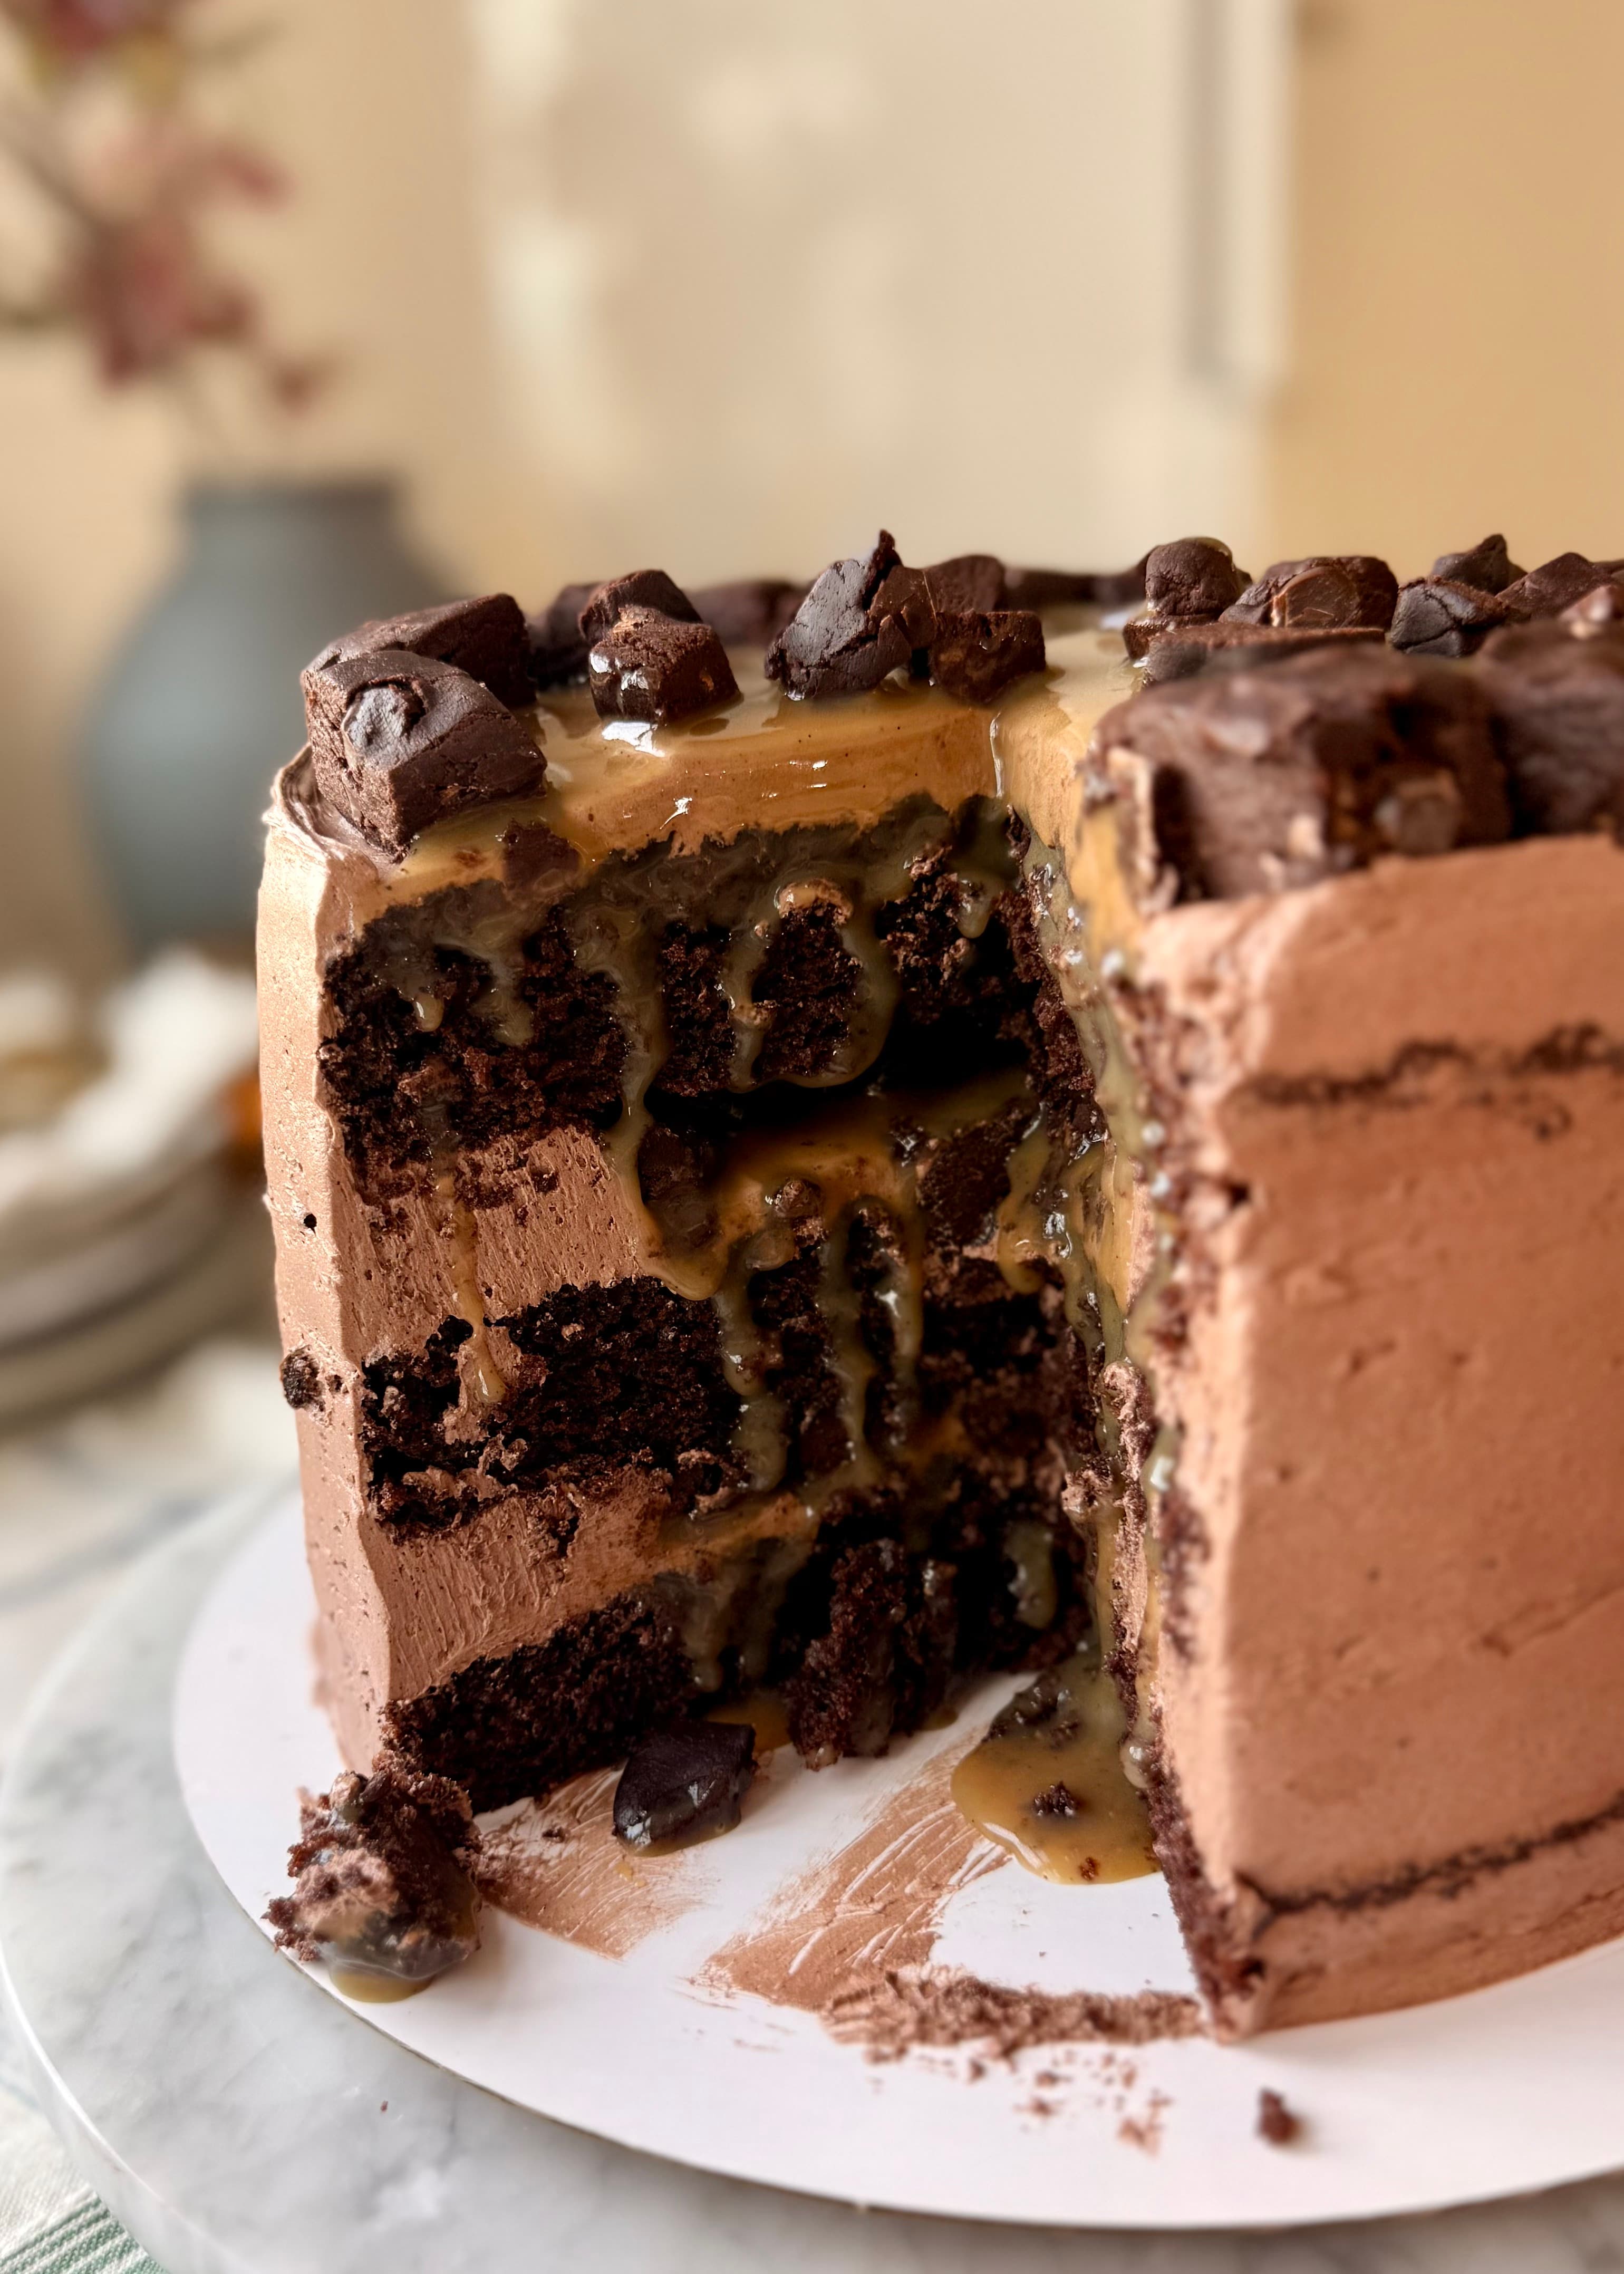
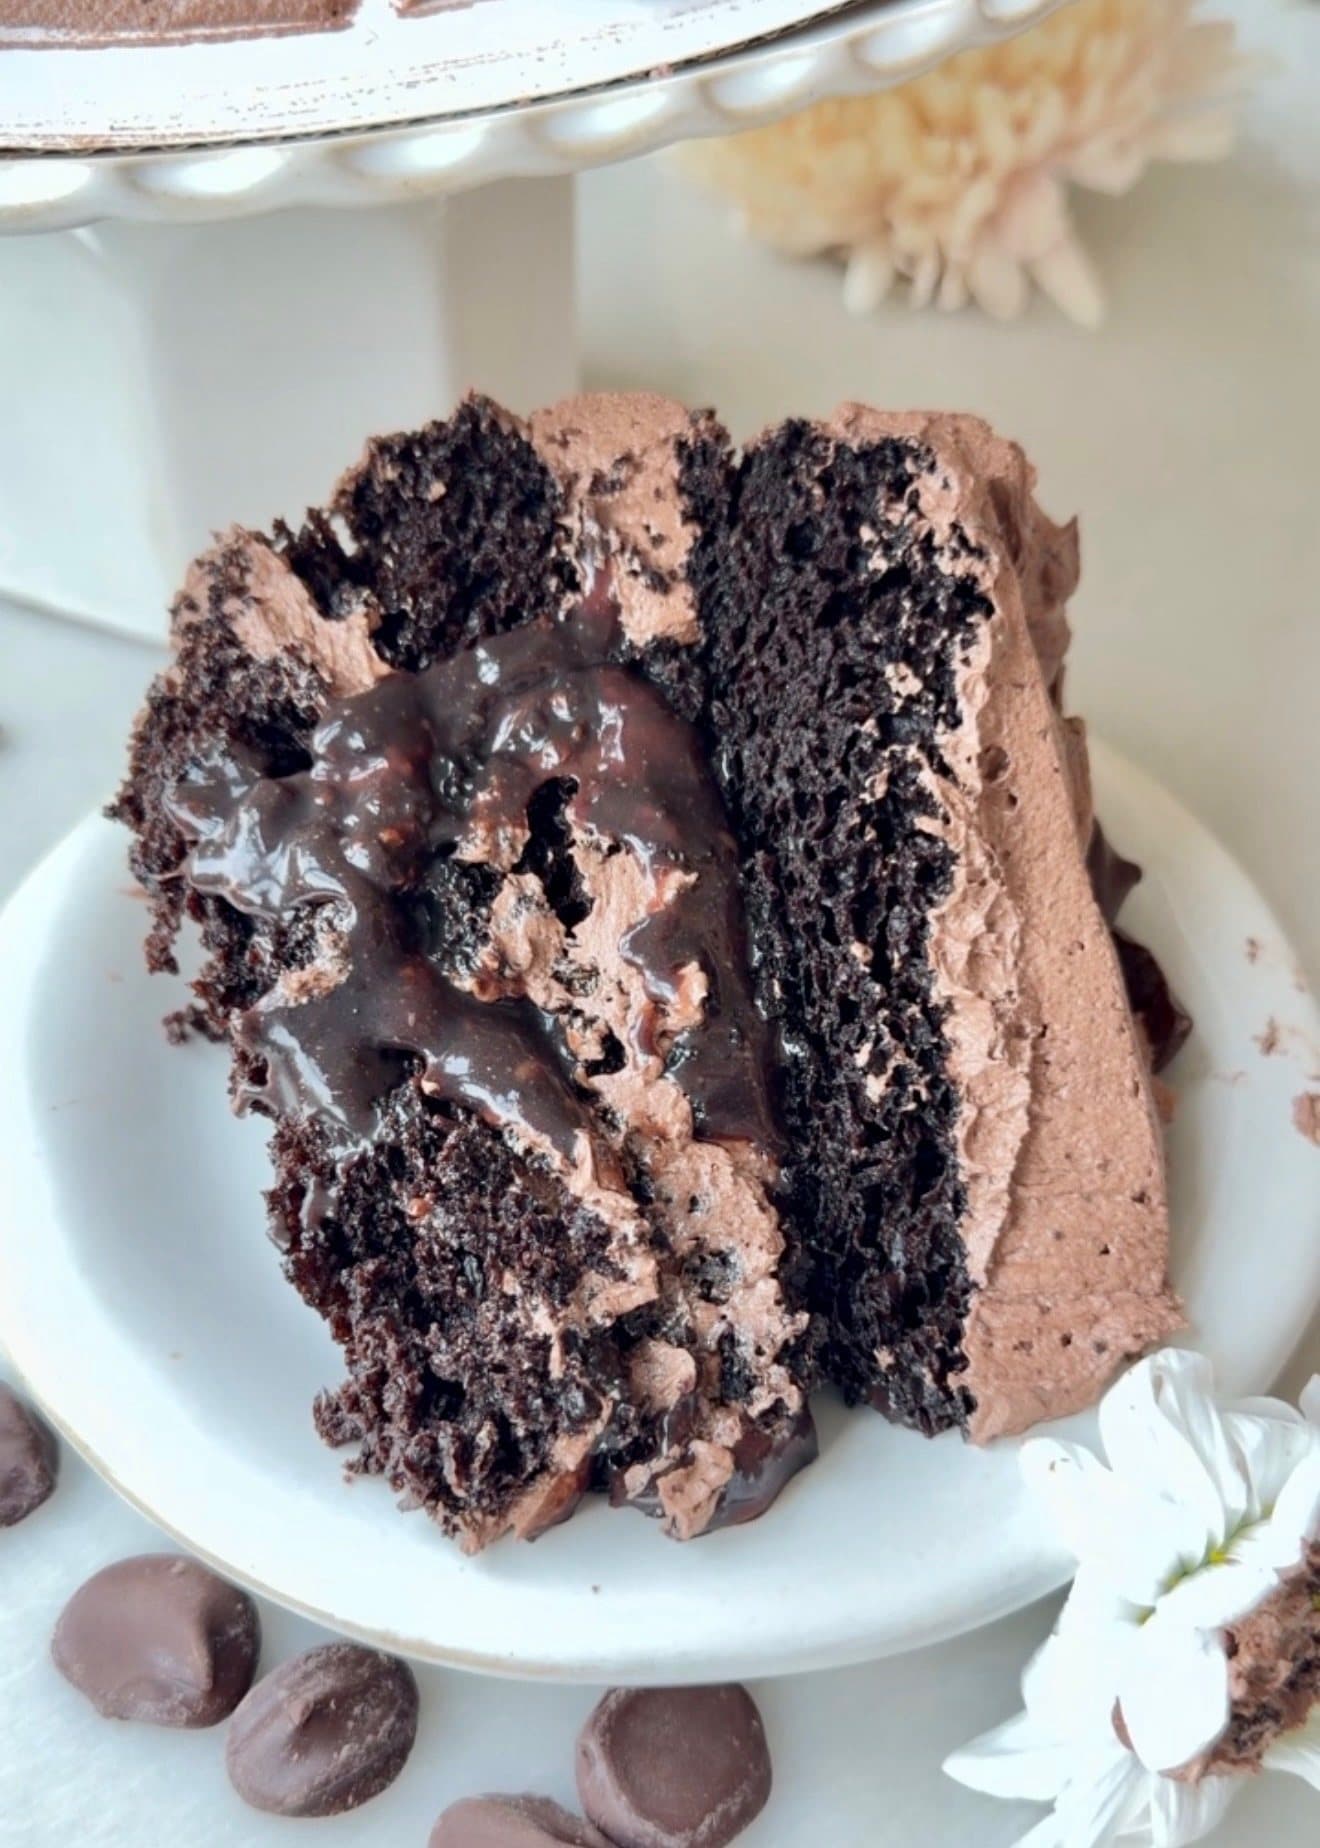
Deep chocolate cake, salted brown sugar caramel, brownie batter squares, and chocolate buttercream all land in the same slice.
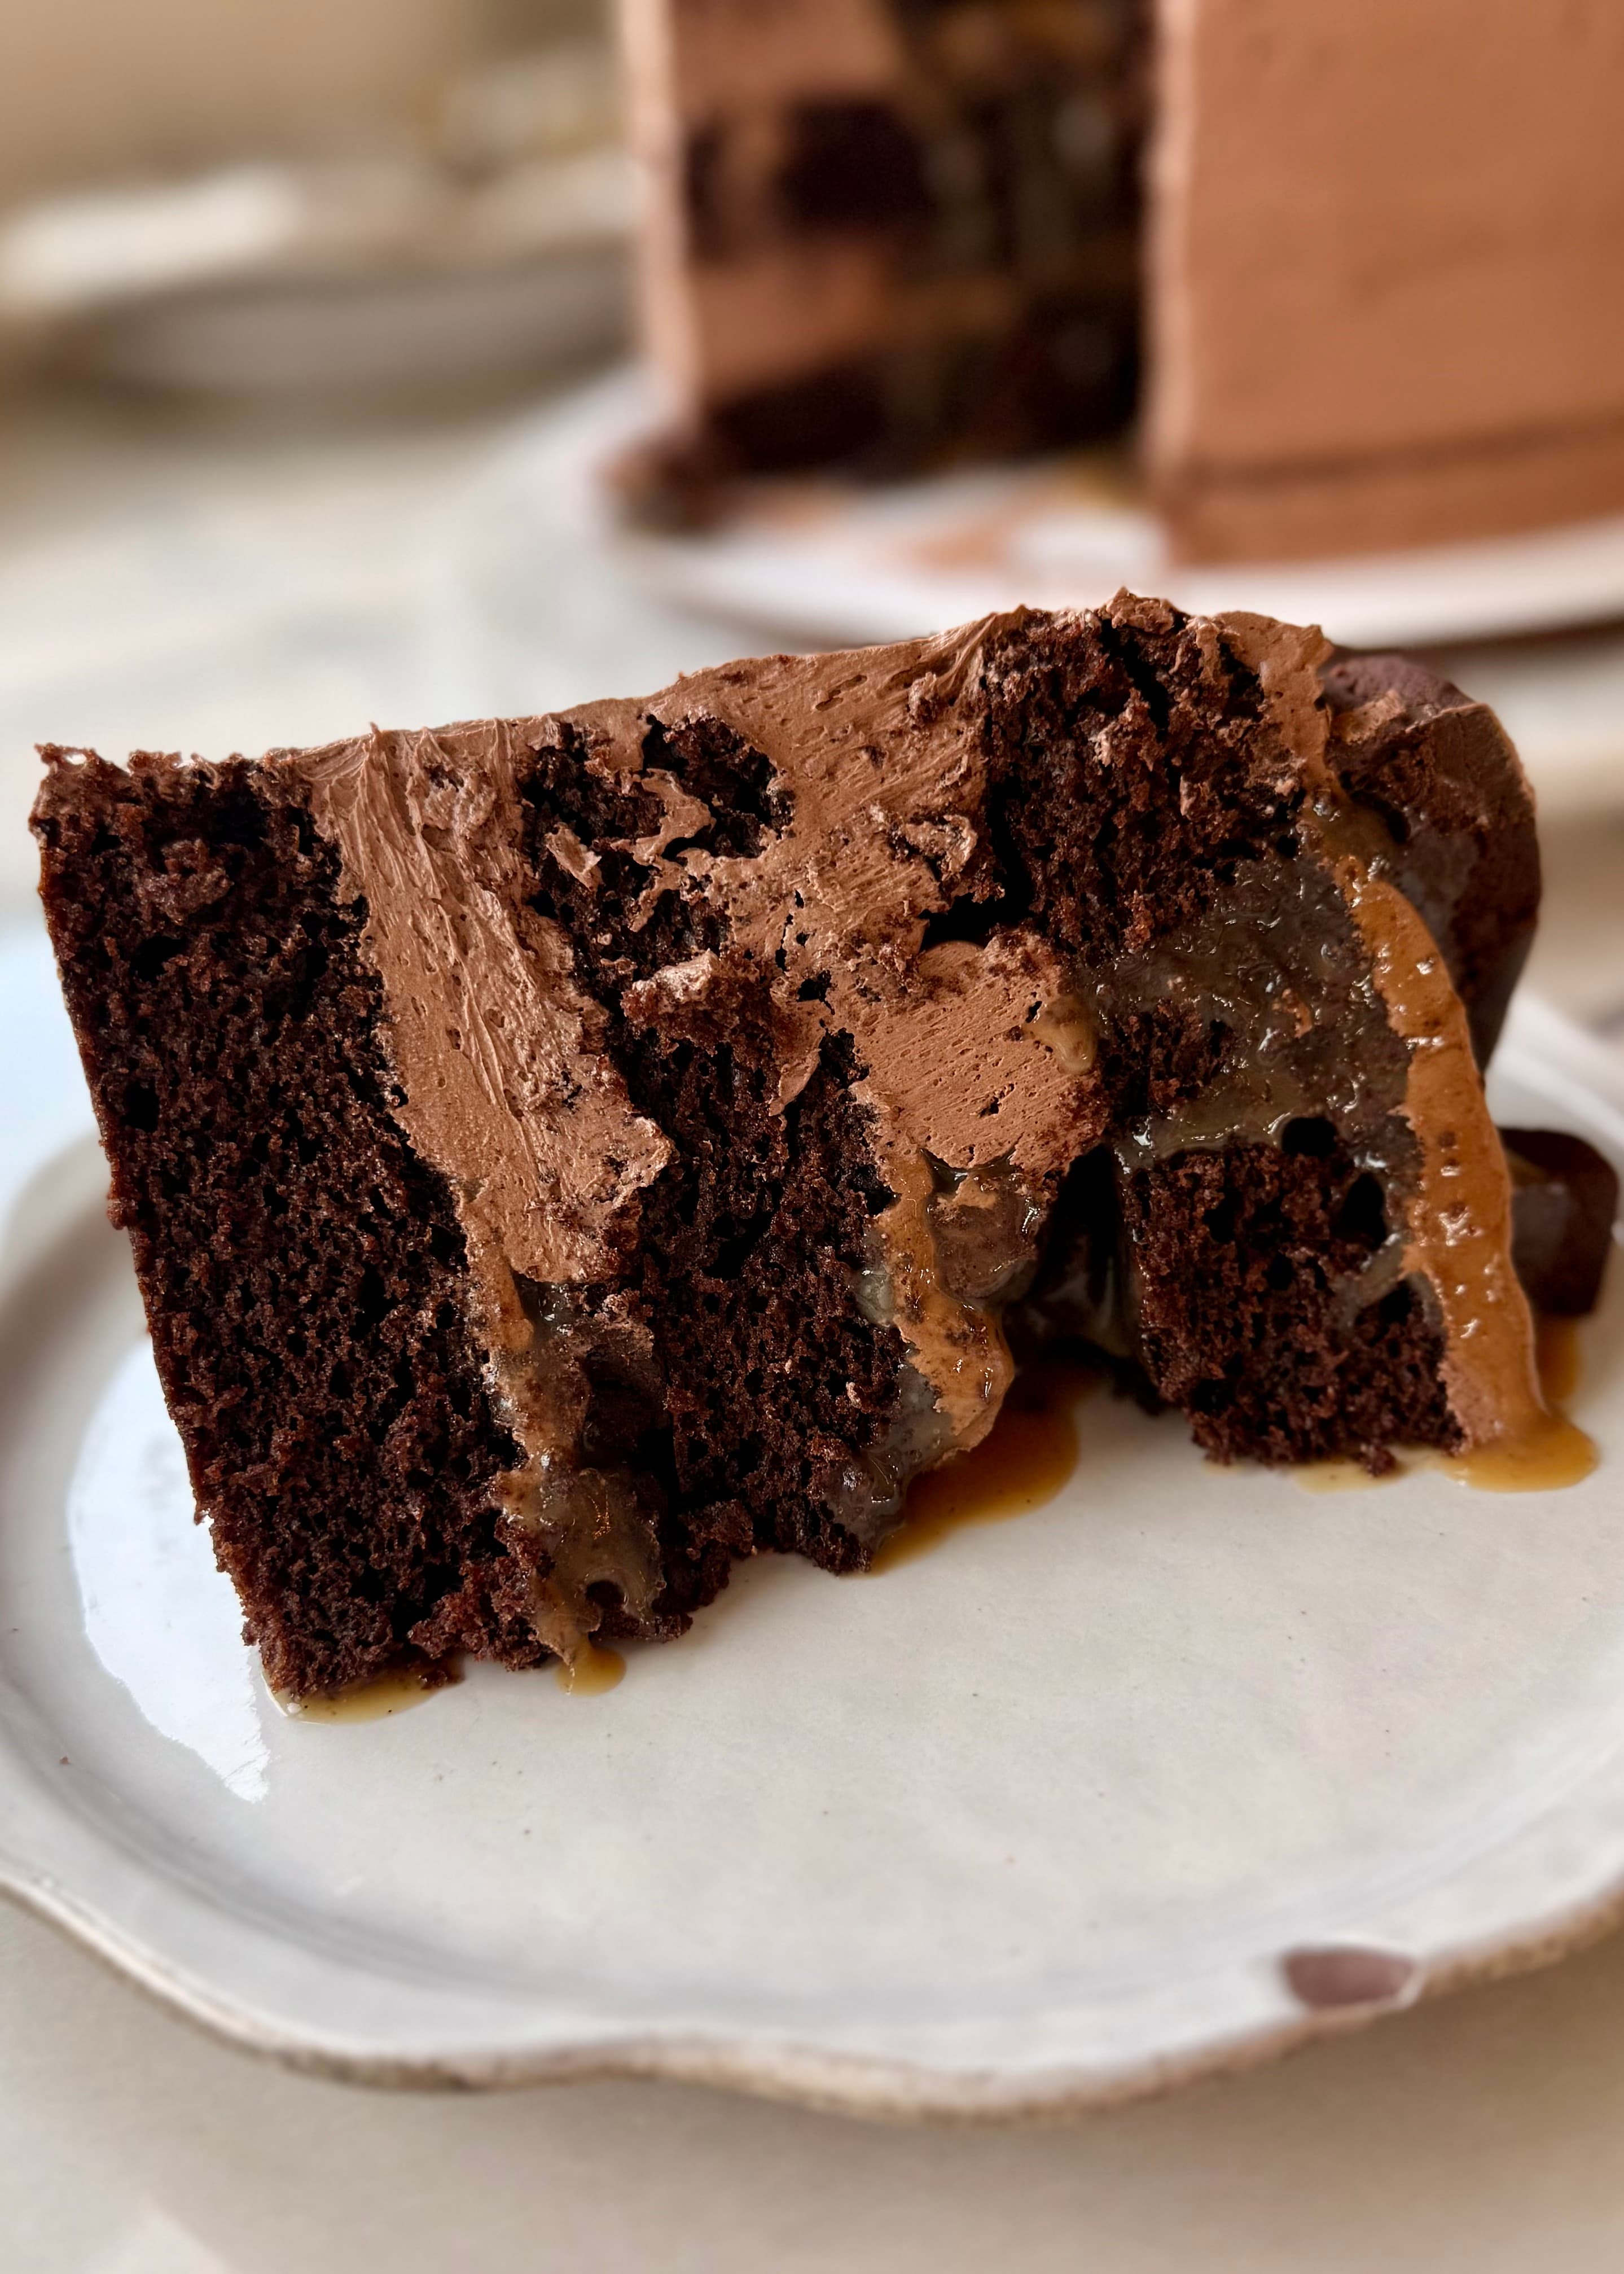
The caramel stays glossy and fluid enough to move when the cake is cut, while the chilled brownie pieces give every layer a chewy, fudgy contrast.
This is a tall celebration cake, so cool every component completely and keep the caramel inside a sturdy buttercream dam during assembly.
Save this recipe
Want to save this recipe for later?
Enter your email and I’ll send it to your inbox.
Thinking out loud
The Cake Version of My Dream Sundae
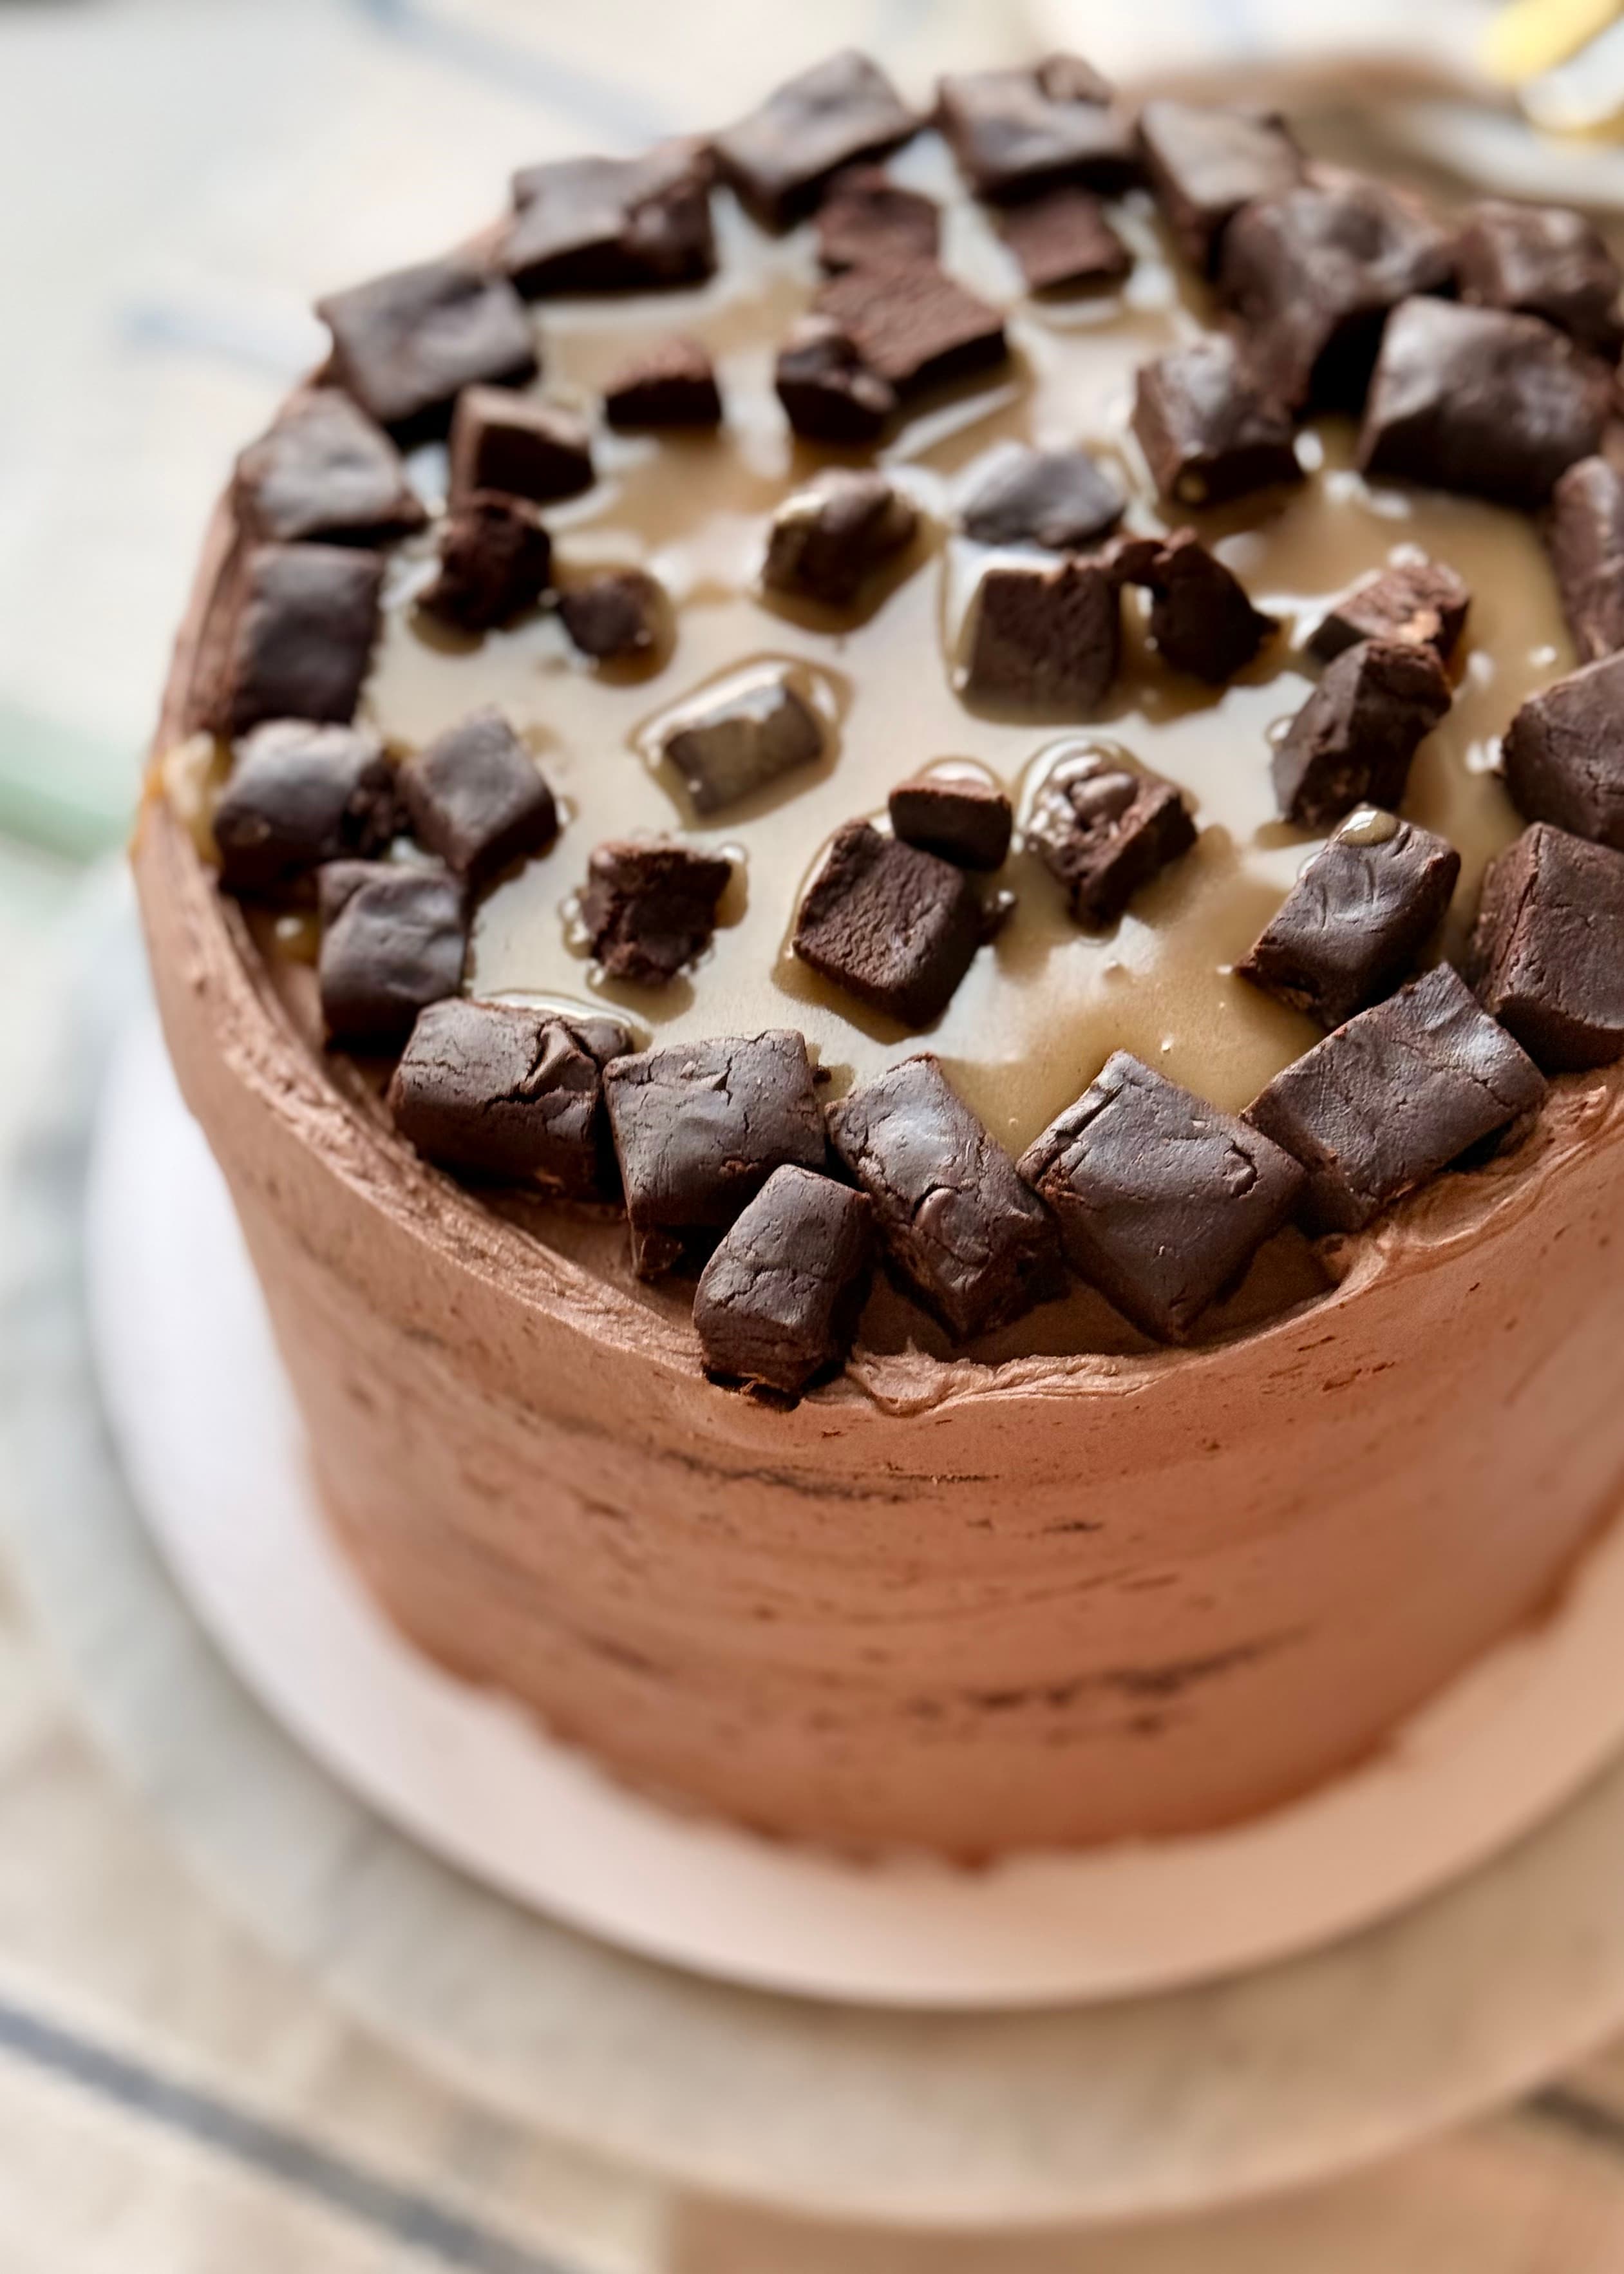
If I were building my own sundae, I would put mounds of brownie on top and cover everything in salted caramel. Some of my spoonfuls would look like caramel soup and brownies.
Sundaes are an excuse to glob on your favorite combinations in amounts you would not normally find in desserts. This cake is that sundae. Every bite is dripping in caramel sauce, and it is impossible to take a bite without a brownie sneaking in.
This one came together easily after loving my Brownie Lava Cake and being reminded that brownies are always better in a salted caramel soup.
Ingredient notes
Key ingredients
Majestic Dutch-process cocoa powder
Majestic Dutch-process cocoa gives the cake, brownie squares, and buttercream their dark color and smooth chocolate flavor. Ghirardelli Dutch-process cocoa powder also works well here. Sift it well so the batters and frosting stay even.
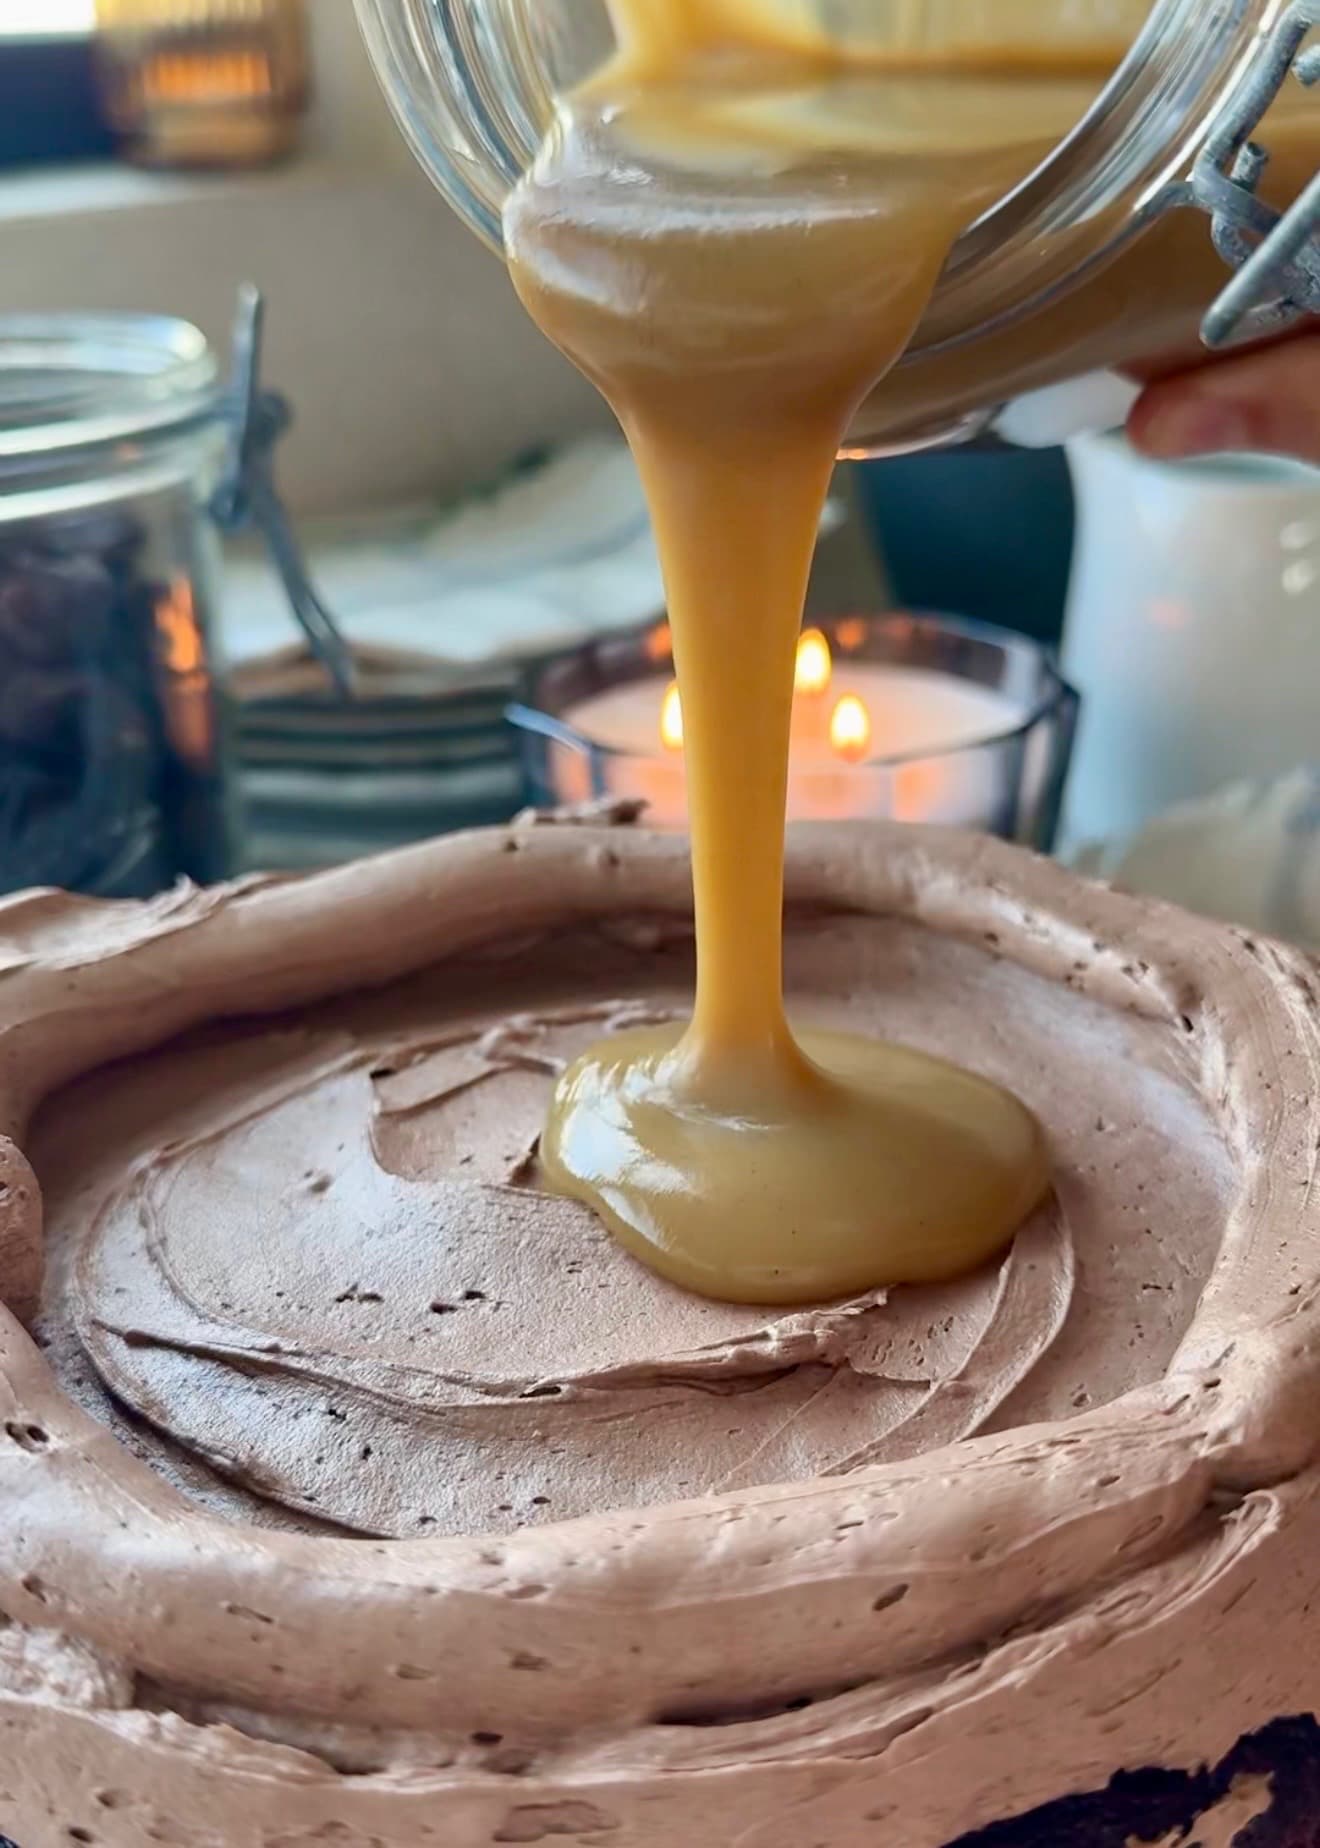
Light brown sugar
Light brown sugar gives the caramel a deeper molasses flavor and helps it stay glossy once chilled.
Cream
Cream gives the caramel its rich, smooth finish. When I make the non-dairy version, I use Country Crock Plant Cream or Silk Plant Cream at the same listed amount.
Brands I used for this recipe
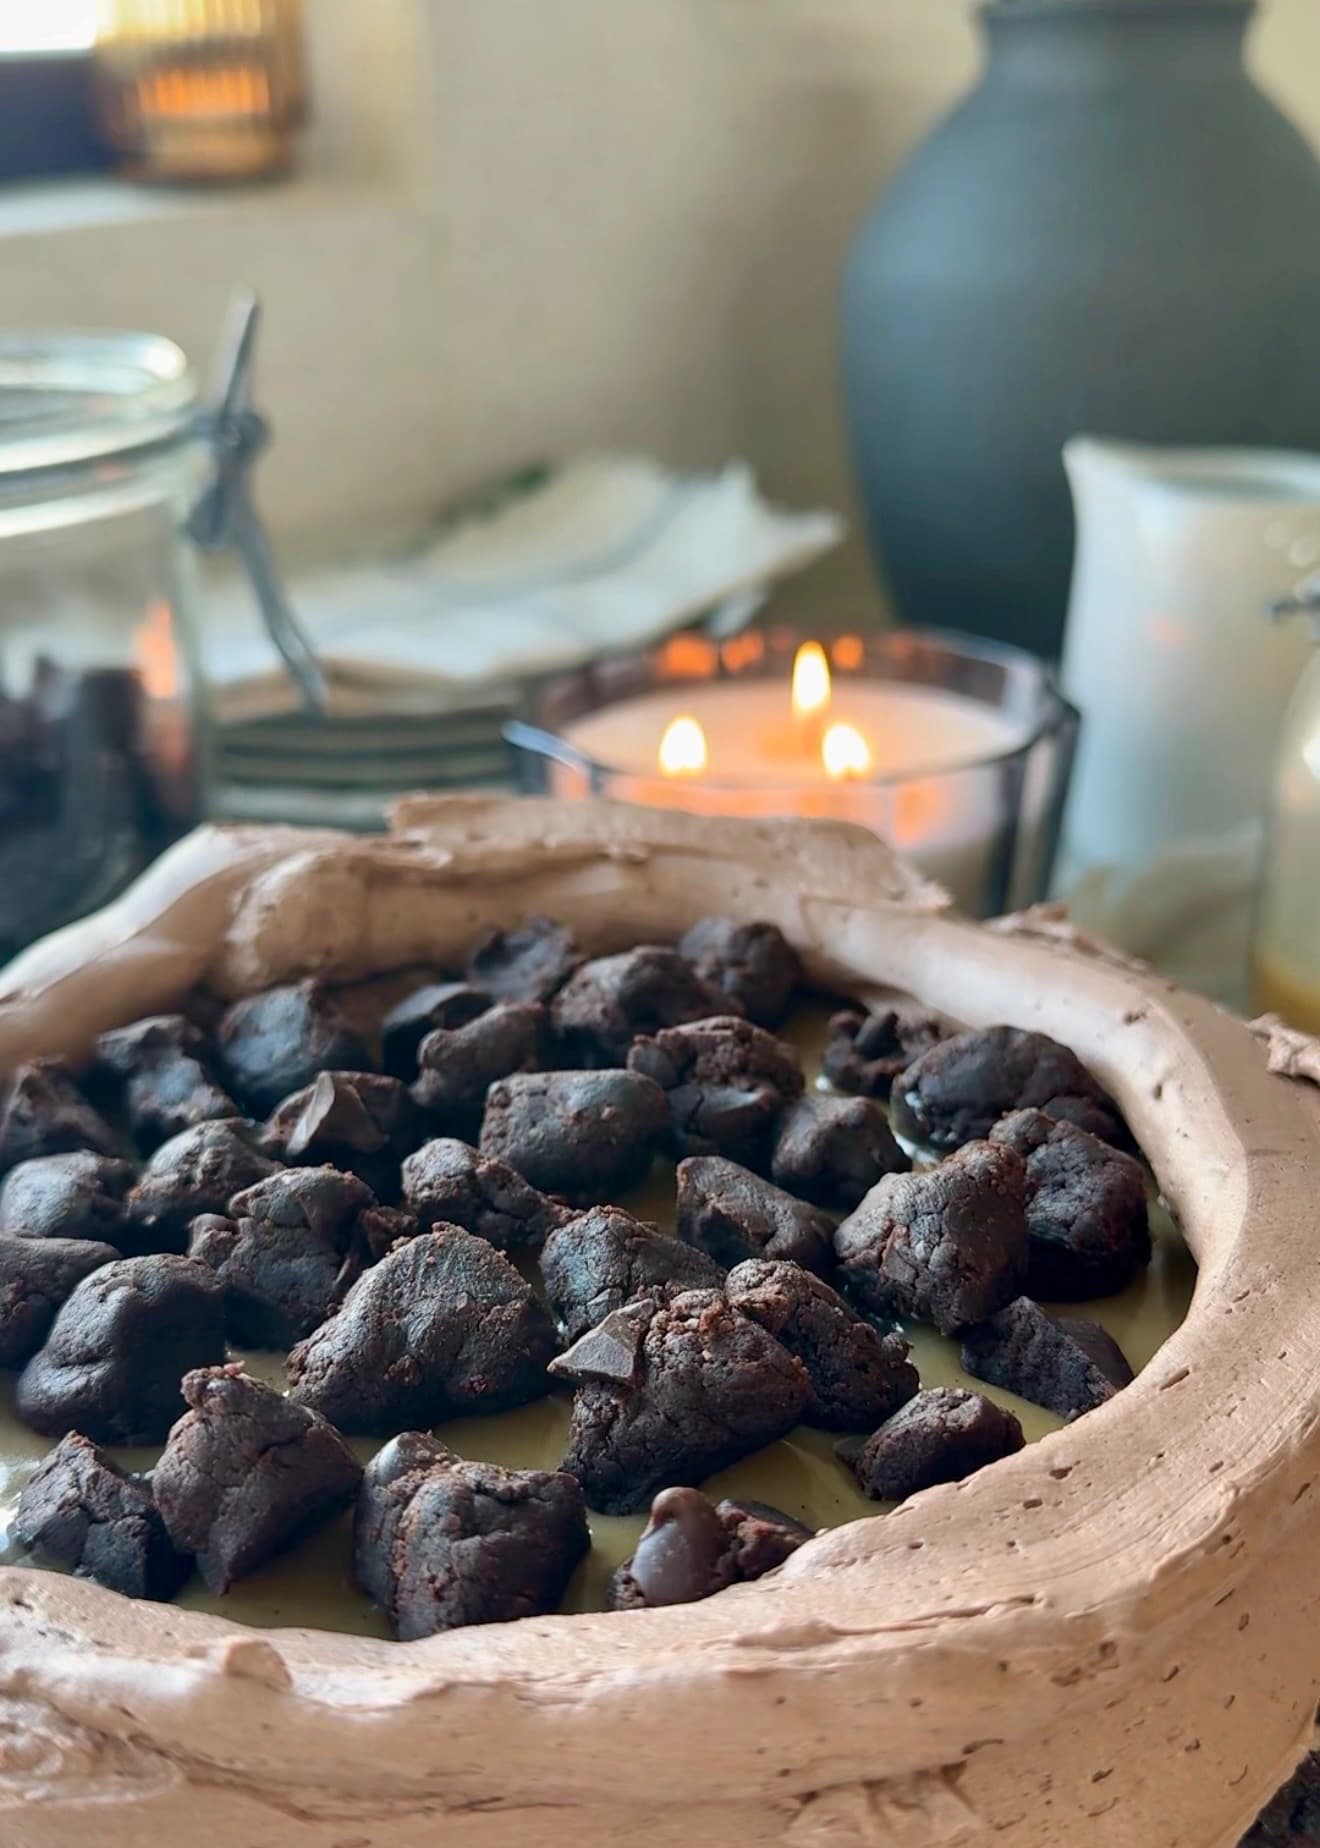
These are preferences, not requirements. If you choose the non-dairy route, these are the products I test with. Dairy equivalents can be used at the same listed amounts and temperatures.
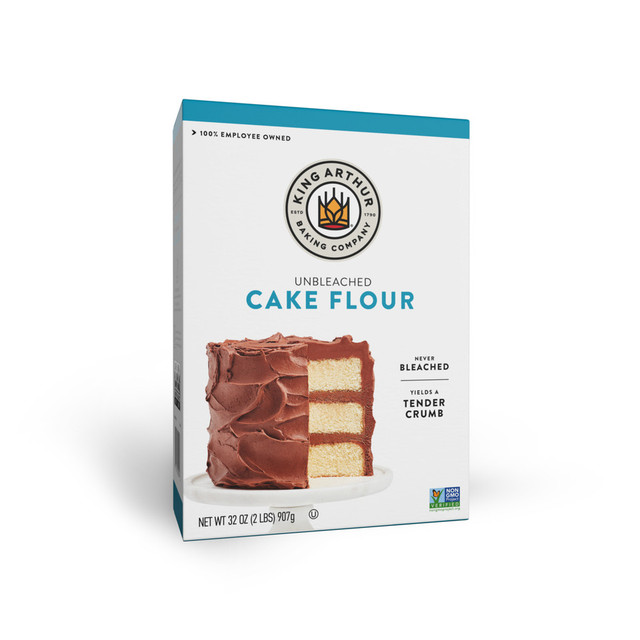
King Arthur Unbleached Cake Flour
I use King Arthur Unbleached Cake Flour for this recipe.

Rising Star Baking Supply Vanilla Bean Paste
I use Rising Star Baking Supply Vanilla Bean Paste for this recipe.
Testing notes
Why this works
Why the milk and vinegar rest first
Letting the milk and apple cider vinegar stand for 5 minutes lightly acidifies the mixture before the yogurt, oil, and vanilla are added.
Why the dry ingredients are sifted
Cake flour and Dutch-process cocoa can hold small clumps. Sifting the dry mixture before folding keeps the chocolate layers smooth and even.
Why the caramel must be fully chilled
Warm caramel can soften the buttercream dam and slide between the layers. Chill it completely before assembly so it stays controlled inside the cake.
Why the buttercream dam matters
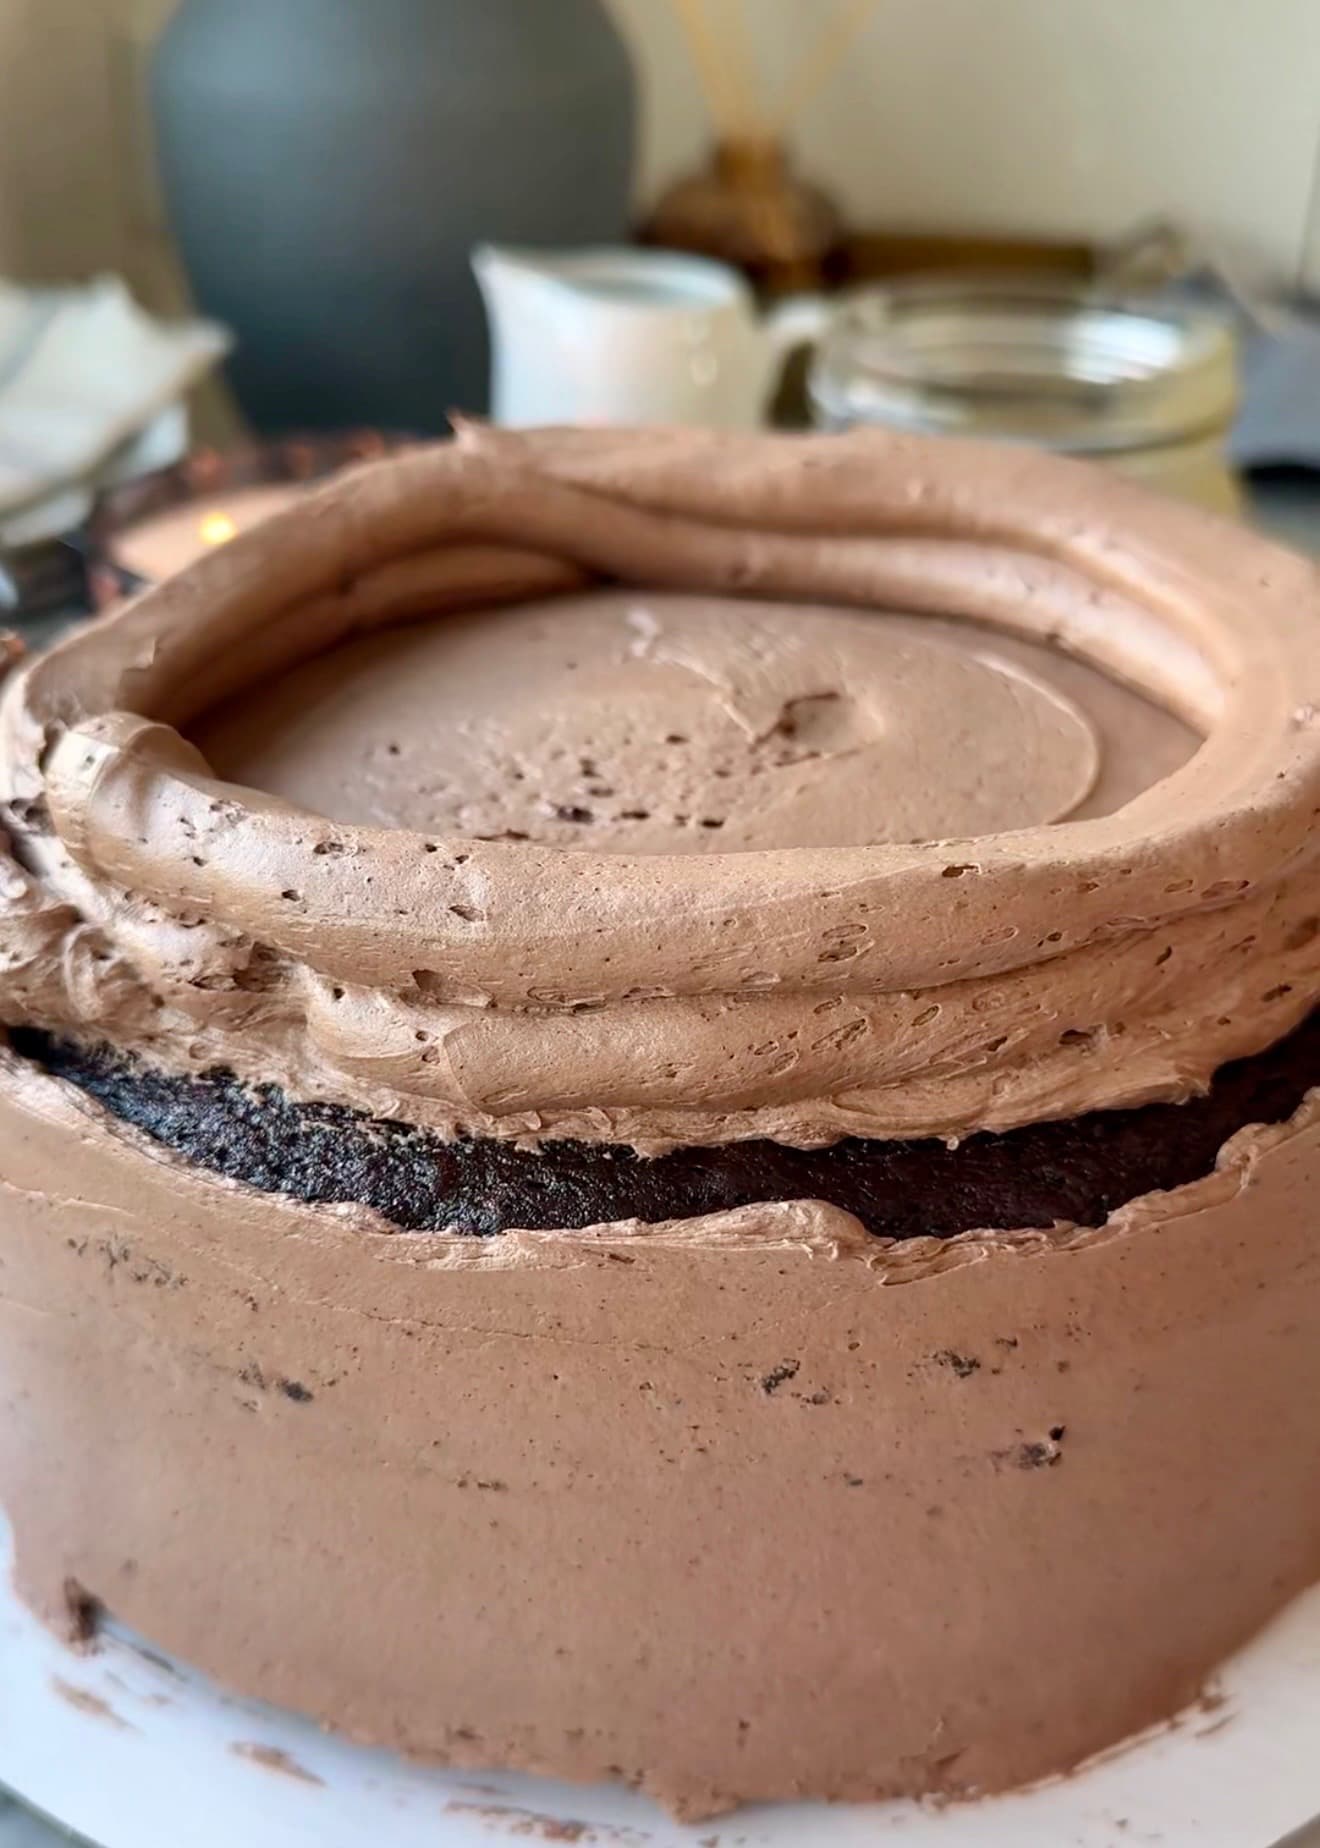
A tall, unbroken ring of chocolate buttercream supports the caramel and brownie squares. Keep the filling below the top of the dam before adding the next cake layer.
Inside the recipe
How It All Comes Together
From Instagram
Watch the reel
Watch the salted caramel pour, brownie batter squares, and chocolate buttercream come together layer by layer.
Open the reelSmall things that matter
Tips for the best cake
Bring the milk and yogurt to room temperature so the wet mixture combines smoothly.
Cool and chill the cake layers before assembly so the buttercream and caramel stay stable.
Whisk the caramel constantly once it reaches the heat so the cornstarch disperses evenly.
Chill the brownie batter mixture before cutting it into small squares.
Pipe a complete buttercream dam and use a controlled amount of caramel in each layer.
Troubleshooting
If This Happens
The caramel is too loose to layer
Make sure it is completely cool, then refrigerate it until fully chilled before judging the consistency. Warm caramel will look much thinner than it does during assembly.
The chilled caramel is too thick
Let it stand briefly at room temperature and whisk until smooth. It should move slowly from the spoon while still staying controlled inside the buttercream dam.
The brownie batter will not cut cleanly
Return it to the refrigerator until firm, then use a sharp knife to cut small squares. Keep the pieces cold until the cake is ready to assemble.
The cake shifts while stacking
Use less caramel and fewer brownie pieces in each layer. The next cake layer needs to rest on a tall, complete buttercream border instead of sitting on the filling.
Before you slice
Texture and serving notes
Let chilled slices stand briefly at room temperature so the buttercream softens and the caramel becomes more fluid.
Keep it good
Storage
Fridge
Store the assembled cake and individual slices covered in the refrigerator.
Airtight
Keep extra caramel and brownie batter squares refrigerated in separate airtight containers.
Serve
Bring slices toward room temperature before serving for the softest cake and most fluid caramel texture.
Recipe FAQ
Questions that come up
How do I keep the salted caramel from leaking out of the cake?
Chill the caramel completely, pipe a tall and unbroken buttercream dam, and keep the caramel below the top of the dam. The cake layers should also be cool before assembly.
Can I make the salted caramel ahead?
Yes. Cool the caramel completely, cover it, and refrigerate it until fully chilled. Whisk it smooth before assembling the cake.
Why are the brownie batter squares chilled?
Chilling firms the mixture so it can be cut into small pieces that hold their shape between the cake layers.
Should I weigh the ingredients or use volume measurements?
I strongly recommend weighing the ingredients in grams for the most reliable result. Volume measurements are included for convenience, but the amount in a cup can change depending on how an ingredient is filled, packed, or poured. These recipes are easy to follow, but their ratios are precise, so I cannot guarantee the exact same result when volume measurements are used. I still use teaspoons and tablespoons for small amounts like leaveners, salt, spices, and flavorings because those are the most practical measurements.
More lava cakes to try



- Prep
- 1 hr 20 min
- Bake
- 22-25 min
- Total
- 4 hr
- Yield
- One three-layer 8-inch cake
Measurement note
For the closest match to the recipe I tested, use grams. Volume measurements are included for convenience, but cups can vary, so I cannot guarantee the exact same result when measuring by volume.
Ingredients
Tap each ingredient as you use it.
Chocolate Cake
- 330 g cake flour, sifted
- 70 g Majestic Dutch-process cocoa powder
- 8 g cornstarch
- 2 1/2 teaspoons baking powder
- 1/2 teaspoon baking soda
- 1 teaspoon fine sea salt
- 360 g organic cane sugar
- 380 g milk, room temperature
- 2 teaspoons apple cider vinegar
- 120 g plain unsweetened yogurt, room temperature
- 210 g neutral oil, such as grapeseed, canola, or sunflower
- 2 teaspoons vanilla bean paste
Brown Sugar Caramel Lava
- 170 g light brown sugar
- 40 g water
- 2 g cornstarch
- 85 g butter
- 120 g cream
- 1 teaspoon vanilla bean paste
- 3/4 teaspoon fine sea salt
Raw Brownie Batter Squares
- 100 g light brown sugar, packed
- 50 g organic cane sugar
- 90 g butter, room temperature
- 60 g Majestic Dutch-process cocoa powder
- 120 g all-purpose flour, prepared for no-bake use
- 2-3 tablespoons cream
- 1 teaspoon vanilla bean paste
- 1/2 teaspoon fine sea salt
- 70 g chopped chocolate, about 50% cocoa
Chocolate Buttercream
- 339 g butter, room temperature
- 510 g powdered sugar, sifted
- 68 g Majestic Dutch-process cocoa powder
- Pinch fine sea salt
- 2 teaspoons vanilla bean paste
- About 1/4 cup milk, added to reach the desired texture
Pan used
I use Fat Daddio's 8-inch anodized aluminum round cake pans for this recipe.
Instructions
- 1Make the chocolate cake. Preheat oven to 350°F (175°C). Grease and line three 8-inch pans with parchment.
- 2In a medium bowl, whisk together the cake flour, cocoa powder, cornstarch, baking powder, baking soda, and salt. Sift well so no cocoa clumps remain.
- 3In a measuring cup, combine the room-temperature milk and apple cider vinegar. Let stand for 5 minutes, then whisk in the yogurt, oil, and vanilla bean paste.
- 4Pour the wet mixture into a large bowl. Add the organic cane sugar and whisk until the sugar is dissolved.
- 5Sift the dry mixture into the wet mixture and fold gently until smooth.
- 6Divide the batter evenly between the prepared pans and bake for 22-25 minutes, until the tops spring back. Cool for 10-15 minutes in the pans, then remove the layers, wrap, and chill.
- 7Make the brown sugar caramel lava. In a medium saucepan, whisk together the light brown sugar, water, and cornstarch until completely smooth.
- 8Place over medium heat and cook, whisking constantly, until the mixture reaches a full bubble and the sugar has completely dissolved.
- 9Add the butter and cream. Continue whisking and simmer for 2-3 minutes, until the caramel is smooth, glossy, and lightly coats the back of a spoon.
- 10Remove from the heat and whisk in the vanilla bean paste and salt until fully incorporated. Transfer to a heatproof bowl and cool completely, then cover and refrigerate until fully chilled.
- 11Make the raw brownie batter squares. Cream the room-temperature butter with both sugars until fluffy.
- 12Mix in the cocoa powder, prepared flour, and salt until sandy. Add the vanilla bean paste and cream, then mix to a stiff dough.
- 13Fold in the chopped chocolate. Press into a parchment-lined pan, chill for 30 minutes, then cut into small squares.
- 14Make the chocolate buttercream. Beat the butter until creamy. Add the powdered sugar, cocoa powder, salt, and vanilla bean paste. Beat on low, then whip on high until fluffy.
- 15Slowly stream in the milk and mix on low until the buttercream is smooth and silky, adding only as much as needed for the desired texture.
- 16Assemble the cake. Place the first cake layer on a board and pipe a tall chocolate buttercream dam around the edge.
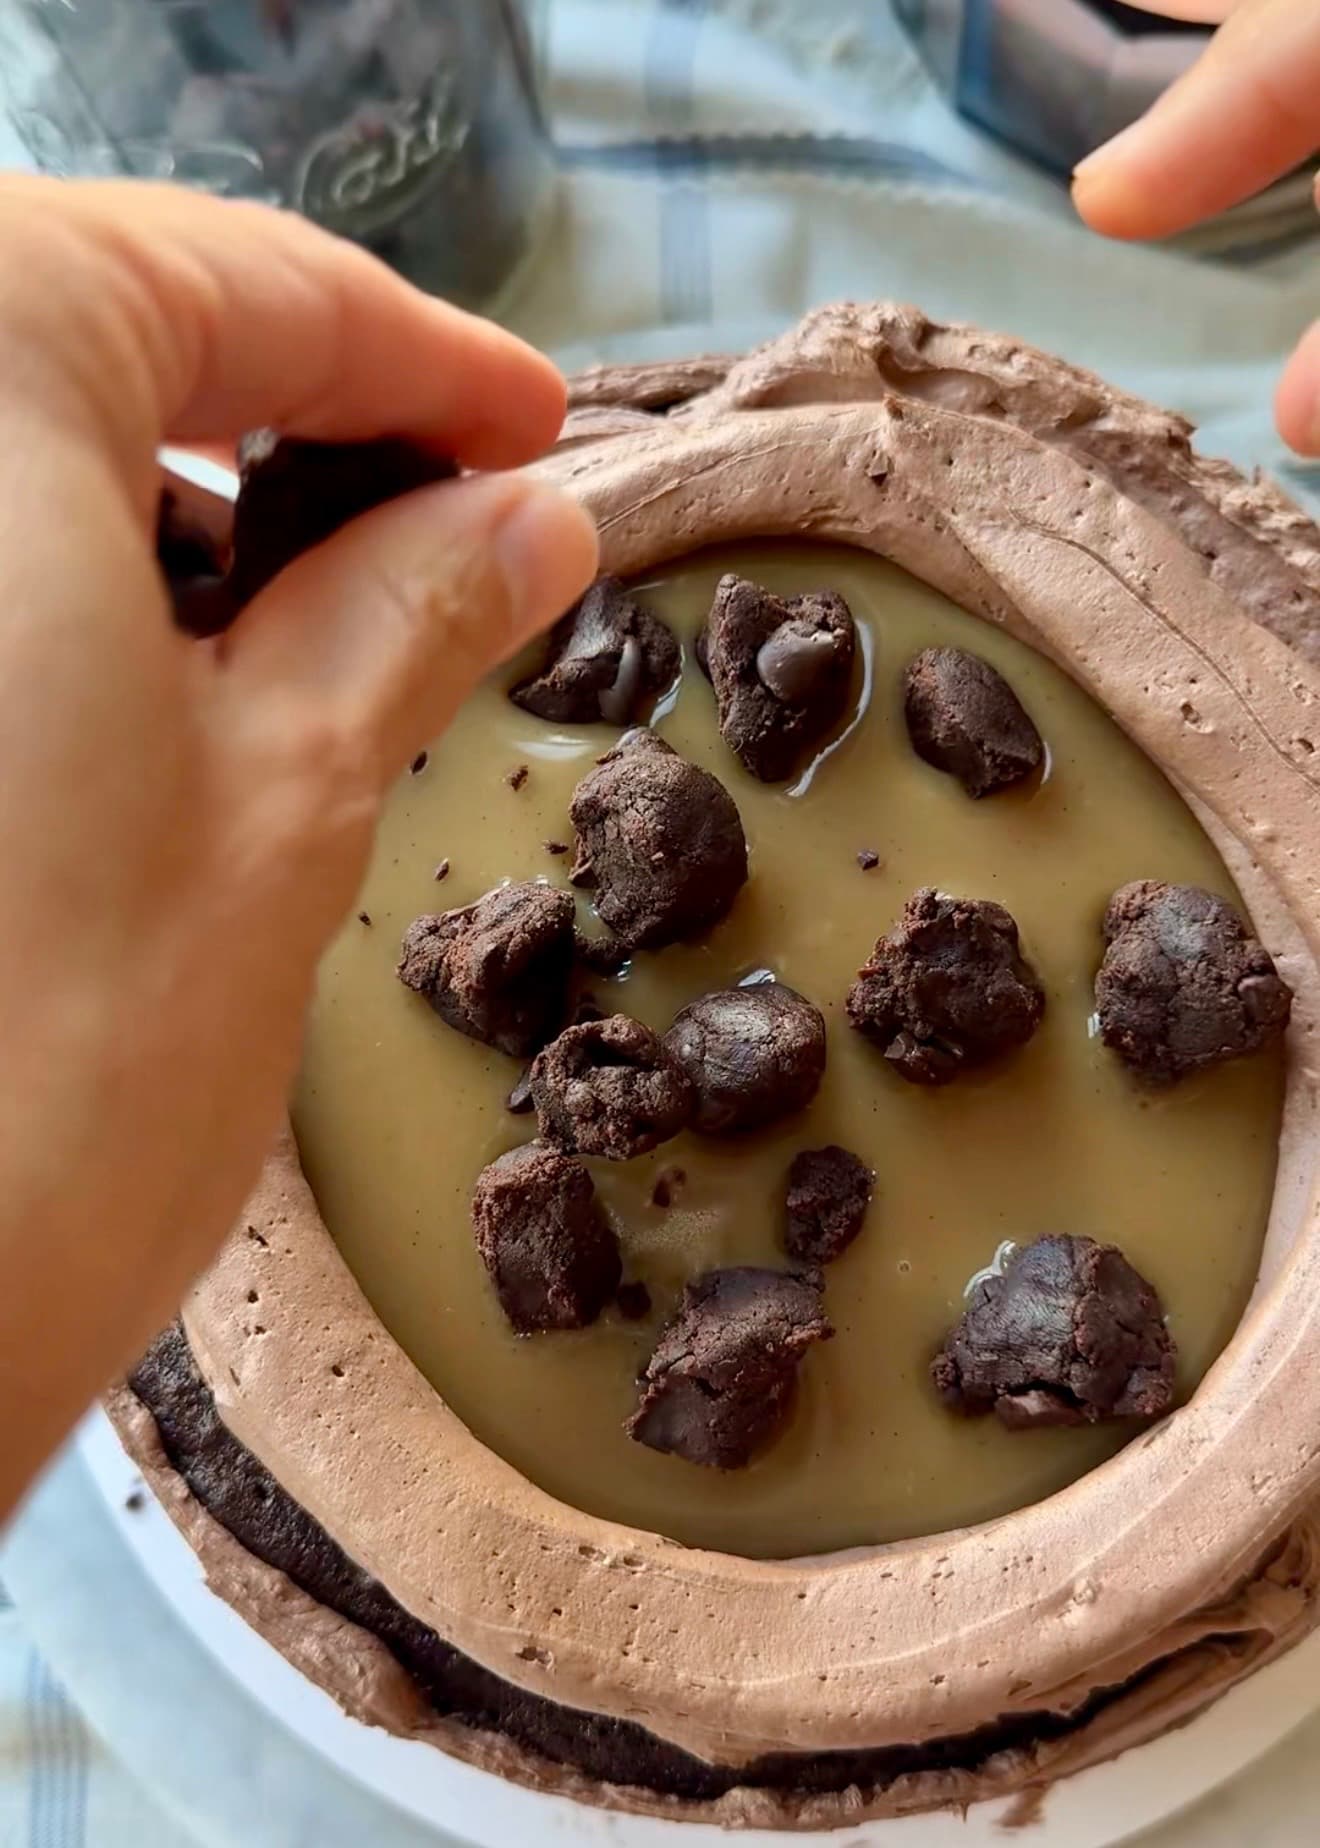
- 17Pour chilled caramel inside the dam and scatter in brownie batter squares, keeping the filling below the top of the dam.
- 18Repeat with the second cake layer, then add the final cake layer.
- 19Frost the outside with chocolate buttercream. Garnish with more brownie batter squares and drizzle extra caramel lava over the top.
- 20Slice to reveal the rich chocolate layers, salted caramel center, and chewy brownie bites.
Meet the baker
Angela Heckler
Angela Heckler is the recipe developer, baker, and photographer behind Obsessed Cakes. Her Old-Fashioned Donut Loaf series is a growing collection of cake-donut-inspired loaves with soft, deeply moist crumbs, buttery streusel, and crackly glaze. Angela develops and tests every recipe in her Arizona kitchen. Follow Obsessed Cakes on Instagram, TikTok, and YouTube.
Made it? Tell us.
Ratings and reviews
Be the first to rate this recipe.
No reviews yet.
Make the recipe, leave a rating, and share how it turned out.Did you make this?
Share your bake on Instagram - tag @obsessedwithcashews and use #obsessedcakes.