Chocolate Lava Cake
5.0 from 5 reviewsRecipe revised 2026-10-01.
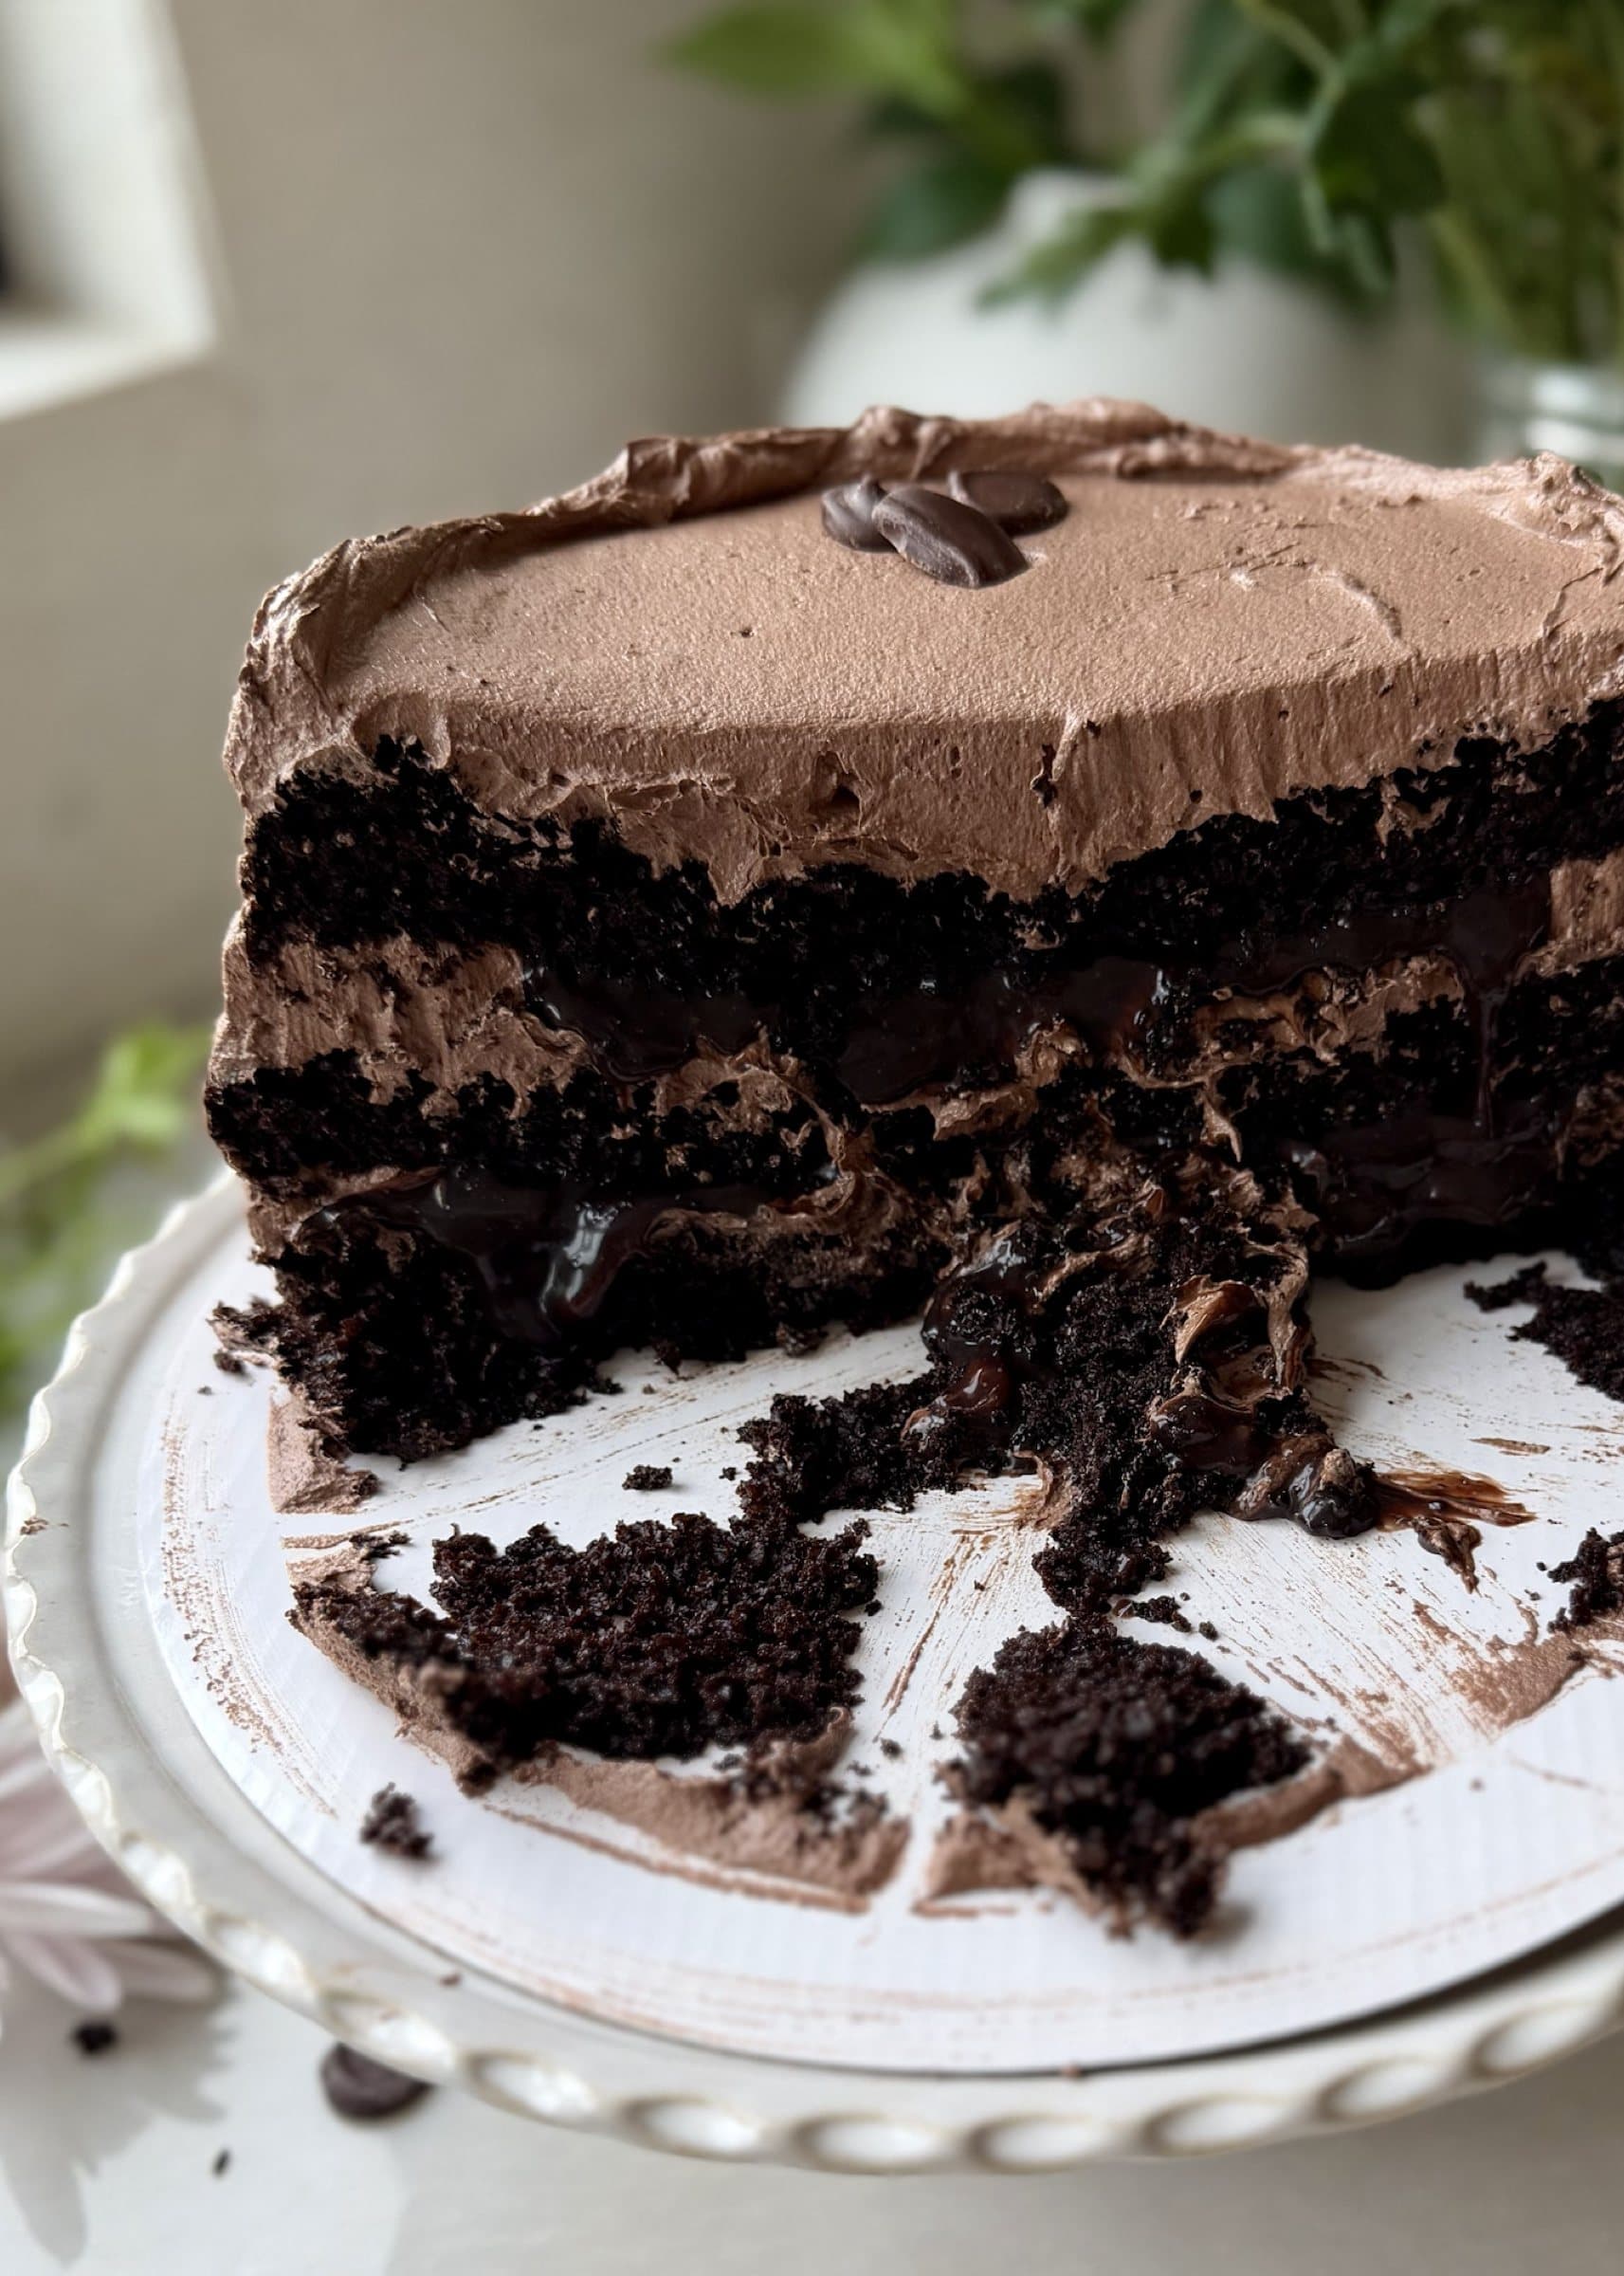
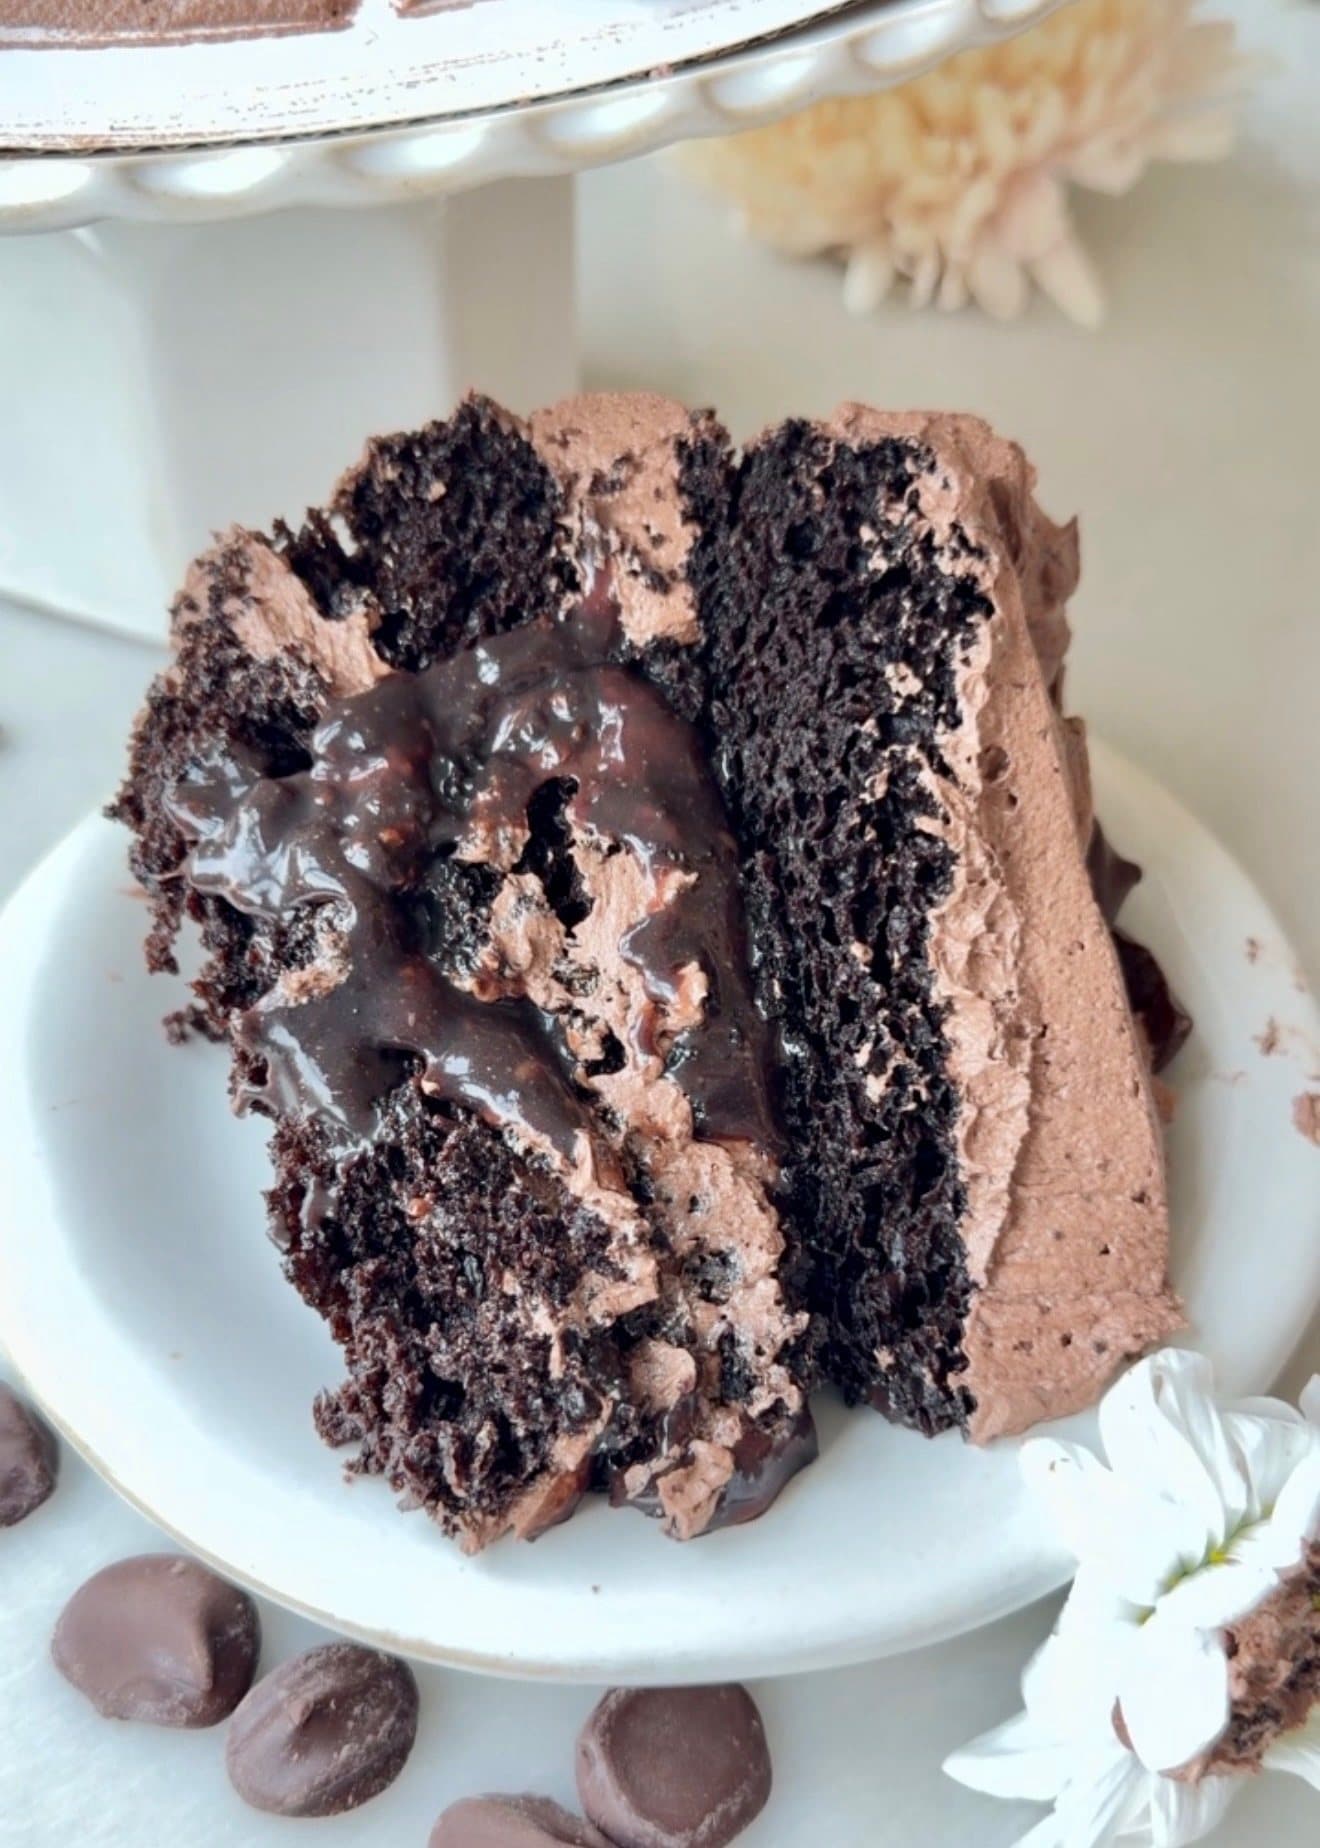
This cake has three soft chocolate layers, chocolate buttercream, and plenty of chocolate lava filling.
Unlike individual molten cakes baked in ramekins, this is a full celebration layer cake with a separately prepared chocolate lava filling between three soft chocolate layers.
Dutch-process and natural cocoa give the cake a full, rounded chocolate flavor. The buttercream uses Dutch-process cocoa and melted semisweet chocolate for a deep chocolate finish. Hot coffee blooms the cocoa in the cake, while espresso powder deepens the flavor.
The lava and buttercream can both be prepared ahead, which makes the final assembly much calmer.
Save this recipe
Want to save this recipe for later?
Enter your email and I’ll send it to your inbox.
Why I Use Two Cocoa Powders
I didn't like chocolate growing up. It took a while for that to change.
Even as a kid, I could tell that I loved certain chocolates and disliked others, but I did not understand why. Chocolate cakes confused me in the same way. One would have an aftertaste I could not get past, while another tasted mild, fudgy, and smooth.
Once I started baking, I spent months studying cocoa powders - both natural and Dutch-process. I paid attention to the flavor notes in each brand, which brands paired best, and how their differences affected the finished cake. I also had to consider accessibility. When creating a recipe for people to make in different places, the best combination is not very useful if the cocoa powders are nearly impossible to find. Balancing flavor, availability, and the right ratio of natural to Dutch-process cocoa became one of my favorite parts of developing this cake.
Natural cocoa on its own tastes too acidic to me, which may explain some of my childhood aversion to chocolate. Dutch-process cocoa is smoother and richer, but in a classic chocolate cake, it can taste a little flat by itself. I love using Dutch cocoa alone when a cake has other bold components, like my S'mores Lava Cake or Brownie Lava Cake.
For a balanced, well-rounded chocolate cake, though, I will always use both - with more Dutch-process cocoa than natural cocoa. Natural cocoa brings dimension, while Dutch cocoa gives the cake its deep, smooth chocolate flavor. Together, they make the kind of chocolate cake I spent years trying to understand and now cannot stop making.
Ingredient notes
Key ingredients
Dutch-process and natural cocoa
Using both gives the cake and lava a balanced cocoa flavor. The buttercream uses only Dutch-process cocoa. Measure each powder before sifting so no dry pockets remain.
Hot coffee and espresso powder
The heat blooms the cocoa and brings forward its flavor. Stir the espresso powder into the coffee until completely dissolved before adding it to the batter.
Light corn syrup
A small amount keeps the lava smooth, glossy, and easy to spread once it has cooled.
Semisweet chocolate
The buttercream uses 56% cacao semisweet chips. I use Guittard or Ghirardelli. Melt the chocolate gently, then let it cool until still fluid but no longer warm before adding it.
Brands I used for this recipe
These are preferences, not requirements. If you choose the non-dairy route, these are the products I test with. Dairy equivalents can be used at the same listed amounts and temperatures.
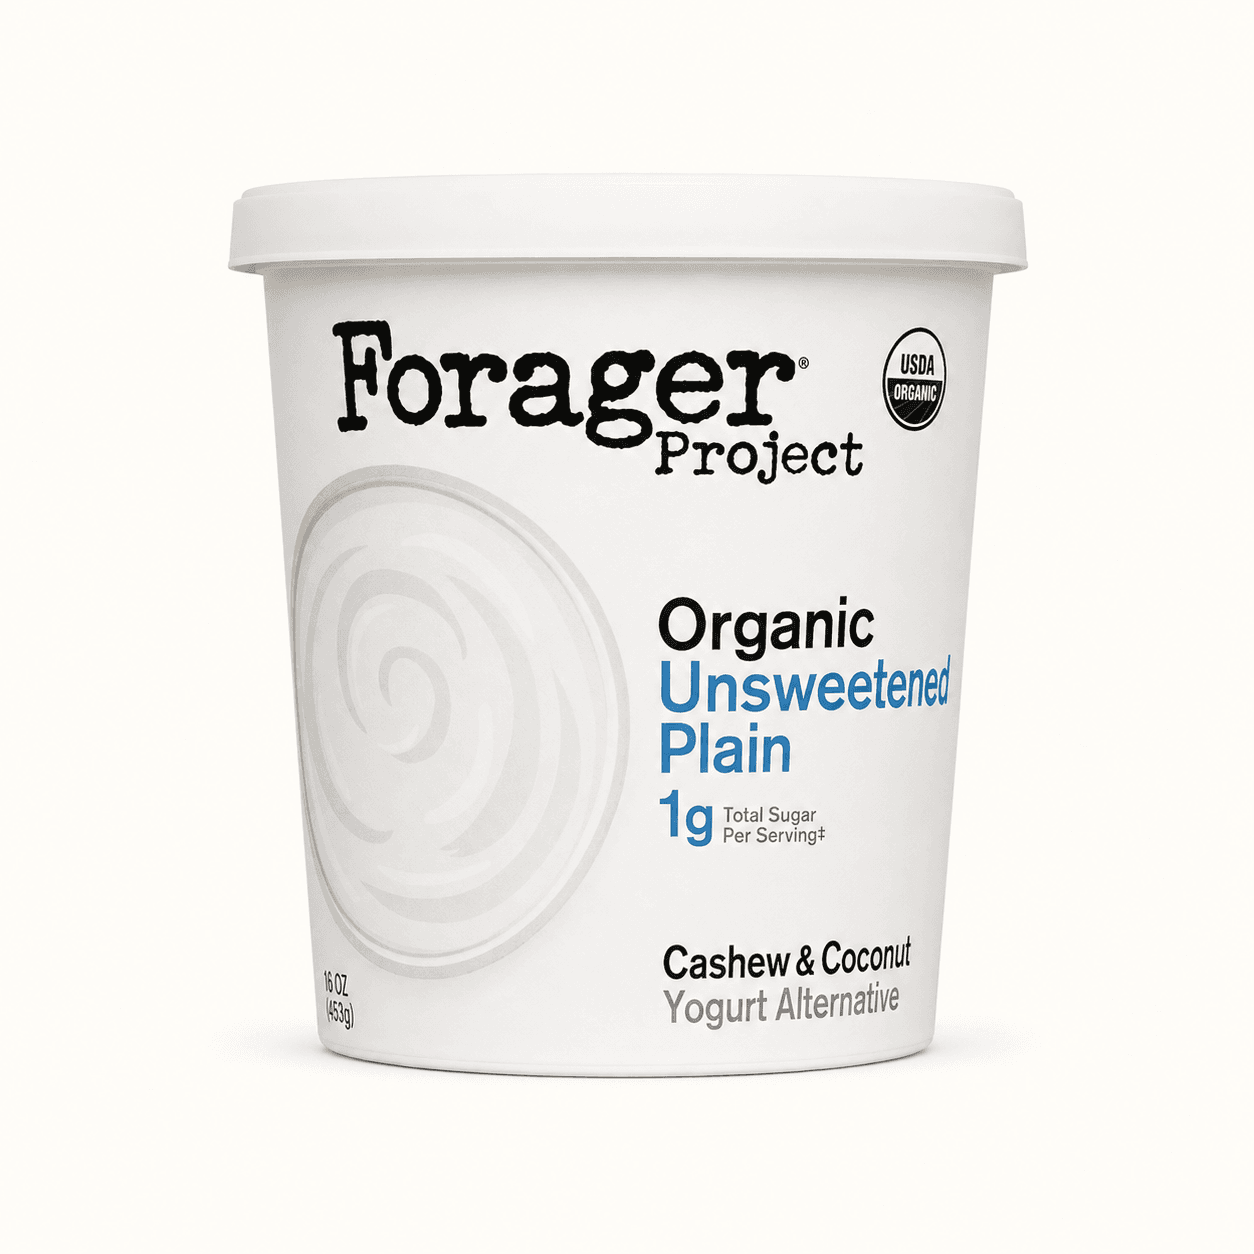
Forager Unsweetened Plain Yogurt
Smooth, mild, and dependable in cake batters and loaf batters.
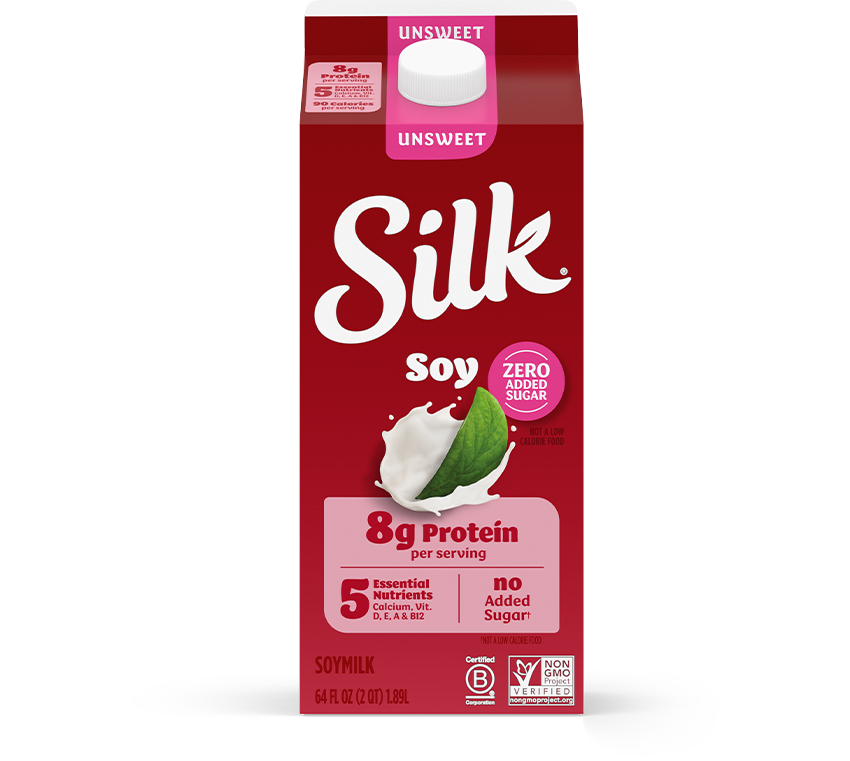
Silk Original Unsweet
Creamy, neutral, and consistent in batters, fillings, and frostings.
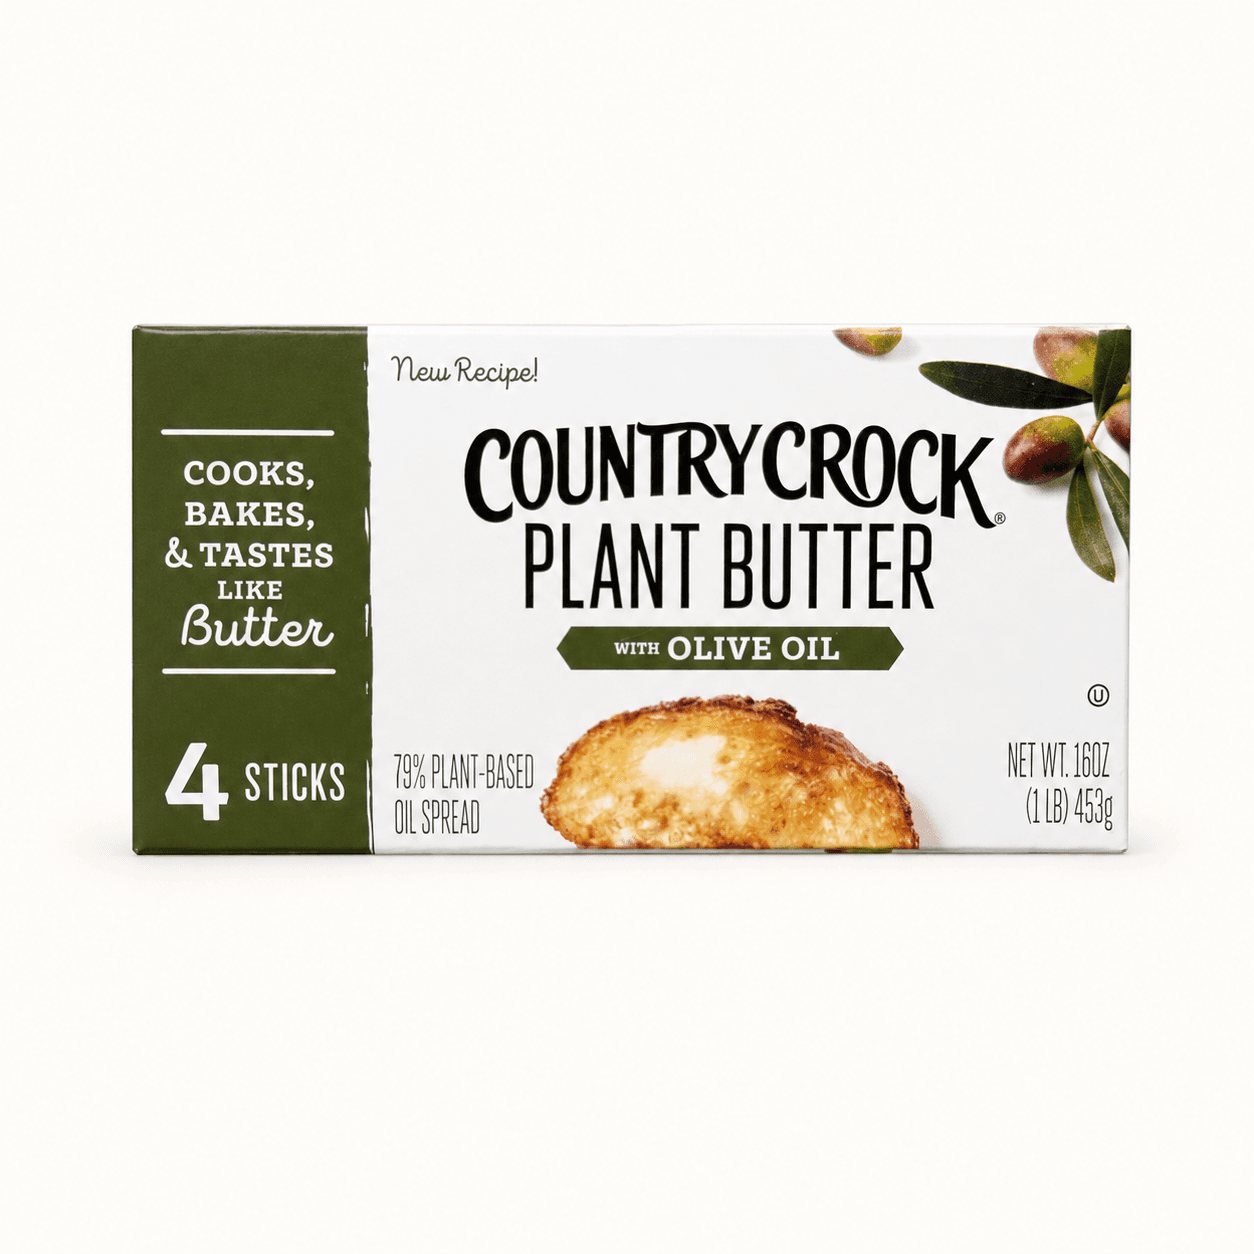
Country Crock Plant Butter Sticks
Reliable for baking and sturdy buttercream.
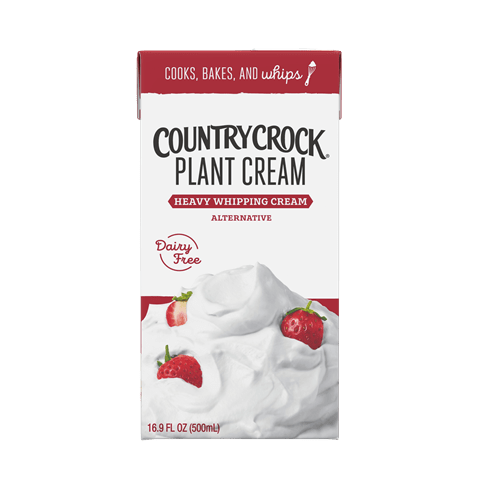
Country Crock Heavy Plant Cream
Silky, creamy, and dependable in buttercream and fillings.

Majestic Dutch-process cocoa powder
The Dutch-process cocoa I use for this cake.

Ghirardelli Dutch-process cocoa powder
A great alternative to Majestic, and easier to find in stores.
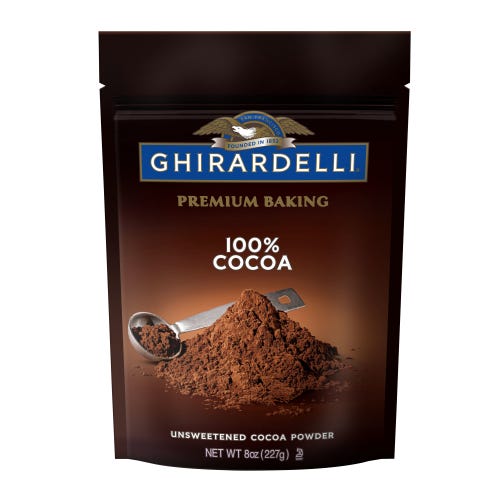
Ghirardelli natural cocoa powder
The natural cocoa I use alongside the Dutch-process cocoa in this recipe.
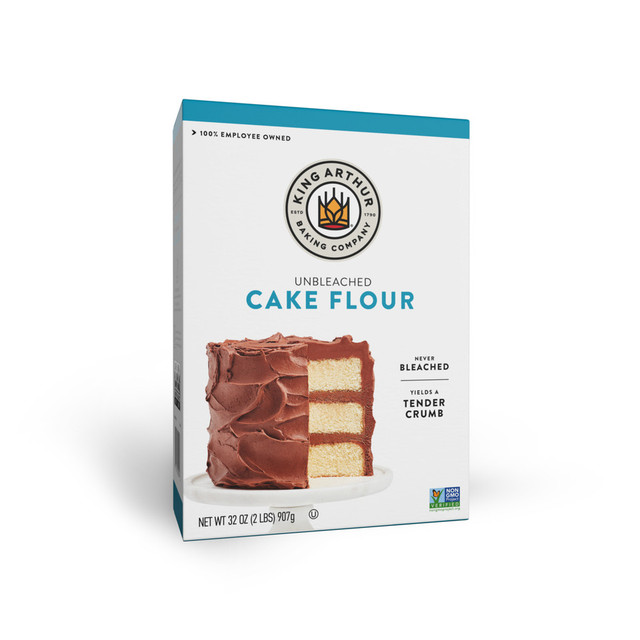
King Arthur Unbleached Cake Flour
The cake flour I use in recipes that call for cake flour.

Rising Star Baking Supply Vanilla Bean Paste
The vanilla bean paste I use, linked to the 4-ounce Walmart bottle.
Testing notes
Why this works
The batter will be thin
The hot coffee loosens the batter considerably. That fluid texture is expected and helps produce soft, moist chocolate layers, so do not add more flour.
Choose the lava consistency before assembly
The lava thickens as it cools. A thicker filling is easier to contain and is my recommendation for beginning layer-cake bakers. If fully chilled lava is too firm, whisk in milk 1 teaspoon at a time until it spreads slowly and smoothly.
Keep the filling cool
The lava must be completely cool before it touches the buttercream. Warm filling can soften the dam and weaken the structure of the cake.
Keep the buttercream smooth and dark
Use softened butter, room-temperature cream, and melted chocolate that is fluid but no longer warm. Hot chocolate can soften the butter too much, while cold ingredients can leave lumps or small chocolate flecks. Mix on low to limit the air bubbles that make chocolate frosting look paler, then finish by hand and let it rest before assembling.
Inside the recipe
How It All Comes Together
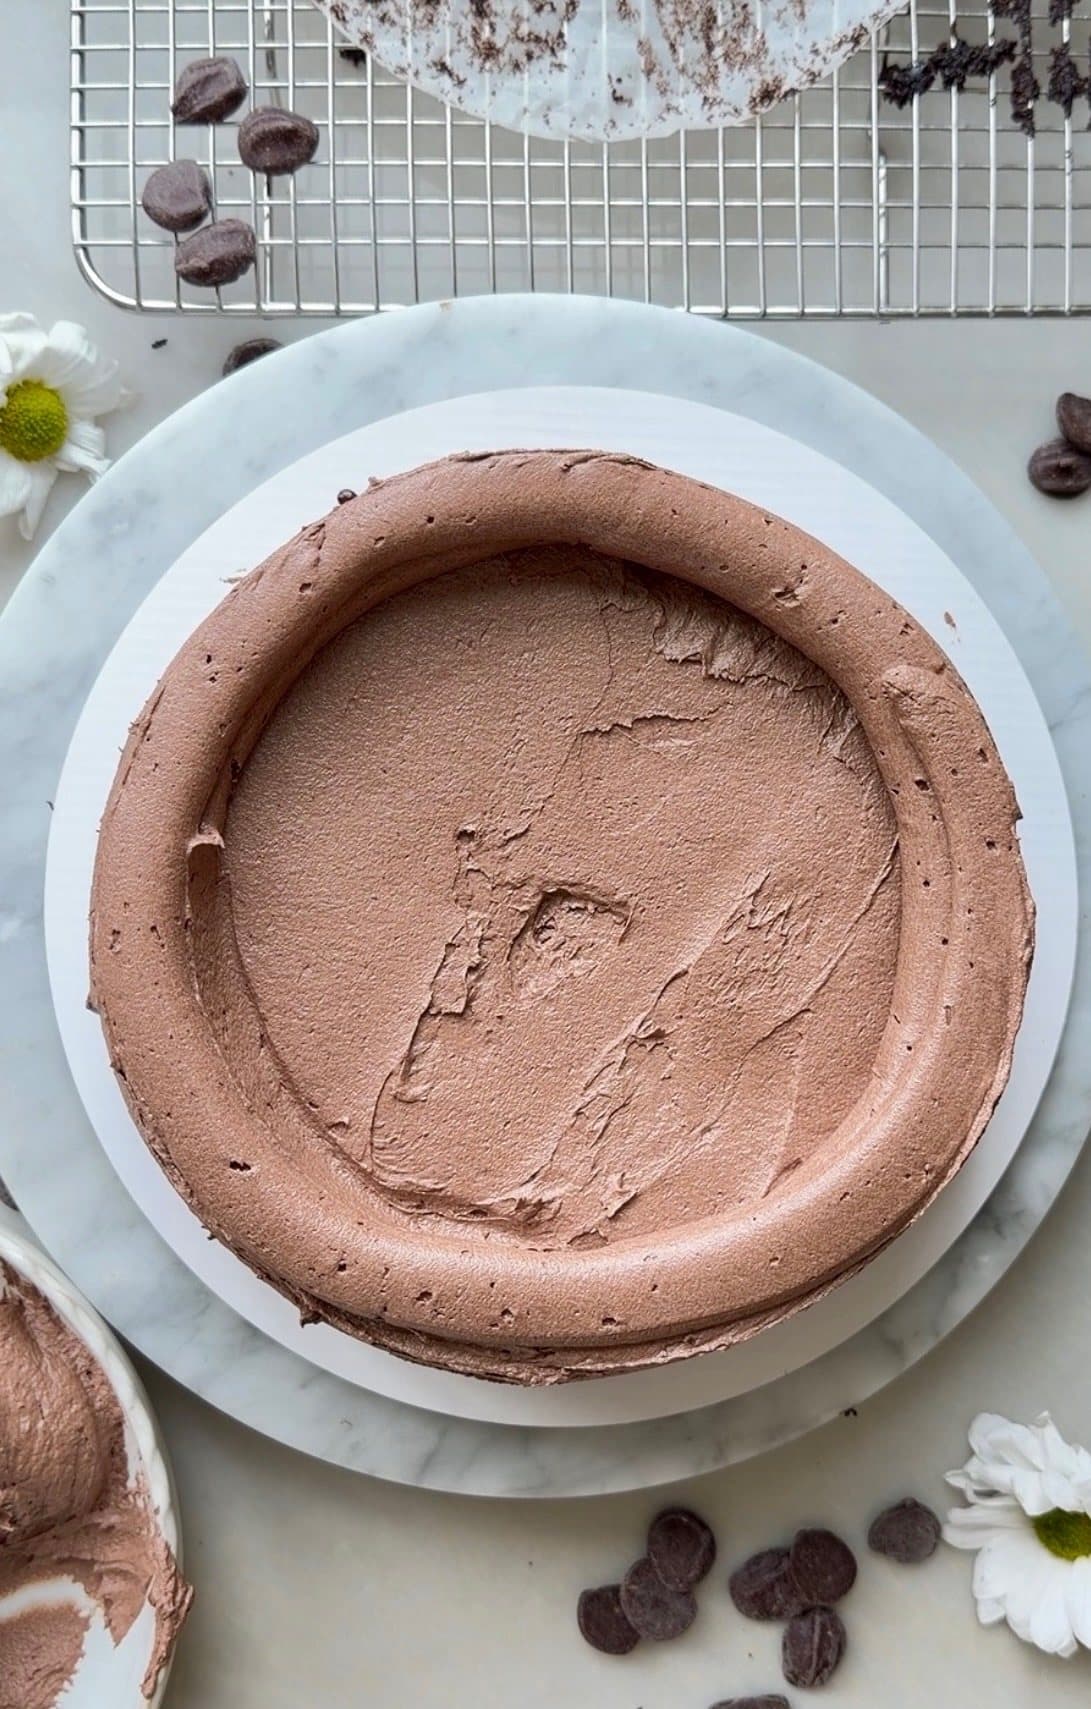
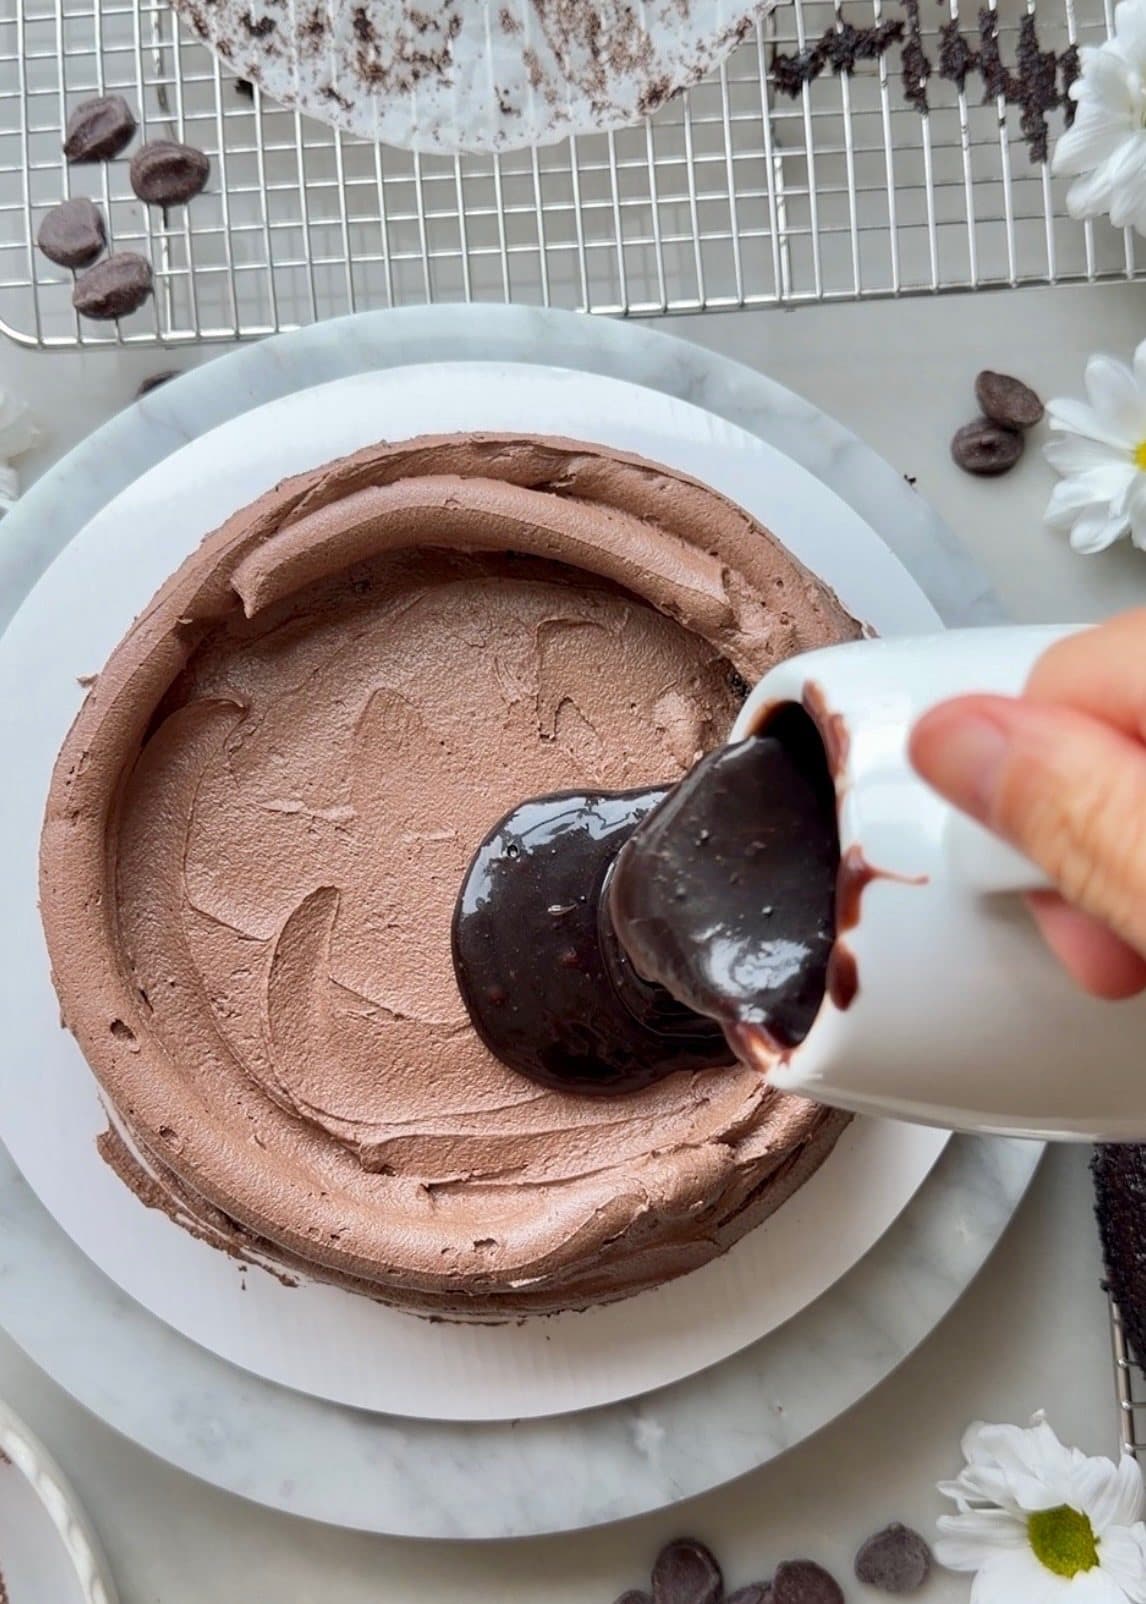
From Instagram
Watch the reel
Watch the soft cocoa cake, glossy chocolate lava, and silky chocolate buttercream come together.
Open the reelTroubleshooting
If This Happens
The cake batter looks very thin
That is expected after the hot coffee goes in. Do not add more flour. Whisk only until the batter is smooth, then divide it between the pans.
There are dry cocoa pockets in the batter or lava
Sift both cocoa powders before adding them. If you still see pockets in the lava, keep whisking over low heat until it is completely smooth and glossy.
The chilled lava is too firm to spread
Whisk in milk 1 teaspoon at a time until it moves slowly and spreads smoothly. Keep it thick enough to stay inside the buttercream dam.
The cake is shifting as I stack it
Make sure the layers and lava are cool. Keep the filling below halfway up a tall, closed buttercream dam, then chill the stacked cake before adding the final coat.
Before you slice
Texture and serving notes
Let chilled slices sit at room temperature for 20–30 minutes so the cake and buttercream soften.
Serve any remaining chocolate lava on the side for an extra spoonful over each slice.
Keep it good
Storage
Fridge
Store the assembled cake covered in the refrigerator for up to 4 days.
Make ahead
The cake layers can be baked one day ahead, wrapped well, and kept at room temperature or refrigerated.
Make ahead
The lava can be made up to 3 days ahead and refrigerated in an airtight container. Whisk it smooth before assembling.
Recipe FAQ
Questions that come up
Is this the same as a traditional molten chocolate lava cake?
No. Traditional molten lava cakes are small individual cakes with underbaked centers. This recipe is a full three-layer chocolate cake with a separately prepared glossy chocolate filling enclosed inside buttercream dams. You get chocolate lava in every slice while keeping the structure of a celebration layer cake.
Can I make the lava thicker for an easier assembly?
Yes. Let it chill until it holds a slow, spreadable consistency. A thicker lava is easier to keep inside the buttercream dam and is the best choice for a first lava cake.
I don't like coffee. Can I leave it out?
Yes! Replace the 130 g of hot brewed coffee with 130 g of hot water and leave out the espresso powder. Most people don't notice the coffee flavor in the finished cake. It just brings out the chocolate even more.
Can I use dairy ingredients?
Yes. Use the butter, cream, milk, and yogurt you have on hand, keeping the listed temperatures and textures the same.
Can I make this buttercream for another cake?
Yes. I have a separate recipe with the frosting photos, temperature notes, and piping guidance. This is the same batch I use for a three-layer 8-inch cake. The Best Chocolate Buttercream
Should I weigh the ingredients or use volume measurements?
I strongly recommend weighing the ingredients in grams for the most reliable result. Volume measurements are included for convenience, but the amount in a cup can change depending on how an ingredient is filled, packed, or poured. These recipes are easy to follow, but their ratios are precise, so I cannot guarantee the exact same result when volume measurements are used. I still use teaspoons and tablespoons for small amounts like leaveners, salt, spices, and flavorings because those are the most practical measurements.
Can I make this recipe gluten-free?
I have not tested this recipe with gluten-free flour, so I cannot guarantee the same texture, rise, or structure. If you would like to experiment, a cup-for-cup (1:1) gluten-free baking blend intended to replace all-purpose flour is the best place to start. Results may differ from the recipe as written.
Can I use all-purpose flour instead of cake flour?
Yes, of course. Replace the cake flour with the same amount of all-purpose flour by weight. The cake will have a slightly sturdier, less delicate crumb, but it will still be great.
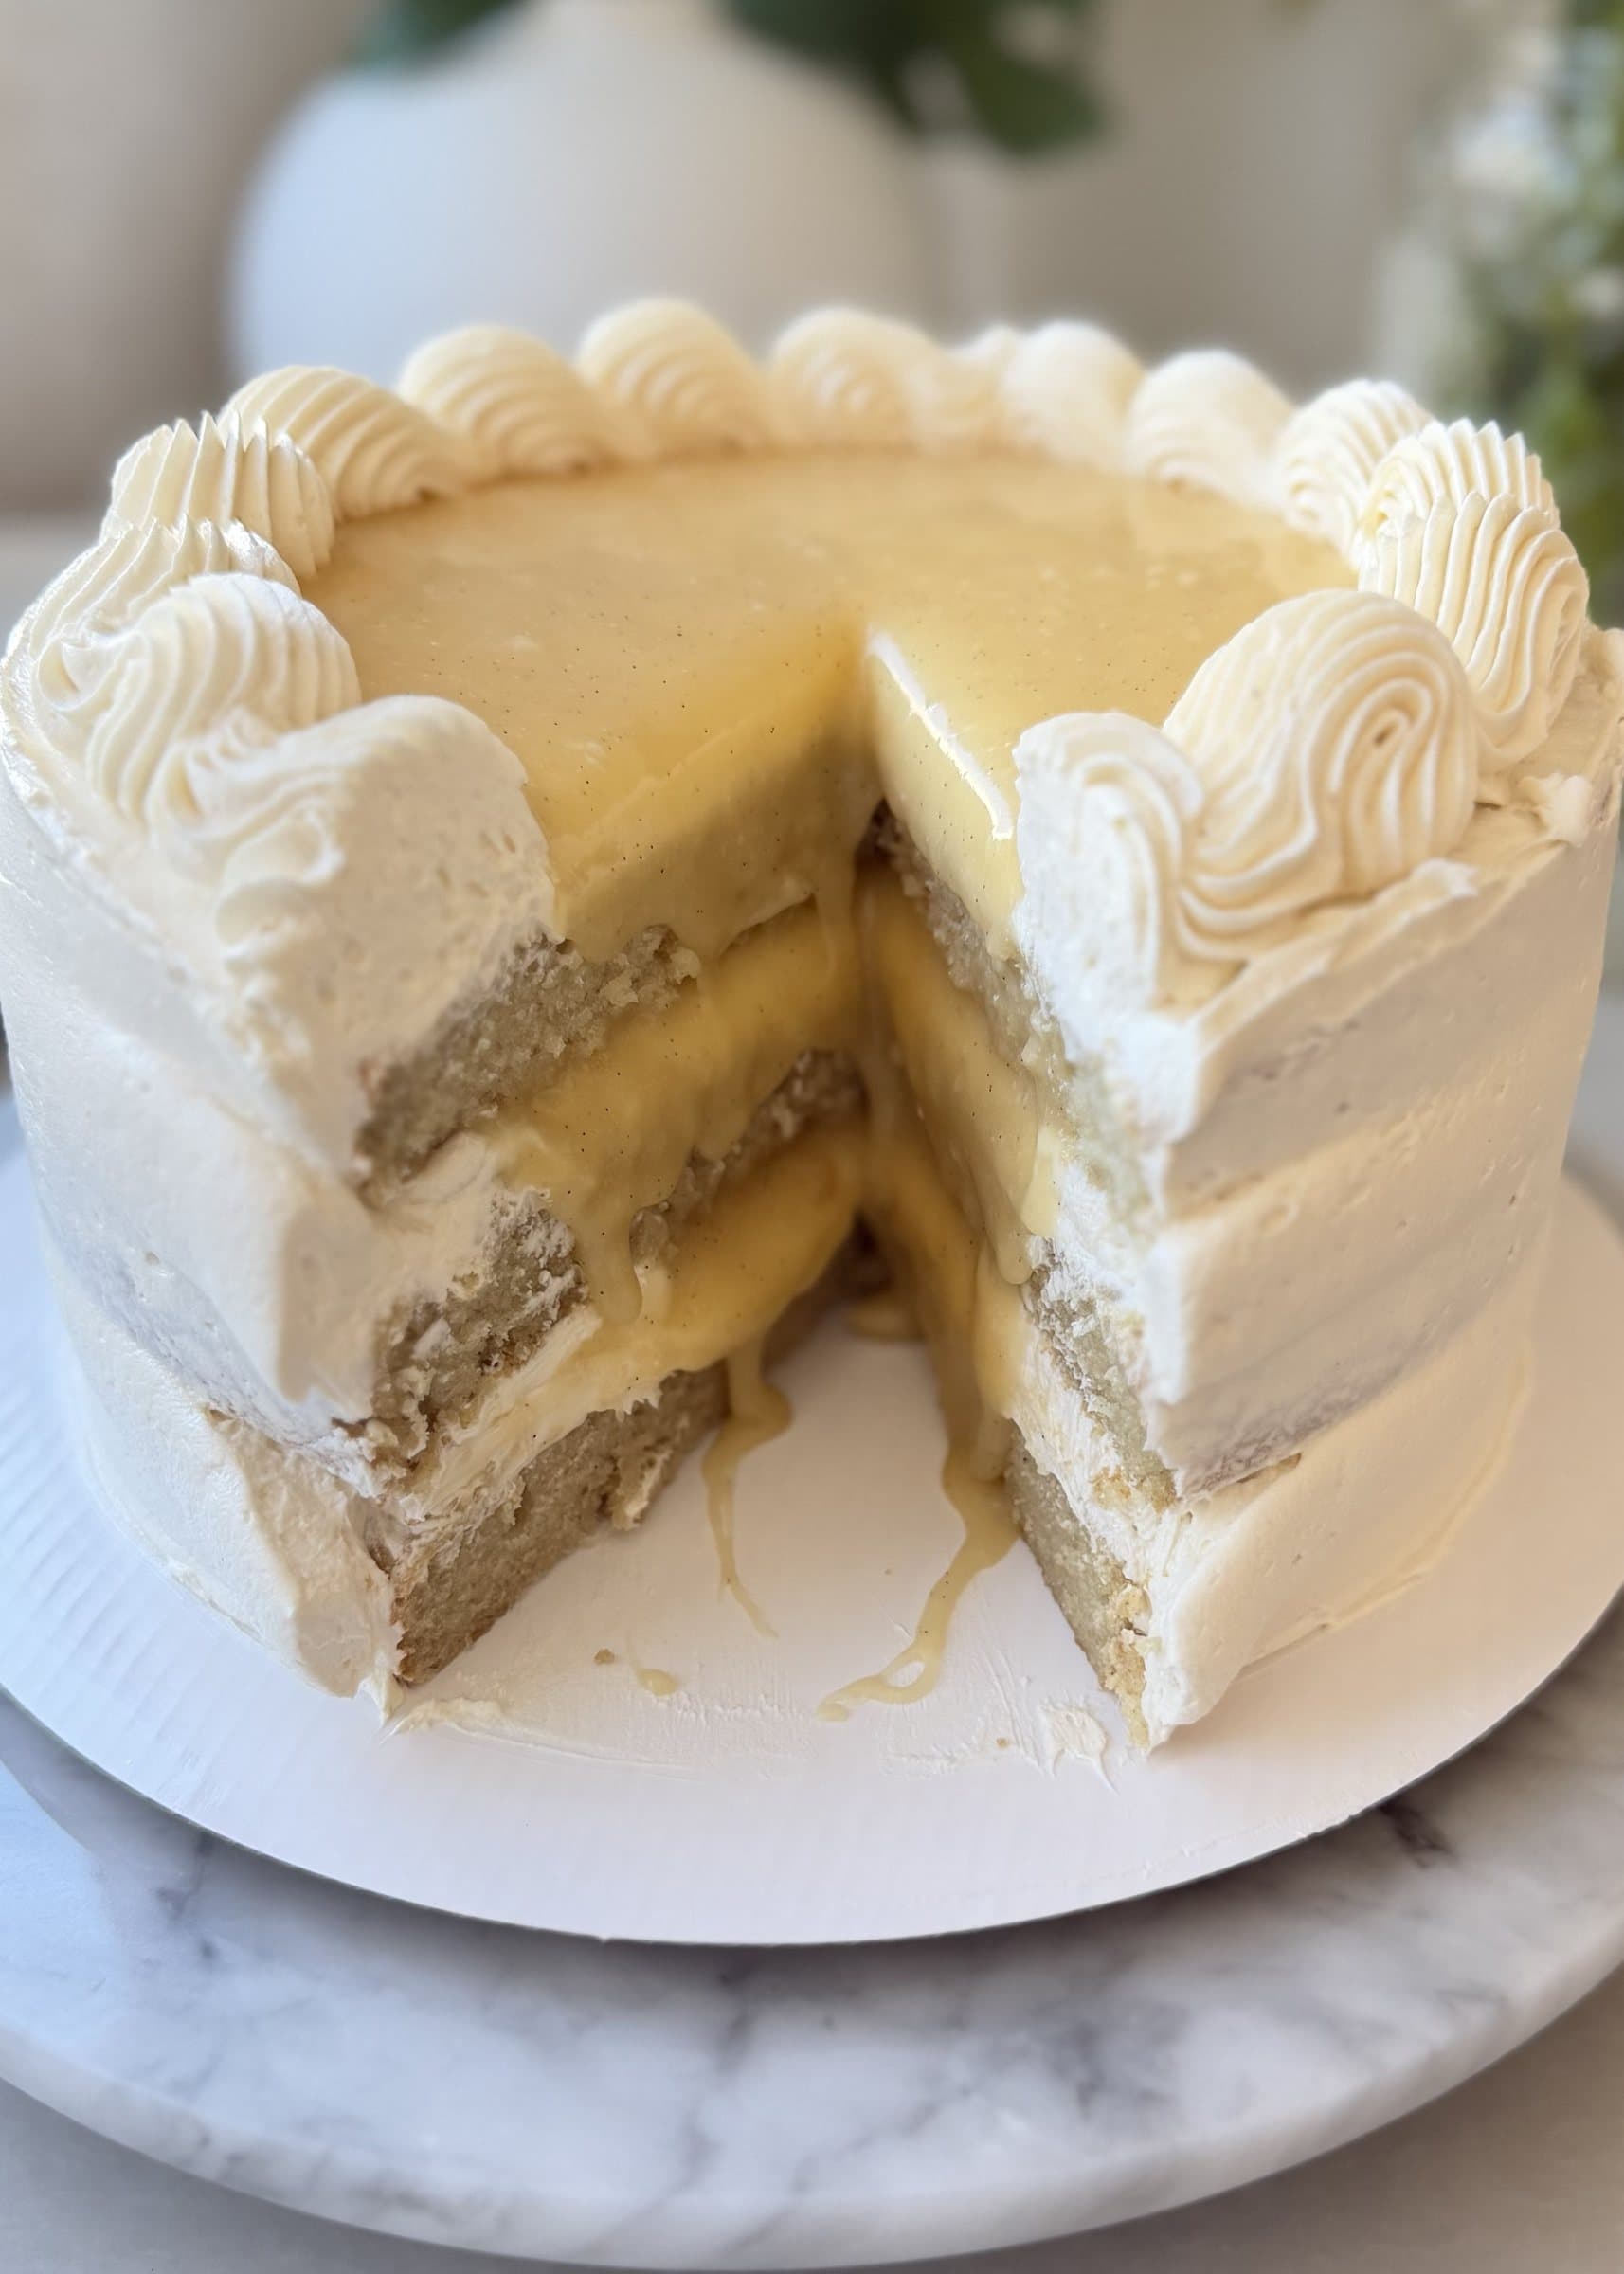
More lava cakes to try



- Prep
- 1 hour
- Bake
- 24–27 minutes
- Total
- About 3 hours, including cooling and chilling
- Yield
- One 3-layer 8-inch cake
Measurement note
For the closest match to the recipe I tested, use grams. Volume measurements are included for convenience, but cups can vary, so I cannot guarantee the exact same result when measuring by volume.
Ingredients
Chocolate Cake
- 240 g cake flour, sifted240 g (about 2 cups) cake flour, sifted
- 50 g Dutch-process cocoa powder, sift after measuring50 g (about 1/2 cup + 1 teaspoon) Dutch-process cocoa powder, sift after measuring
- 25 g natural cocoa powder, sift after measuring25 g (about 1/4 cup + 1/2 teaspoon) natural cocoa powder, sift after measuring
- 10 g baking powder (weigh for accuracy)2 tsp baking powder
- 6 g baking soda (weigh for accuracy)1¼ tsp baking soda
- 4 g fine sea salt (weigh for accuracy)4 g fine sea salt (weigh for accuracy)
- 300 g granulated sugar300 g (about 1 1/2 cups) granulated sugar
- 50 g light brown sugar (packed)50 g (about 3 tablespoons + 2 1/4 teaspoons) light brown sugar (packed)
- 230 g milk230 g (about 3/4 cup + 3 tablespoons) milk
- 15 g apple cider vinegar15 g (about 1 tablespoon) apple cider vinegar
- 140 g neutral oil140 g (about 1/2 cup + 2 tablespoons) neutral oil
- 135 g plain unsweetened yogurt, room temperature135 g (about 1/2 cup + 2 teaspoons) plain unsweetened yogurt, room temperature
- 10 g vanilla bean paste (weigh for accuracy)10 g vanilla bean paste (weigh for accuracy)
- 130 g hot brewed coffee130 g (about 1/2 cup + 2 teaspoons) hot brewed coffee
- 1 tsp instant espresso powder1 tsp instant espresso powder
Chocolate Lava
- 113 g butter (1 stick)113 g (about 1/2 cup) butter (1 stick)
- 75 g cream75 g (about 5 tablespoons) cream
- 150 g powdered sugar, sifted150 g (about 1 1/4 cups) powdered sugar, sifted
- 8 g Dutch-process cocoa powder, sift after measuring8 g (about 1 tablespoon + 1 teaspoon) Dutch-process cocoa powder, sift after measuring
- 4 g natural cocoa powder, sift after measuring4 g (about 2 teaspoons) natural cocoa powder, sift after measuring
- 20 g light corn syrup20 g (about 1 tablespoon + 1/8 teaspoon) light corn syrup
- 1 tbsp vanilla bean paste1 tbsp vanilla bean paste
- ½ tsp fine sea salt½ tsp fine sea salt
- Milk, only if needed to adjust the chilled lavaMilk, only if needed to adjust the chilled lava
Chocolate Buttercream
- 339 g butter, softened339 g (1 1/2 cups) butter, softened
- 508 g powdered sugar, sifted508 g (4 1/4 cups) powdered sugar, sifted
- 55 g Dutch-process cocoa powder, weigh first, then sift55 g (about 1/2 cup) Dutch-process cocoa powder, weigh first, then sift
- 120 g semisweet chocolate chips (56% cacao), melted and cooled120 g (about 3/4 cup) semisweet chocolate chips (56% cacao), melted and cooled
- 2 1/4 teaspoons vanilla bean paste2 1/4 teaspoons vanilla bean paste
- 1/2 teaspoon fine salt1/2 teaspoon fine salt
- 120 g heavy cream, room temperature120 g (1/2 cup) heavy cream, room temperature
Pan used
I use Fat Daddio's 8-inch anodized aluminum round cake pans for this recipe.
Instructions
- 1Make the chocolate cake. Preheat the oven to 350°F (177°C). Grease three 8-inch round cake pans and line the bottoms with parchment paper.
- 2Stir the espresso powder into the hot brewed coffee until completely dissolved. Set it aside while you begin the batter.
- 3In a large bowl, whisk together the milk, apple cider vinegar, neutral oil, yogurt, vanilla bean paste, granulated sugar, and brown sugar until smooth and fully emulsified.
- 4Add the sifted cake flour, sifted Dutch-process cocoa powder, sifted natural cocoa powder, baking powder, baking soda, and salt directly to the same bowl. Whisk gently until the batter is mostly combined and only a few dry streaks remain.
- 5Slowly stream in the hot coffee mixture while whisking gently. Continue just until the batter is smooth and uniform. The batter will be thin; do not overmix.
- 6Divide the batter evenly among the prepared pans, preferably by weight. Tap each pan lightly on the counter to release large air bubbles.
- 7Bake for 24–27 minutes, or until the centers spring back lightly and a toothpick inserted into the center comes out with a few moist crumbs.
- 8Cool the cakes in the pans for 10–15 minutes. Turn them out onto wire racks, remove the parchment, and cool completely before assembling.
- 9Make the chocolate lava. In a medium saucepan over low heat, warm the butter and cream, whisking frequently, until the butter is fully melted and the mixture is smooth. Remove from the heat.
- 10Add the sifted powdered sugar and both sifted cocoa powders. Whisk until completely smooth and glossy, taking care to work out any pockets of dry cocoa.
- 11Whisk in the corn syrup, vanilla bean paste, and salt until the lava is fully emulsified. Transfer it to a heatproof container and cool completely. Refrigerate until chilled and thickened before assembling.
- 12Before assembly, whisk the chilled lava until smooth. If it is too firm to spread, add milk 1 teaspoon at a time until it reaches a slow, thick, spreadable consistency. I recommend keeping the lava thicker if you are new to assembling filled layer cakes.
- 13Make the chocolate buttercream. Get the temperatures right before mixing. The butter should be softened and easy to press, but not melted or greasy. Bring the cream to room temperature. Gently melt the chocolate, then let it cool until still fluid but no longer warm. Weigh the cocoa powder first, then sift it. Sift the powdered sugar too.
- 14Beat the softened butter on low speed until completely smooth and creamy, scraping the bowl and beaters as needed.
- 15Add the sifted powdered sugar, sifted cocoa powder, vanilla bean paste, and salt. Mix on low until incorporated and smooth, stopping to scrape the bottom and sides of the bowl. Avoid prolonged whipping or high speed.
- 16With the mixer running on low, slowly stream in the melted, cooled chocolate. Mix just until fully incorporated. If the chocolate has started to thicken in its bowl, gently rewarm it until fluid, then let any warmth subside before adding it.
- 17Keep the mixer on low and slowly stream in the room-temperature heavy cream. Continue mixing just until the frosting is smooth and evenly combined.
- 18Switch to a spatula and stir slowly by hand, pressing the frosting against the side of the bowl to release excess air. Let it rest for 15-20 minutes so it can settle and the color can deepen. Give it a gentle final stir before spreading or piping onto a completely cooled cake.
- 19Assemble the cake. Level the completely cooled cake layers if needed. If the layers feel delicate, chill them briefly before stacking.
- 20Place the first cake layer on a cake board or serving plate. Spread a thin, even layer of chocolate buttercream over the top, then pipe a tall, continuous buttercream dam around the outer edge.
- 21Spoon chocolate lava inside the dam and spread it gently into an even layer. Keep the filling below halfway up the height of the dam so it remains contained when the next layer is added.
- 22Place the second cake layer on top and repeat the thin buttercream layer, sturdy dam, and lava filling. Top with the final cake layer.
- 23Apply a thin crumb coat over the top and sides of the cake. Refrigerate for 15 minutes, or until the buttercream feels firm.
- 24Frost the cake with the remaining chocolate buttercream and finish as desired. Chill for 20–30 minutes to set the structure before slicing.

Meet the baker
Angela Heckler
Angela Heckler is the recipe developer, baker, and photographer behind Obsessed Cakes. Her Old-Fashioned Donut Loaf series is a growing collection of cake-donut-inspired loaves with soft, deeply moist crumbs, buttery streusel, and crackly glaze. Angela develops and tests every recipe in her Arizona kitchen. Follow Obsessed Cakes on Instagram, TikTok, and YouTube.
Made it? Tell us.
Ratings and reviews
Angela is my daughter in law and is a genius when it comes to baking. I on the other hand am not! I asked her which cake I could make for my neighbor who was turning 96 and loves chocolate. She suggested her chocolate lava cake. It turned out so good and everyone raved about it. If I can do it so can anyone out there!
Haha, thank you, Shannon ;)
So I made this recipe exact but the only difference ai made was that instead of cake flour I used Bob's red mill 1:1 gluten-free baking flour. And then because I used gluten-free flour before baking I let my cakes sit for about 30min before baking so that the batter could absorb everything. I also only made two layers because I only own 2 8×11/2in cake pans. Everything turned out Amazing!! My family absolutely adored it! My daughter asked for it to be her next birthday cake. I would definitely make this cake again!!
Oh I love this, Nicole! Thank you so much for sharing!! I’m thrilled to hear that your family enjoyed it 😍❤️
can i use dutch processed cocoa only? thats all i have available right now. this recipe looks sooo good
It will work beautifully ❤️
Such a delicious cake! It was really easy to follow the instructions, and every part was perfectly balanced and genuinely delicious!!! I’d absolutely recommend it! 🙌😍
Thanks for reporting back, Laura! I’m so glad it was a hit! ☺️
THE GOOEY TEXTURE AND THE FLUFFY PART
Yay, Ayat! I'm so glad you enjoyed it!
Questions from readers
Recipe questions and answers
Will it still be good without the hot brewed coffee/espresso powder. Can I replace it with hot water?
Yes! :)
For the lava, my lava is far too runny, used the exact grams, how can I save it?
The lava thickens significantly - Just let it cool completely! If you still feel it’s too runny after cooled, email me angela@obsessedcakes.com and I can help.
so sorry i didnt see the option to ask questions please can i knownif i can use Dutch processed cocoa pwoder for the entire recipe as i dont have access to natural cocoa powder
It will work beautifully!
Gore would you recommend going about covering this to a gf version? Thanks!
I haven't tried this recipe GF but if you attempt, I would attempt using King Arthurs 1:1 GF flour. Let me know how it turns out if you try :)
Hi! Just wondering, can I use whipped ganach instead of chocolate Icing?
Hi! I’d be hesitant to use a whipped ganache because it needs to support 3 layers with a fluid filling One thought- make the chocolate ganache cake and save the filing to pour ever each slice. ❤️
Hi! I wanted to know what would be an alternative for the corn syrup in the lava? I don't have it on my end... Can I skip it altogether?
Hi! feel free to skip, it'll taste just as good without the gloss that corn syrup can create. :)
I would like to clarify something, please. Can I fully assemble this cake the day before and stored in the refrigerator? If that is done should the cake be left out for a certain amount of time before serving?
Hi! You absolutely can! Store it in the fridge and take it out an hour prior to serving.
Did you make this?
Share your bake on Instagram - tag @obsessedwithcashews and use #obsessedcakes.