Gluten-Free Vanilla Bean Lava Cake
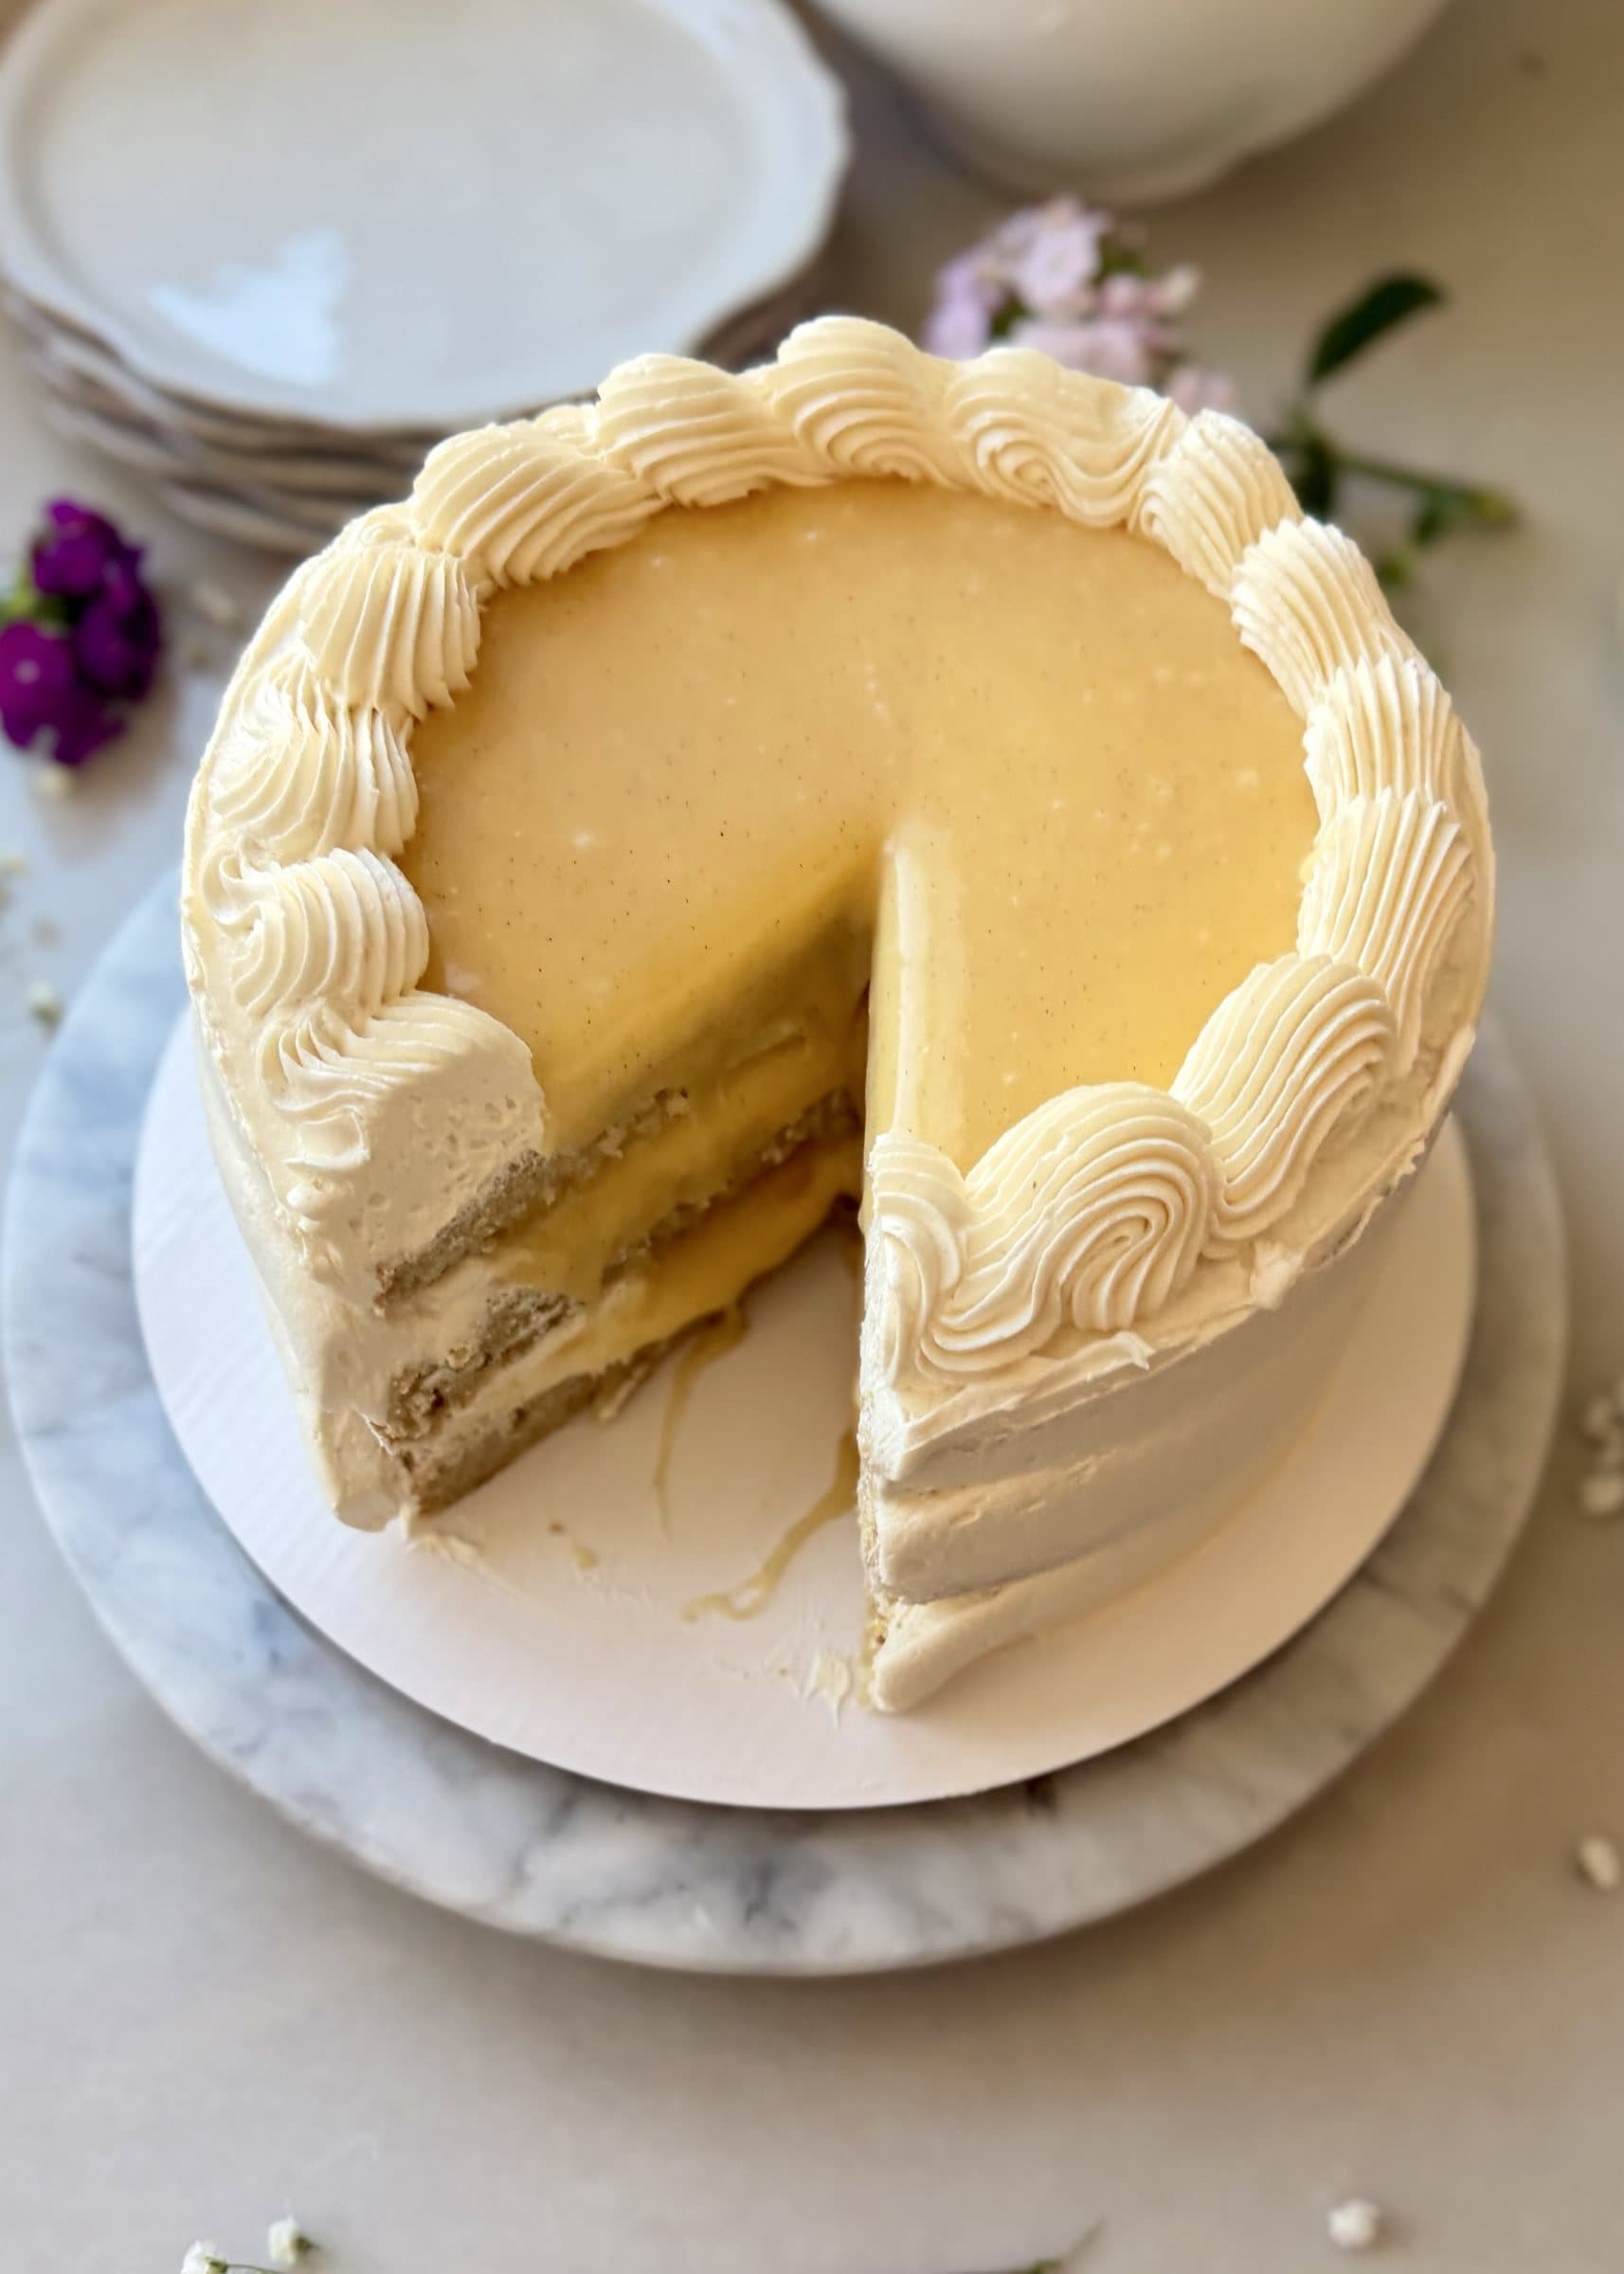
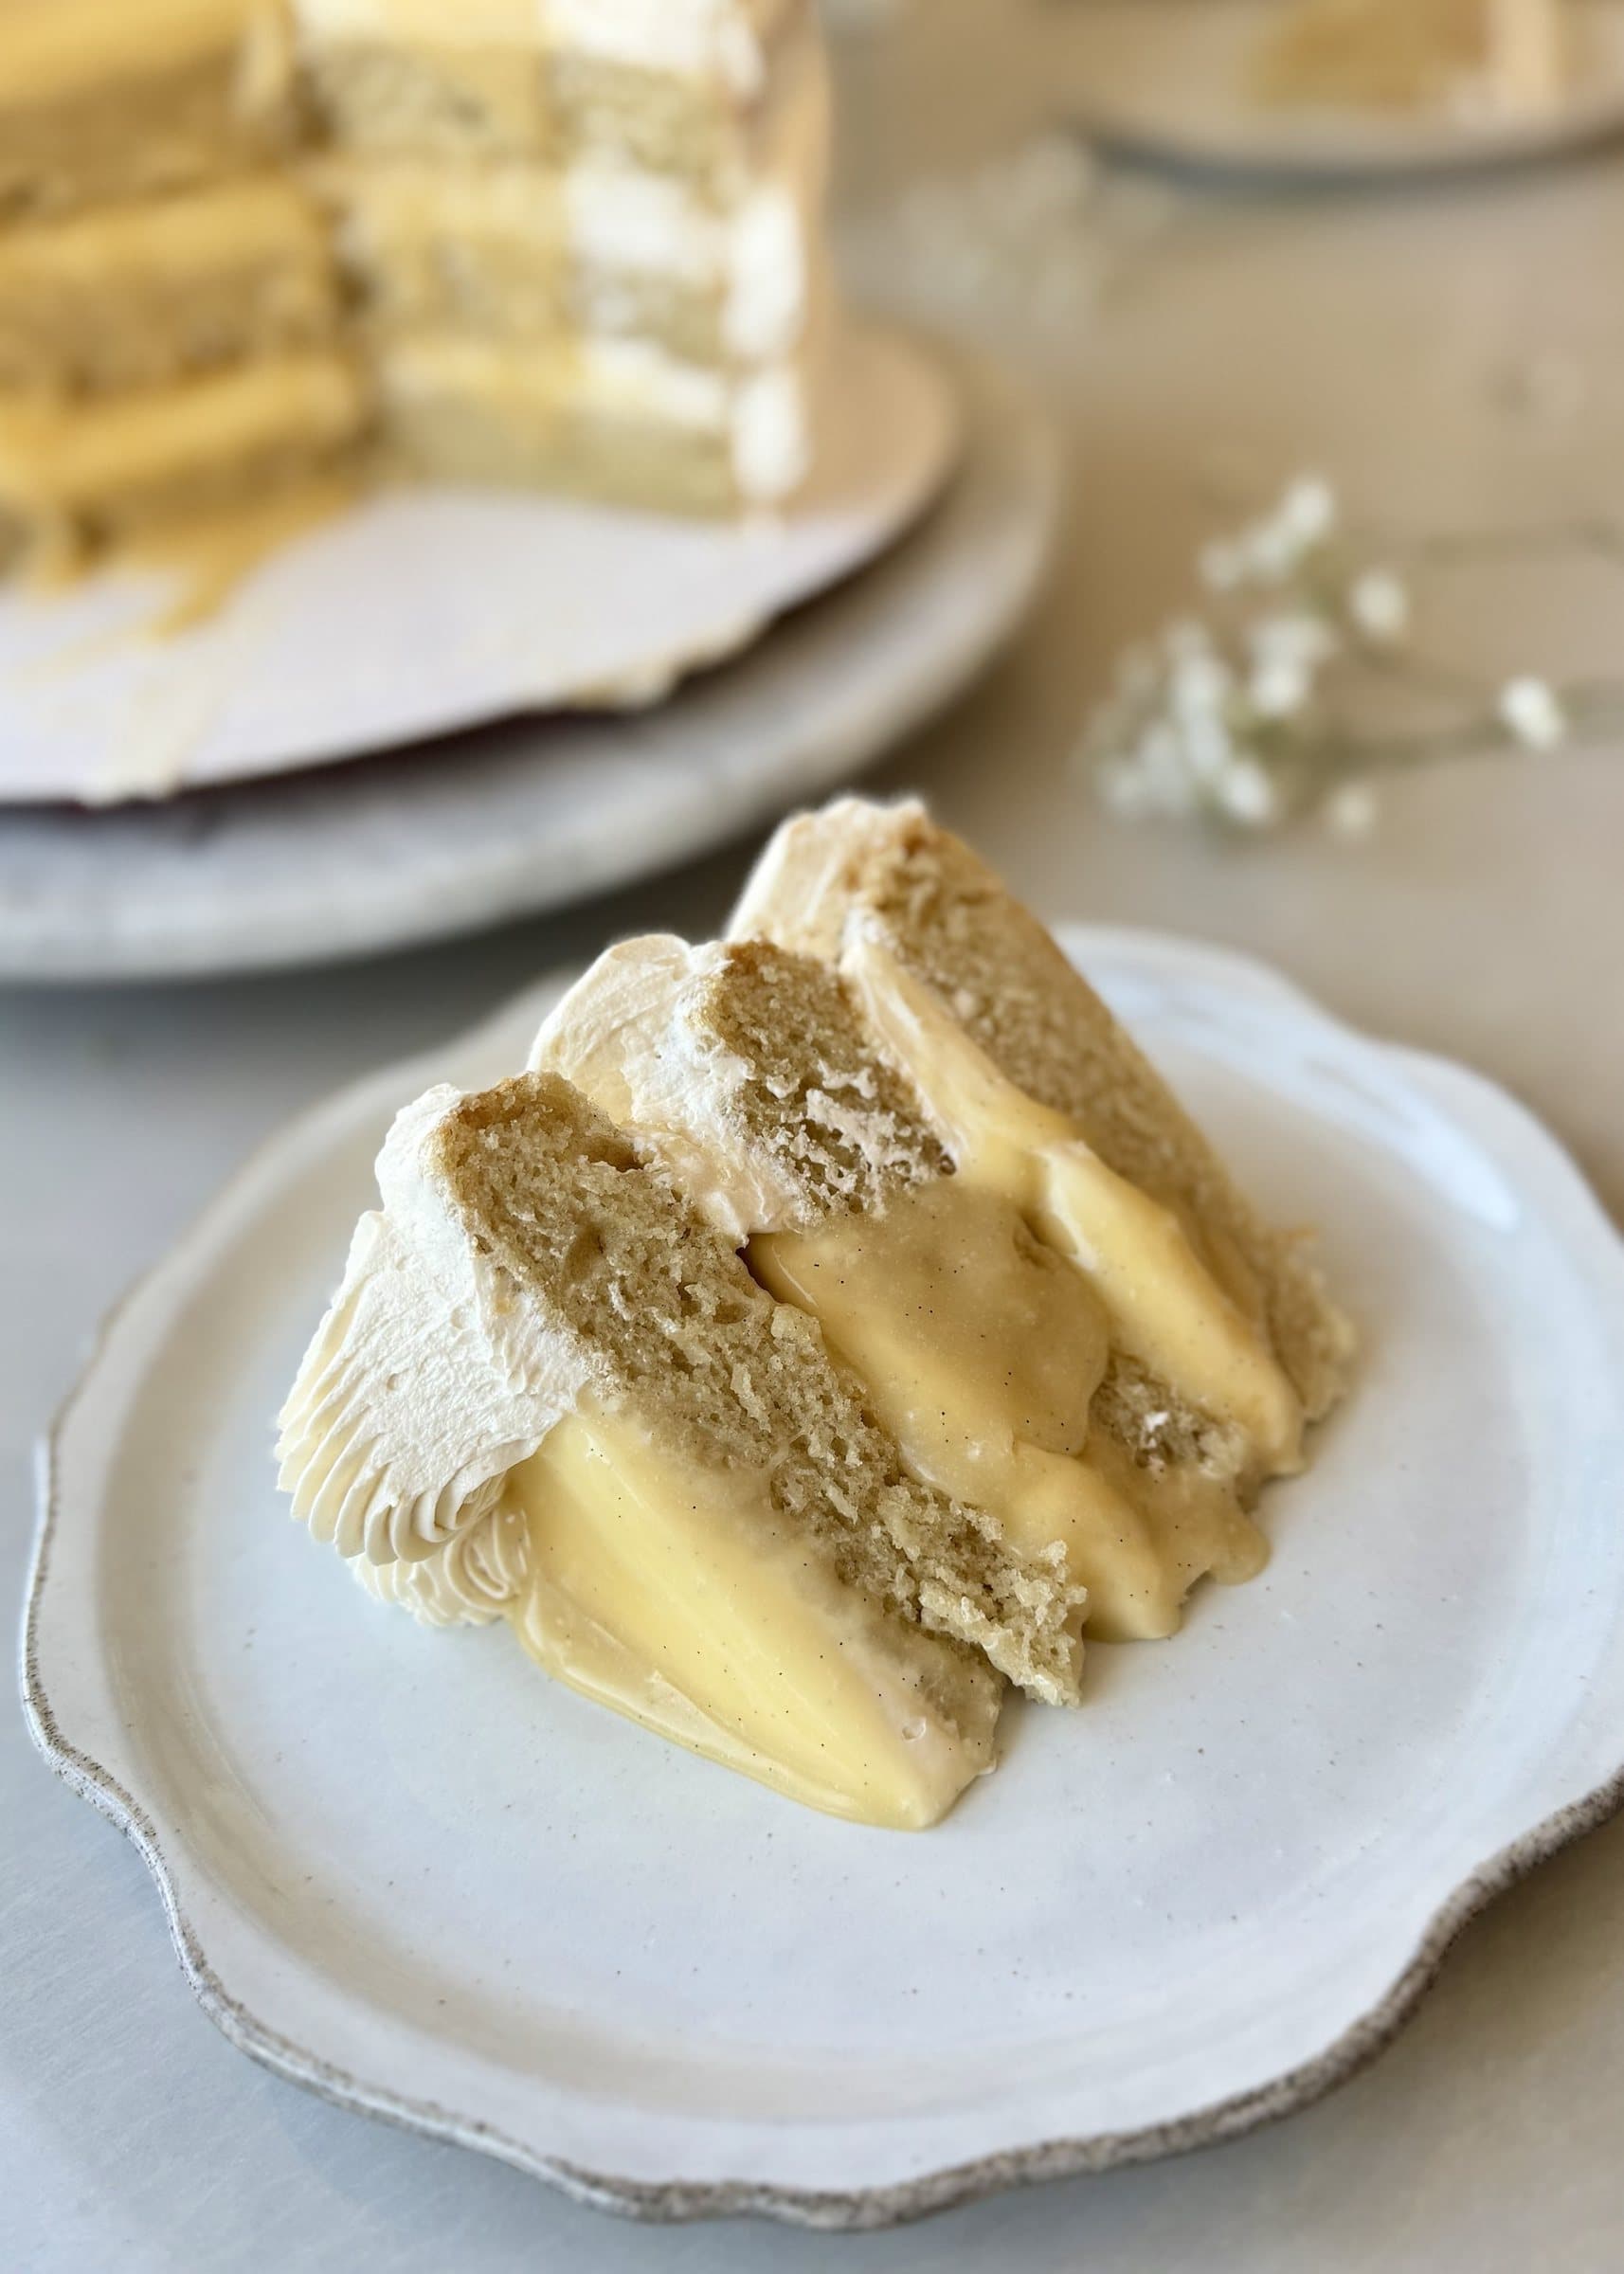
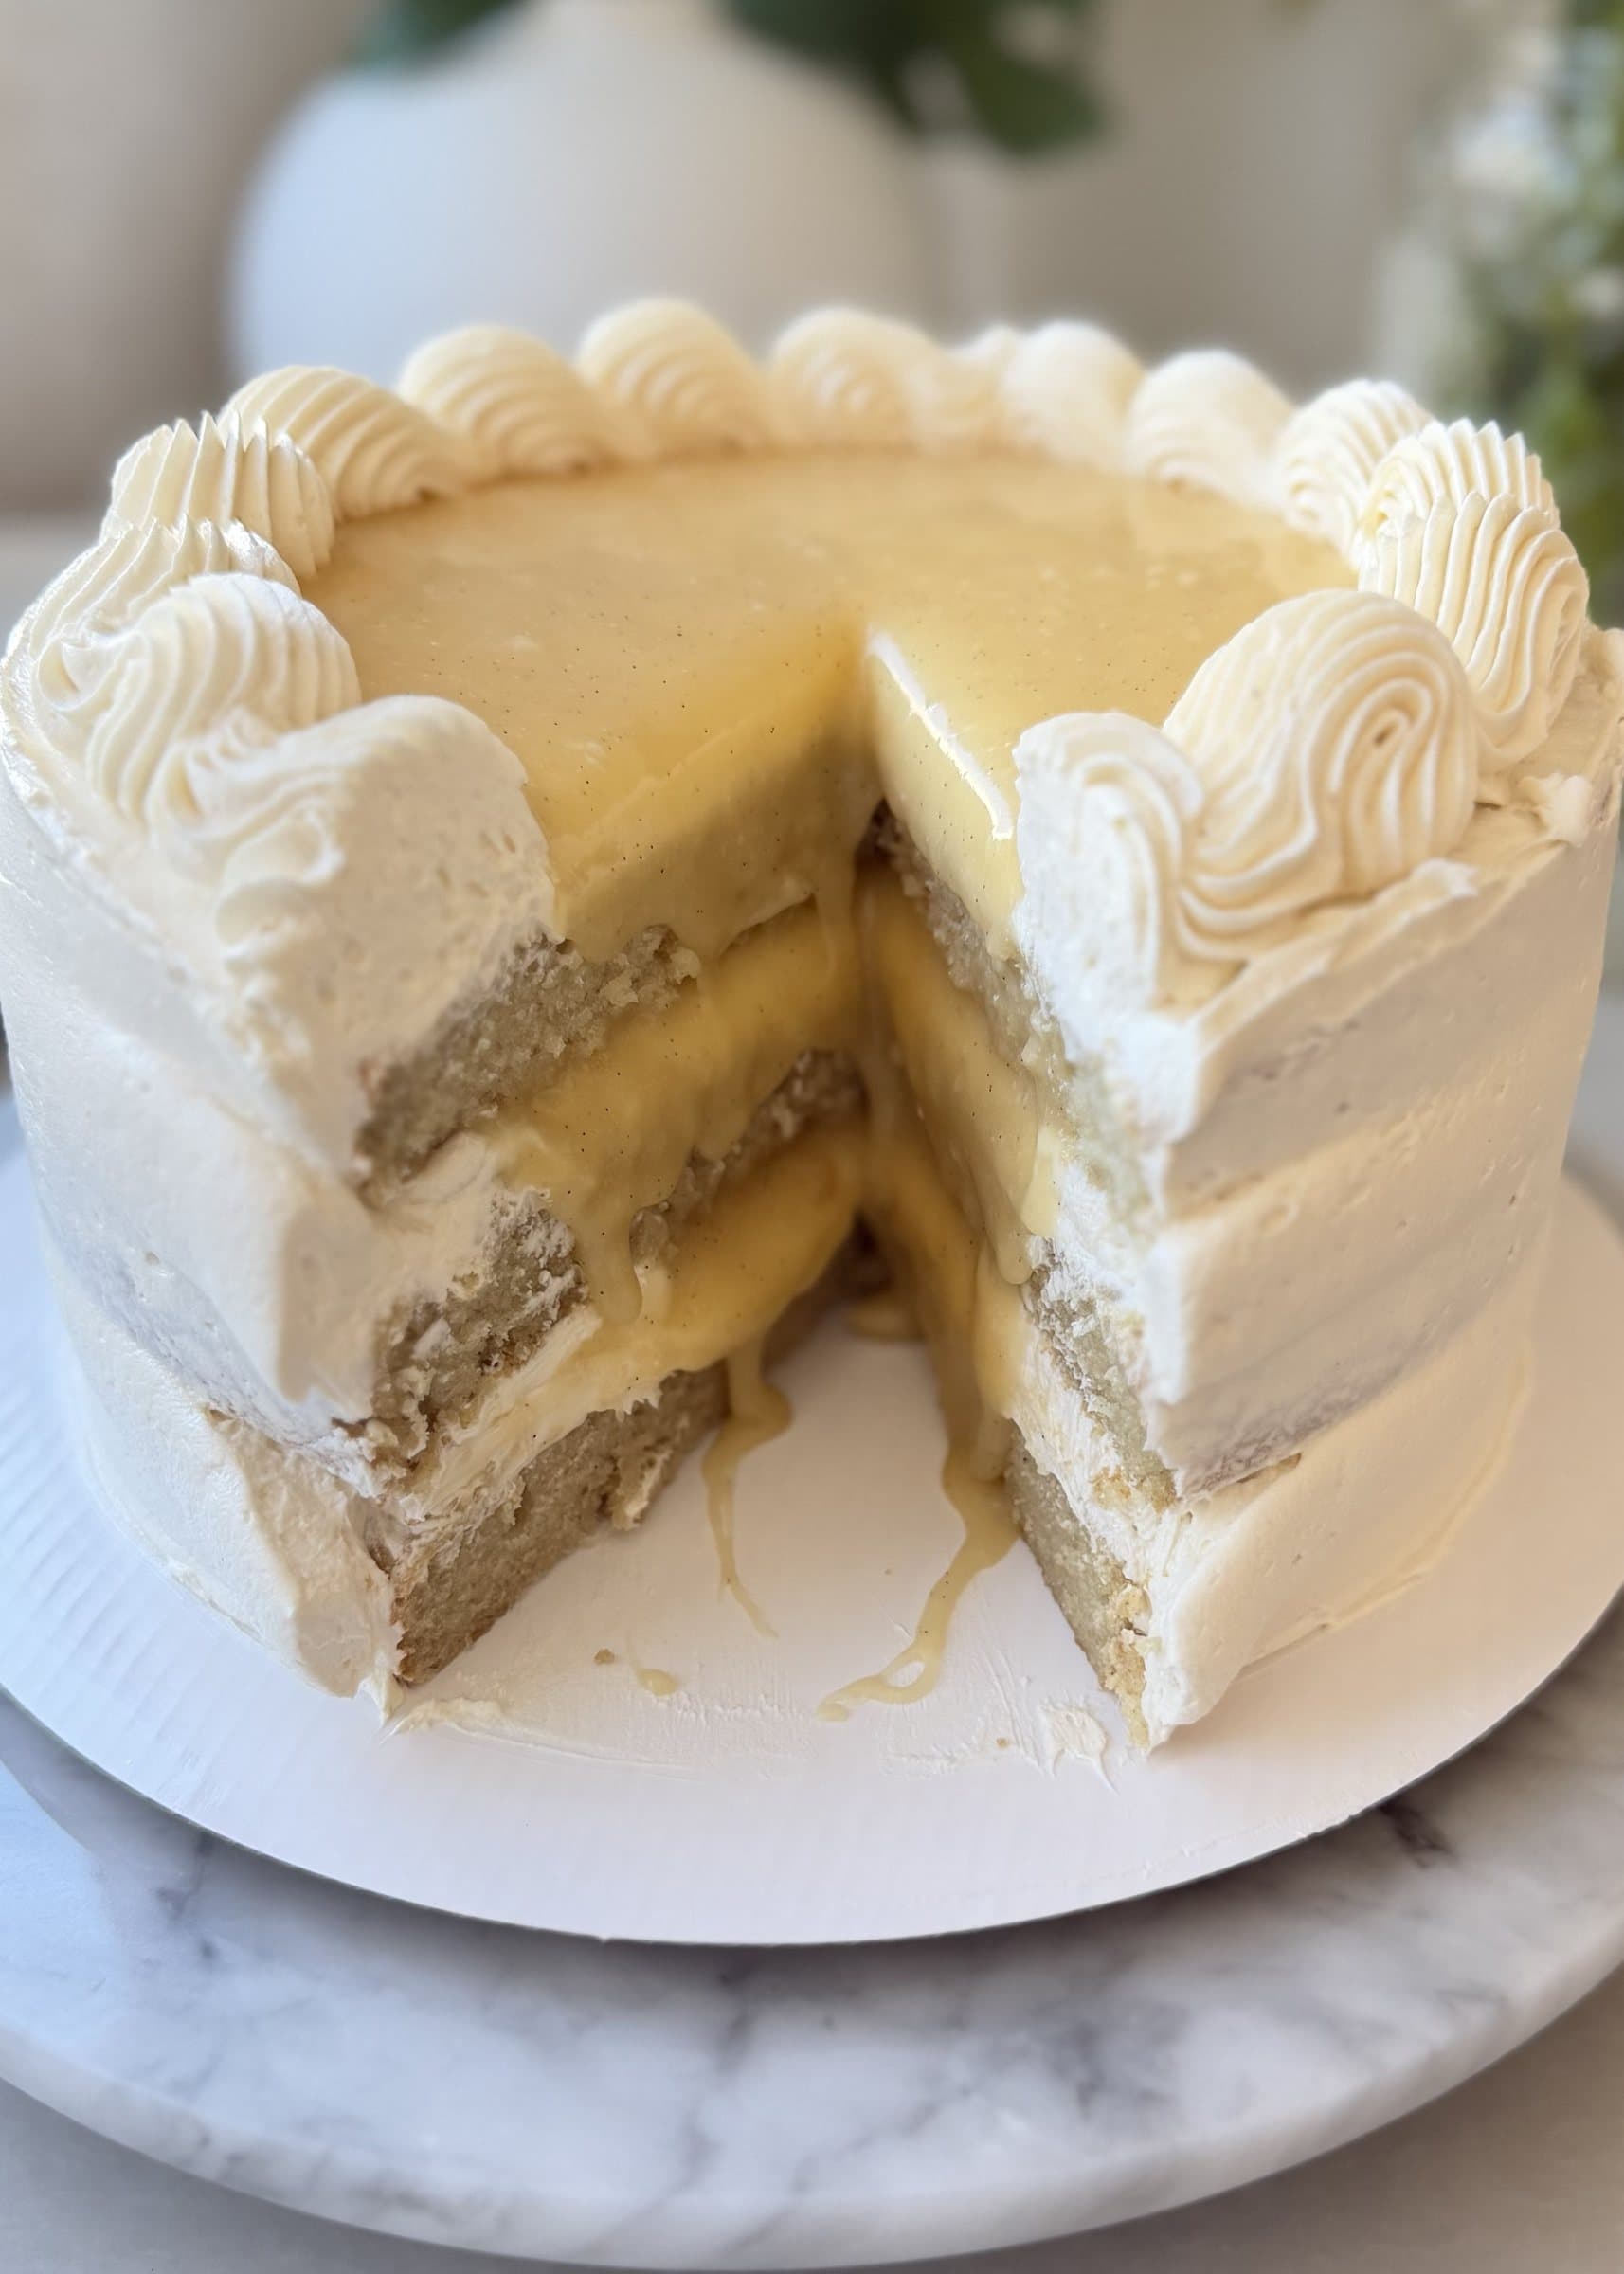
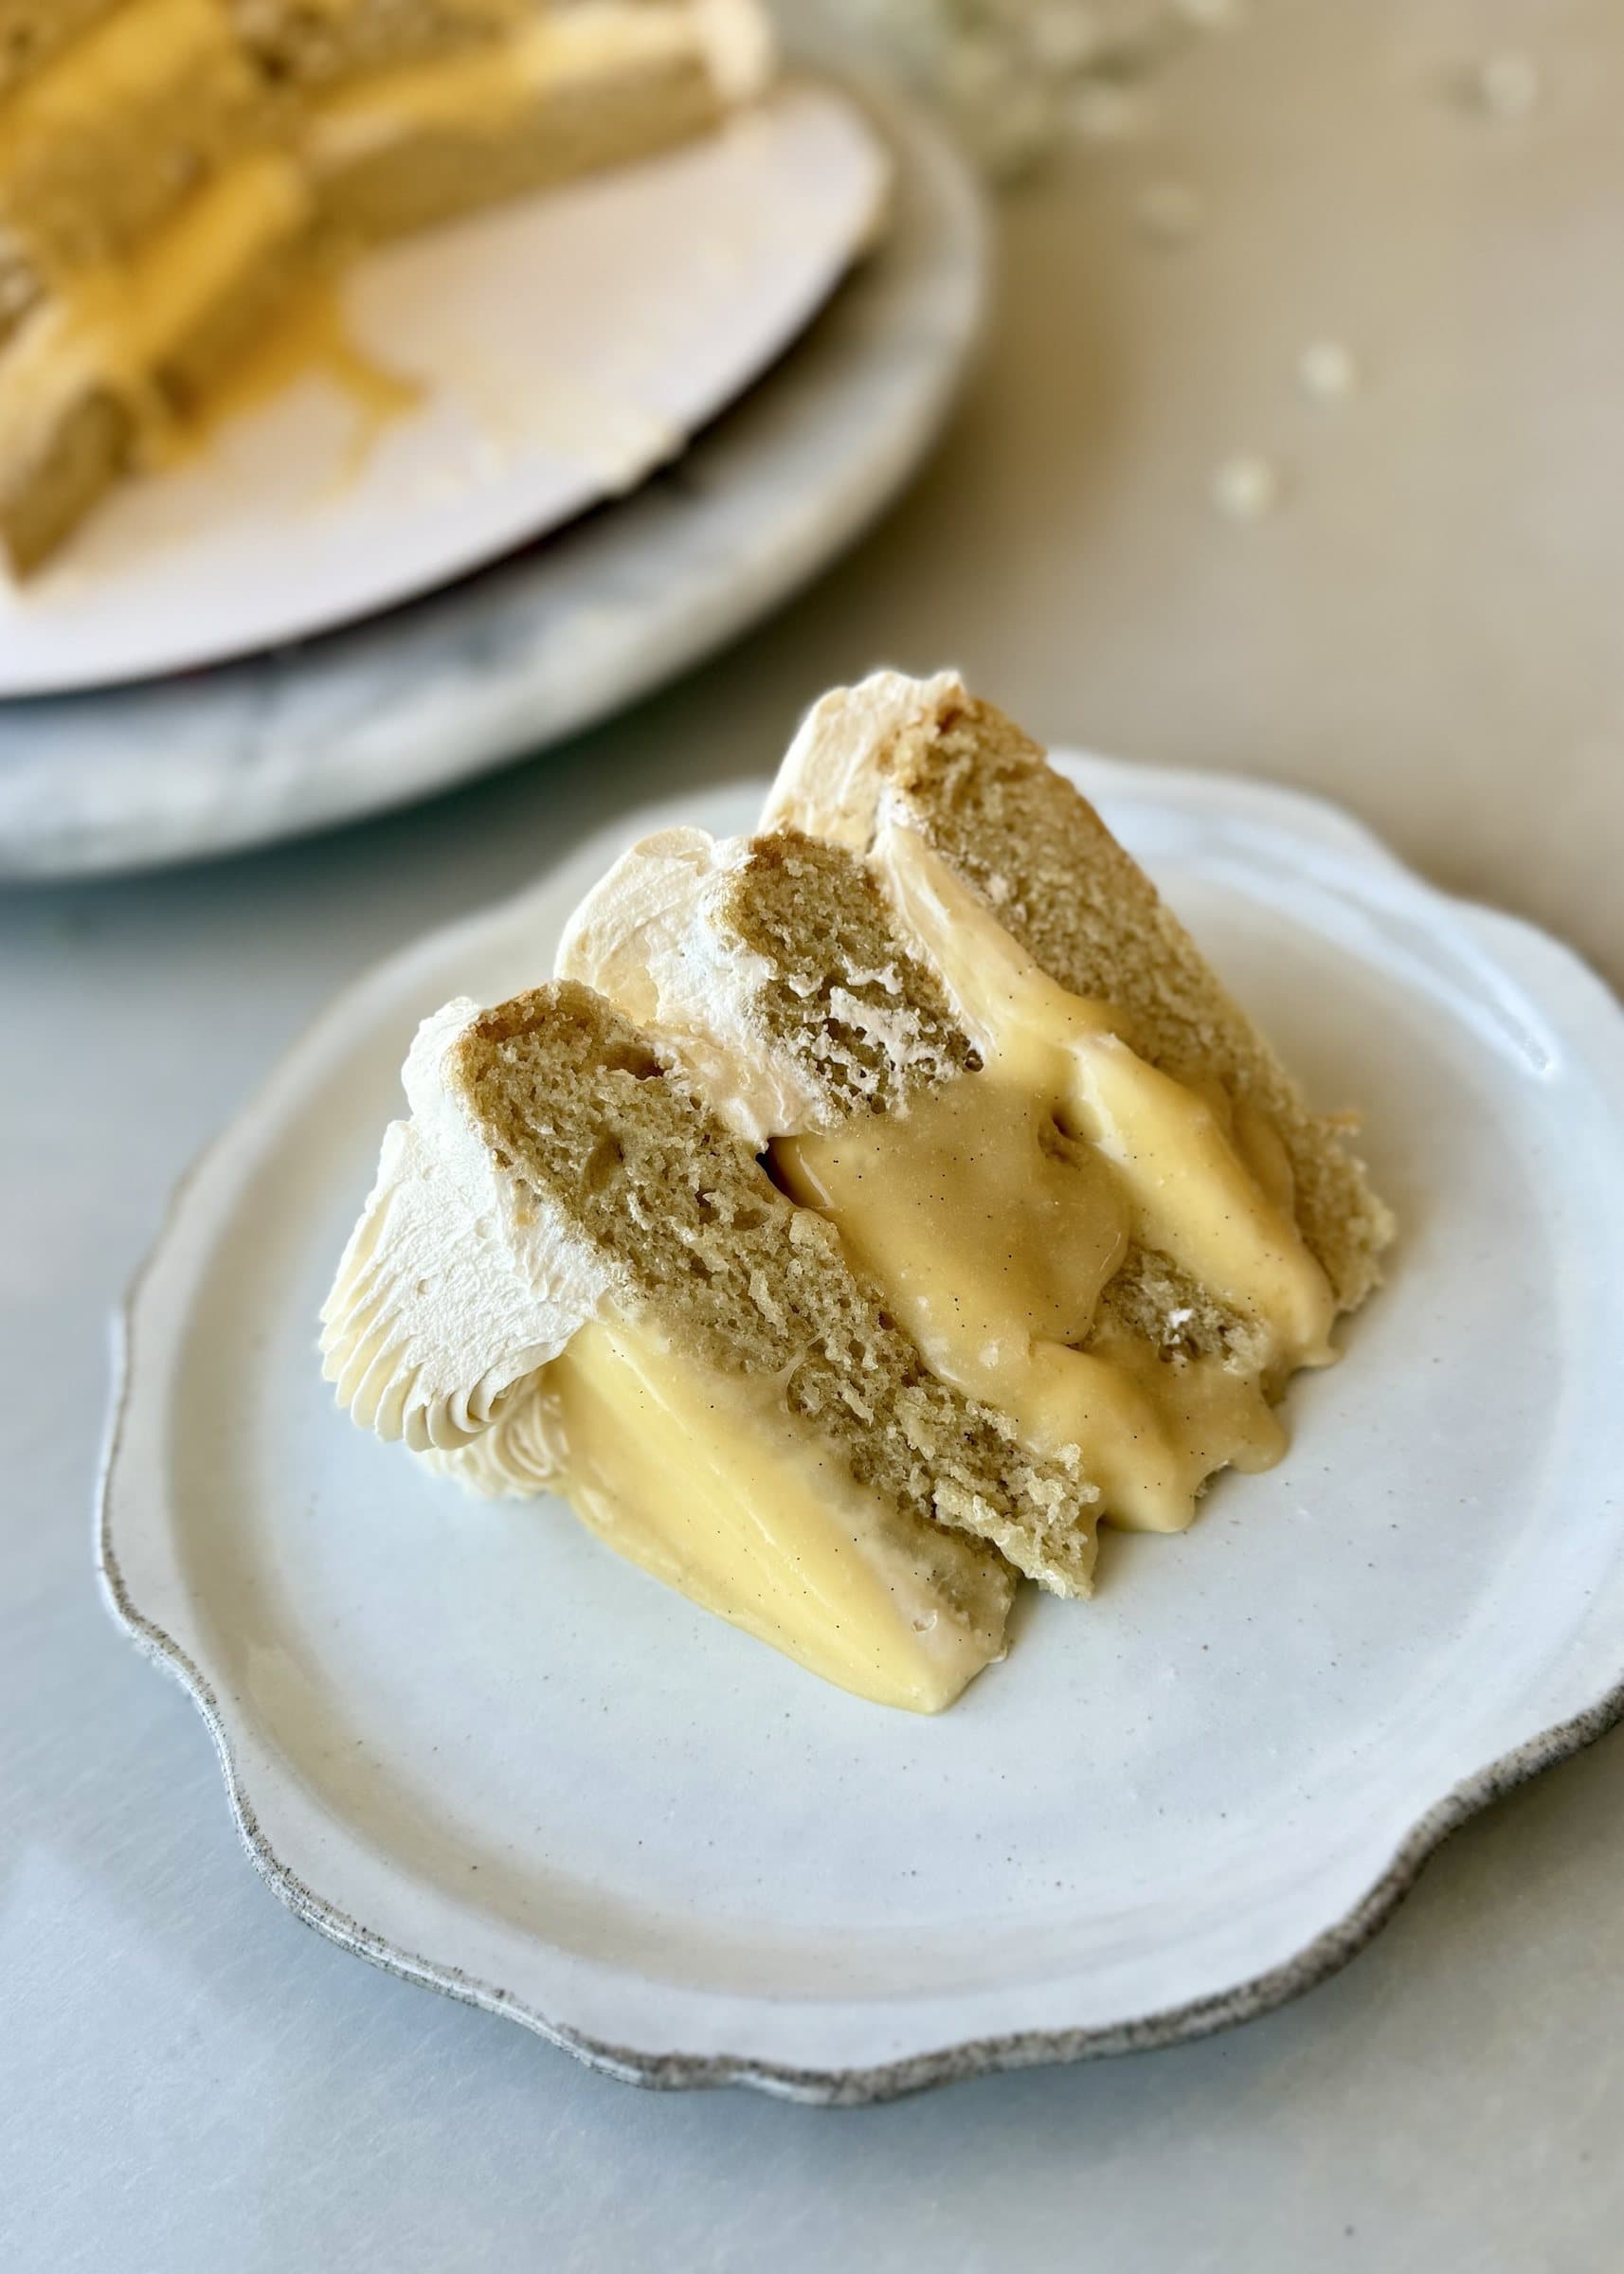
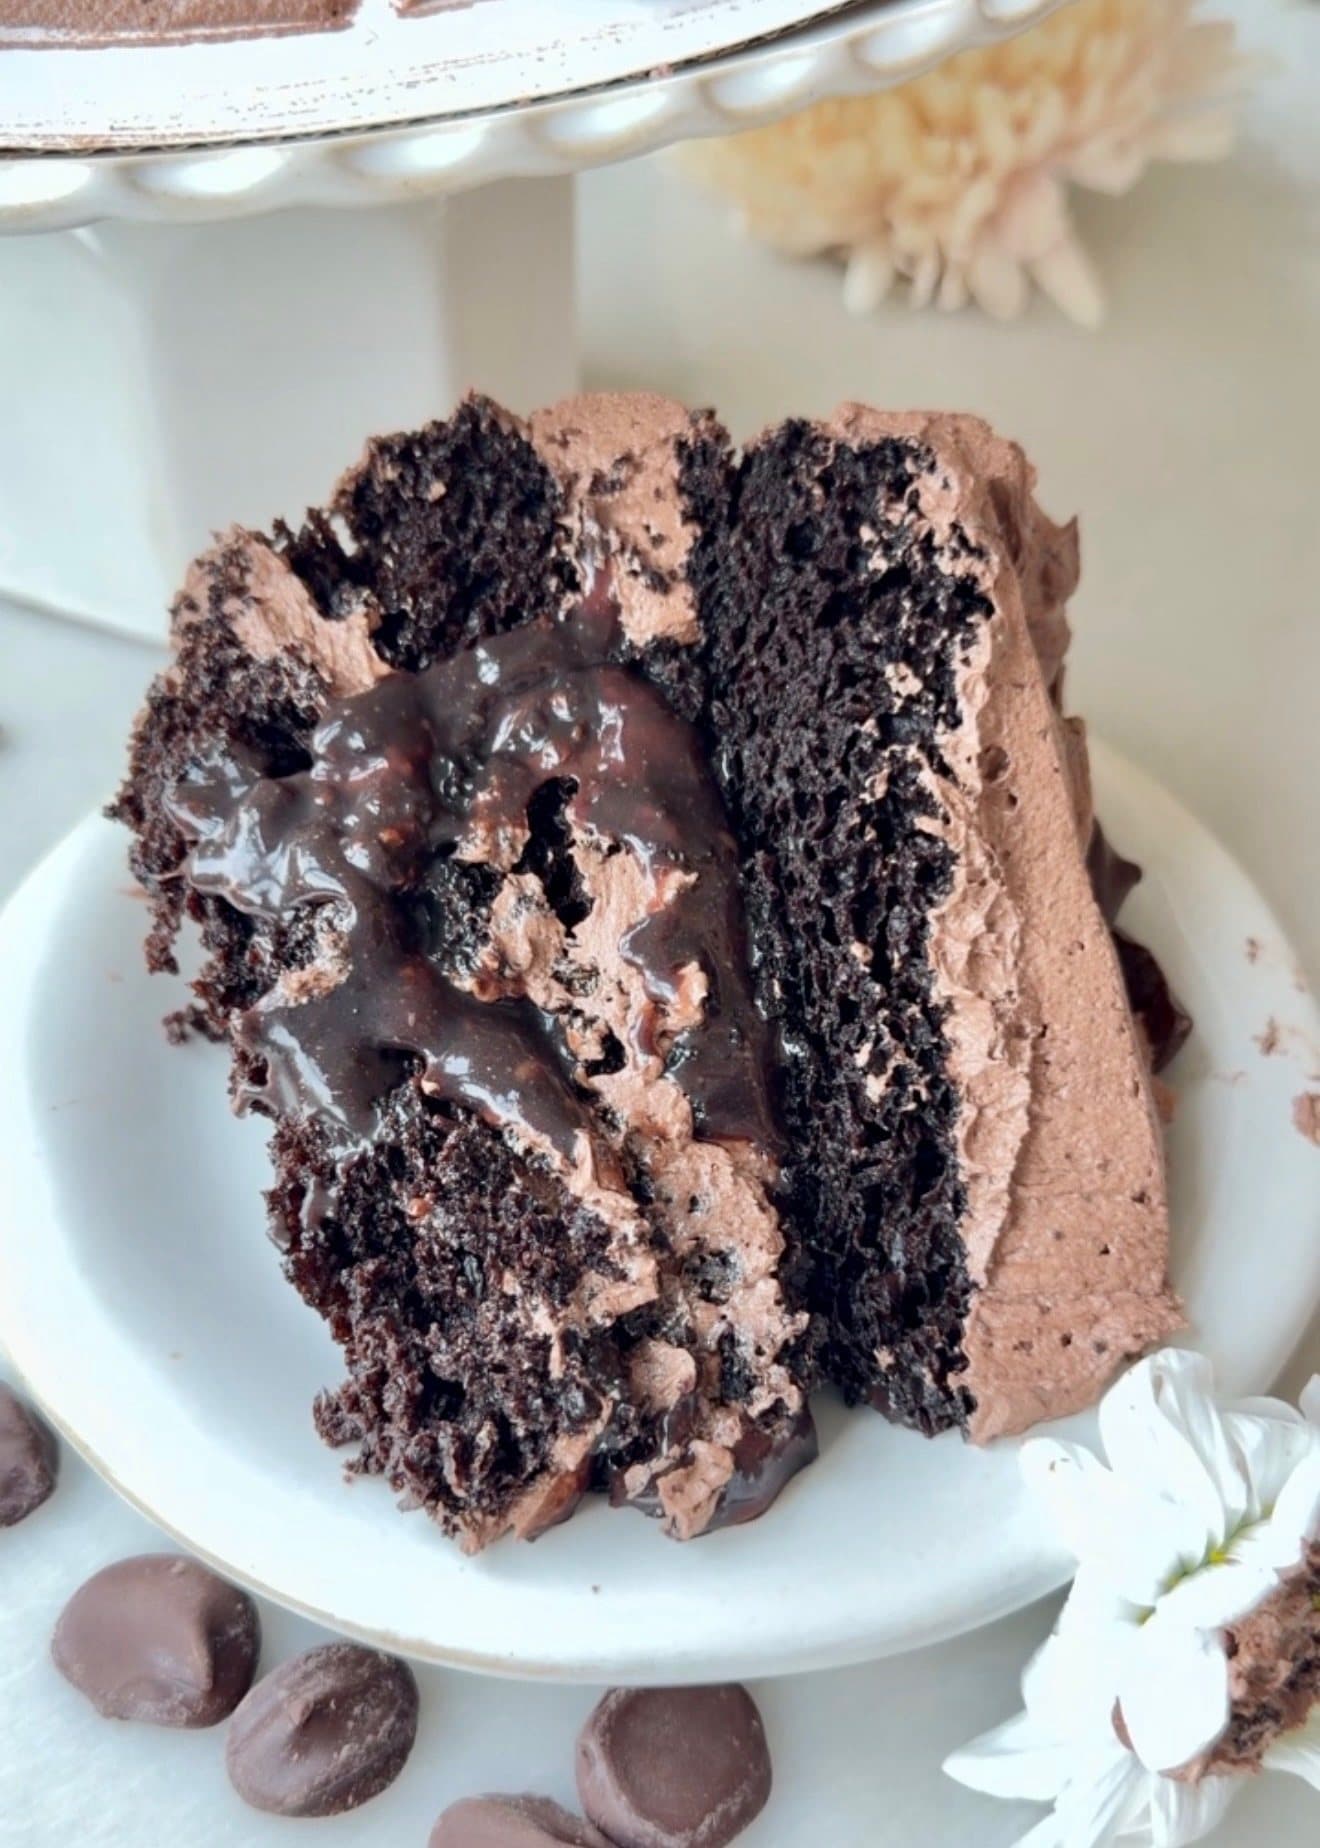
Be the first to reviewVanilla bean paste goes into every part of this cake: the tender gluten-free layers, the soft vanilla filling, and the fluffy buttercream. The filling flows when you cut a slice, and a little salt balances the sweetness.
This is a full three-layer cake, baked in 8-inch pans. The flour blend and short batter rest matter here, so weigh the ingredients and follow the recipe as written. You can make the lava a day ahead and keep it refrigerated until you are ready to assemble.
Save this recipe
Want to save this recipe for later?
Enter your email and I’ll send it to your inbox.
The Cake That Made Me Slow Down
I avoided gluten-free desserts for a long time. I had found my rhythm with all-purpose flour and cake flour, and baking with them felt like an area of real confidence. Learning gluten-free baking meant slowing down, trying again, and working through more than a few gummy failures.
The things I resist at first often become some of my favorites. Gluten-free baking intimidated me, and because I had not eaten much of it myself, I wondered whether it was even my place to develop those recipes. Then I realized how many people in my neighborhood were gluten-free, and more of my cake orders began requesting gluten-free options. It was time to listen to the people I was baking for and really learn.
This cake frustrated me more than once, but it became my favorite gluten-free cake. Once I had a vanilla cake I truly loved, adding it to my lava cake series felt like the best possible celebration. Now more people can enjoy the tender vanilla layers, fluffy buttercream, and that dramatic vanilla bean center right along with everyone else.
Ingredient notes
Key ingredients
Gluten-free flour blend with xanthan gum
The blend needs to contain xanthan gum, which gives these egg-free layers enough structure to stack while keeping the crumb tender. The flour I use is linked in the brands section below.
Cornstarch
Cornstarch softens the flour blend and keeps the cake layers light. Measure by weight for the most consistent texture.
Vanilla bean paste
Vanilla bean paste flavors the cake, lava, and buttercream. Its concentrated flavor and visible vanilla seeds are what make this cake feel unmistakably vanilla bean.
Plain unsweetened yogurt
Yogurt adds moisture and body to the egg-free batter. Use a smooth, spoonable yogurt so it emulsifies evenly with the other wet ingredients.
Milk and apple cider vinegar
The vinegar lightly acidifies the milk and works with the baking soda to help the gluten-free layers rise evenly and stay tender.
Light corn syrup or glucose
A small amount keeps the vanilla lava smooth, glossy, and fluid enough to spill when the cake is sliced.
Brands I used for this recipe
These are preferences, not requirements. If you choose the non-dairy route, these are the products I test with. Dairy equivalents can be used at the same listed amounts and temperatures.
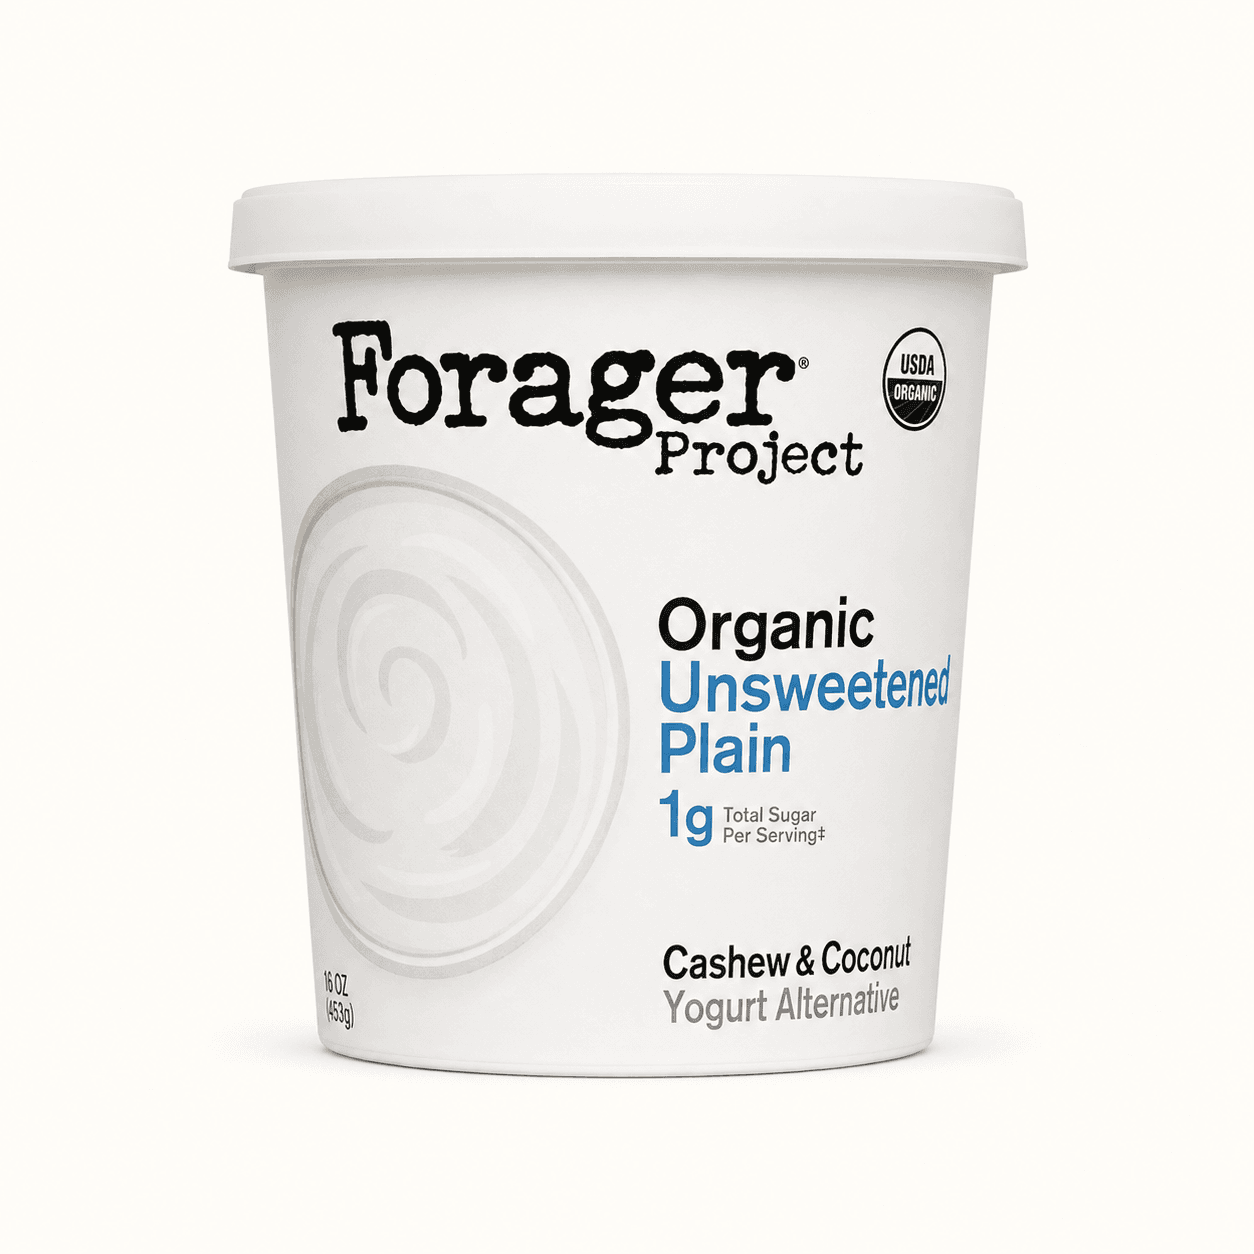
Forager Unsweetened Plain Yogurt
Plain unsweetened yogurt adds moisture, acidity, and body so the crumb bakes up tender without tasting tangy.
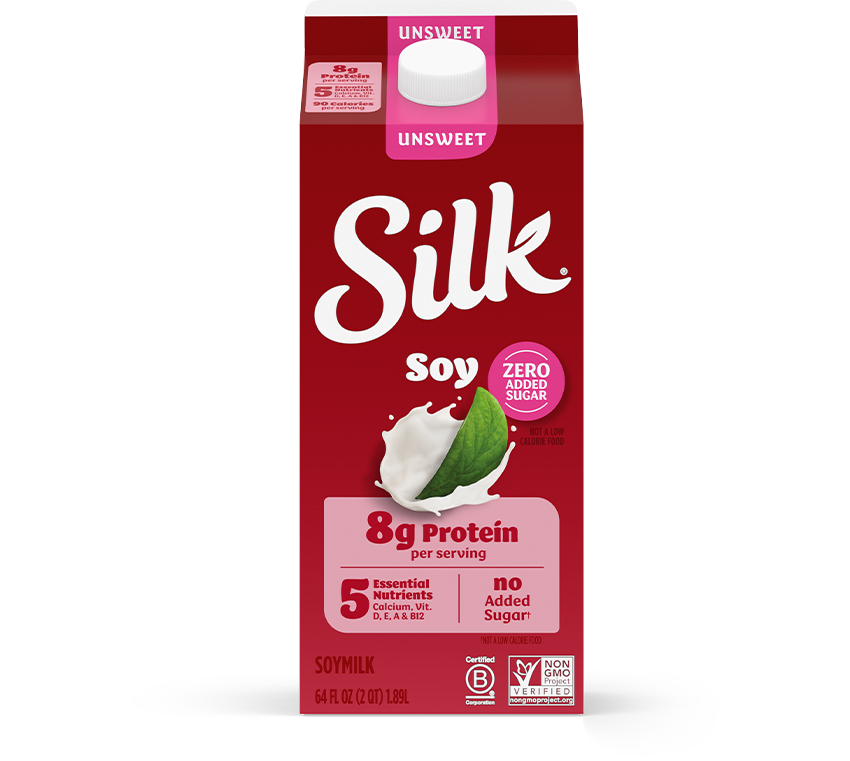
Silk Original Unsweet
Milk affects how smoothly a batter, filling, or frosting comes together. Soy milk and Ripple tend to emulsify well because their protein and fat help create a creamy, cohesive finish.
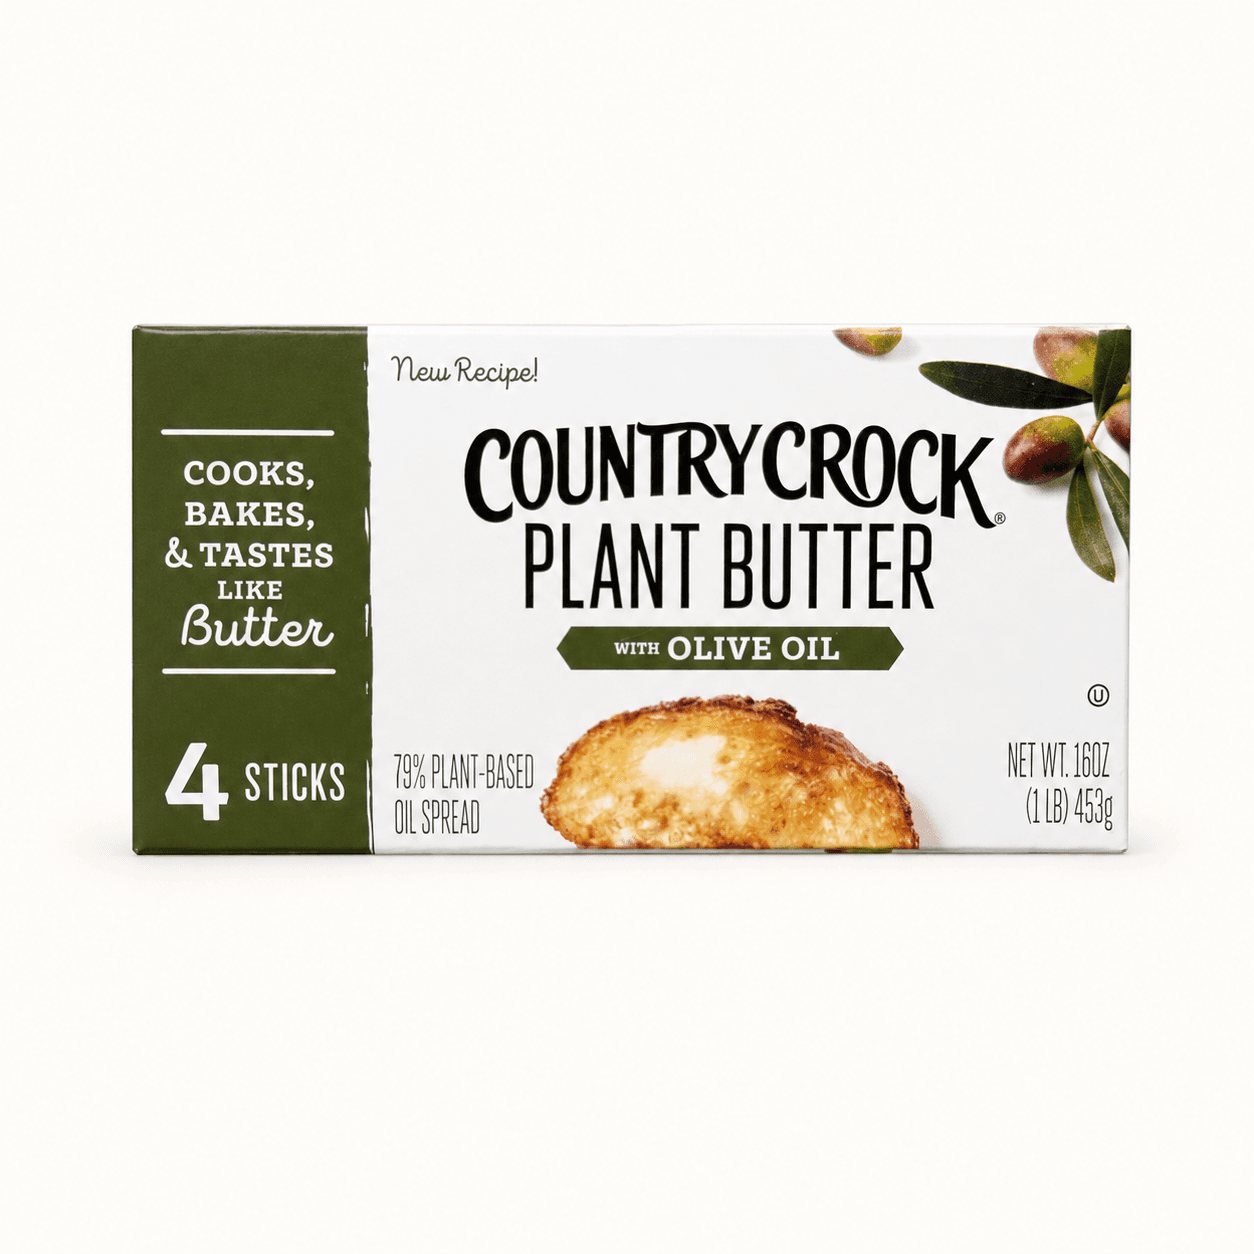
Country Crock Plant Butter Sticks
Use butter sticks for buttercream and fillings that need to hold their shape.
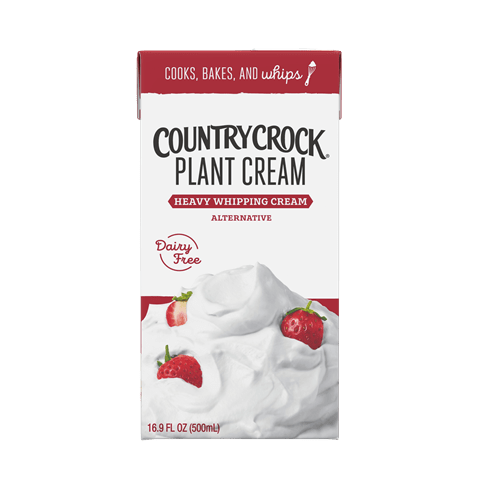
Country Crock Heavy Plant Cream
Heavy cream affects silkiness, looseness, and how buttercream or filling sets after chilling.
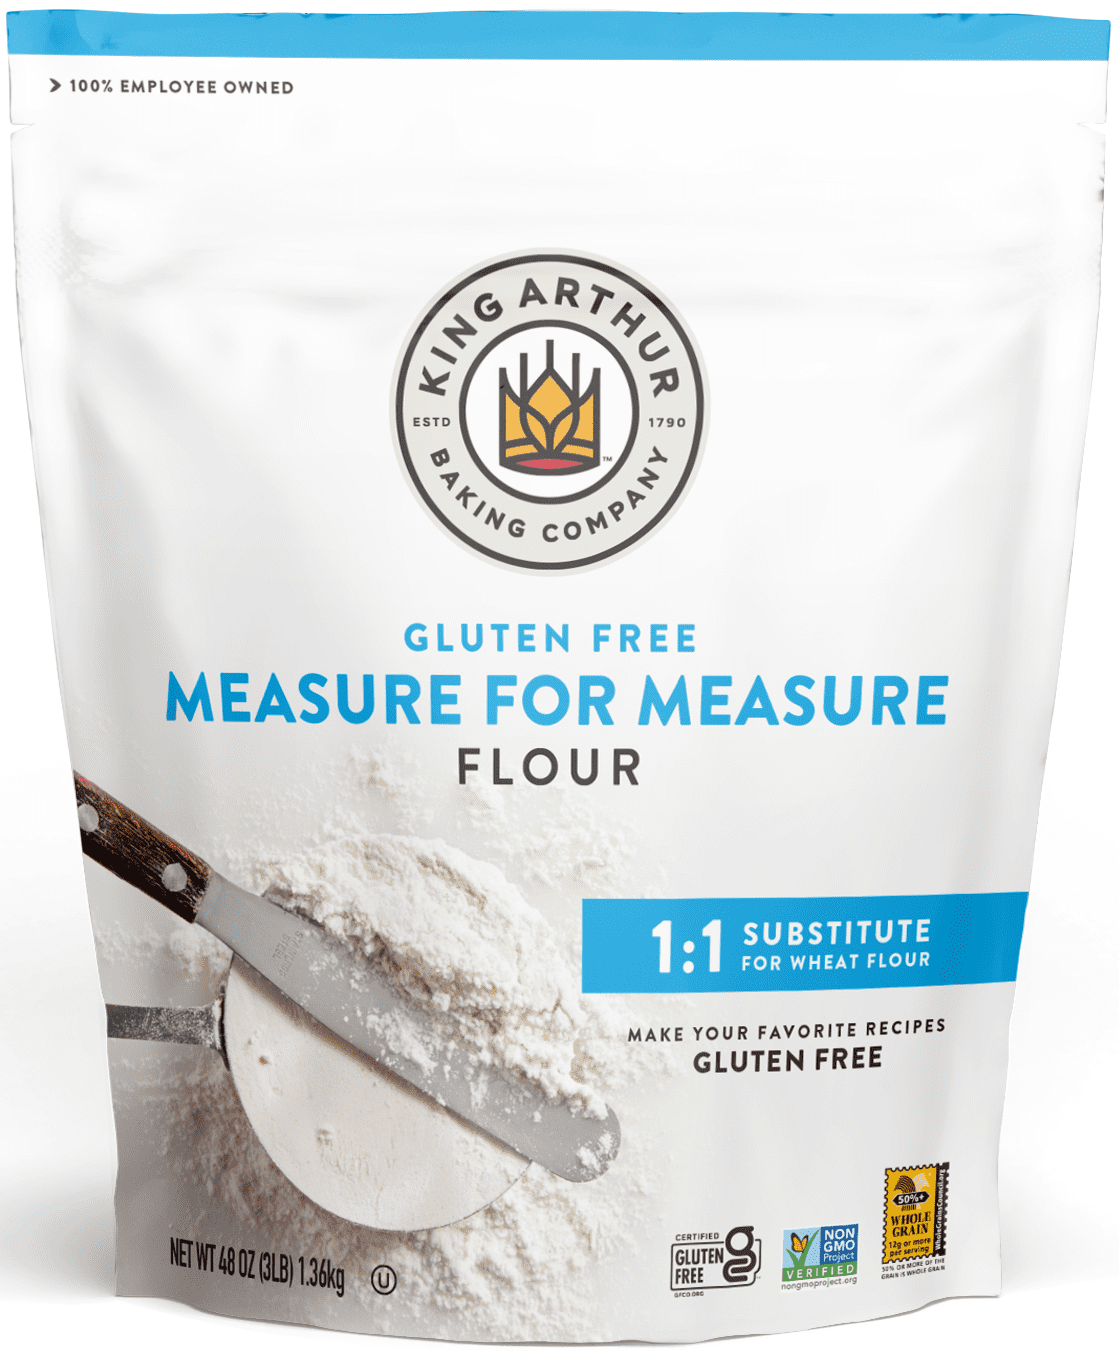
King Arthur Gluten-Free Measure for Measure Flour
The flour blend I use for this cake.

Rising Star Baking Supply Vanilla Bean Paste
The vanilla bean paste I use, linked to the 4-ounce Walmart bottle.
Testing notes
Why this works
Keep the batter rest to 5 minutes
Set a timer for 5 minutes and do not extend the rest. The gluten-free flour blend absorbs liquid as it sits, so the batter thickens. A longer rest can make it harder to spread evenly in the pans. When the timer goes off, whisk for 10 seconds, fill the prepared pans, and bake.
Why mixing gently matters
Once the dry ingredients are added, mix only until no streaks remain. Overmixing can make an egg-free gluten-free cake gummy or dense instead of soft and tender.
Why the lava cools before assembly
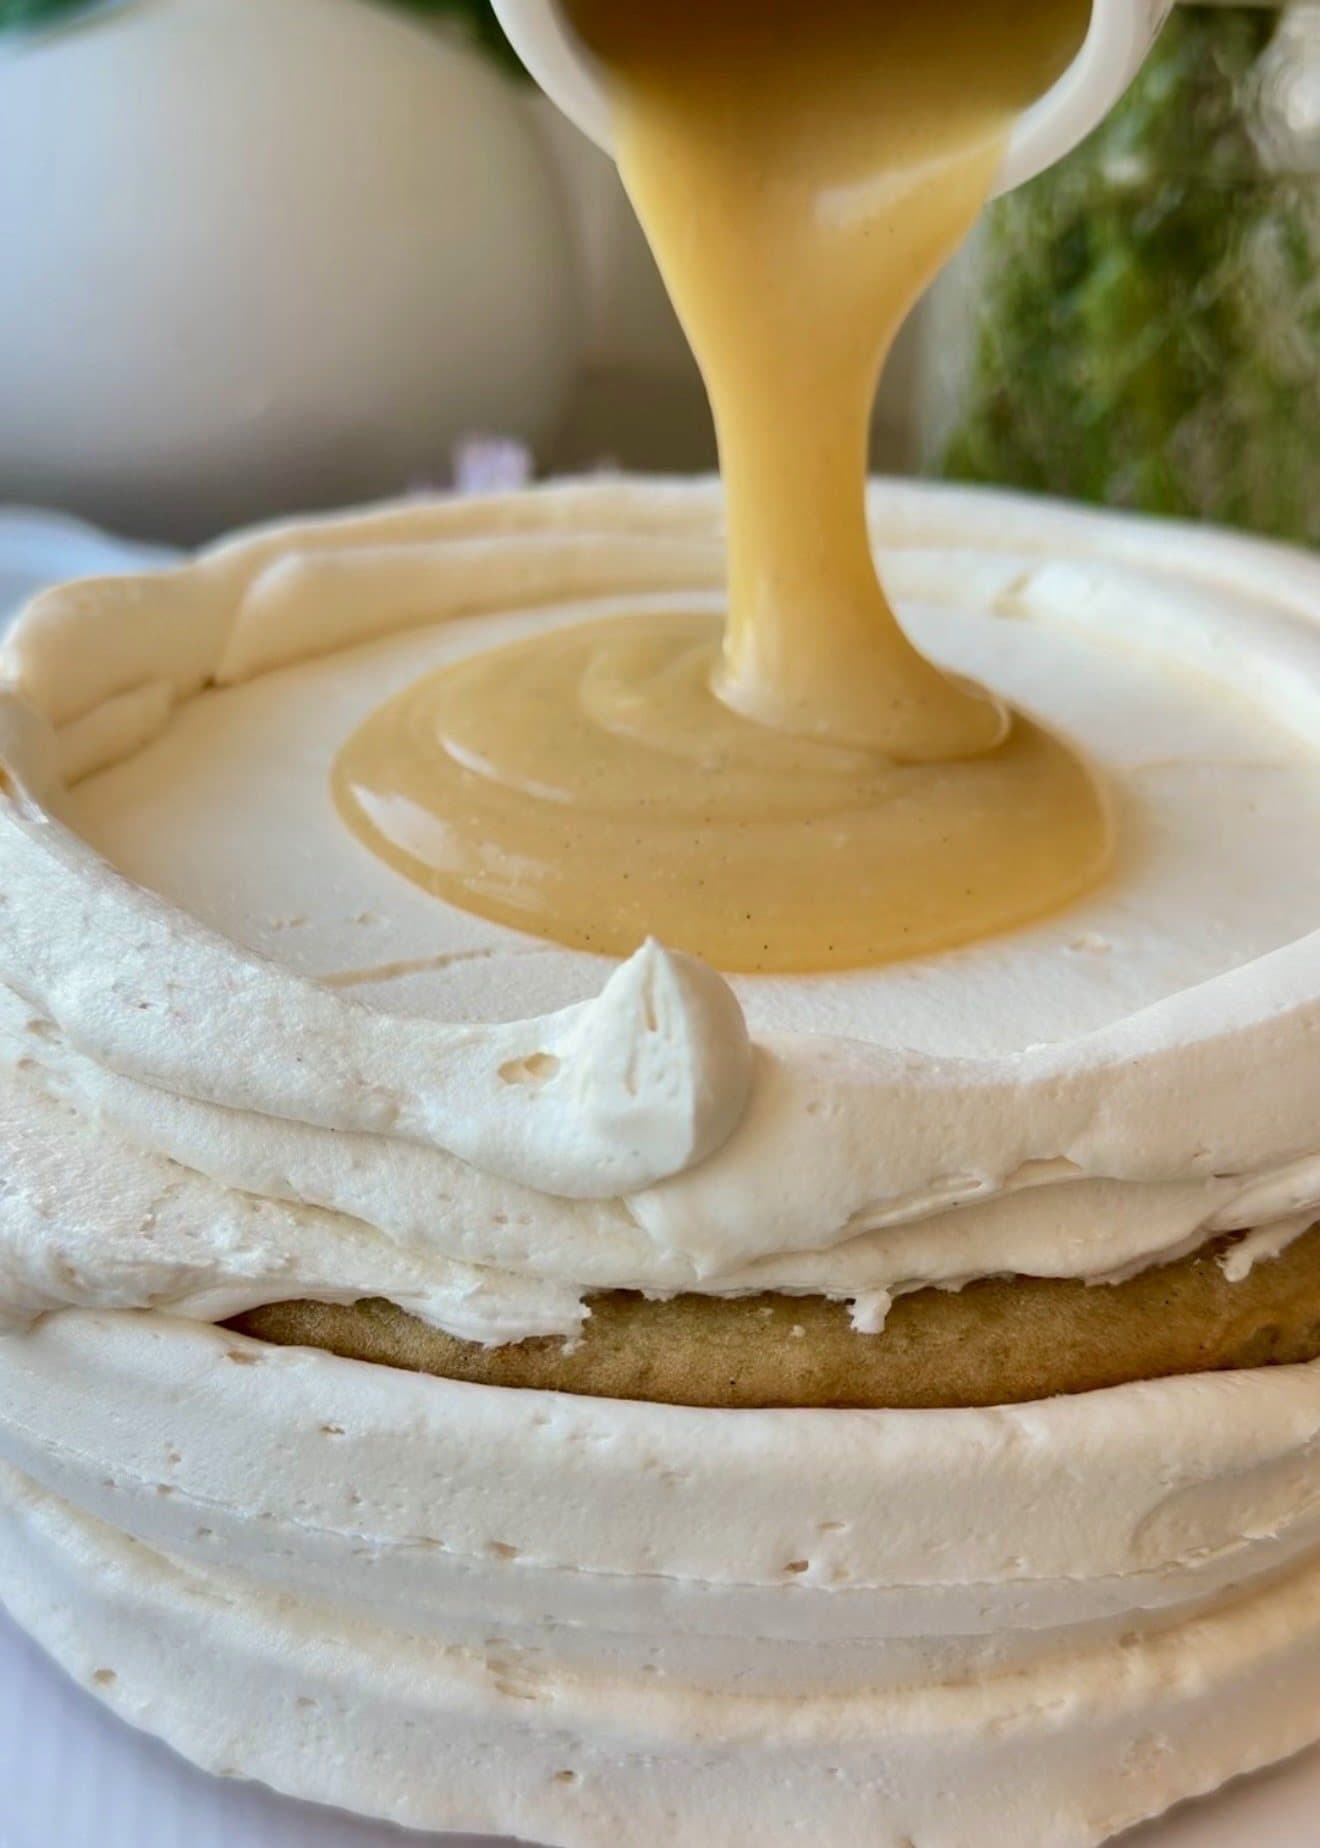
The vanilla filling is fluid while warm and thickens as it cools. It must be completely cool and slightly thickened before it touches the buttercream; even slightly warm lava can melt the dam and cause the cake to shift or collapse.
Why the buttercream dam matters
A tall, continuous buttercream border contains the lava between the layers. Keep the filling inside the dam and use a little less if you are newer to filled layer cakes.
Inside the recipe
How It All Comes Together
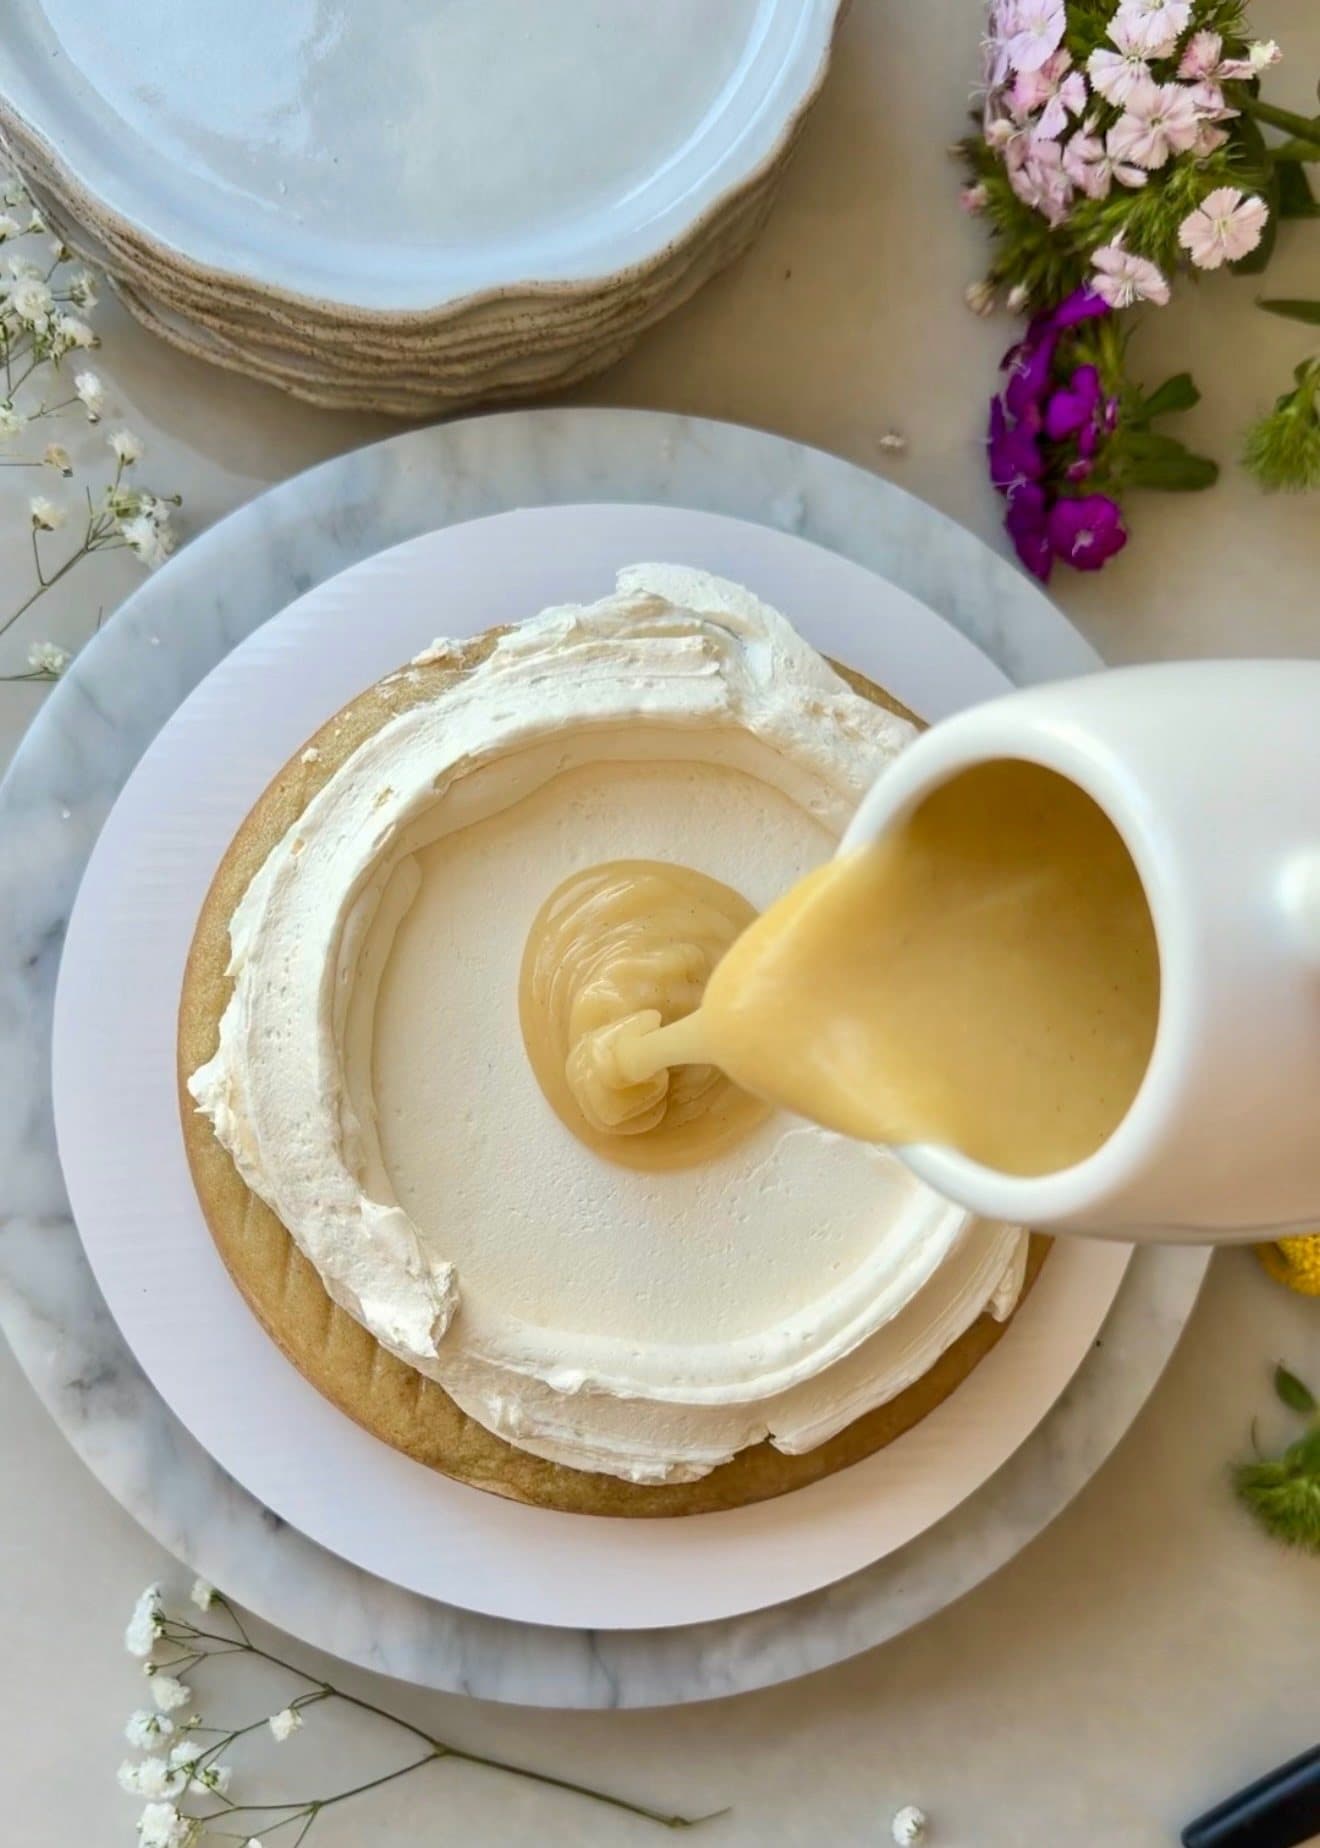
From Instagram
Watch the reel
Watch the gluten-free vanilla bean layers, fluffy buttercream, and silky vanilla lava come together into a dramatic celebration cake.
Open the reelTroubleshooting
If This Happens
The batter looks thicker after the 5-minute rest
Some thickening is expected as the flour blend absorbs liquid. Do not extend the rest beyond 5 minutes; letting the batter sit longer can make it harder to spread. Whisk for 10 seconds, then fill the pans and bake.
The cake layers feel gummy
Mix gently after the dry ingredients go in and stop as soon as the batter is smooth. Make sure a tester comes out clean or with a few moist crumbs before removing the pans from the oven.
The vanilla lava is too loose for assembly
Let it cool longer. It should be completely cool, glossy, and slightly thickened before it touches the buttercream.
The cake is shifting or the lava is escaping
Use completely cooled layers and a tall, closed buttercream dam. Add a little less filling, keep it inside the border, and chill the stacked cake before the final coat.
Before you slice
Texture and serving notes
For cleaner slices, cut the cake while it is still slightly cool, then let each slice come to room temperature before eating.
Save any extra vanilla lava to spoon over individual slices at serving time.
Keep it good
Storage
Fridge
Store the assembled cake covered in the refrigerator for up to 3 days.
Serve
Bring the cake or individual slices to room temperature before serving so the buttercream softens and the lava loosens.
Fridge
Store extra vanilla lava in a separate airtight container in the refrigerator, then let it return to room temperature and stir until smooth before serving.
Recipe FAQ
Questions that come up
How do I keep Gluten-Free Vanilla Bean Lava Cake from collapsing?
Use completely cooled cake layers, room-temperature lava that has thickened slightly, and a tall, continuous buttercream dam. Keep the filling inside the dam, avoid overfilling, and chill the assembled cake briefly before applying the final coat.
Can I make the vanilla bean lava ahead?
Yes. Make it a day ahead and refrigerate it in an airtight container. Before assembly, let it return to room temperature and whisk until smooth and spoonable. It must not be warm when it touches the buttercream.
Why does the gluten-free cake batter need to rest?
The short rest lets the gluten-free flour blend absorb liquid. For this cake, keep it to 5 minutes - no longer. The batter continues to thicken as it sits and can become harder to spread. After the rest, whisk for 10 seconds, then fill the pans and bake.
Does Gluten-Free Vanilla Bean Lava Cake need to be refrigerated?
Yes. Store it covered in the refrigerator for up to 3 days, then bring it to room temperature before serving for the best cake, buttercream, and lava texture.
Can I use the ingredients I already have?
Yes. Use the milk, yogurt, butter, and cream you have on hand, keeping the listed temperatures and textures the same.
Should I weigh the ingredients or use volume measurements?
I strongly recommend weighing the ingredients in grams for the most reliable result. Volume measurements are included for convenience, but the amount in a cup can change depending on how an ingredient is filled, packed, or poured. These recipes are easy to follow, but their ratios are precise, so I cannot guarantee the exact same result when volume measurements are used. I still use teaspoons and tablespoons for small amounts like leaveners, salt, spices, and flavorings because those are the most practical measurements.
More lava cakes to try


- Prep
- 55 min
- Bake
- 25 min
- Total
- 2 hr 30 min
- Yield
- One 3-layer 8-inch cake
Measurement note
For the closest match to the recipe I tested, use grams. Volume measurements are included for convenience, but cups can vary, so I cannot guarantee the exact same result when measuring by volume.
Ingredients
Vanilla Cake Layers
- 300 g gluten-free flour blend with xanthan gum300 g (about 2 1/2 cups) gluten-free flour blend with xanthan gum
- 35 g cornstarch35 g (about 5 tablespoons) cornstarch
- 11 g baking powder (weigh for accuracy)2 1/4 teaspoons baking powder
- 2 g baking soda (weigh for accuracy)1/2 teaspoon baking soda
- 3 g fine sea salt (weigh for accuracy)3 g fine sea salt (weigh for accuracy)
- 330 g granulated sugar330 g (about 1 2/3 cups) granulated sugar
- 300 g milk300 g (about 1 1/4 cups) milk
- 15 g apple cider vinegar15 g (about 1 tablespoon) apple cider vinegar
- 155 g neutral oil155 g (about 2/3 cup + 1 teaspoon) neutral oil
- 200 g plain unsweetened yogurt200 g (about 3/4 cup + 1 tablespoon) plain unsweetened yogurt
- 12 g vanilla bean paste (weigh for accuracy)12 g vanilla bean paste (weigh for accuracy)
Vanilla Bean Lava Filling
- 120 g butter120 g (about 1/2 cup + 1 teaspoon) butter
- 60 g cream60 g (about 1/4 cup) cream
- 90 g powdered sugar90 g (about 3/4 cup) powdered sugar
- 20 g light corn syrup or glucose20 g (about 1 tablespoon + 1/8 teaspoon) light corn syrup or glucose
- 1 tablespoon vanilla bean paste1 tablespoon vanilla bean paste
- 1/8 teaspoon fine sea salt1/8 teaspoon fine sea salt
Vanilla Buttercream
- 340 g butter (3 sticks)340 g (about 1 1/2 cups) butter (3 sticks)
- 425 g powdered sugar425 g (about 3 1/2 cups) powdered sugar
- 1 tablespoon vanilla bean paste1 tablespoon vanilla bean paste
- 1/4 teaspoon fine sea salt1/4 teaspoon fine sea salt
- 40 g cream40 g (about 2 tablespoons + 2 teaspoons) cream
Pan used
I use Fat Daddio's 8-inch anodized aluminum round cake pans for this recipe.
Instructions
- 1Preheat the oven to 325°F (165°C). Grease three 8-inch round cake pans and line the bottoms with parchment paper.
- 2Make the cake layers. In a large bowl, whisk together the sugar, milk, apple cider vinegar, neutral oil, yogurt, and vanilla bean paste until completely smooth and emulsified.
- 3Add the gluten-free flour, cornstarch, baking powder, baking soda, and fine sea salt to the same bowl.
- 4Whisk gently just until no dry streaks remain. Do not overmix.
- 5Let the batter rest for 5 minutes - no longer. It continues to thicken as it sits. Whisk again for 10 seconds, then move straight on to filling the pans and baking.
- 6Divide the batter evenly between the prepared pans and smooth the tops.
- 7Bake for about 25 minutes, or until the centers are set and a tester inserted in the center comes out clean or with a few moist crumbs.
- 8Cool the layers in the pans for 10-15 minutes, then turn them out onto a wire rack and cool completely.
- 9Make the vanilla bean lava filling. Heat the butter and cream together in a saucepan over low heat, whisking until fully melted and smooth.
- 10Remove from the heat and whisk in the powdered sugar until the filling is completely smooth and glossy.
- 11Whisk in the corn syrup or glucose, vanilla bean paste, and fine sea salt until fully emulsified.
- 12Let the lava cool completely at room temperature until slightly thickened. Do not use it while warm.
- 13Make the vanilla buttercream. Beat the butter for 3-5 minutes, until very light and fluffy.
- 14Add the powdered sugar gradually and continue mixing for 5-7 minutes, until pale and smooth.
- 15Mix in the vanilla bean paste and fine sea salt.
- 16With the mixer on low, slowly stream in the cream and mix just until fully incorporated and silky.
- 17Assemble the cake. Level the completely cooled cake layers if needed.
- 18Place the first layer on a cake board or stand. Spread a thin layer of buttercream over the cake, then pipe a tall, continuous buttercream dam around the edge.
- 19Fill the center with room-temperature vanilla bean lava, keeping it completely inside the dam. Never use warm or even slightly warm lava; it can melt the buttercream and cause the cake to collapse.
- 20Add the second cake layer and repeat with another thin layer of buttercream, a sturdy dam, and vanilla bean lava.
- 21Top with the final cake layer, then chill briefly to set the structure before applying the final coat of buttercream and decorating as desired.
- 22Refrigerate the finished cake until needed, then bring it to room temperature before serving.
Meet the baker
Angela Heckler
Angela Heckler is the recipe developer, baker, and photographer behind Obsessed Cakes. Her Old-Fashioned Donut Loaf series is a growing collection of cake-donut-inspired loaves with soft, deeply moist crumbs, buttery streusel, and crackly glaze. Angela develops and tests every recipe in her Arizona kitchen. Follow Obsessed Cakes on Instagram, TikTok, and YouTube.
Made it? Tell us.
Ratings and reviews
Be the first to rate this recipe.
No reviews yet.
Make the recipe, leave a rating, and share how it turned out.Questions from readers
Recipe questions and answers
If I want to serve the cake on saturday and I bake or finish it on friday, is it possible then to bake the Biscuit Layers already on thursday and also preparing the bean cream and filling on thursday?
Hello! You can prepare the cake layers, wrap and freeze. The vanilla filling can also be made in advance, just make sure it is airtight and plastic wrap over the top layer to prevent a film from forming. You can make the buttercream in advance too but you’ll have to let it get to room temperature day of and mix a bit to make it light and fluffy. I have found it easiest and best tasting to make the buttercream day of, especially if you already have to mix it again if made in advance ❤️
Did you make this?
Share your bake on Instagram - tag @obsessedwithcashews and use #obsessedcakes.