Red Velvet Lava Cake
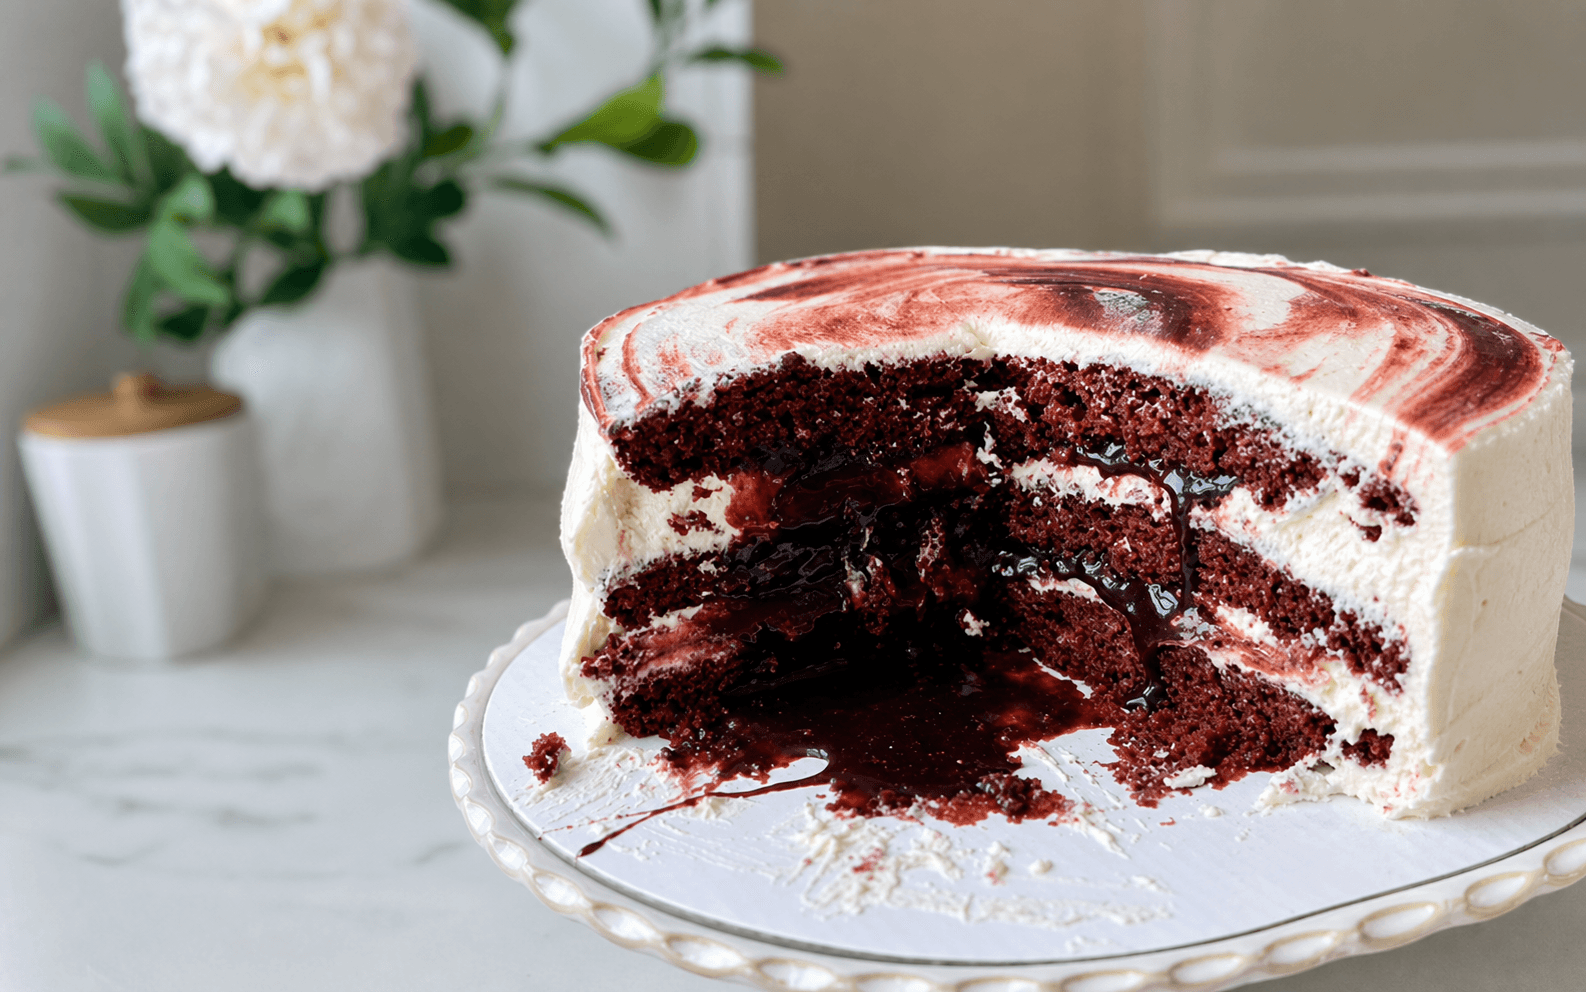
5.0 from 5 reviewsThis is the red velvet cake everyone will remember: super-fluffy red velvet layers, cream cheese buttercream you could eat by the spoonful, and a silky cocoa lava that settles over every slice.
The silky cocoa lava echoes the cake's gentle cocoa flavor, coating every slice alongside the vanilla and cream cheese tang.
For everyone who remembers my Red Velvet Batter Cake, consider this its new version. I cannot wait for you to cut into it!
Save this recipe
Want to save this recipe for later?
Enter your email and I’ll send it to your inbox.
Red Velvet, Taken Over the Top
Red velvet always feels like an experience. The color grabs everyone's attention first, and then the silky cream cheese frosting keeps you coming back for another bite.
Then there are red velvet brownies, which might be an even better version of the combination. Their mild cocoa flavor and fudgy texture are so good with frosting that the two practically melt together. Leave the brownie unfrosted, and all I want to do is warm it up and add a big scoop of ice cream.
This cake piles all of those experiences into one dessert: soft red velvet layers, cream cheese buttercream, and a silky cocoa lava running through the center. It is ridiculously over the top, and that is exactly why I love it.
Ingredient notes
Key ingredients
Natural cocoa powder
Natural cocoa makes up most of the cocoa blend, keeping the flavor subtle and classically red velvet. I like Ghirardelli natural cocoa powder here.
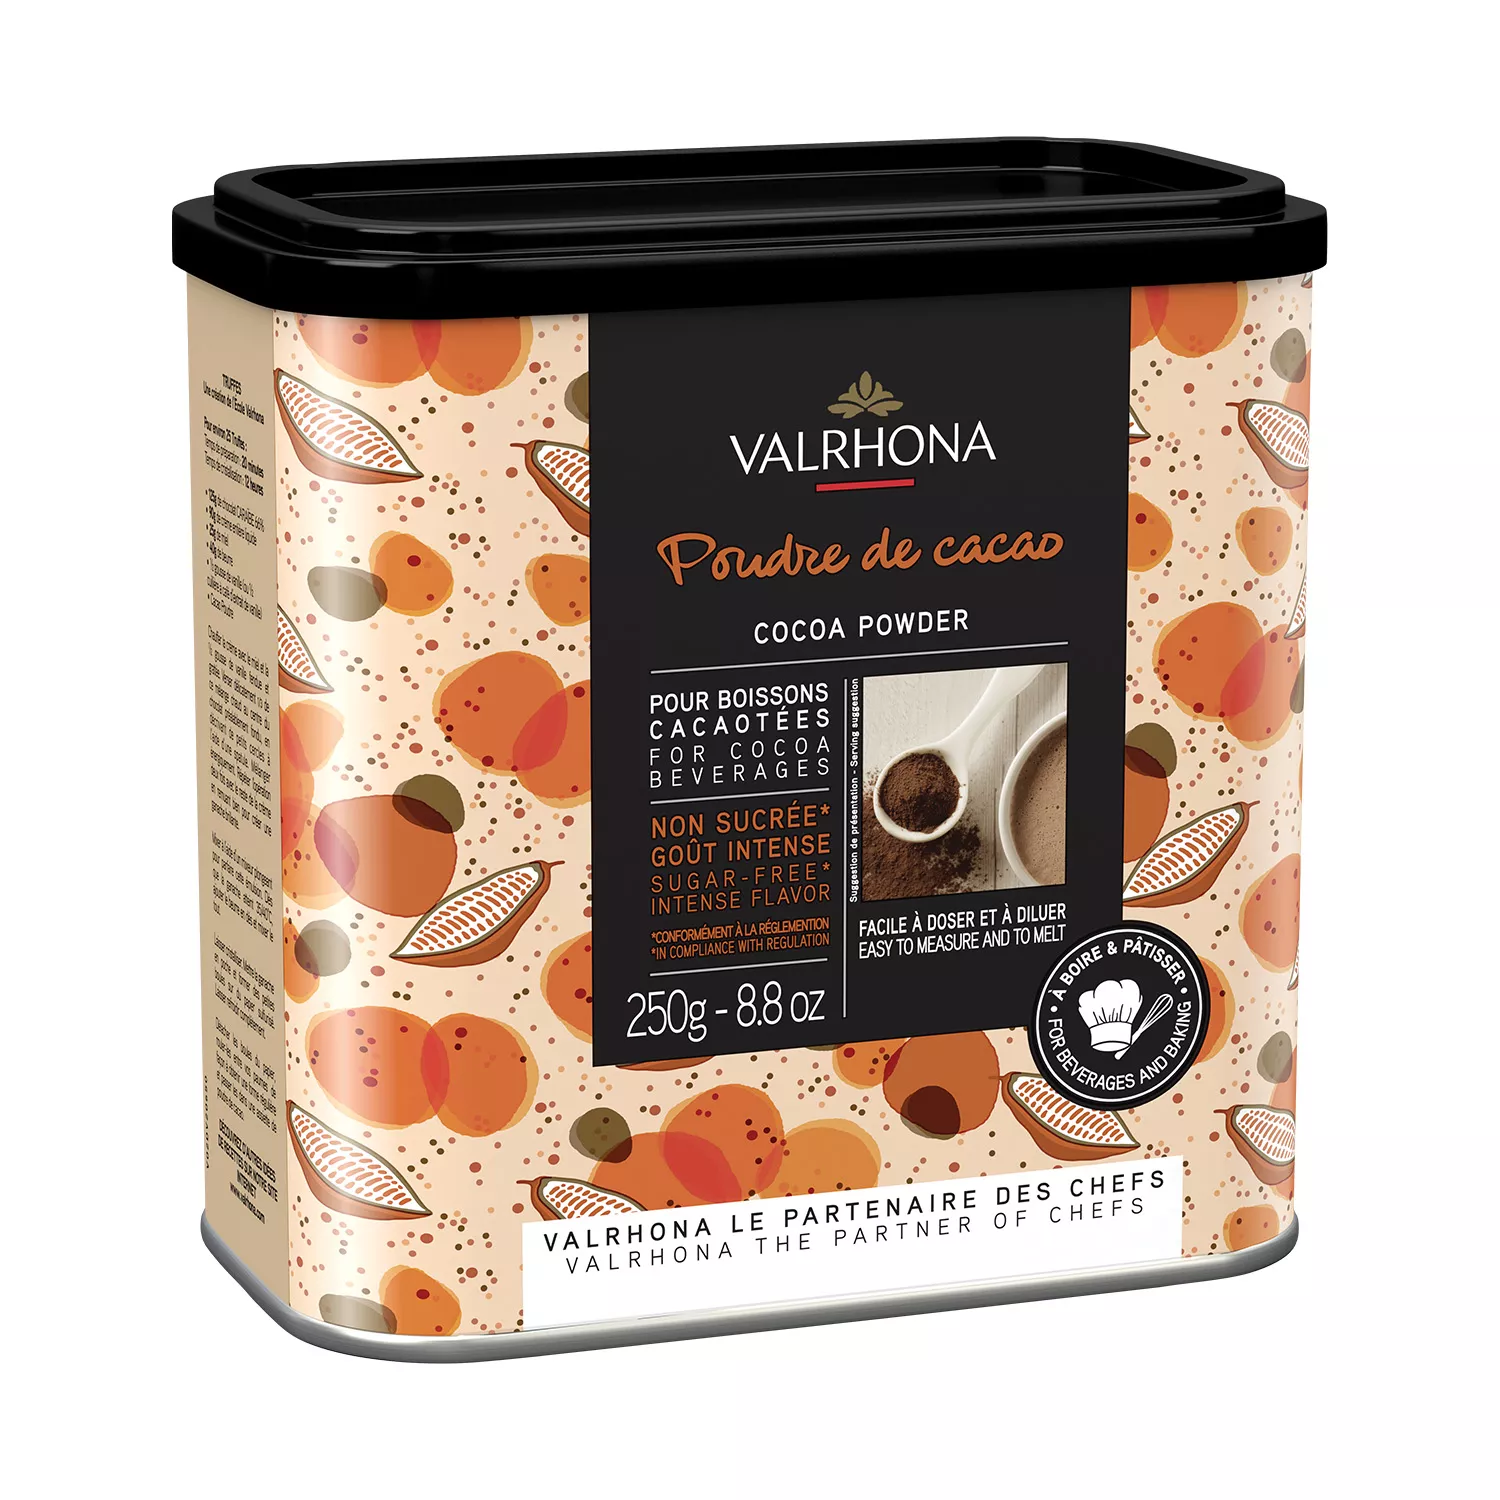
Dutch-process cocoa powder
A smaller amount rounds out and deepens the cocoa flavor without turning this into a full chocolate cake. Majestic Dutch cocoa is my preference.
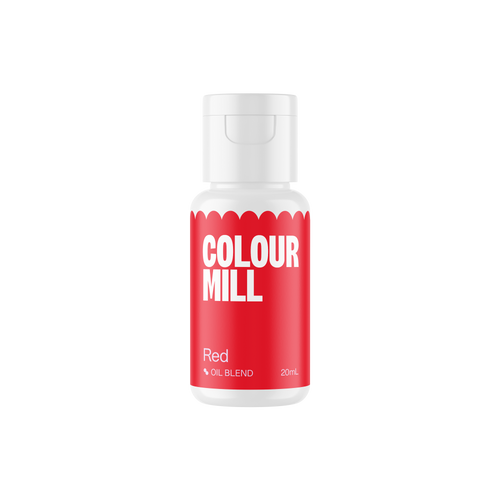
Red gel food coloring
High-quality color is much more concentrated, so you may need only about 3 drops. I recommend Ann Clark or Colour Mill; begin with a few drops and add more only if you want a deeper red.
Milk and apple cider vinegar
Together they bring the acidity and gentle tang that belong in red velvet while helping the cake bake up tender.
Cream cheese
Keep it cool but pliable. It gives the frosting its signature tang, but it becomes softer as it warms, so temperature matters throughout assembly.
Lactic acid
This is optional, but a tiny amount adds a bright, familiar cream-cheese tang.
Brands I used for this recipe
These are preferences, not requirements. If you choose the non-dairy route, these are the products I test with. Dairy equivalents can be used at the same listed amounts and temperatures.
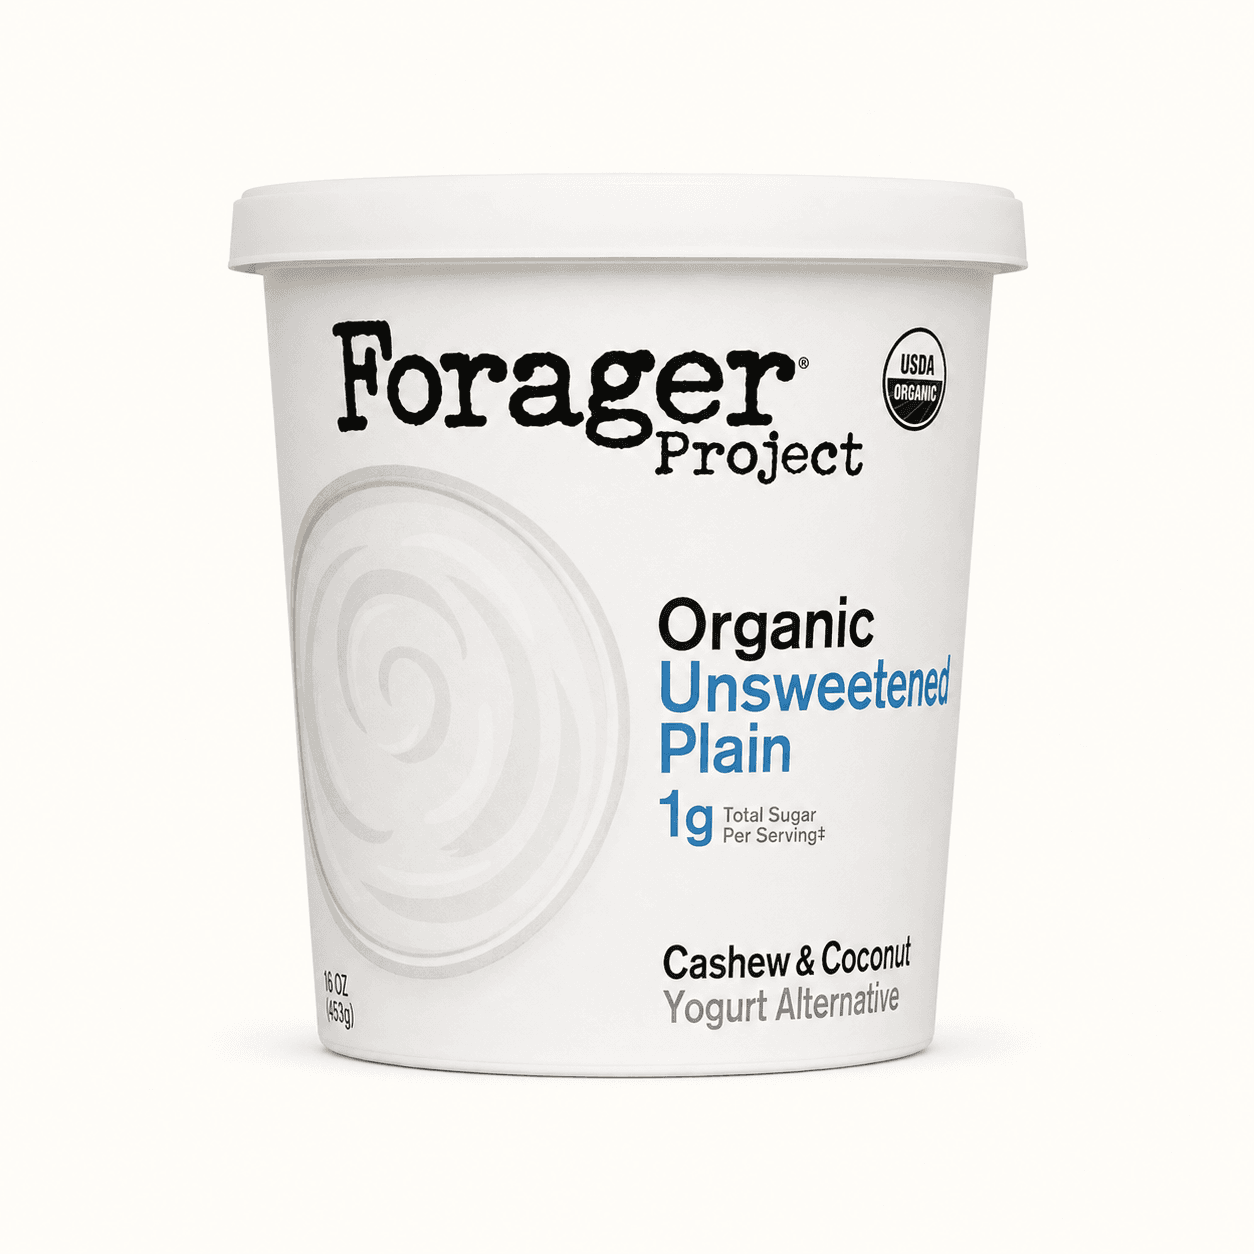
Forager Unsweetened Plain Yogurt
Plain unsweetened yogurt adds moisture, acidity, and body so the crumb bakes up tender without tasting tangy.
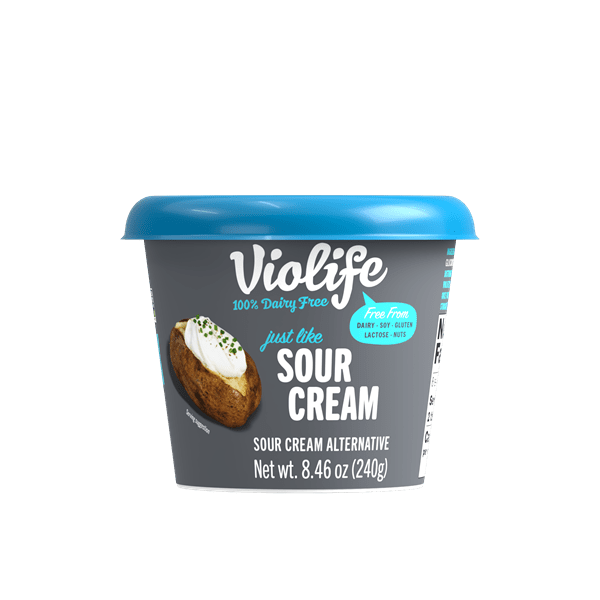
Violife Sour Cream
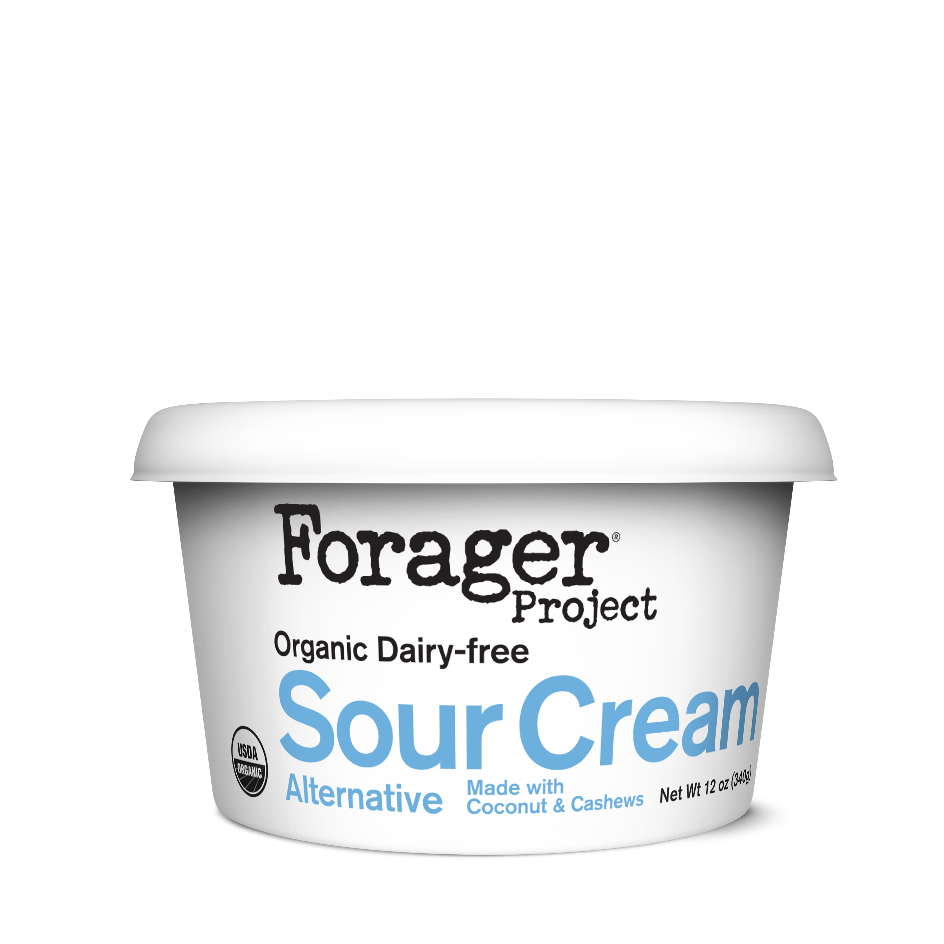
Violife Sour Cream is my first choice for this cake, with Forager Sour Cream as another option.
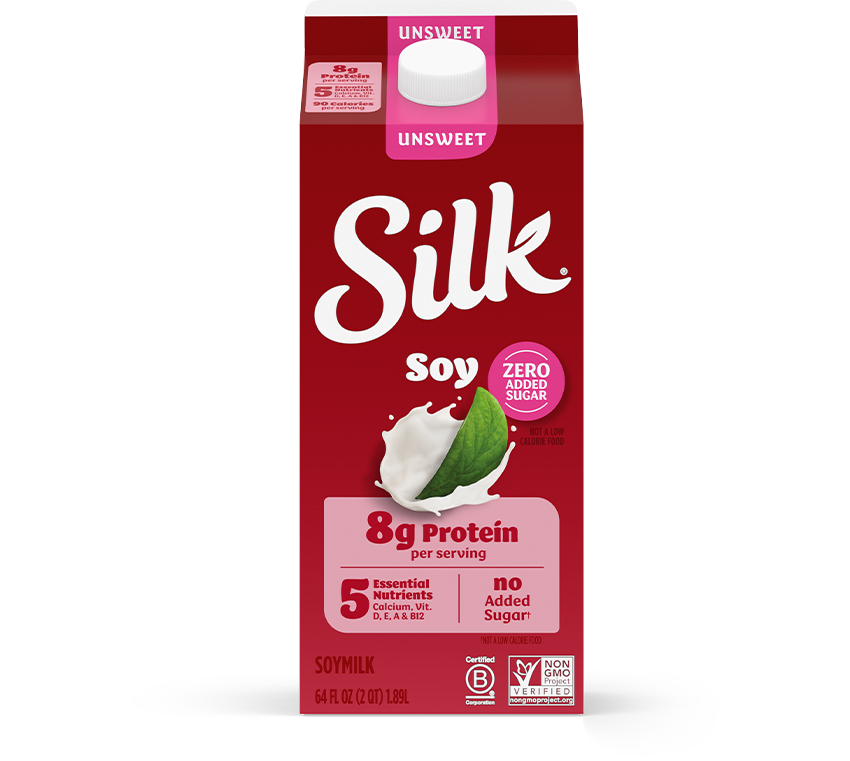
Silk Original Unsweet
Milk affects how smoothly a batter, filling, or frosting comes together. Soy milk and Ripple tend to emulsify well because their protein and fat help create a creamy, cohesive finish.
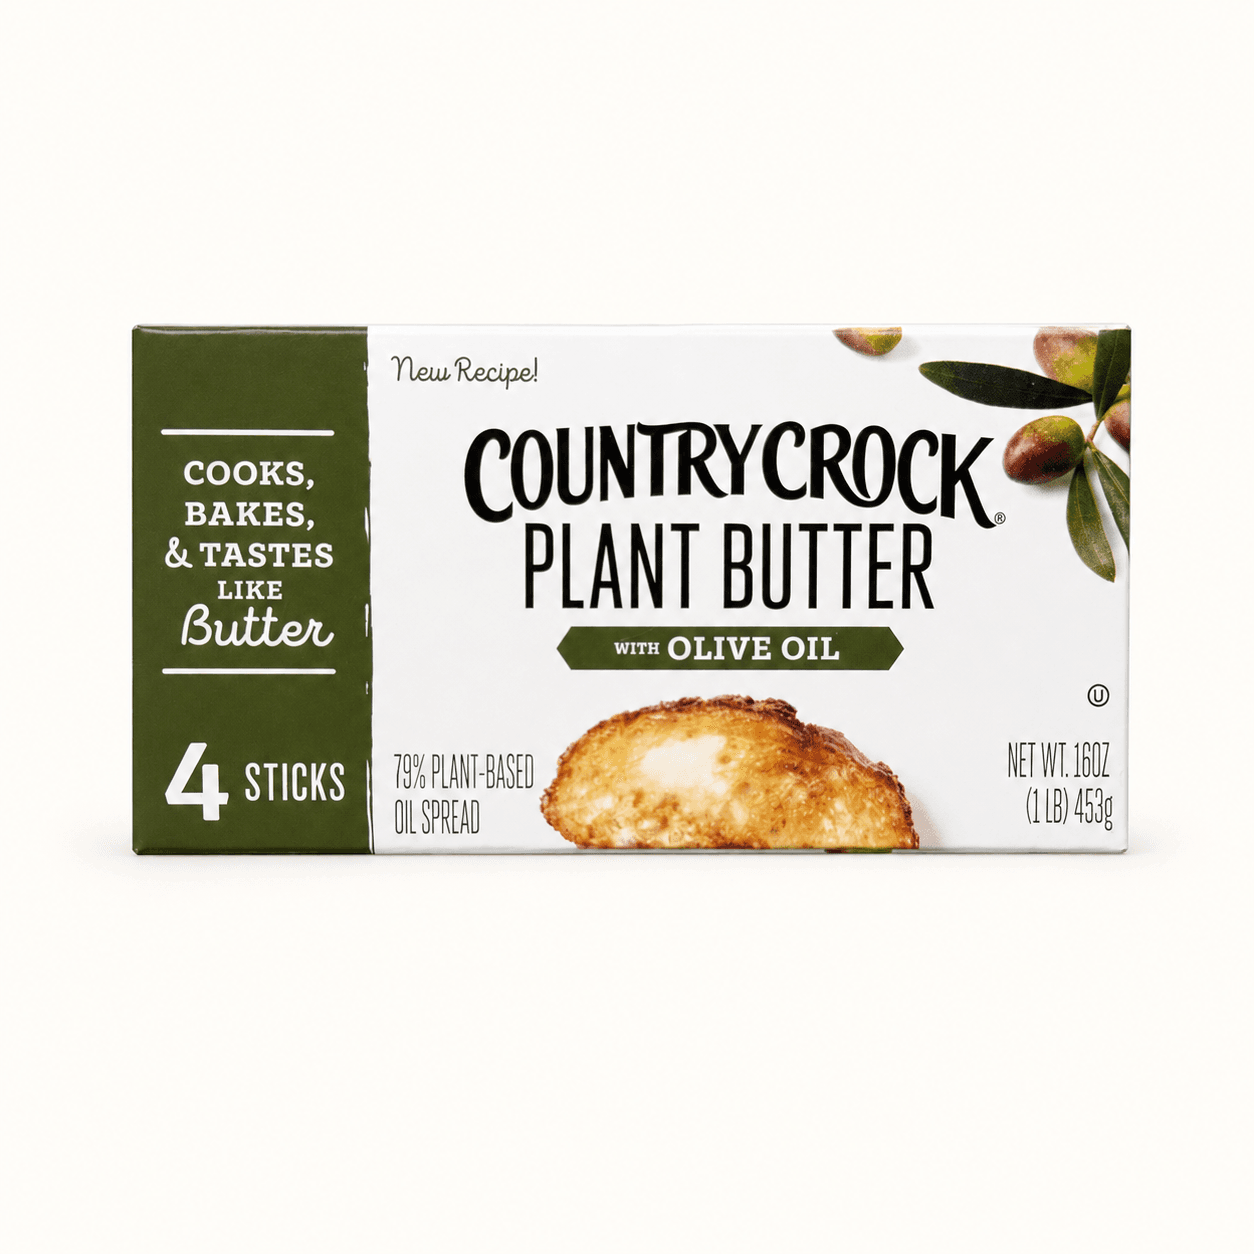
Country Crock Plant Butter Sticks
Use butter sticks for buttercream and fillings that need to hold their shape.

Philadelphia Plant-Based Cream Cheese
Philadelphia Plant-Based Cream Cheese is my dependable choice when cream cheese is used in a cake batter, frosting, or icing.
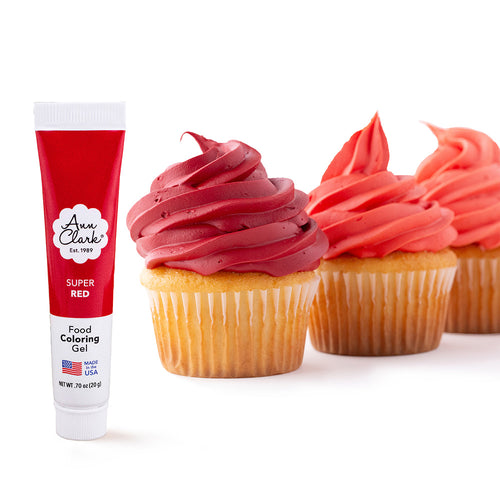
Ann Clark Gel Food Coloring
High-quality food coloring is much more concentrated. Start with about 3 drops of Ann Clark or Colour Mill, then add another drop only if you need a deeper shade.

Majestic Dutch-process cocoa powder
For Dutch-process cocoa, I typically reach for Majestic or Ghirardelli.

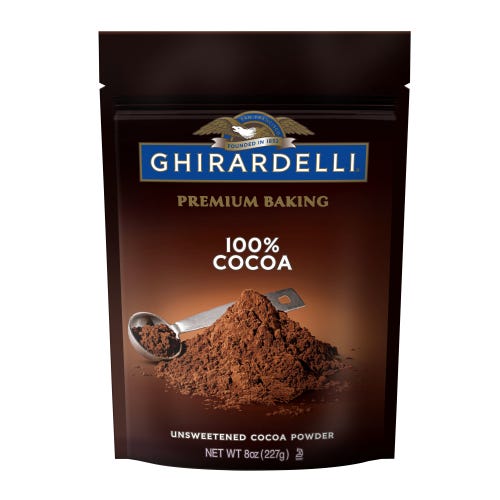
Ghirardelli natural cocoa powder
Ghirardelli is my natural cocoa preference. The Valrhona cocoa powder linked here is Dutch processed; use the cocoa type listed in the recipe.
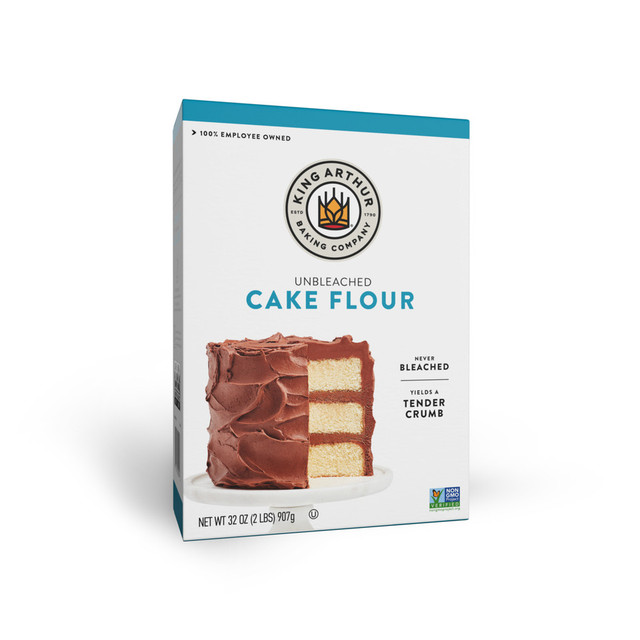
King Arthur Unbleached Cake Flour
I use King Arthur Unbleached Cake Flour for this recipe.

Rising Star Baking Supply Vanilla Bean Paste
I use Rising Star Baking Supply Vanilla Bean Paste for this recipe.
From this recipe
Tested notes
The cream cheese frosting becomes softer as it warms. Keep the components cool, assemble efficiently, and pause to chill whenever needed.
Give the red velvet cookie dough its full 30-minute chill before breaking it into pieces, and keep the pieces refrigerated until assembly.
Beginning bakers may prefer to use less lava inside the cake and serve the remaining sauce alongside each slice.
For a classic red velvet layer cake, omit the lava and assemble with the cream cheese frosting alone.
Testing notes
Why this works
A little red velvet history
Earlier red velvet cakes used natural, non-alkalized cocoa in acidic batters, which could create a muted reddish-brown color. The first recipes called red velvet appeared in the early 20th century, and food coloring later became the familiar way to create the vivid red we recognize now. Red velvet is meant to have a subtle cocoa flavor and a gentle tang, rather than taste like a deeply chocolate cake.
Why both cocoas are sifted
Cocoa loves to hold onto little lumps. Sifting both kinds with the flour and leaveners helps them disperse evenly, so the batter stays smooth and the color remains consistent from layer to layer.
Why the lava must be chilled
The lava will be quite thin when it comes off the stovetop, but it will thicken naturally as it cools. Make sure it is completely chilled before assembly so it does not soften the cream cheese frosting or compromise the structure of the cake.
Why the frosting stays cool
Cream cheese frosting is delicate. Work efficiently, keep the cake and frosting refrigerated until firm, and return either one to the refrigerator whenever it begins to soften.
Step by step
How It All Comes Together
Step 1
Mix the red velvet batter
Whisk the wet ingredients until smooth, then add the sifted cake flour, cocoa powders, leaveners, and salt. Mix only until no dry streaks remain so the layers stay light and even.
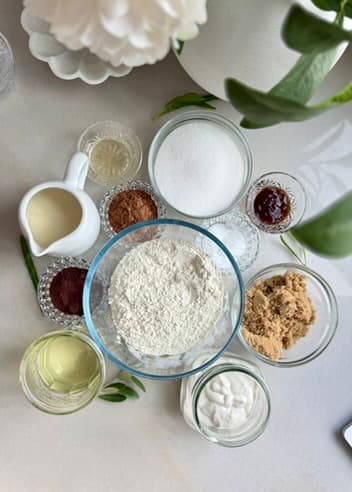
Have the cake ingredients measured before mixing. 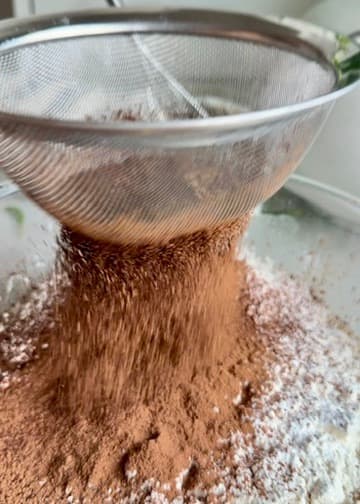
Sift the cocoa to break up lumps before mixing. 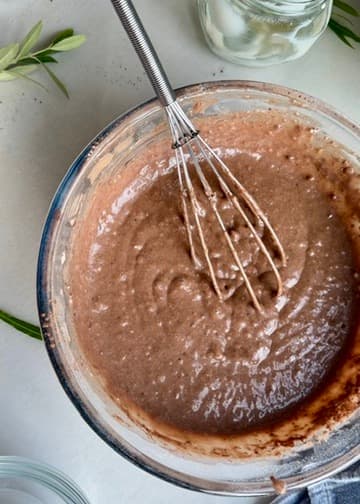
Stop mixing once no dry pockets remain. Step 2
Divide and bake the cake layers
Divide the batter evenly among three lined 8-inch pans. Bake until the tops spring back lightly and a tester comes out with a few moist crumbs, then cool the layers completely.
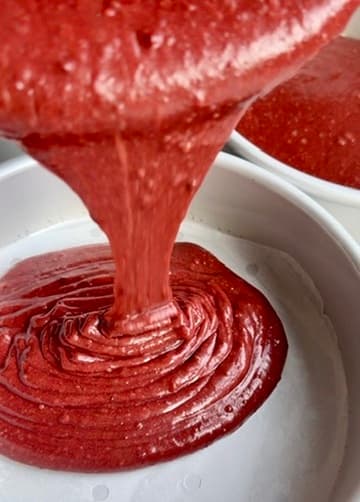
Divide the batter evenly among the prepared pans. Step 3
Cook the cocoa lava
Whisk the lava ingredients over medium heat until completely smooth, then bring the mixture to a gentle simmer for 1-2 minutes. Refrigerate it until fully chilled and naturally thickened.
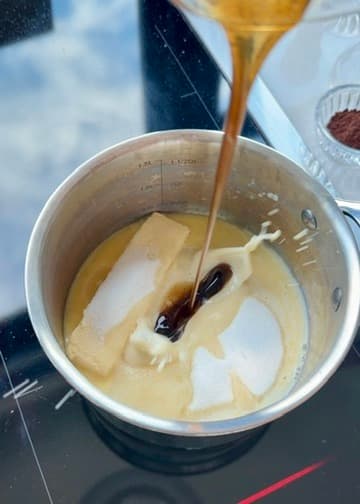
Begin the lava in a small saucepan, stirring as the butter melts. 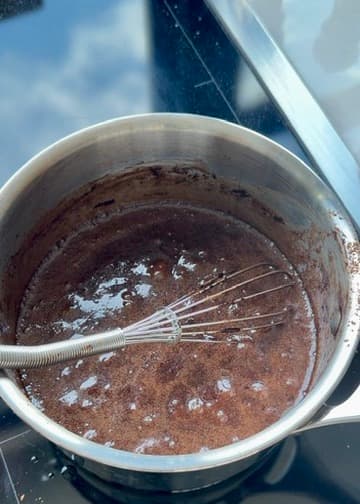
Whisk the lava as it simmers so the mixture stays smooth. 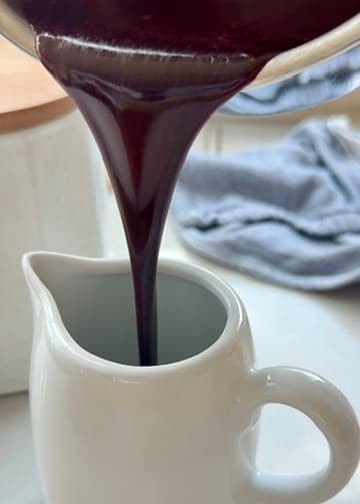
The lava pours in a smooth ribbon; it thickens as it chills. Step 4
Fill the cake inside a sturdy dam
Spread a thin layer of cool cream cheese buttercream over the cake and pipe a sturdy dam around the edge. Add the fully chilled lava below halfway up the dam, then press in the cold cookie dough pieces.
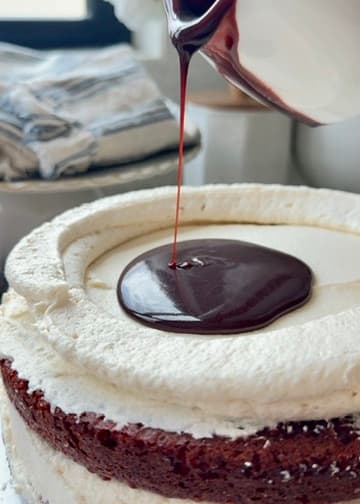
Keep the filling inside the buttercream dam. Step 5
Frost, chill, and slice
Repeat the filling on the second layer, add the final cake layer, and finish with the remaining cream cheese buttercream. Chill for 20-30 minutes, until the frosting is firm enough to slice cleanly.
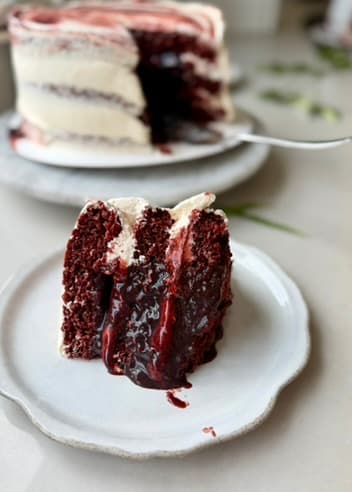
The pale buttercream separates the red cake layers and dark filling.
From Instagram
Watch the reel
Watch the red velvet cake, silky cocoa lava, red velvet cookie-dough pieces, and cream cheese buttercream come together.
Open the reelSmall things that matter
Tips for the best cake
Sift the cake flour, both cocoa powders, baking powder, baking soda, and salt so no cocoa pockets remain.
Let the cake layers cool completely before filling. Even a little warmth can soften the cream cheese frosting.
Pipe a thick, sturdy frosting border and keep every bit of lava inside it.
If you are newer to layer cakes, start with less filling. It lowers the risk of shifting or collapse, and the remaining lava is excellent poured over each slice.
Assemble efficiently and chill the cake as soon as it is frosted so the delicate cream cheese frosting can set.
Troubleshooting
If This Happens
The cocoa lava still looks thin
Chill it completely before judging the texture. The lava is thin when it leaves the stovetop and thickens naturally as it gets cold.
The cream cheese buttercream is getting soft
Refrigerate the buttercream and the cake until both feel firm again. Work with cool components and return them to the refrigerator whenever they begin to soften.
The filled layers are shifting
Keep the chilled lava below halfway up a sturdy frosting dam and use a modest amount of filling. Chill the stacked cake before finishing the outside.
There are cocoa pockets in the cake
Sift both cocoa powders with the cake flour, leaveners, and salt before adding them to the wet ingredients.
Before you slice
Texture and serving notes
For a celebration, serve the extra lava on the side so everyone can decide whether they would like more.
For a traditional red velvet layer cake, simply leave the lava out and make the cake with the cream cheese frosting alone.
For the cleanest slices, cut the cake while it is cool and add extra lava after plating.
Keep it good
Storage
Fridge
Store the assembled cake covered in the refrigerator for up to 4 days.
Fridge
Keep extra lava in a separate airtight container in the refrigerator and gently bring it back to a pourable consistency before serving.
Fridge
Store extra red velvet cookie-dough pieces separately in an airtight container in the refrigerator.
Storage
Because the cream cheese frosting softens at room temperature, keep the cake cool until shortly before serving.
Recipe FAQ
Questions that come up
How do I keep a Red Velvet Lava Cake from collapsing?
Use completely cooled cake layers, fully chilled lava, and a thick cream cheese frosting dam. Keep the filling inside the border, work efficiently, and chill the assembled cake promptly. If you are a beginning baker, use less lava inside and serve the rest with the slices.
Can I make this as a traditional red velvet cake?
Yes. Leave out the lava and assemble the three layers with cream cheese frosting. You will still have a soft, subtly chocolate red velvet cake with plenty of tang.
Why does this recipe use natural and Dutch-process cocoa?
Natural cocoa keeps the flavor bright and classically subtle, while the smaller amount of Dutch-process cocoa adds a rounder, deeper note. Using both creates more dimension without making the cake taste like a standard chocolate cake.
Does red velvet need food coloring?
Natural cocoa and acidic ingredients can give an uncolored cake a muted reddish-brown tone, but the vivid red associated with modern red velvet comes from food coloring. You can adjust the amount to reach the shade you prefer.
Should I weigh the ingredients or use volume measurements?
I strongly recommend weighing the ingredients in grams for the most reliable result. Volume measurements are included for convenience, but the amount in a cup can change depending on how an ingredient is filled, packed, or poured. These recipes are easy to follow, but their ratios are precise, so I cannot guarantee the exact same result when volume measurements are used. I still use teaspoons and tablespoons for small amounts like leaveners, salt, spices, and flavorings because those are the most practical measurements.
Can I make this recipe gluten-free?
I have not tested this recipe with gluten-free flour, so I cannot guarantee the same texture, rise, or structure. If you would like to experiment, a cup-for-cup (1:1) gluten-free baking blend intended to replace all-purpose flour is the best place to start. Results may differ from the recipe as written.
Can I use all-purpose flour instead of cake flour?
Yes, of course. Replace the cake flour with the same amount of all-purpose flour by weight. The cake will have a slightly sturdier, less delicate crumb, but it will still be great.
More lava cakes to try


- Prep
- 55 min
- Bake
- 22-27 min
- Total
- 2 hr 30 min
- Yield
- One tall 3-layer 8-inch cake
Measurement note
For the closest match to the recipe I tested, use grams. Volume measurements are included for convenience, but cups can vary, so I cannot guarantee the exact same result when measuring by volume.
Ingredients
Red Velvet Cake
- 300 g cake flour, sifted300 g (about 2 1/2 cups) cake flour, sifted
- 18 g natural cocoa powder18 g (about 3 tablespoons) natural cocoa powder
- 7 g Dutch-process cocoa powder7 g (about 1 tablespoon + 1/2 teaspoon) Dutch-process cocoa powder
- 8 g baking powder (weigh for accuracy)1 1/4 teaspoons baking powder
- 4 g baking soda (weigh for accuracy)3/4 teaspoon baking soda
- 4 g fine sea salt (weigh for accuracy)4 g fine sea salt (weigh for accuracy)
- 275 g granulated sugar275 g (about 1 1/3 cups + 1 tablespoon) granulated sugar
- 125 g light brown sugar, packed125 g (about 1/3 cup + 4 tablespoons) light brown sugar, packed
- 265 g milk, room temperature265 g (about 1 cup + 1 tablespoon + 1 teaspoon) milk, room temperature
- 20 g apple cider vinegar20 g (about 1 tablespoon + 1 teaspoon) apple cider vinegar
- 175 g neutral oil175 g (about 3/4 cup + 1 teaspoon) neutral oil
- 200 g plain unsweetened yogurt, room temperature200 g (about 3/4 cup + 1 tablespoon) plain unsweetened yogurt, room temperature
- 20 g vanilla bean paste (weigh for accuracy)20 g vanilla bean paste (weigh for accuracy)
- 6 g red gel food coloring, or as needed; if using a highly concentrated, high-quality color, start with about 3 drops (weigh for accuracy)6 g red gel food coloring, or as needed; if using a highly concentrated, high-quality color, start with about 3 drops (weigh for accuracy)
Red Velvet Lava
- 100 g granulated sugar100 g (about 1/2 cup) granulated sugar
- 56 g butter56 g (about 1/4 cup) butter
- 50 g milk50 g (about 3 tablespoons + 1 teaspoon) milk
- 5 g natural cocoa powder5 g (about 2 1/2 teaspoons) natural cocoa powder
- 3 g Dutch-process cocoa powder3 g (about 1 1/2 teaspoons) Dutch-process cocoa powder
- 3 g red gel food coloring, or as needed; if using a highly concentrated, high-quality color, start with about 3 drops (weigh for accuracy)3 g red gel food coloring, or as needed; if using a highly concentrated, high-quality color, start with about 3 drops (weigh for accuracy)
- 1/4 teaspoon fine sea salt1/4 teaspoon fine sea salt
- 8 g vanilla bean paste (weigh for accuracy)8 g vanilla bean paste (weigh for accuracy)
Red Velvet Cookie Dough
- 180 g all-purpose flour180 g (about 1 1/2 cups) all-purpose flour
- 10 g natural cocoa powder10 g (about 1 tablespoon + 2 teaspoons) natural cocoa powder
- 5 g Dutch-process cocoa powder5 g (about 2 1/2 teaspoons) Dutch-process cocoa powder
- 85 g butter, softened85 g (about 6 tablespoons) butter, softened
- 100 g light brown sugar, packed100 g (about 7 tablespoons + 1 1/2 teaspoons) light brown sugar, packed
- 50 g granulated sugar50 g (about 1/4 cup) granulated sugar
- 28 g cream cheese or sour cream28 g (about 2 tablespoons) cream cheese or sour cream
- 5 g vanilla bean paste (weigh for accuracy)5 g vanilla bean paste (weigh for accuracy)
- 3 g fine sea salt (weigh for accuracy)3 g fine sea salt (weigh for accuracy)
- 2 g red gel food coloring (weigh for accuracy)2 g red gel food coloring (weigh for accuracy)
- 60 g mini white chocolate chips60 g (about 1/3 cup) mini white chocolate chips
Cream Cheese Buttercream
- 226 g cream cheese, cool but pliable (8 ounces)226 g (about 1 cup) cream cheese, cool but pliable (8 ounces)
- 255 g butter, cool but pliable255 g (about 1 cup + 2 tablespoons) butter, cool but pliable
- 520 g powdered sugar, sifted520 g (about 4 1/3 cups) powdered sugar, sifted
- 1/2 teaspoon fine sea salt1/2 teaspoon fine sea salt
- 15 g vanilla bean paste (weigh for accuracy)15 g vanilla bean paste (weigh for accuracy)
- 1/8 teaspoon lactic acid (optional, for an extra touch of tang)1/8 teaspoon lactic acid (optional, for an extra touch of tang)
Pan used
I use Fat Daddio's 8-inch anodized aluminum round cake pans for this recipe.
Instructions
- 1Make the red velvet cake. Preheat the oven to 350°F (177°C). Grease and line three 8-inch round cake pans with parchment paper.
- 2In a large bowl, whisk together the granulated sugar, brown sugar, milk, apple cider vinegar, oil, yogurt, vanilla bean paste, and red food coloring until smooth and fully combined. If you are using a highly concentrated, high-quality food coloring, start with about 3 drops and add more only as needed.
- 3Add the sifted cake flour, natural cocoa powder, Dutch-process cocoa powder, baking powder, baking soda, and salt. Whisk just until the batter is smooth and no dry streaks remain. Do not overmix.
- 4Divide the batter evenly between the prepared pans.
- 5Bake for 22-27 minutes, or until the tops spring back lightly and a toothpick inserted into the center comes out with a few moist crumbs.
- 6Cool in the pans for 15 minutes, then transfer the layers to a wire rack to cool completely.
- 7Make the red velvet lava. In a small saucepan over medium heat, combine the granulated sugar, butter, milk, natural cocoa powder, Dutch-process cocoa powder, red food coloring, salt, and vanilla bean paste.
- 8Whisk constantly until the butter has melted and the mixture is completely smooth.
- 9Bring to a gentle simmer and cook for 1-2 minutes, whisking frequently.
- 10Remove from the heat, transfer to the refrigerator, and chill completely before assembling the cake. The lava will be quite thin at first and will naturally thicken as it chills.
- 11Make the red velvet cookie dough. Use all-purpose flour labeled safe to eat without cooking for this unbaked filling. Beat the softened butter, brown sugar, and granulated sugar for 2-3 minutes, scraping the bowl as needed, until light and fluffy.
- 12Add the cream cheese or sour cream, vanilla bean paste, salt, and red gel food coloring. Mix until smooth and evenly colored.
- 13Add the all-purpose flour, natural cocoa powder, and Dutch-process cocoa powder. Mix on low just until a cohesive dough forms, then fold in the mini white chocolate chips.
- 14Flatten the dough into a shallow covered container and refrigerate for 30 minutes, or until firm enough to handle. Break it into small irregular pieces, then keep chilled until assembly.
- 15Make the cream cheese buttercream. Beat the butter for 2-3 minutes, until light, scraping down the sides of the bowl as needed.
- 16Make sure the cream cheese is the same temperature as the butter. Add the cream cheese and mix on low just until fully incorporated. Do not overmix.
- 17Add the powdered sugar, salt, vanilla bean paste, and lactic acid, if using. Mix just until fully incorporated. Do not overmix or beat on high speed for too long.
- 18Assemble the cake. Level the completely cooled cake layers if needed. Place one layer on a cake board or serving plate.
- 19Spread a thin layer of cream cheese buttercream over the cake layer, then pipe a sturdy dam around the edge.
- 20Spoon the fully chilled red velvet lava inside the dam and spread it into an even layer. Keep the lava below the halfway point of the frosting dam, then press small chilled red velvet cookie-dough pieces into the filling without overfilling the layer.
- 21Place the second cake layer on top and repeat with a thin layer of cream cheese buttercream, a sturdy frosting dam, fully chilled red velvet lava, and chilled cookie-dough pieces.
- 22Place the third cake layer on top. Cover the cake with the remaining cream cheese buttercream, decorate with the remaining cookie-dough pieces as desired, then refrigerate for 20-30 minutes to set.
Helpful notes
- The cream cheese frosting becomes softer as it warms. Keep the components cool, assemble efficiently, and pause to chill whenever needed.
- Give the red velvet cookie dough its full 30-minute chill before breaking it into pieces, and keep the pieces refrigerated until assembly.
- Beginning bakers may prefer to use less lava inside the cake and serve the remaining sauce alongside each slice.
- For a classic red velvet layer cake, omit the lava and assemble with the cream cheese frosting alone.

Meet the baker
Angela Heckler
Angela Heckler is the recipe developer, baker, and photographer behind Obsessed Cakes. Her Old-Fashioned Donut Loaf series is a growing collection of cake-donut-inspired loaves with soft, deeply moist crumbs, buttery streusel, and crackly glaze. Angela develops and tests every recipe in her Arizona kitchen. Follow Obsessed Cakes on Instagram, TikTok, and YouTube.
Made it? Tell us.
Ratings and reviews
The cake turned out great I made it into a sheet cake instead and tasted wonderful but how do I get more if a red coloring
Yay! I never thought of this as a sheet cake - that’s genius 😍! For red food coloring, I used Ann Clark super red in the video :) hope that answers your question! If not, email me: angela@obsessedcakes.com ❤️
Turned out great, have made thus for my family multible times and is a favorite for the vegans in my family, its a perfect mix of sweetnes with the cream cheese buttercream and a mild chocolate fkavor that even the chocolate haters in my fam loves, great recipe
Awesome! I'm thrilled to hear that it's made the rotation and that everyone enjoys it! Thank you so much for sharing :)
This cake makes my mouth water every time i think of it. Especially the lava, i make it now to top off my yoghurt bowls with! Since my mom is gluten free i made it with gluten free flour, i tried it with a 12,5% ratio of cornstarch to flour. I jus recommend using slightly less oil and milk to stop it from falling apart. But if you do use the written amount of oil and milk it turns into this sort of brownie which is also delicious. And for the last thing, i definitely recommend using a hend wisk and not an electrical one. The first time i made this cake i used an electrical whisk but it just does'nt give you the same fluffy texture a cake would usually have. Definitely try it! It was the perfect cake for my 16th birthday and i loved making it too.
Barbara, you are so talented! Your adjustments are so astute, and I'm happy to hear it turned out! Thank you for the detail, I'm sure it'll come in handy for the next person looking for a GF option! And, I hope you had a wonderful birthday! :)
This recipe is amazing- my family finished the entire cake within 3 days! I let the cakes chill in the fridge for a couple of hours which helped the cake stay intact when assembling and I used vegetable oil in the cake base- it was perfectly moist and everyone found it totally addicting.
Ava, thank you so much for sharing! I'm so glad everyone enjoyed it!
It was the most complimented cake I’ve ever made! Everybody loved it ( including me 🤗). It was the most soft and fudgy cake I’ve ever tasted! And it was honestly pretty easy to make but still is the spotlight of attention on any occasion. Highly recommended!!!!
Yay, thank you for sharing Elisabeth!! I'm thrilled to hear it was a success and worth the work! Thank you again :)
Did you make this?
Share your bake on Instagram - tag @obsessedwithcashews and use #obsessedcakes.