S’mores Lava Cake with Marshmallow Filling
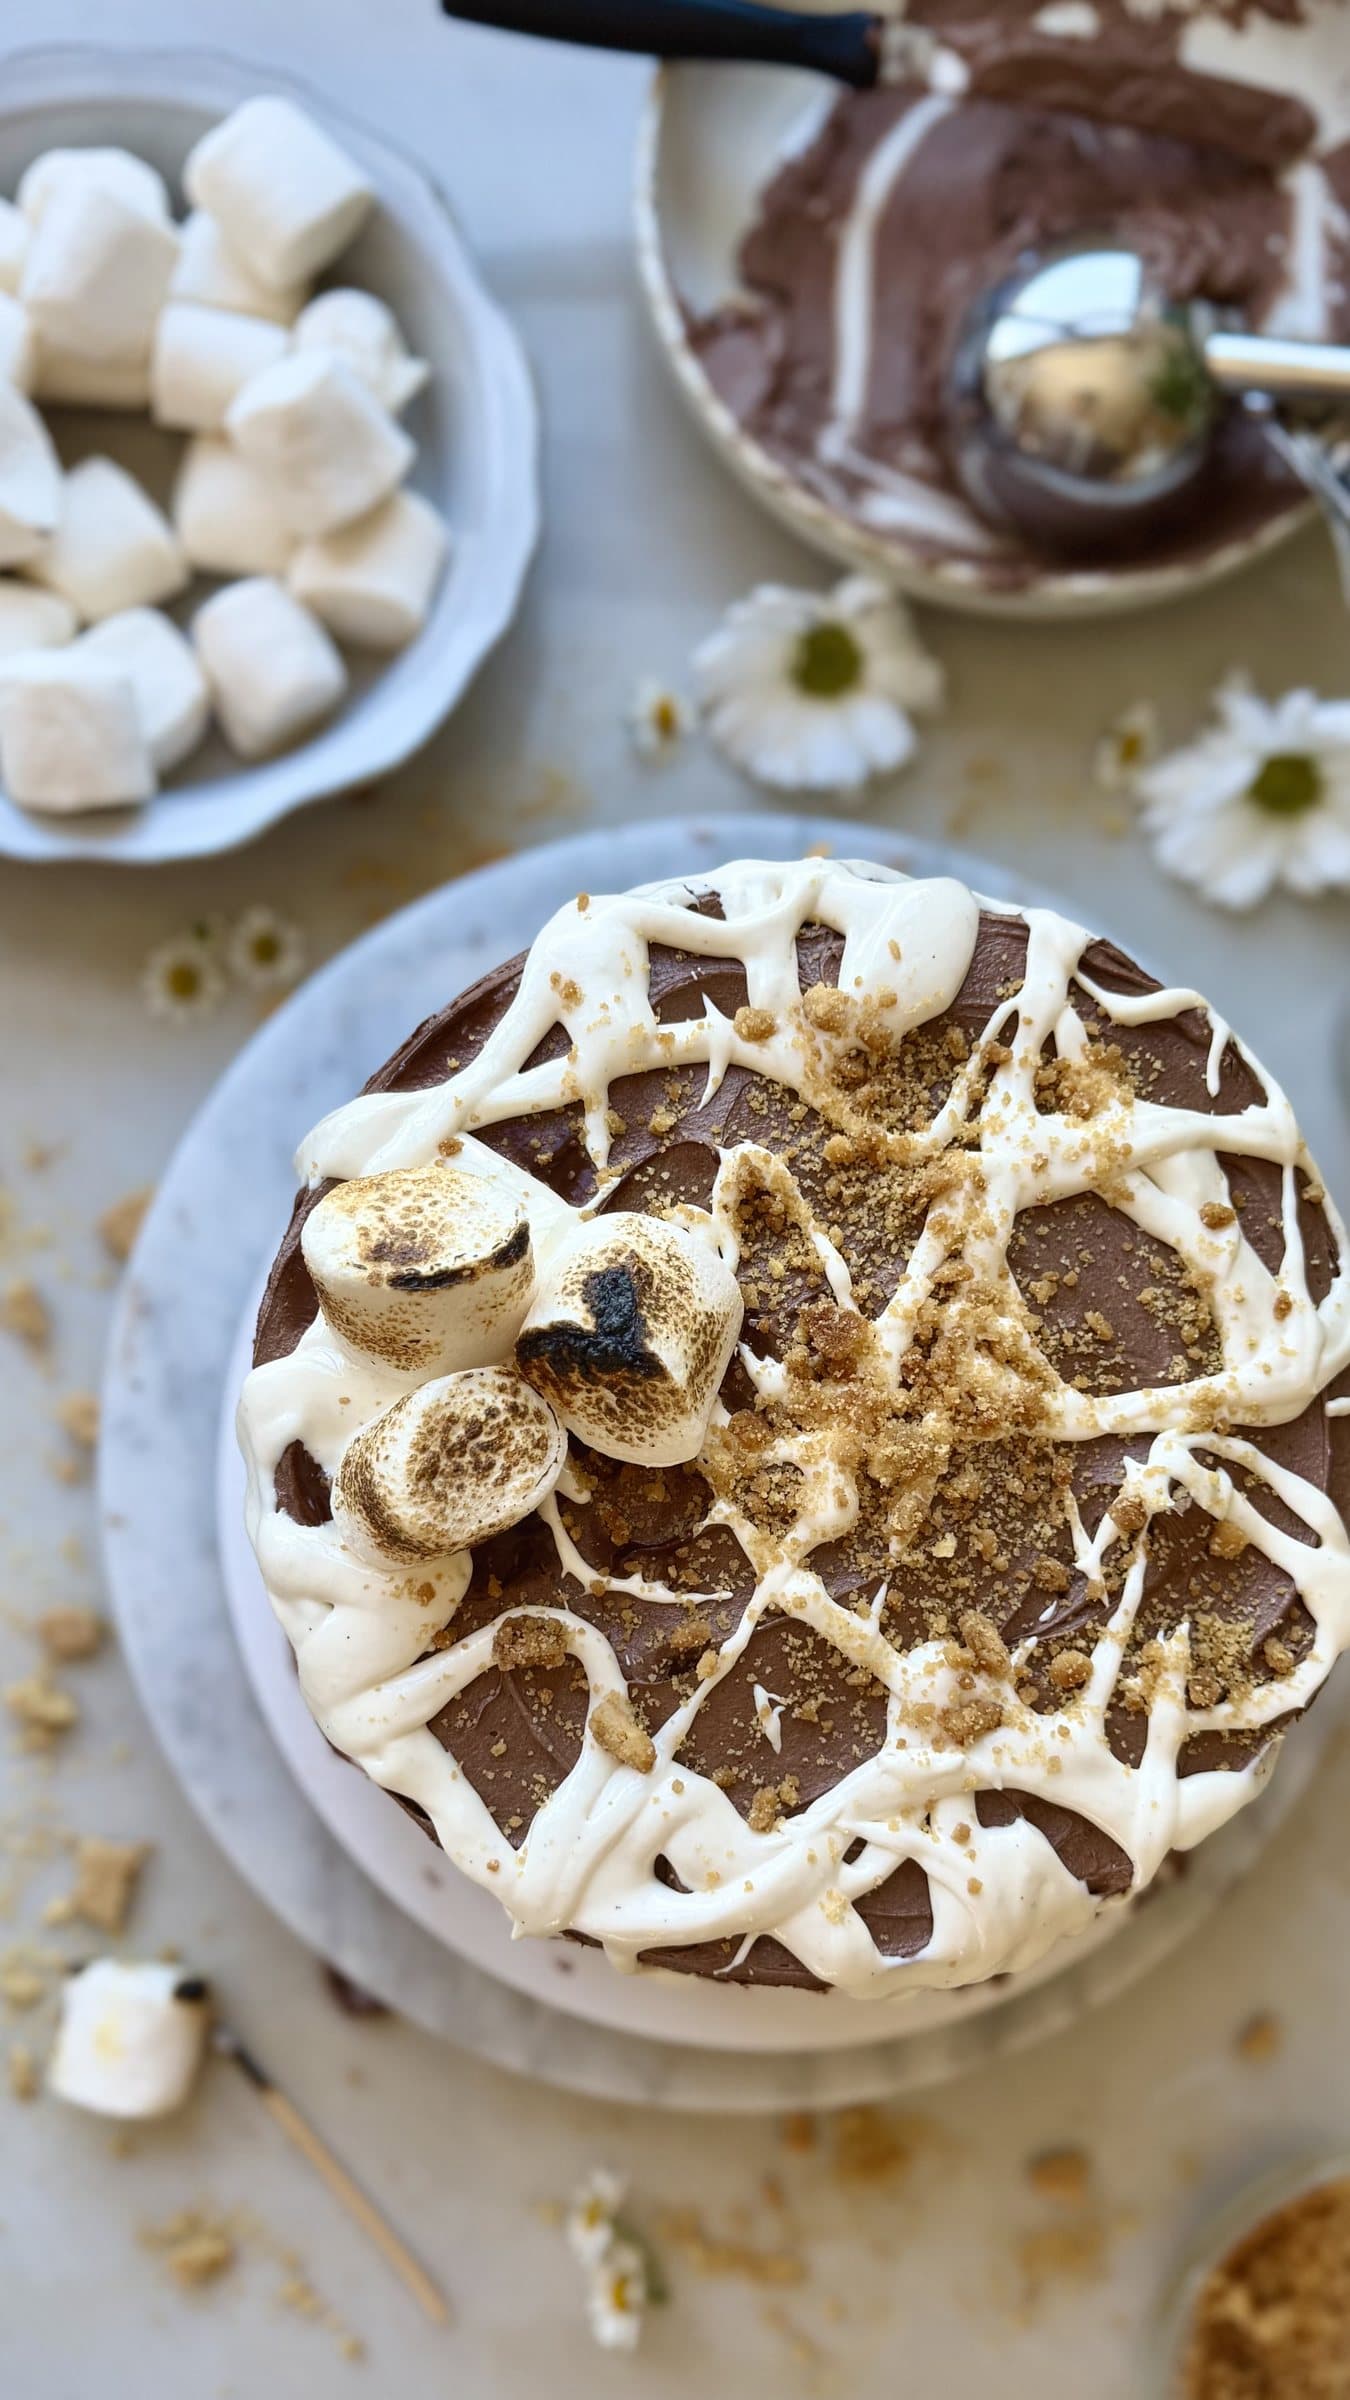
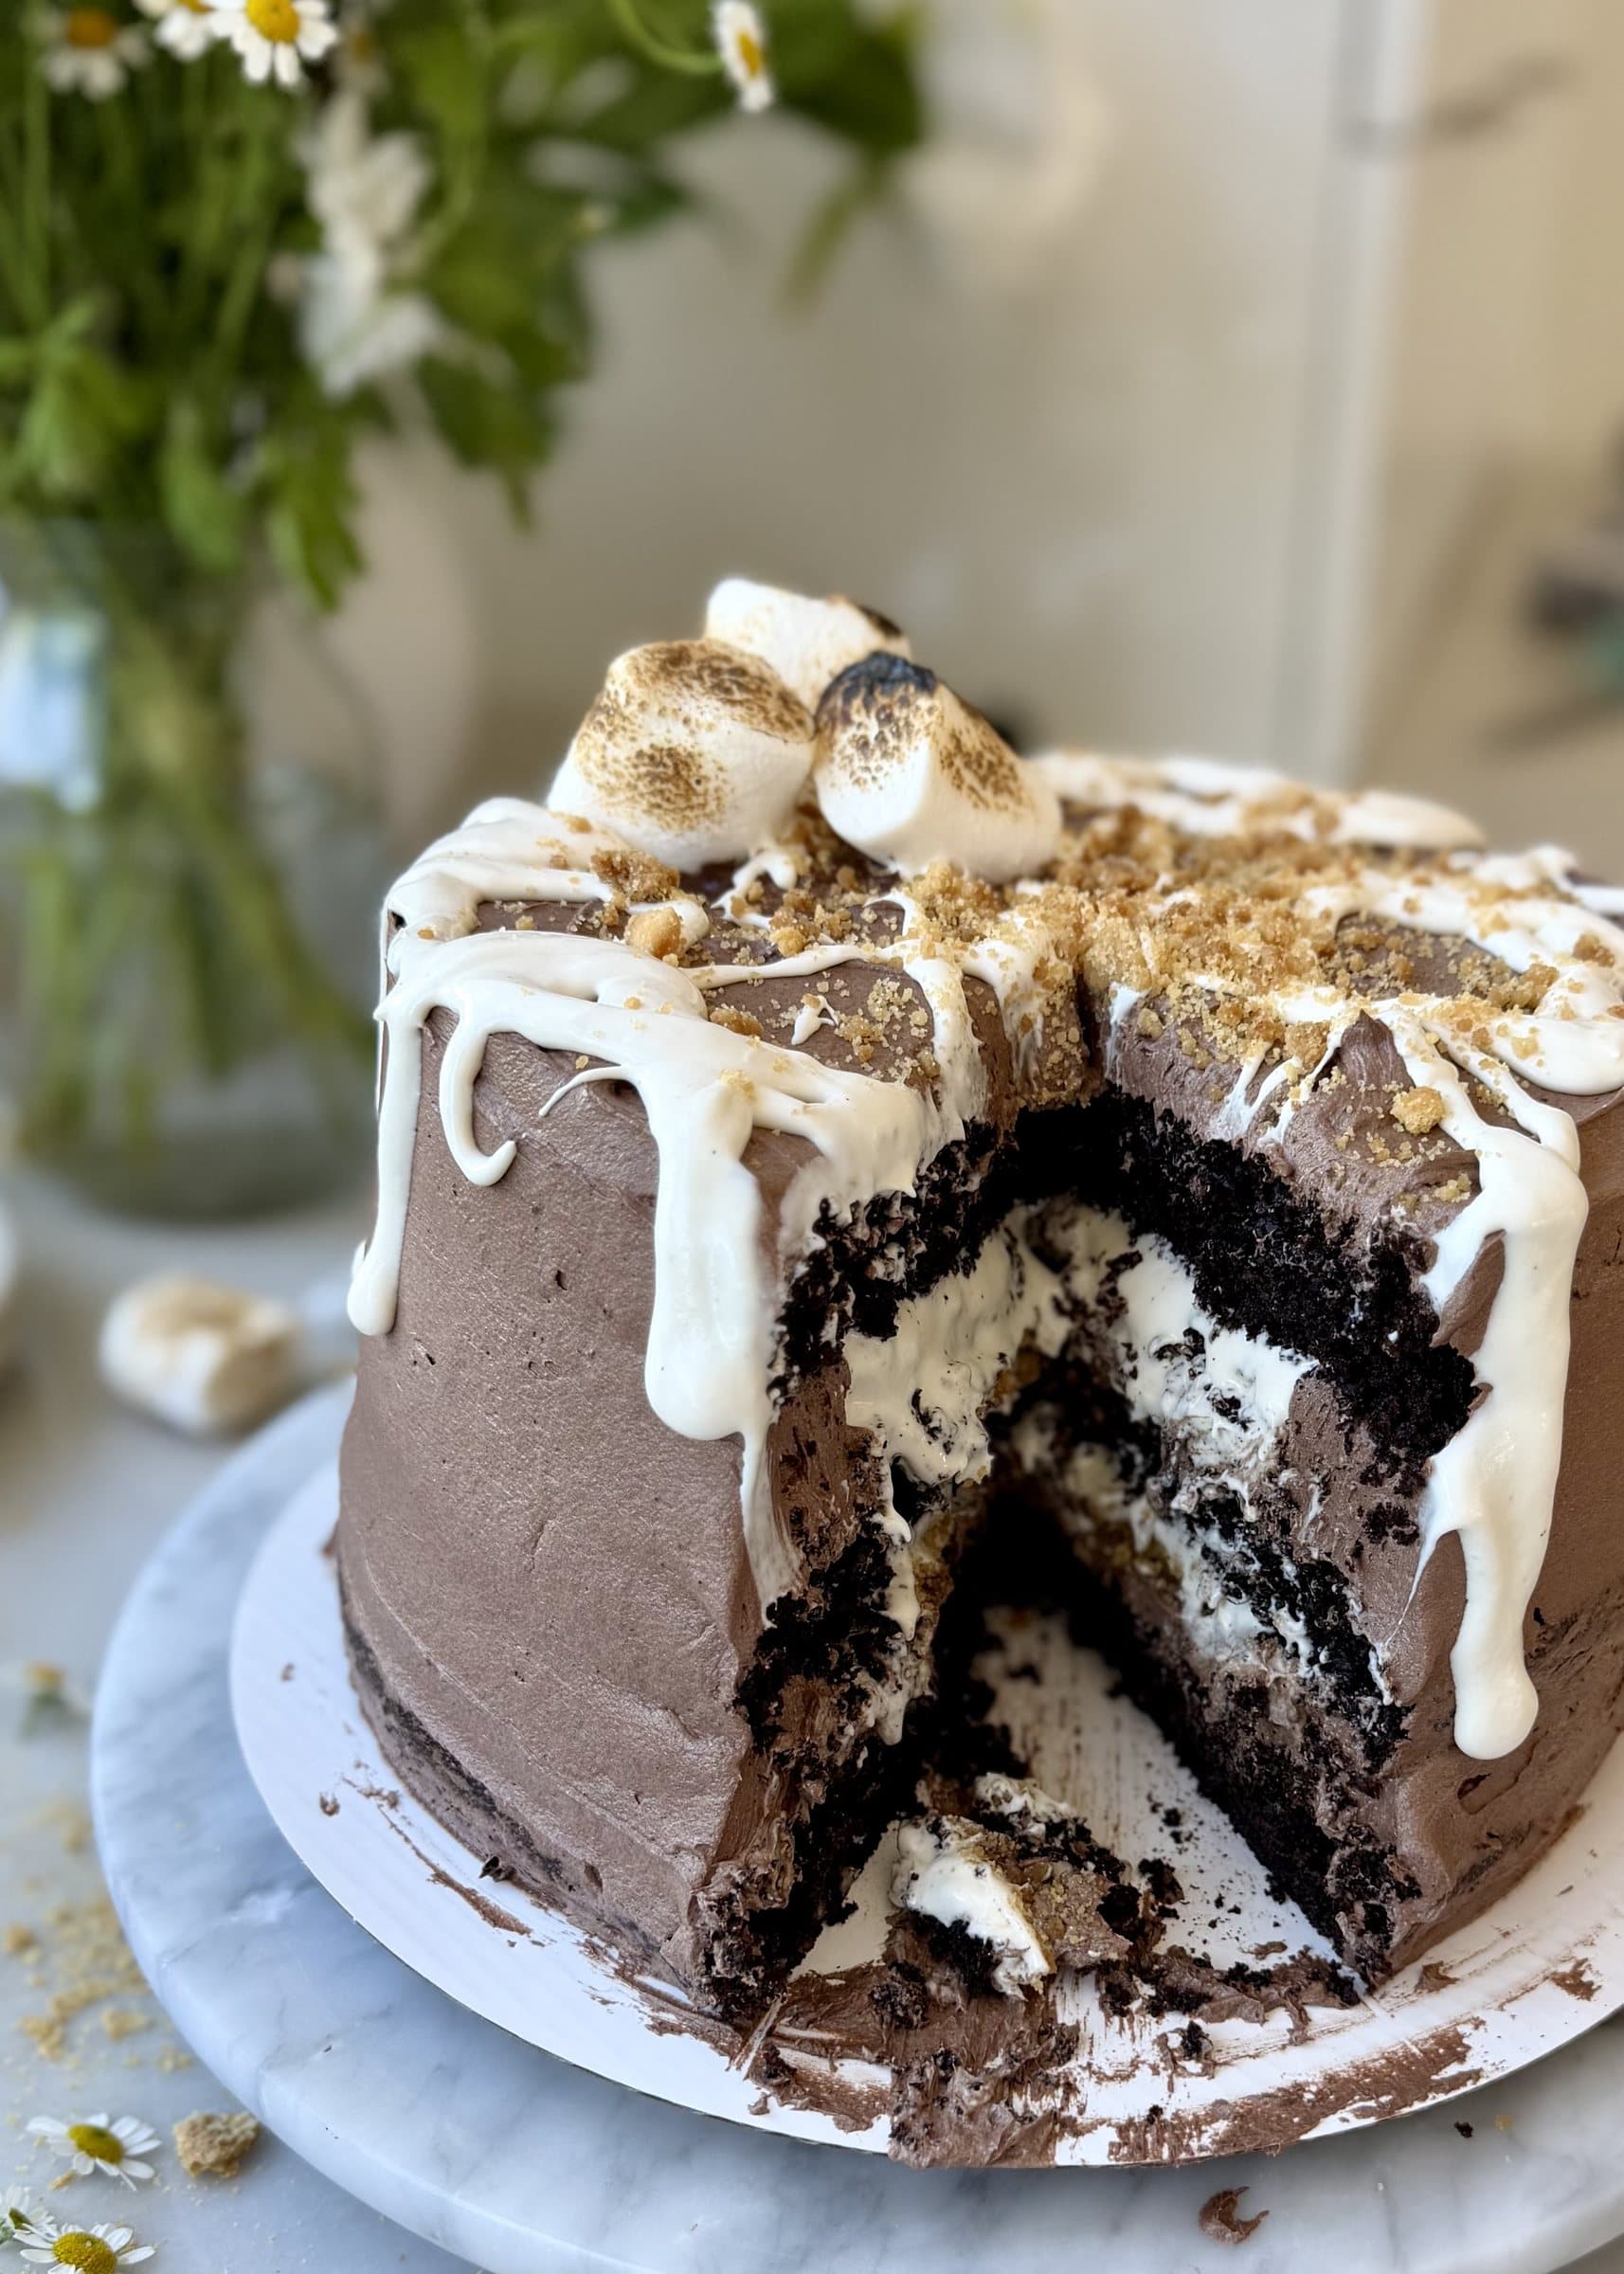
Be the first to reviewThis S’mores Lava Cake is built to taste like the whole campfire bite, not simply chocolate cake with a few marshmallows on top. Deep chocolate layers surround fluid vanilla-marshmallow filling, buttery Golden Oreo crunch, and a light, milky chocolate buttercream.
Cool every component completely, keep the marshmallow filling at room temperature, and build a tall buttercream dam before adding the lava. The finished cake is intentionally messy and generous, but those details keep the layers controlled until the first slice.
Save this recipe
Want to save this recipe for later?
Enter your email and I’ll send it to your inbox.
It Had to Taste Like the Whole S’more
As a kid, if a bakery or dessert place offered a s’mores version of anything, I almost always chose it. I also remember thinking that a lot of those desserts did not quite taste like the s’more I had imagined. The cracker could disappear beneath the chocolate, and the marshmallow sometimes felt more decorative than soft and gooey. I walked into this cake with all of those memories and one rule: do not call something s’mores if it is really chocolate cake with a few s’mores notes here and there.
Naturally, it needed to be one of my lava cakes. My lava cakes are messy, a little unhinged, and designed as an overload for whoever is obsessed with that particular combination. The marshmallow fluff needed to coat every bite - not sit politely in one thin layer or show up only as a garnish.
The bigger question was how to keep the cracker element from getting buried. I could have spent more time thinking about it, but Golden Oreos came to mind and I could not get them out of my head. Cooked with butter, brown sugar, granulated sugar, and salt, they become crisp golden clusters that are familiar like a graham cracker but sturdy enough to hold their own between the soft chocolate cake and marshmallow lava.
The buttercream needed the same balance. It had to be milky, light, and chocolatey without becoming the only thing you tasted. Dutch-process cocoa gives it smooth depth, while natural cocoa keeps the chocolate brighter. I love things over the top, but every component still has to complement the others.
That is how this one was born: dark chocolate cake, marshmallow lava that reaches every forkful, salty golden crunch, and a soft chocolate buttercream holding the chaos together. It is absolutely excessive, but it still tastes unmistakably like a s’more.
Ingredient notes
Key ingredients
Dutch-process and natural cocoa powders
Using both gives the cake and buttercream a broader chocolate flavor. Dutch-process cocoa brings dark, smooth depth, while natural cocoa keeps the chocolate brighter so it does not flatten the marshmallow and cookie layers.
Hot brewed coffee and espresso powder
Coffee deepens the cocoa without making the cake taste like coffee. Adding it hot also helps the cocoa bloom so the chocolate flavor feels fuller.
Golden Oreos
Golden Oreos create a buttery, graham-like crunch that stays noticeable between the dark cake and soft filling. Include the cookie filling; it becomes part of the crisp, caramelized clusters.
Marshmallow fluff
Fluff gives the filling its unmistakable marshmallow flavor and stretchy body. Warm cream loosens it into a glossy lava that coats each bite while remaining thick enough to sit inside a buttercream dam.
Heavy cream
Warm cream smooths the marshmallow filling, while cream slightly above room temperature helps the chocolate buttercream become light and silky without cooling the butter too quickly.
Brands I used for this recipe
These are preferences, not requirements. If you choose the non-dairy route, these are the products I test with. Dairy equivalents can be used at the same listed amounts and temperatures.
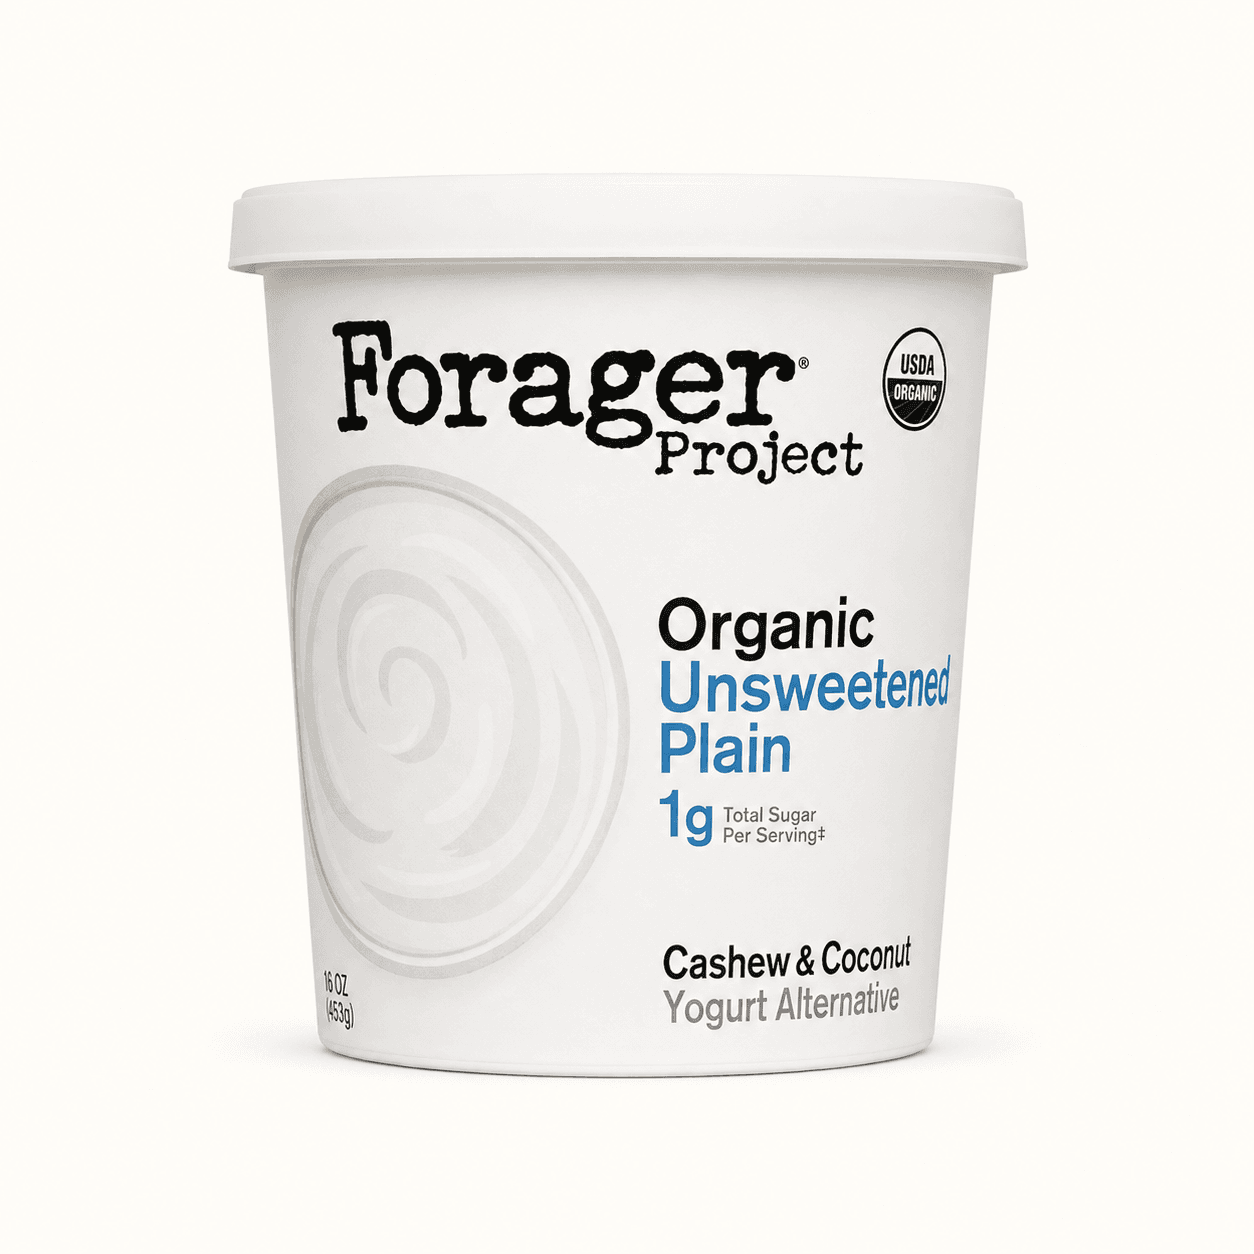
Forager Unsweetened Plain Yogurt
Plain unsweetened yogurt adds moisture, acidity, and body so the crumb bakes up tender without tasting tangy.
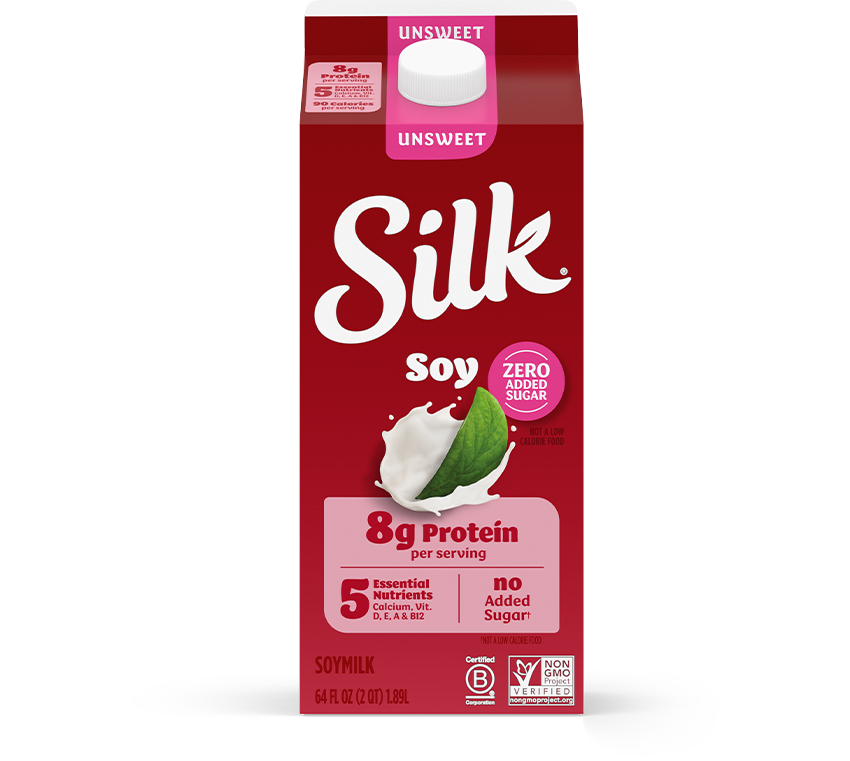
Silk Original Unsweet
Milk affects how smoothly a batter, filling, or frosting comes together. Soy milk and Ripple tend to emulsify well because their protein and fat help create a creamy, cohesive finish.
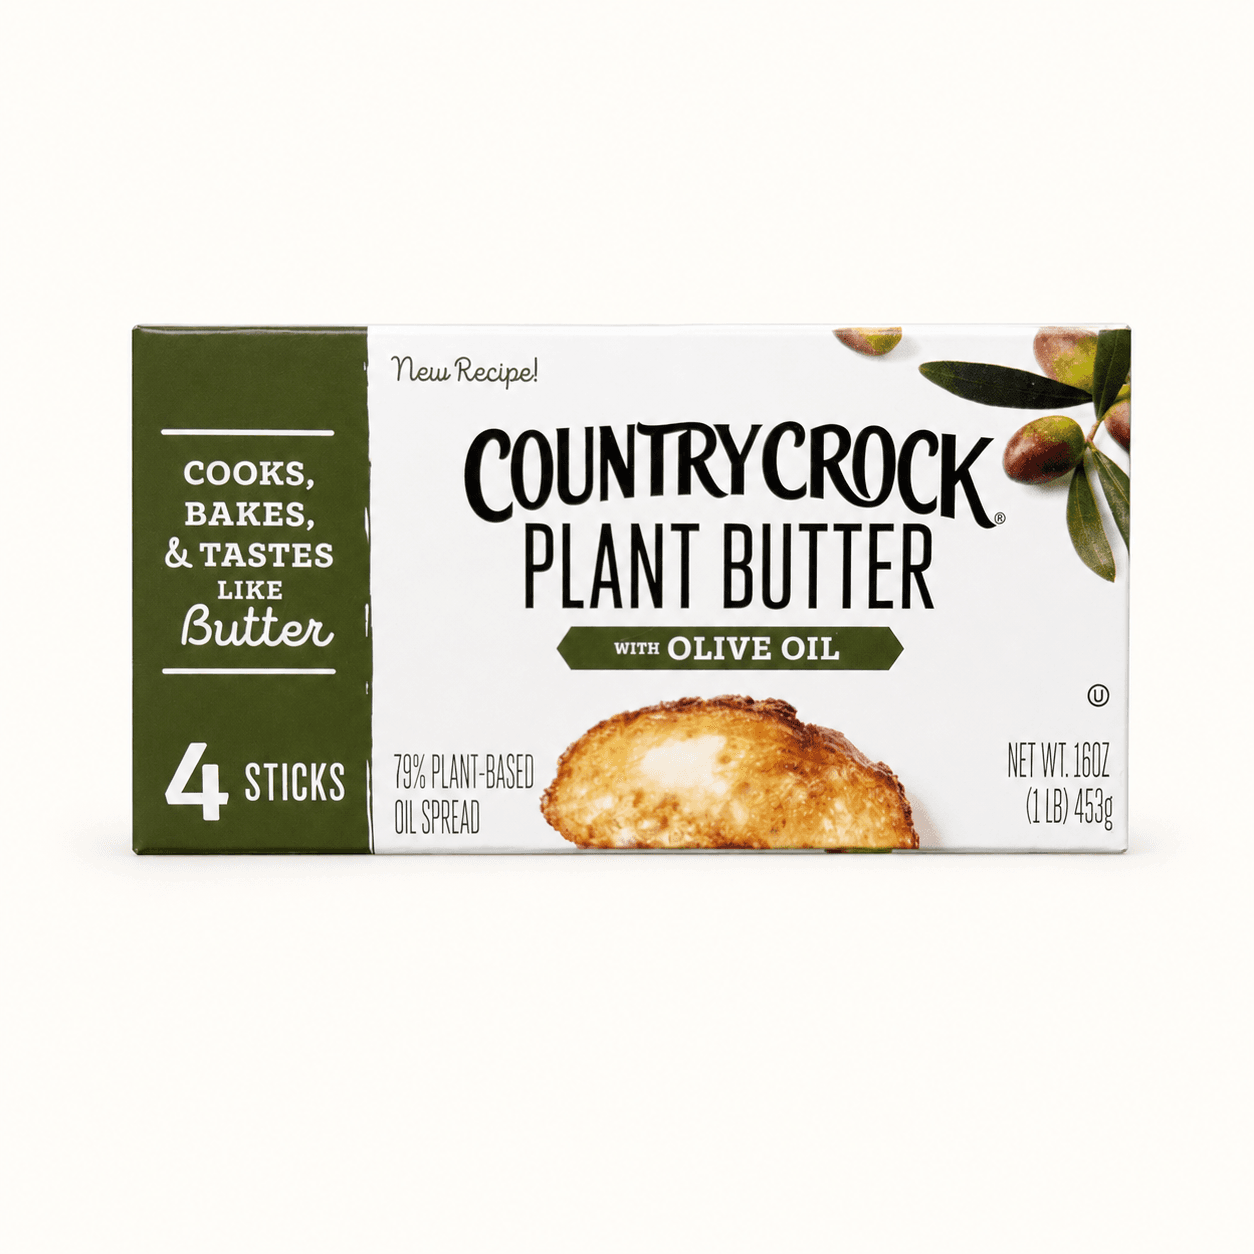
Country Crock Plant Butter Sticks
Use butter sticks for buttercream and fillings that need to hold their shape.

Majestic Dutch-process cocoa powder
For Dutch-process cocoa, I typically reach for Majestic or Ghirardelli.

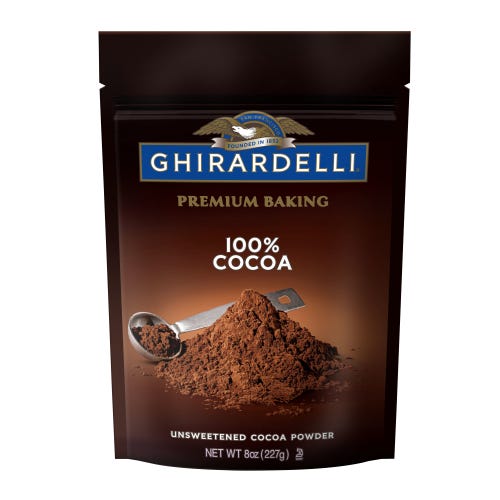
Ghirardelli natural cocoa powder
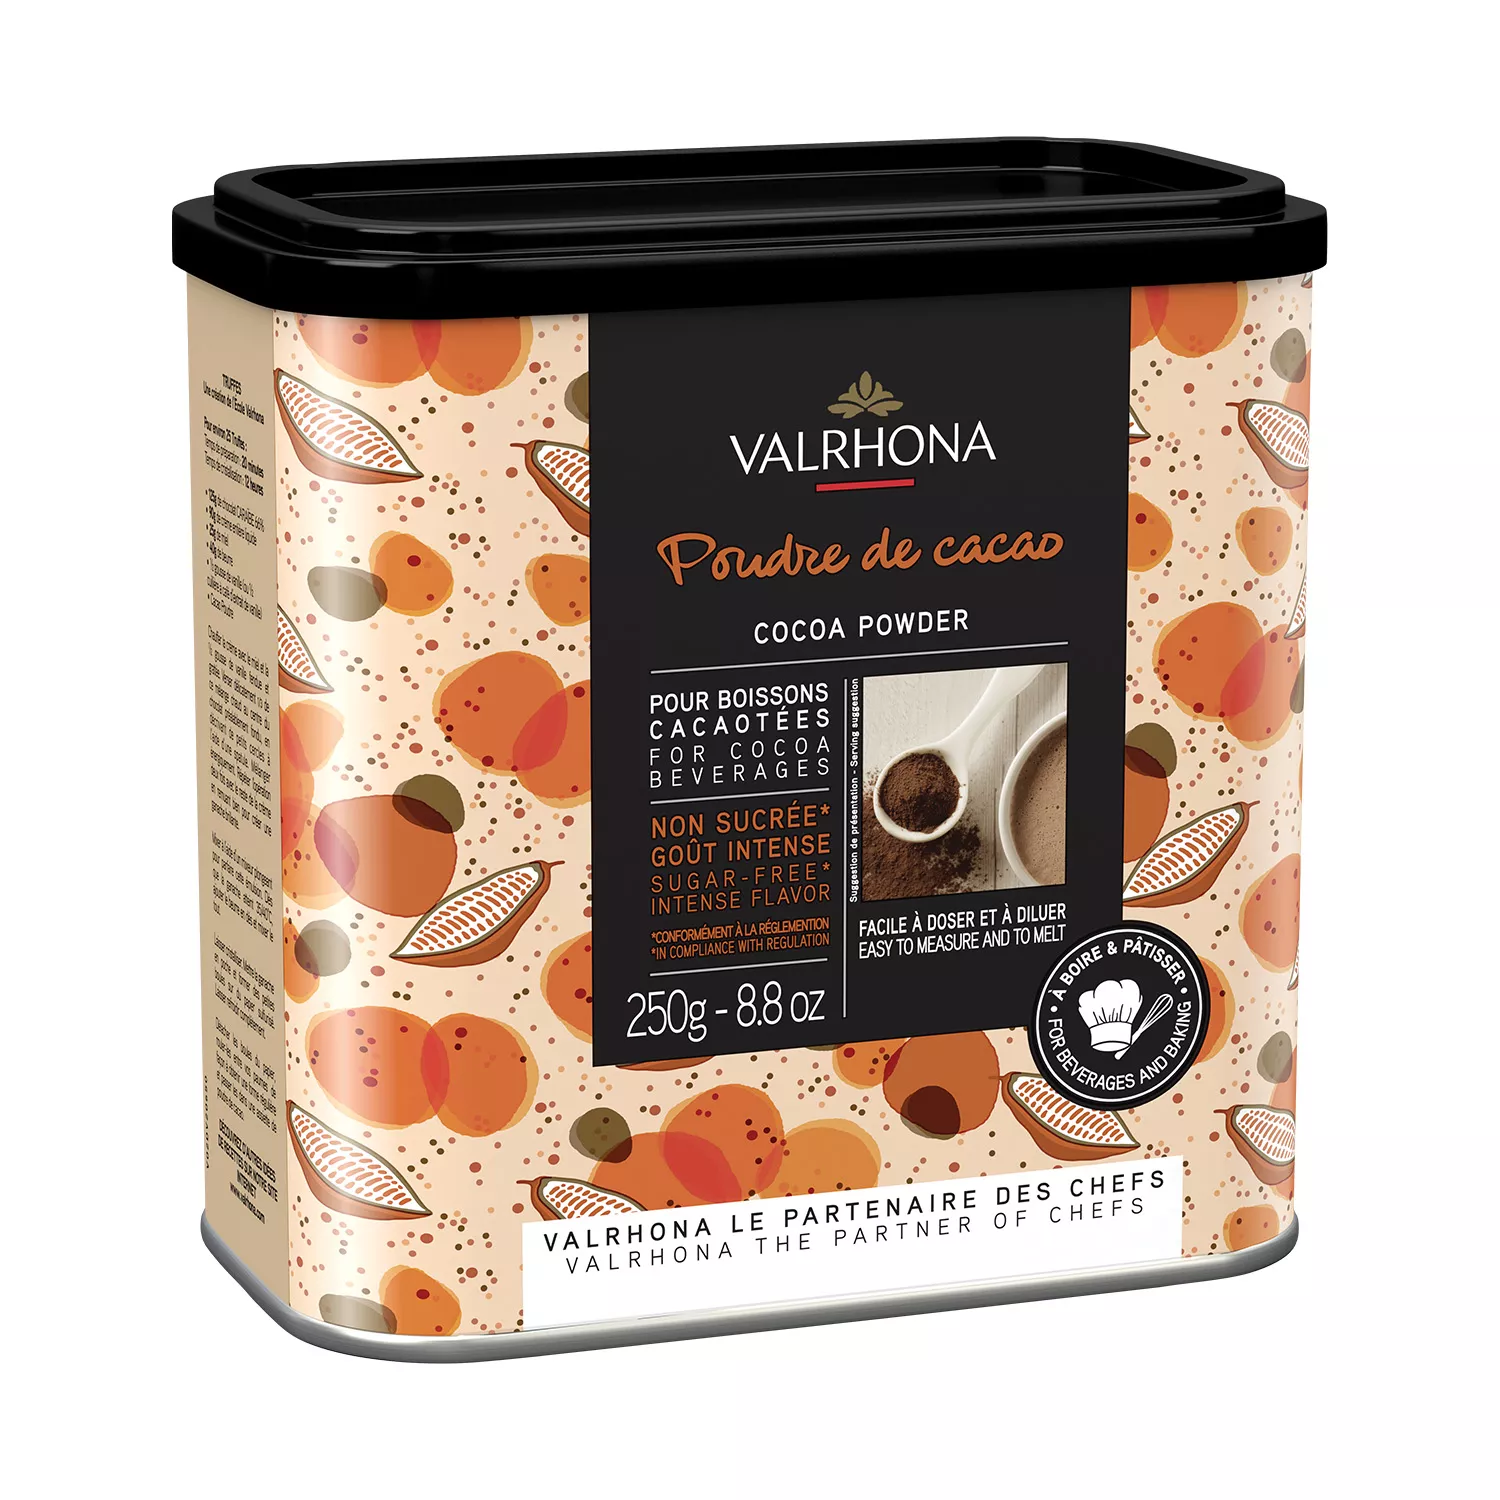
Ghirardelli is my natural cocoa preference. The Valrhona cocoa powder linked here is Dutch processed; use the cocoa type listed in the recipe.
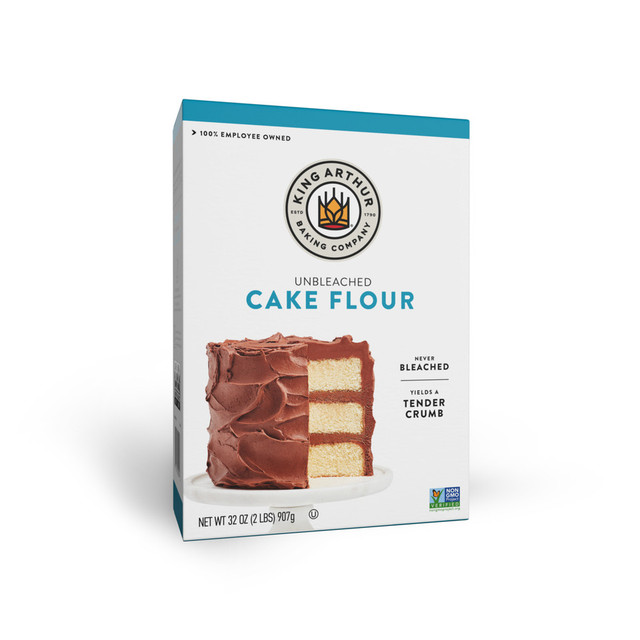
King Arthur Unbleached Cake Flour
I use King Arthur Unbleached Cake Flour for this recipe.

Rising Star Baking Supply Vanilla Bean Paste
I use Rising Star Baking Supply Vanilla Bean Paste for this recipe.
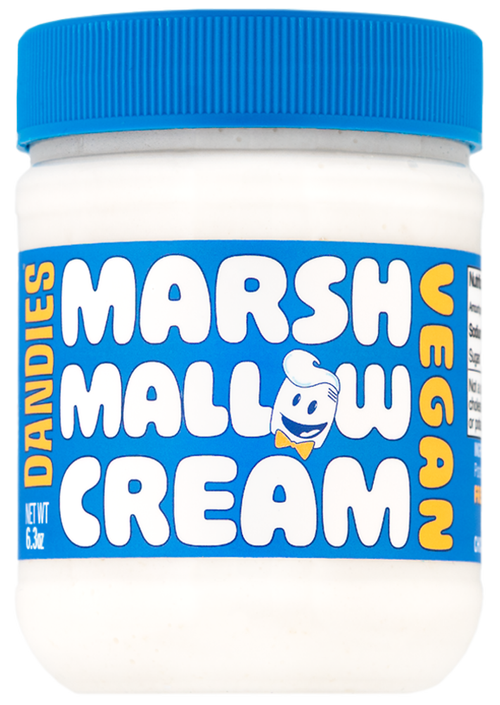
Dandies Marshmallow Cream
I use Dandies marshmallow cream for the filling and Dandies marshmallows for the topping.
From this recipe
Tested notes
Use the marshmallow lava at room temperature and keep it below halfway up a tall buttercream dam.
Reserve a little marshmallow lava and Golden Oreo crunch for decorating before filling the cake layers.
Testing notes
Why this works
Why two cocoa powders are used
Dutch-process cocoa makes the chocolate deep and rounded; natural cocoa adds a brighter chocolate edge. Together they keep the cake and buttercream rich without letting chocolate overwhelm the marshmallow and golden crunch.
Why the Golden Oreo crunch is cooked
Cooking the crumbs with butter, both sugars, and salt removes the greasy feel and toasts them into distinct clusters. Cooling the mixture in a thin layer preserves the crunch before it goes into the cake.
How to judge the marshmallow lava
The filling should be glossy and fluid enough to pour in a slow ribbon, but not watery. Let it cool completely to room temperature before assembly so it does not soften the buttercream dam.
Why the buttercream dam matters
The marshmallow filling is deliberately fluid. Pipe a tall, continuous ring and spread only a thin layer of buttercream beneath it. Keep the lava below halfway up the dam so the next cake layer rests on buttercream rather than floating on filling.
Why every component must be cool
Warm cake softens the buttercream, and hot cookie crunch or marshmallow filling can melt the dam. Cool the cake layers and crunch completely, and use the marshmallow lava only after it returns to room temperature.
Why the final chill is brief
A short chill steadies the buttercream and stacked layers without turning the marshmallow center firm. The goal is controlled lava, not a rigid filling.
Step by step
How It All Comes Together
Step 1
Build the first layer
Spread a thin layer of chocolate buttercream over the cooled cake, then pipe a tall, unbroken buttercream dam around the edge. The dam needs to support the soft marshmallow filling without leaving gaps.
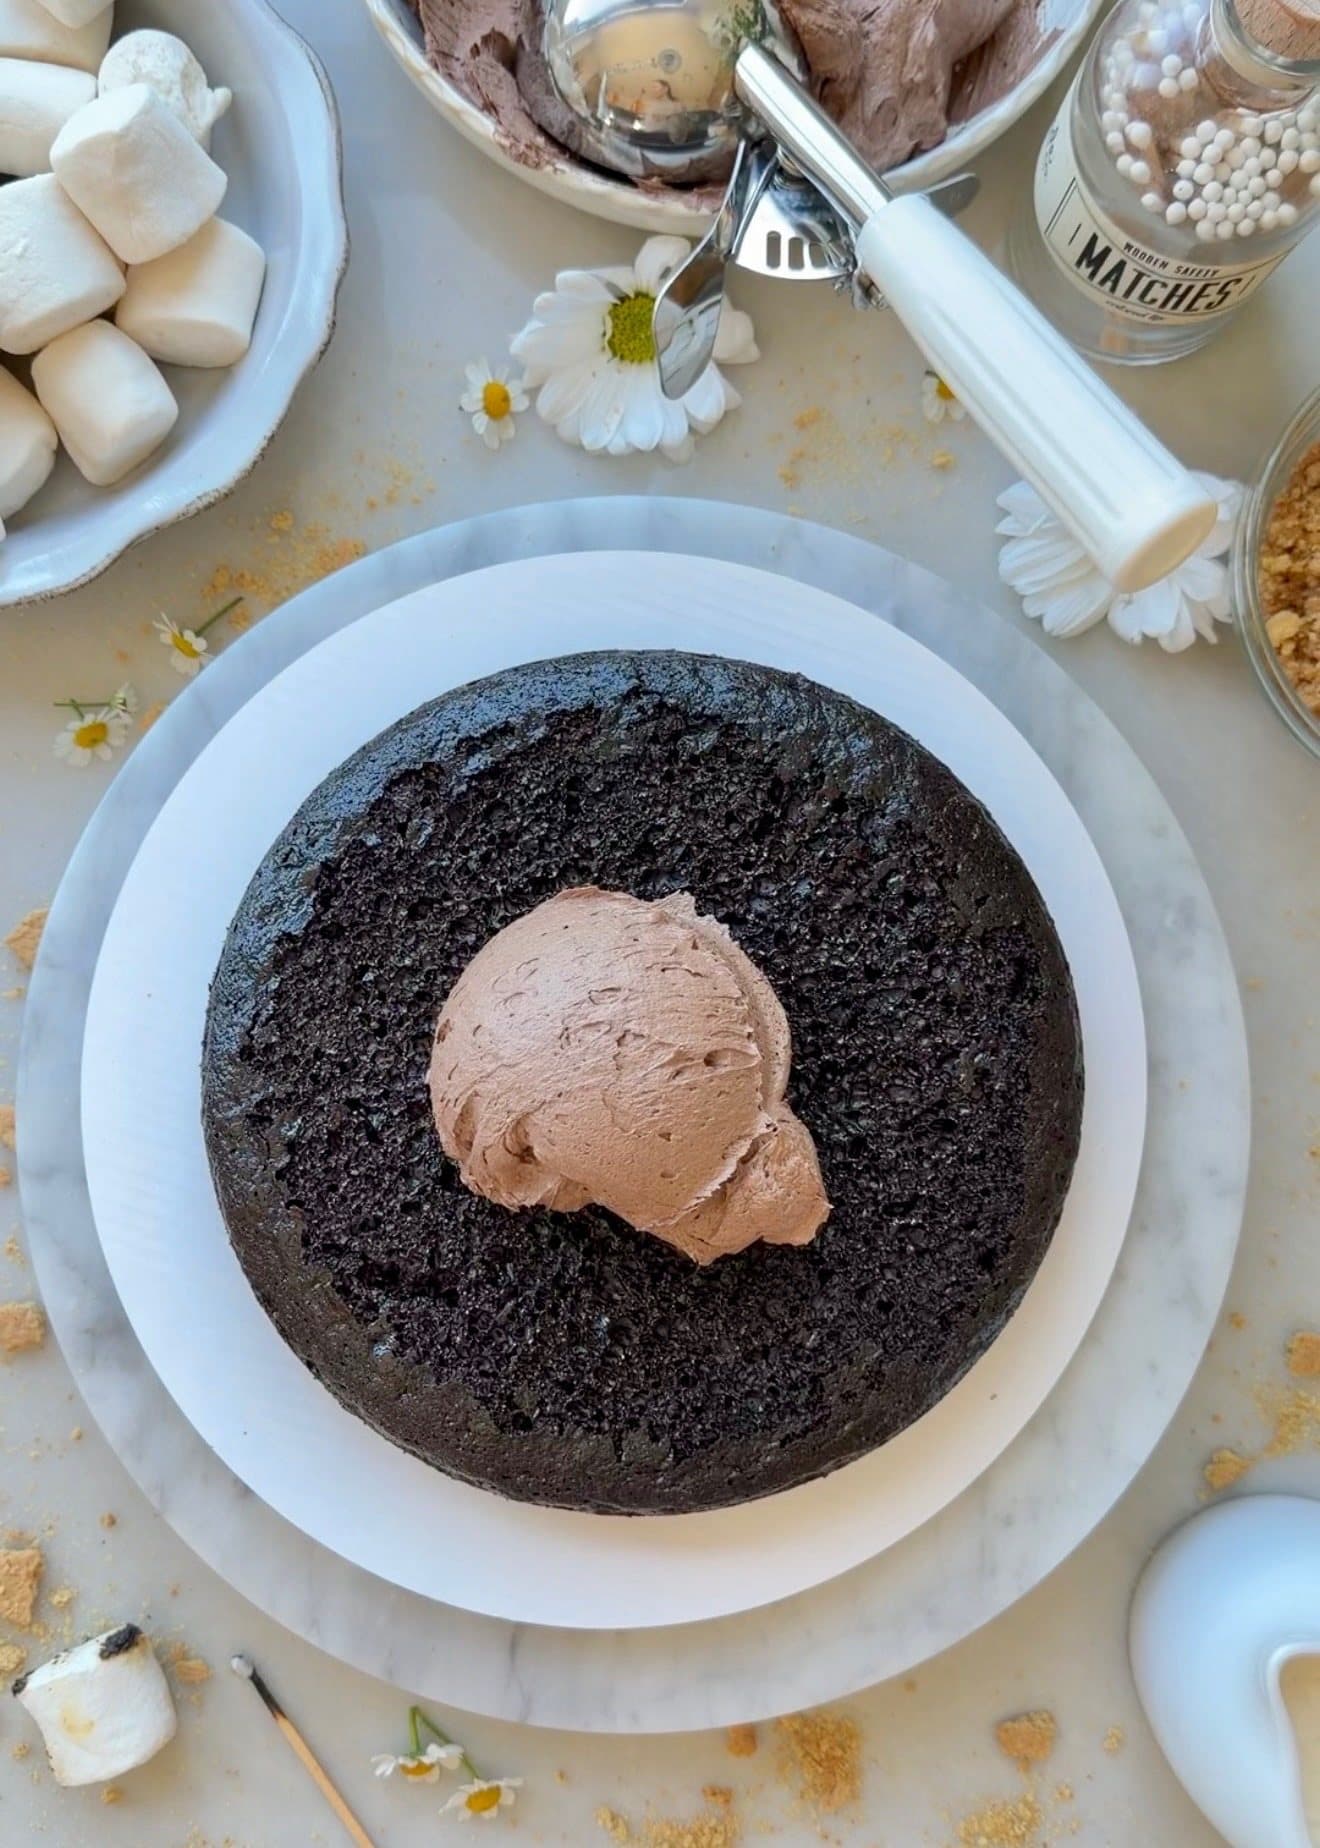
Start with a thin coat of chocolate buttercream. 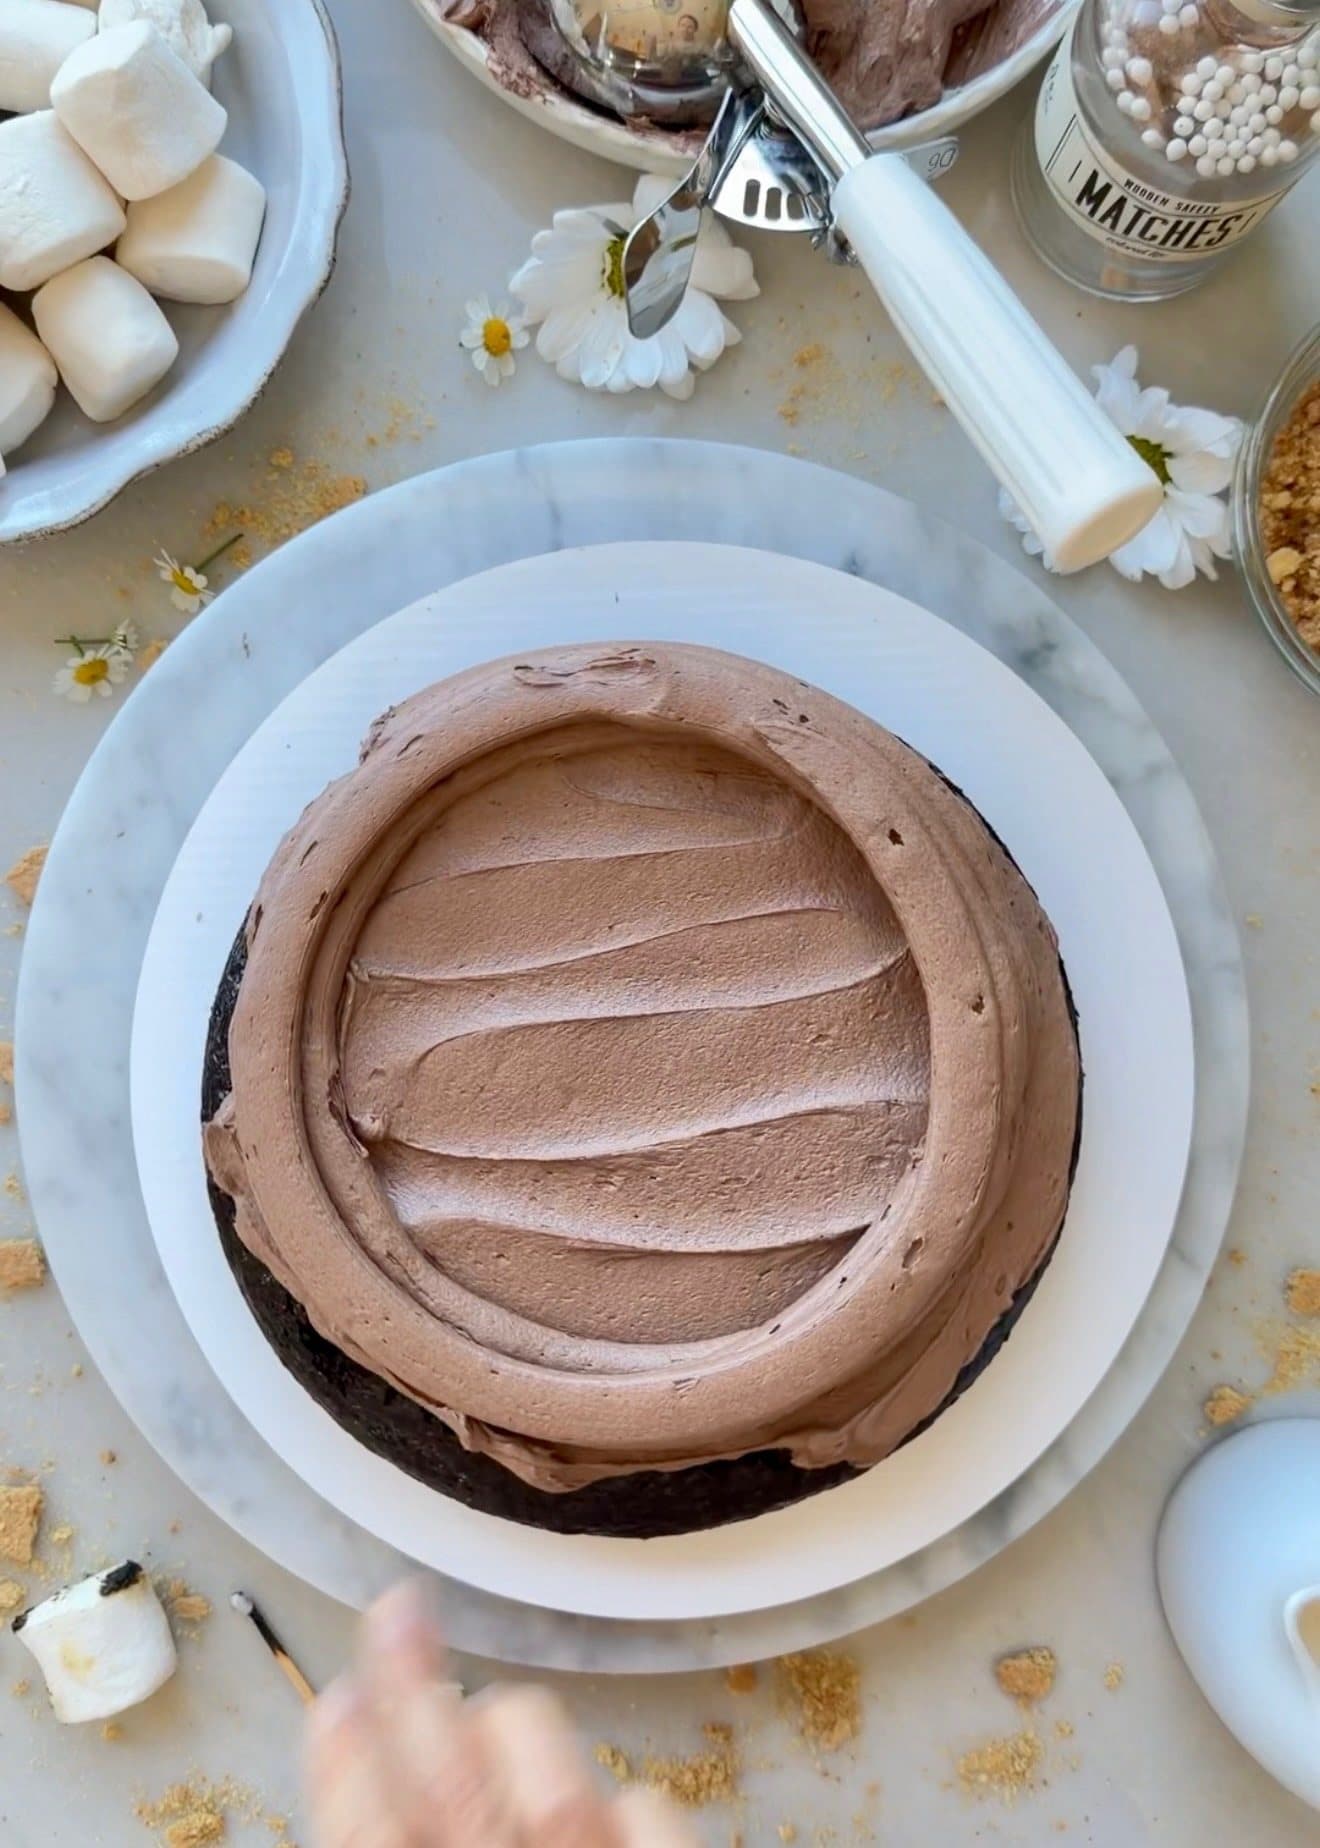
Keep the raised buttercream border continuous, with no gaps. Step 2
Add the Golden Oreo crunch
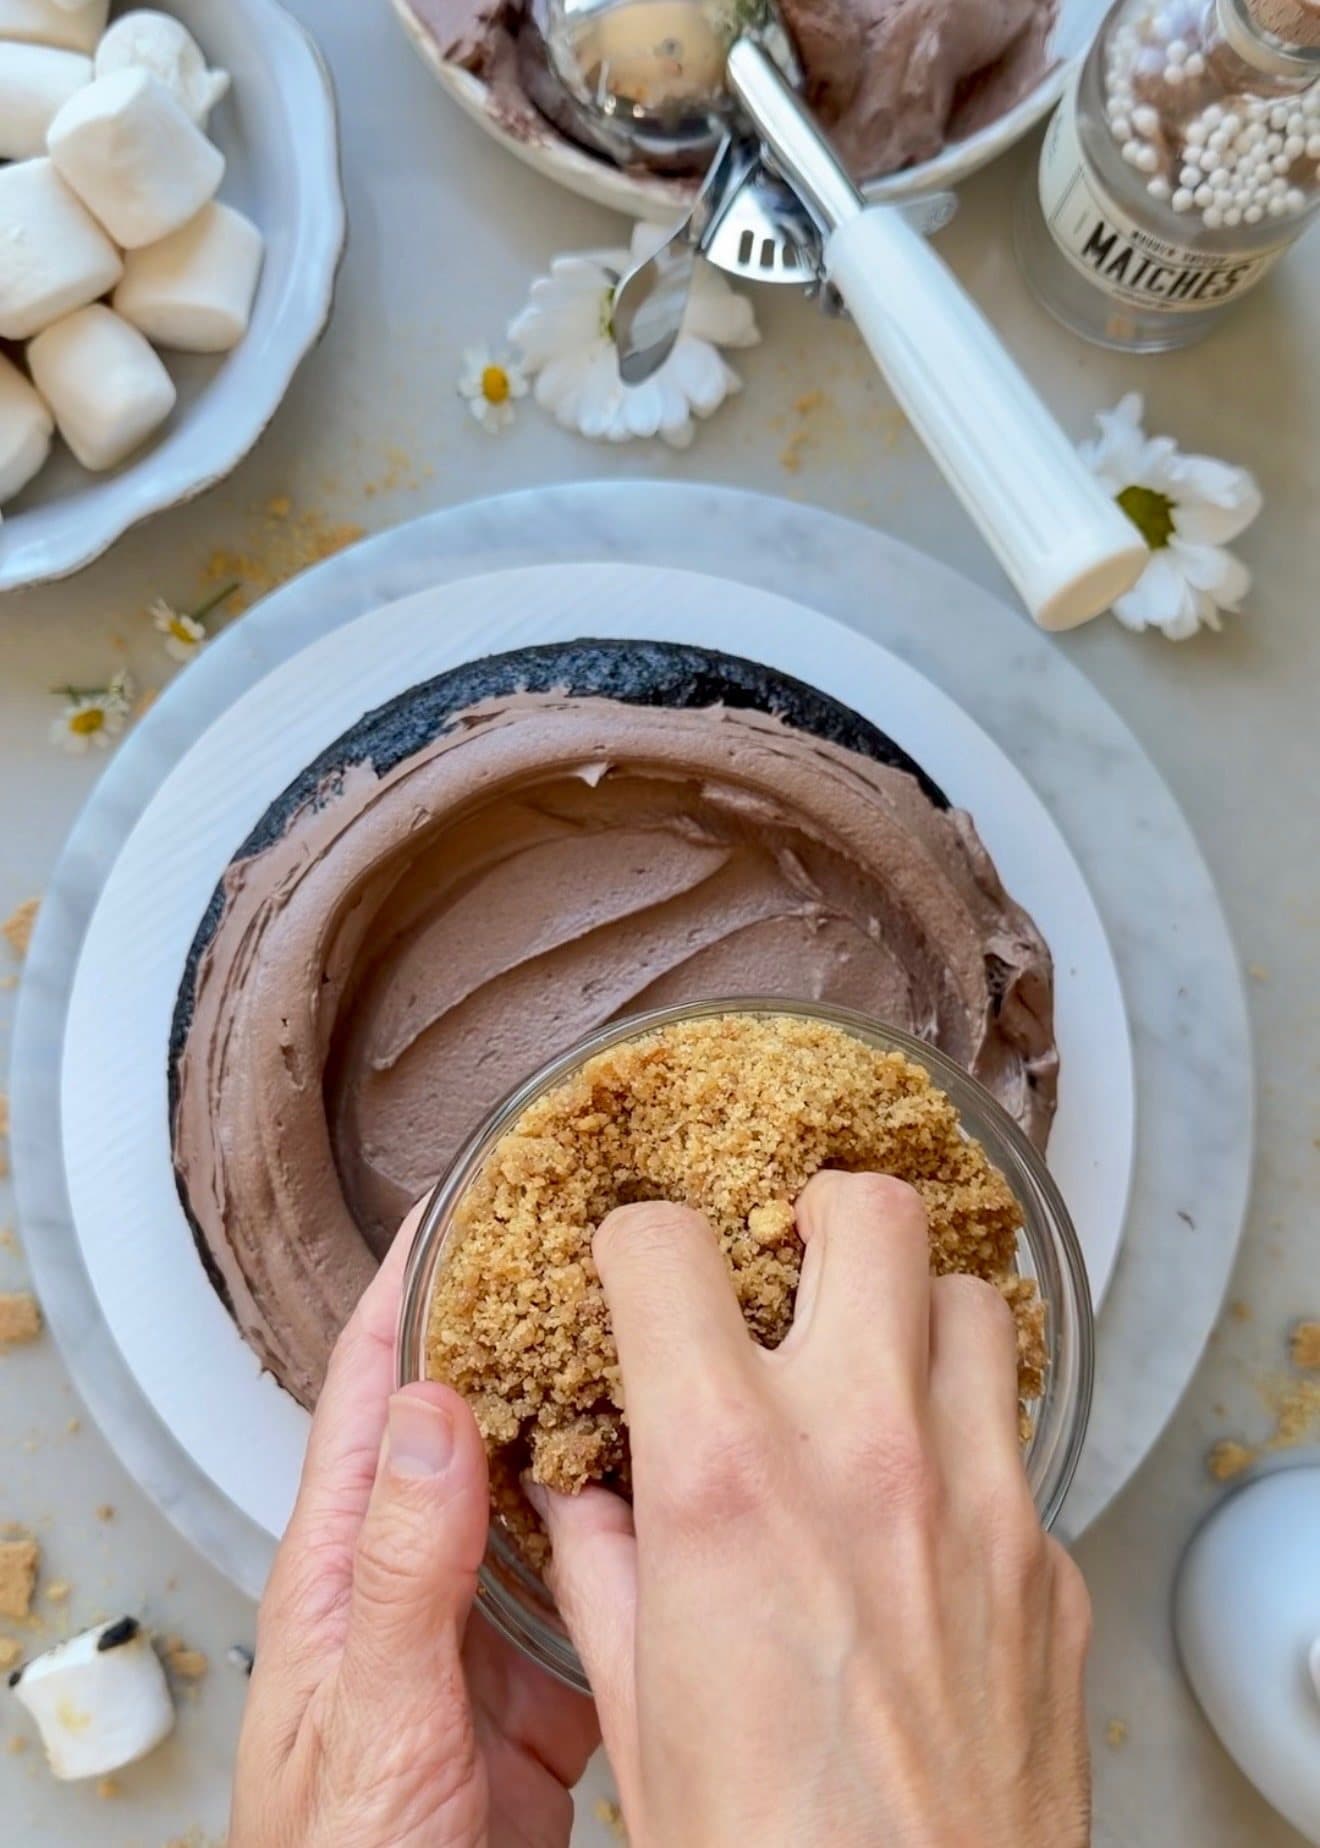
Sprinkle the completely cooled Golden Oreo crunch inside the buttercream dam. Keep the crisp clusters away from the outside edge so the next cake layer can rest securely on the buttercream.
Scatter the cooled cookie crunch inside the border. Step 3
Pour in the marshmallow lava
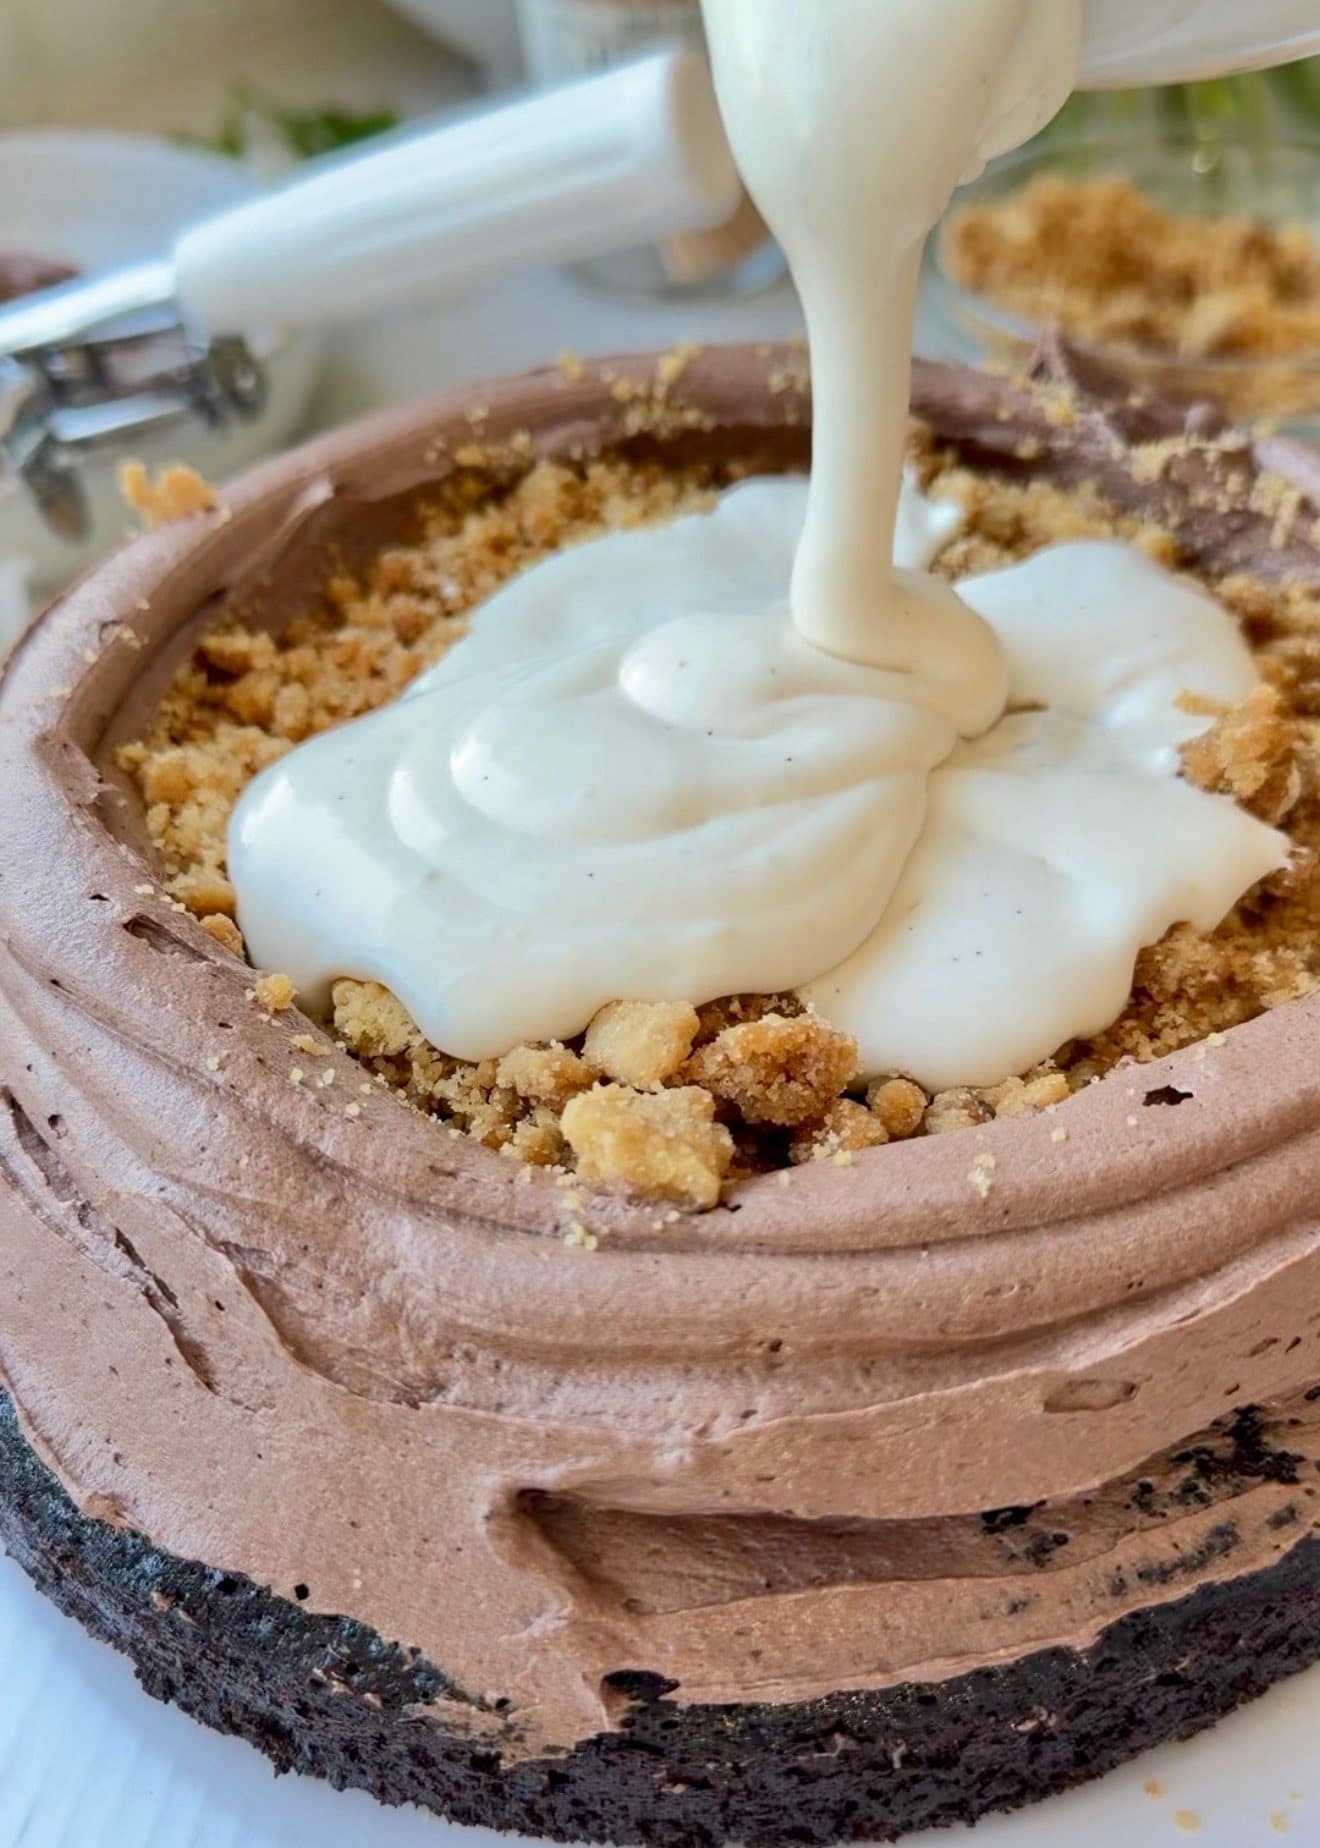
Whisk the room-temperature marshmallow lava until glossy, then pour it inside the dam. Keep the filling below halfway up the buttercream so it stays controlled when the cake is stacked and sliced.
Pour the marshmallow filling into the center. 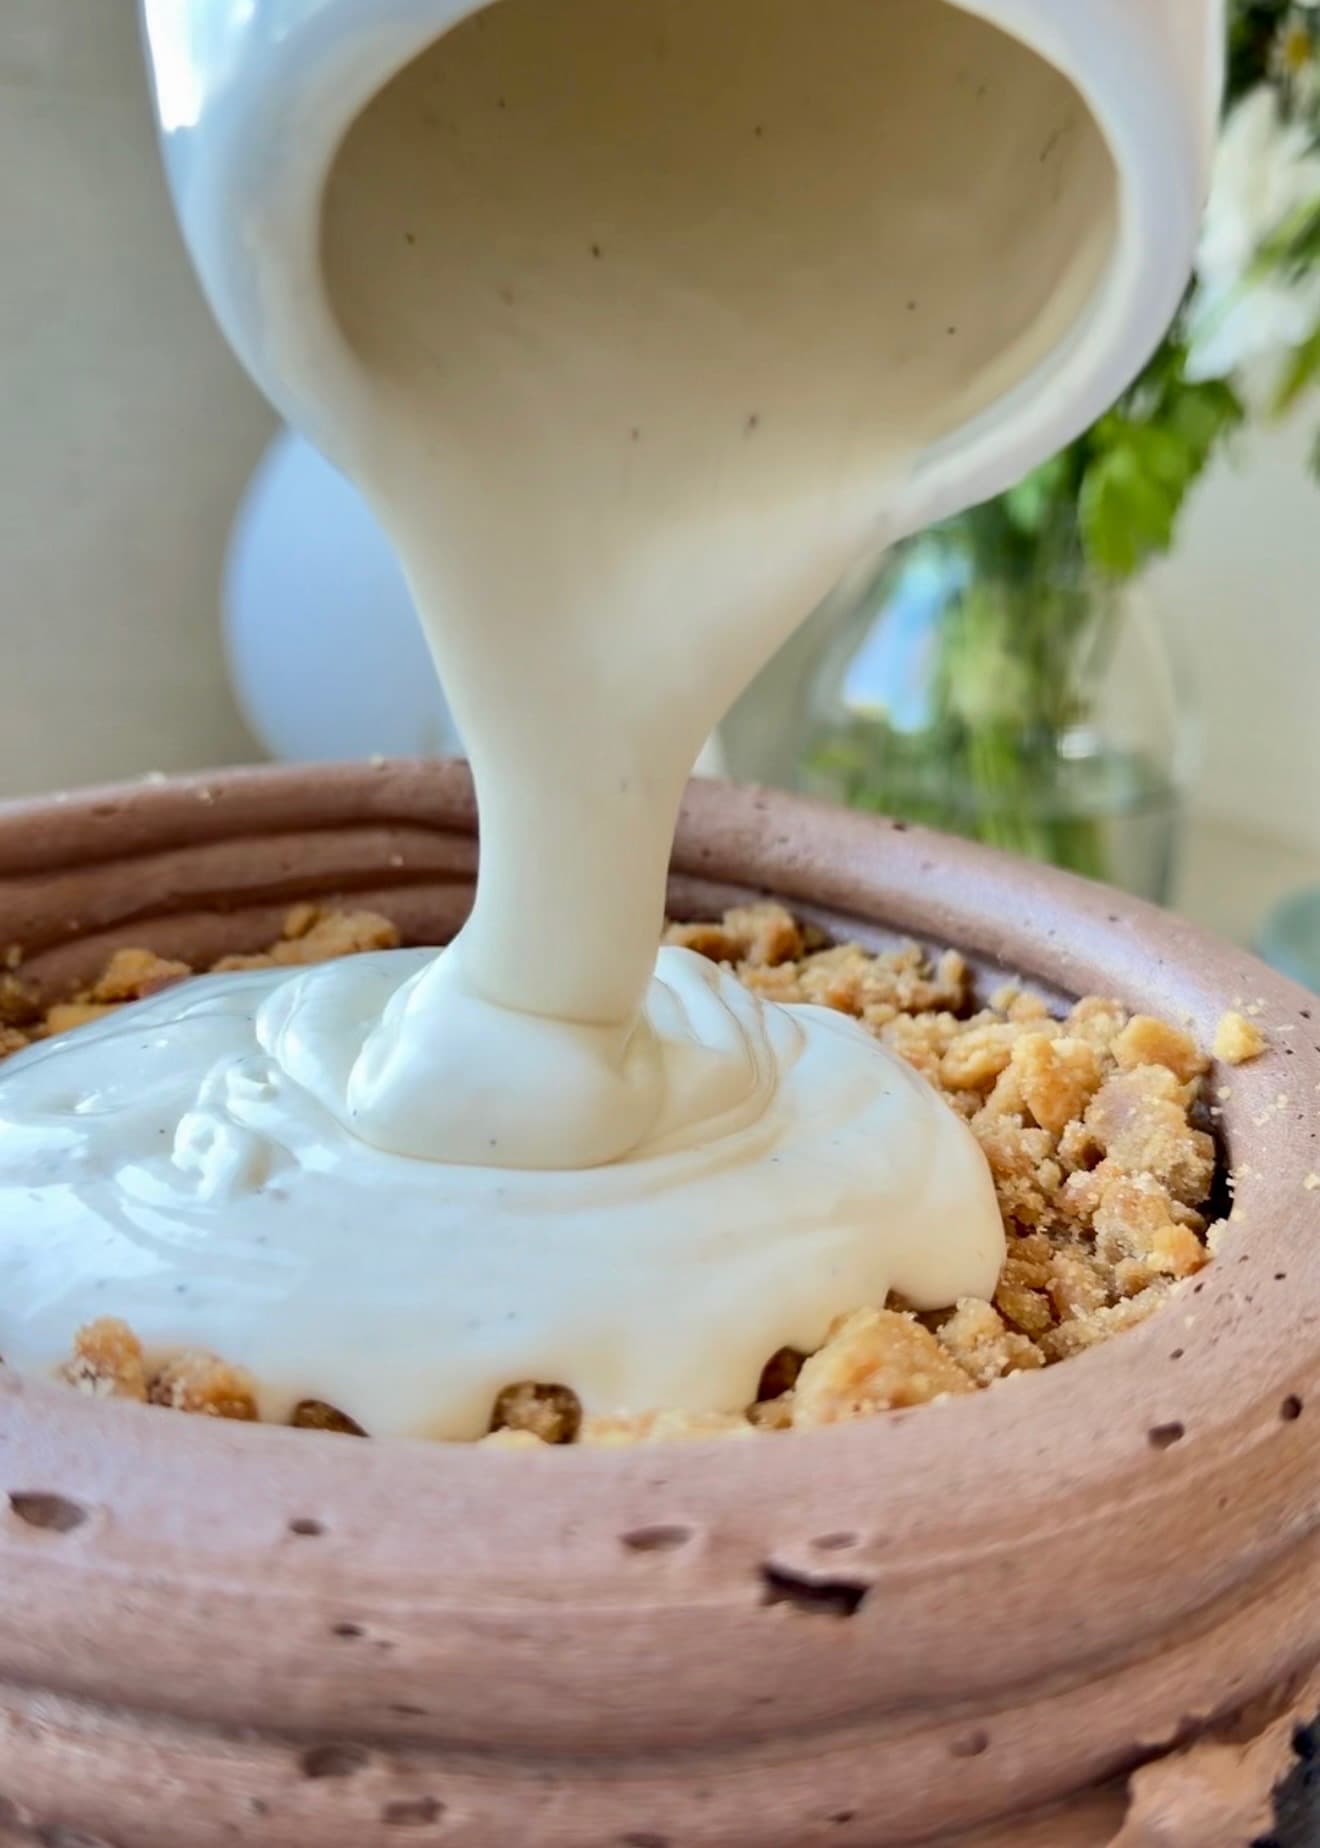
Keep the filling well below the top of the buttercream border. Step 4
Frost and toast the top
Finish the stacked cake with chocolate buttercream, the reserved marshmallow lava and Golden Oreo crunch, and marshmallows. Toast the marshmallows carefully with a kitchen torch, or toast them separately under a closely watched broiler before placing them on the cake.
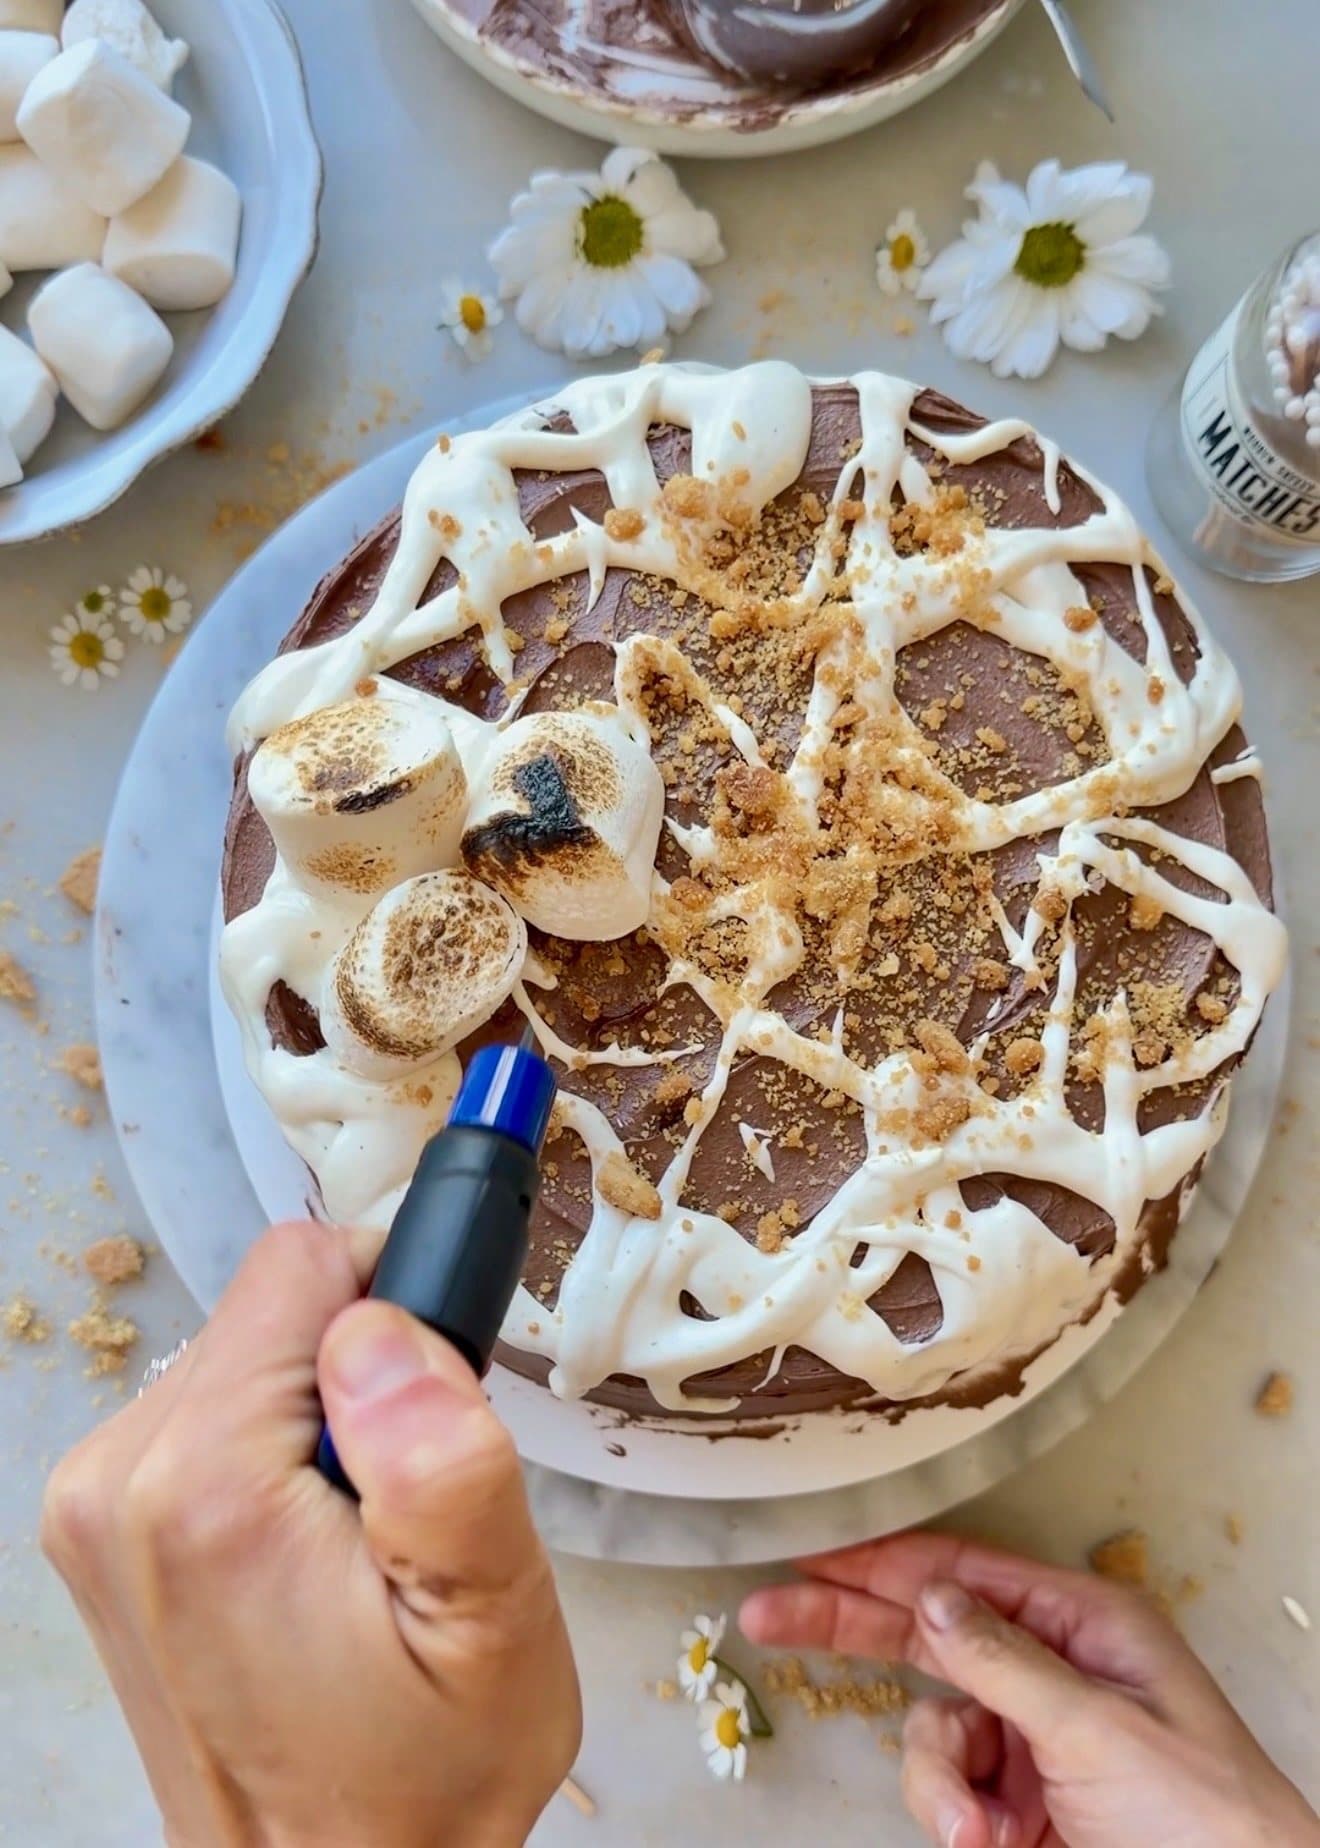
Toast the marshmallows carefully with a kitchen torch. 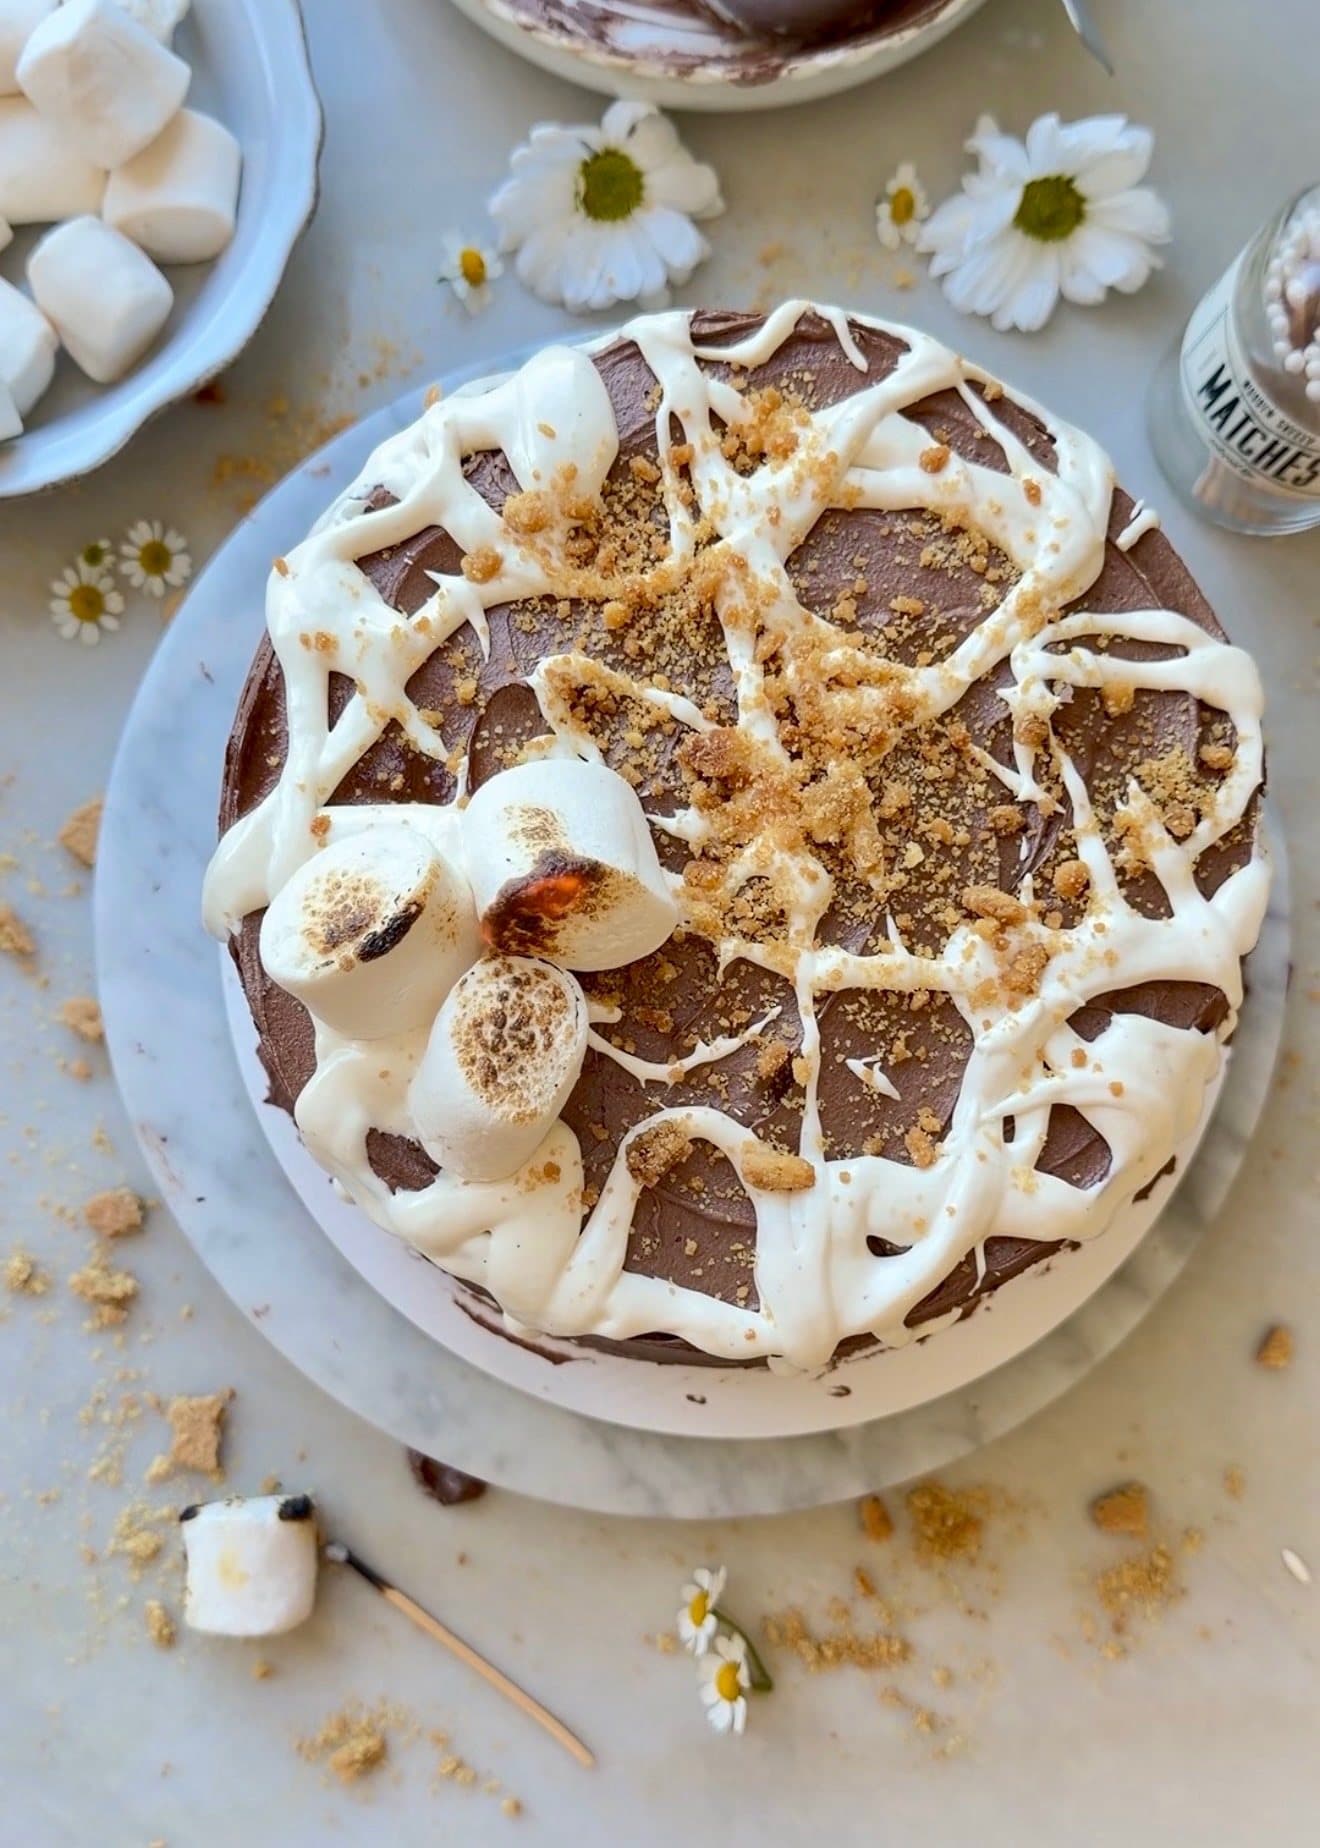
Marshmallow drizzle and cookie crunch surround the toasted marshmallows. Step 5
Chill briefly, then slice
Chill the finished cake only until the buttercream is firm enough to slice. Let it sit briefly at room temperature so the marshmallow center stays soft.
The marshmallow filling sits between the chocolate layers. 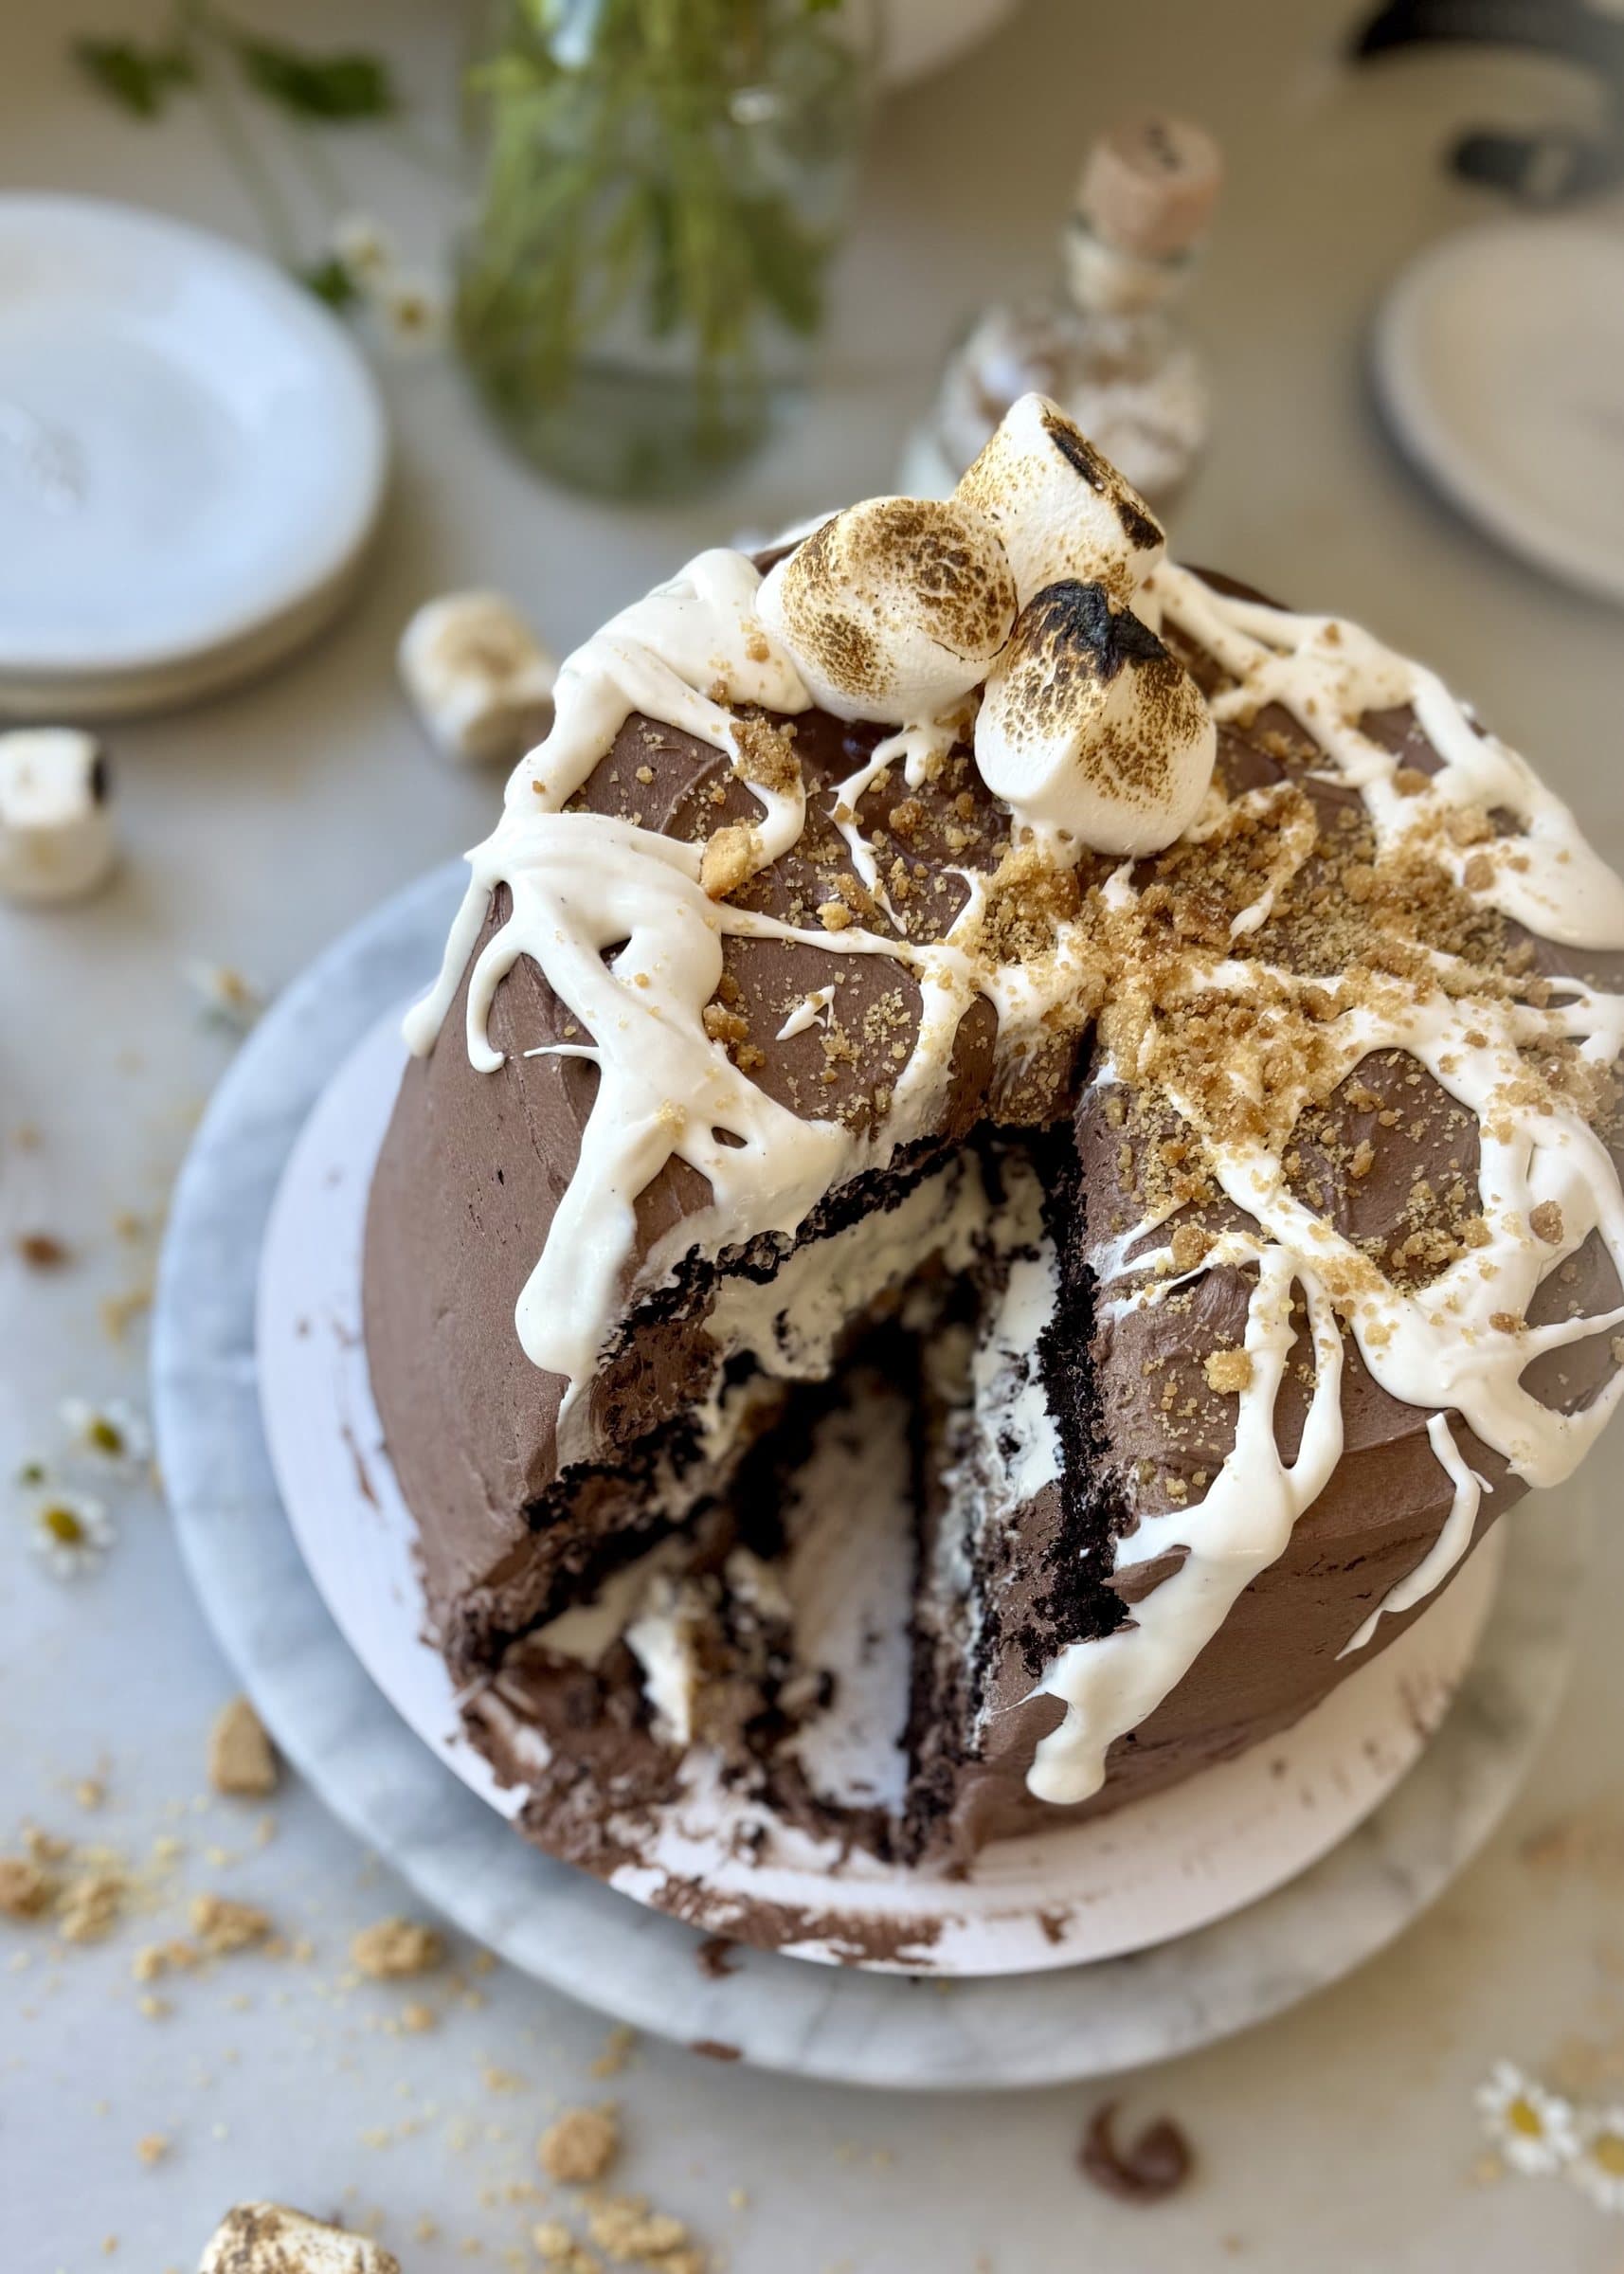
A closer look at the filling and toasted marshmallows. 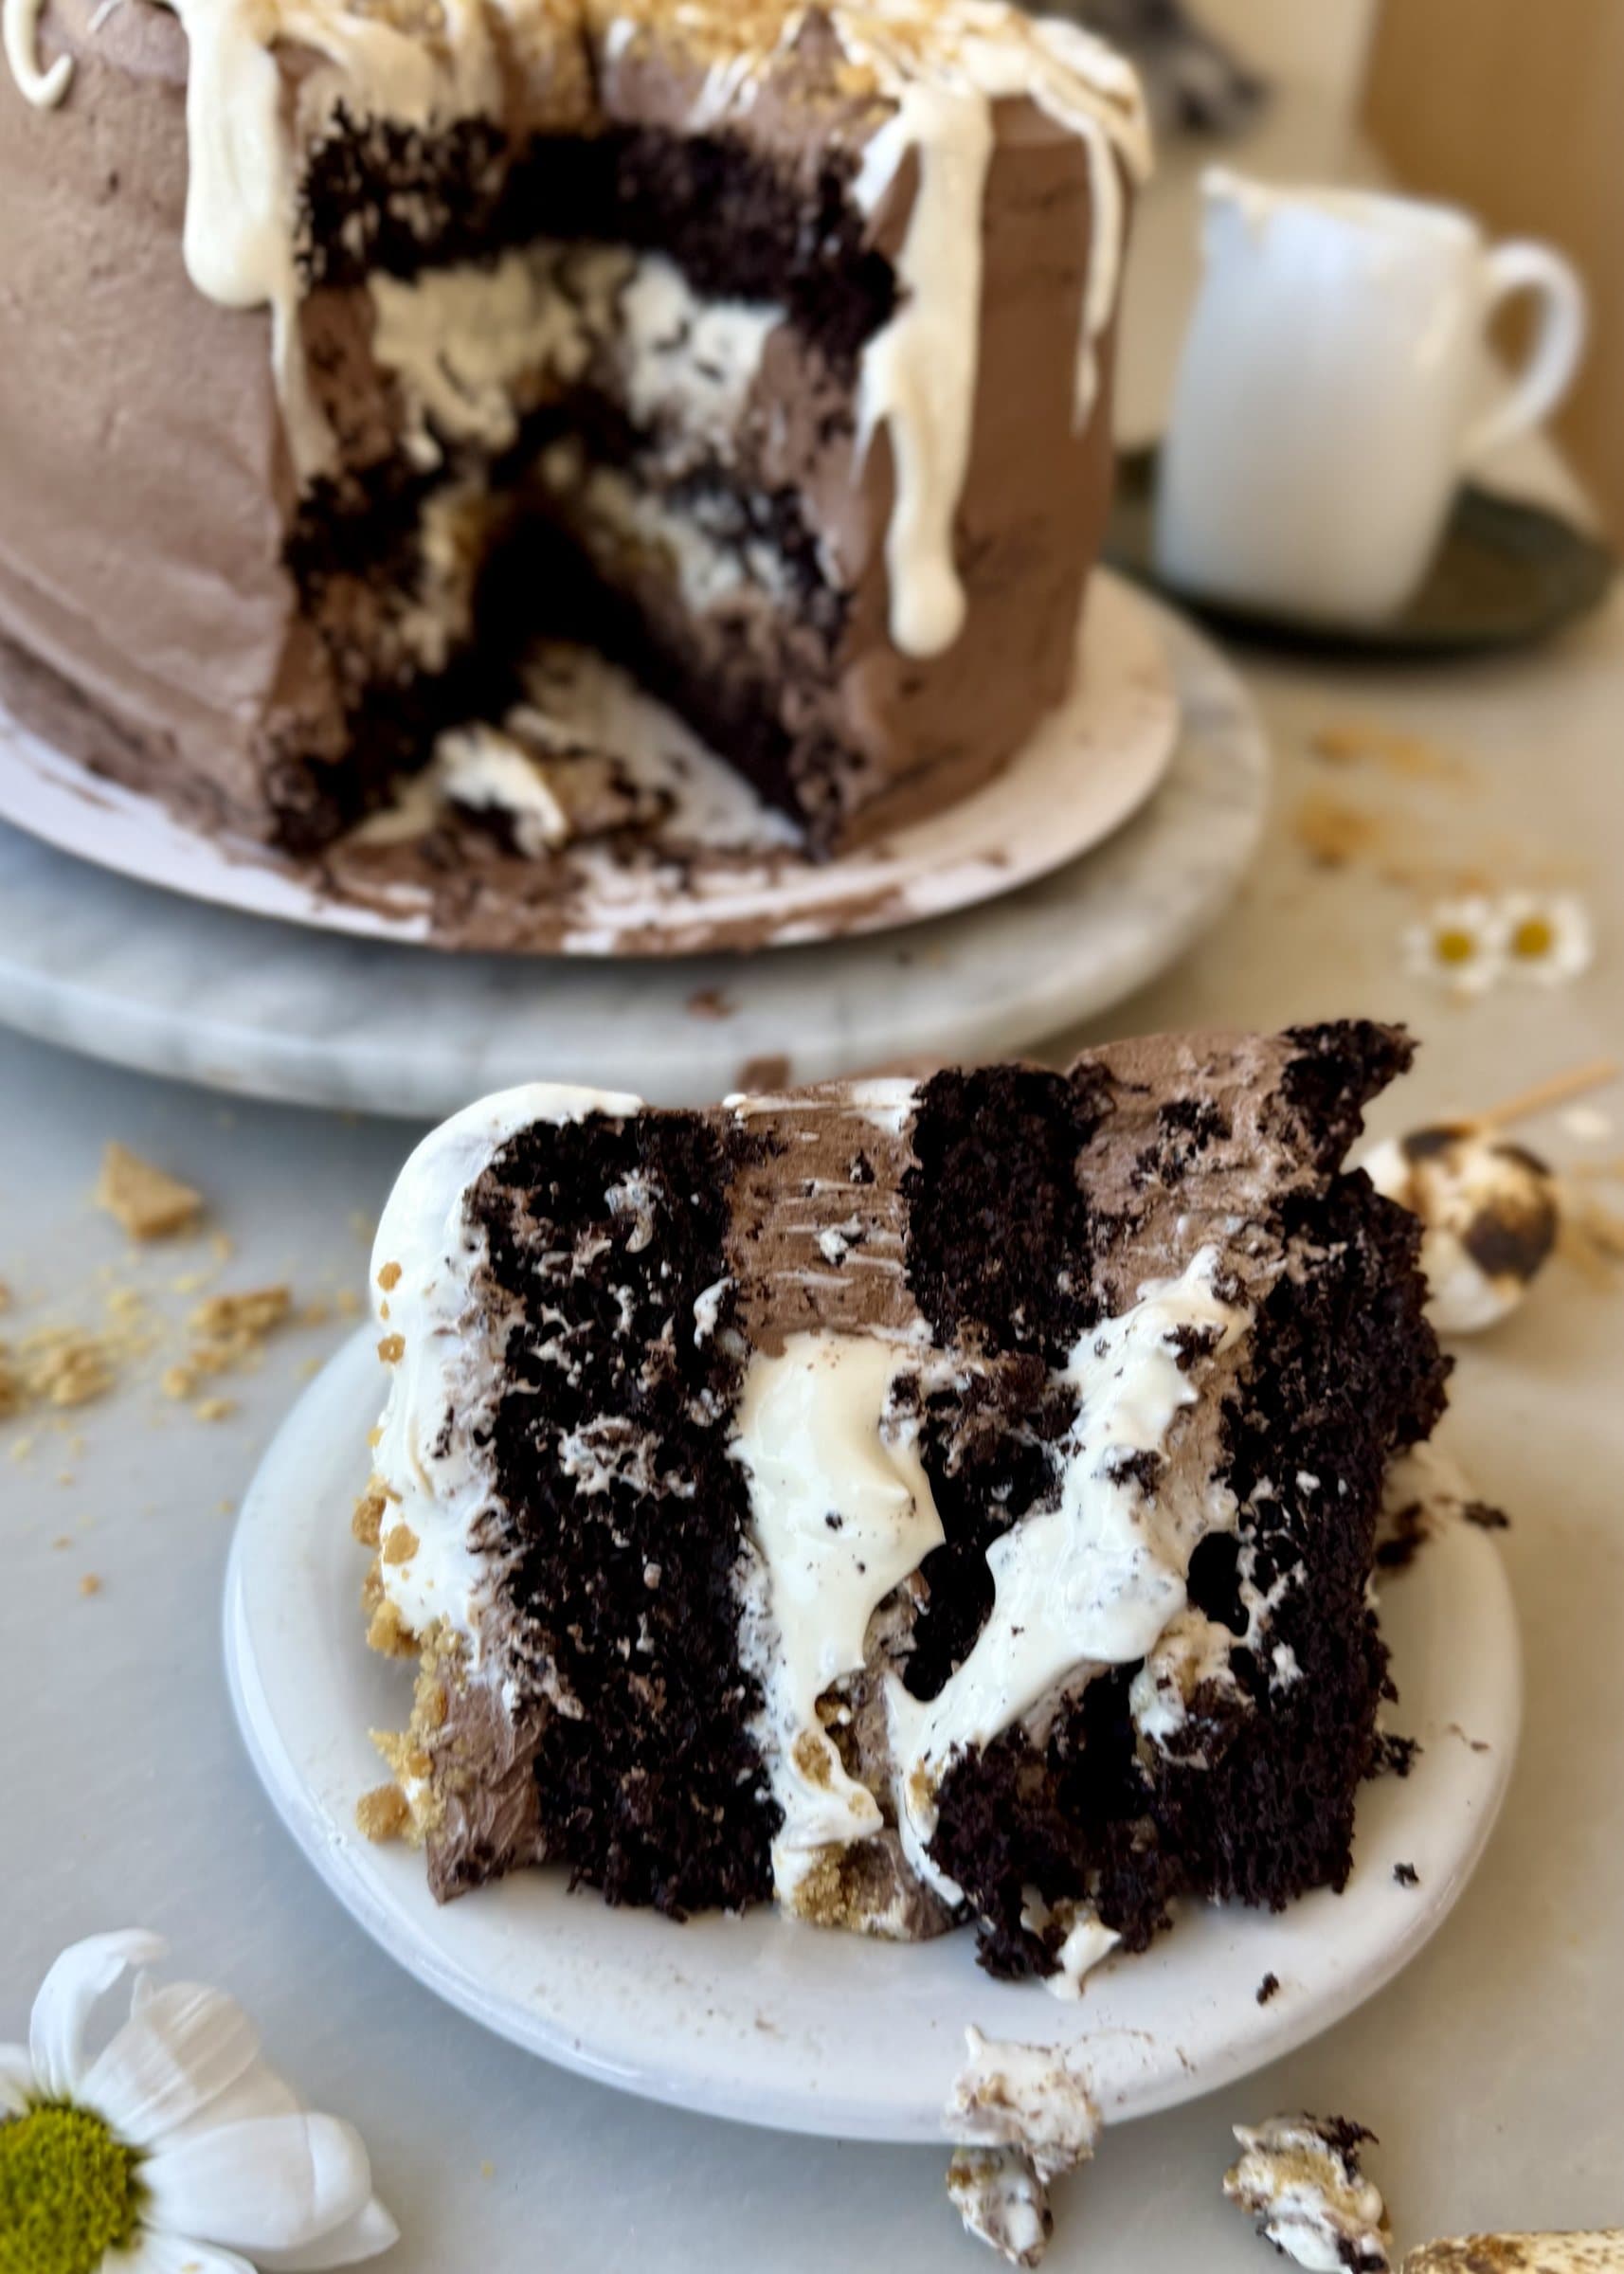
Let the slice sit briefly if you want the center softer.
From Instagram
Watch the reel
Watch the chocolate layers, Golden Oreo crunch, marshmallow lava, and toasted finish come together.
Open the reelSmall things that matter
Tips for the best cake
Sift the cake flour and cocoa powders so the batter mixes smoothly without prolonged whisking.
Divide the batter by weight so all three layers bake to the same height and stack evenly.
Spread the cooked Golden Oreo crunch in a thin layer and let it cool completely before breaking it into clusters.
Add the warm cream to the marshmallow fluff slowly while whisking so the filling stays glossy and cohesive.
Pipe a tall, unbroken buttercream dam and keep both the lava and crunch inside it.
Chill the assembled cake only until the buttercream feels steady, then let it soften slightly before slicing for the best lava texture.
Troubleshooting
If This Happens
The marshmallow lava is running through the dam
Make sure the cake, crunch, and filling are completely cool. Pipe a tall, unbroken buttercream dam and keep the marshmallow lava below halfway up it.
The Golden Oreo crunch feels greasy
Keep cooking it for another 1-2 minutes while stirring. It should look dry and lightly toasted before it is spread over parchment to cool.
The stacked cake is shifting
Refrigerate it briefly, just until the buttercream is firm enough to hold the layers. Do not chill it so long that the marshmallow center becomes firm.
Before you slice
Texture and serving notes
For the fullest lava effect, serve the cake cool rather than refrigerator-cold.
Use a long, sharp knife and expect a generous, messy slice; the marshmallow filling is designed to move.
Let refrigerated slices sit at room temperature until the buttercream softens and the marshmallow becomes fluid again.
Keep it good
Storage
Fridge
Store the assembled cake covered in the refrigerator for up to 4 days.
Fridge
Refrigerate the marshmallow filling separately for up to 3 days, then bring it fully to room temperature and whisk until smooth before assembly.
Counter
Store the cooled Golden Oreo crunch airtight at room temperature for up to 3 days so it stays crisp.
Recipe FAQ
Questions that come up
Does this S’mores Lava Cake taste strongly like coffee?
No. The brewed coffee and espresso powder deepen the cocoa flavor, but the finished cake should taste like dark chocolate rather than coffee.
What if I can’t have coffee?
Replace the brewed coffee with the same amount of hot water and omit the espresso powder. The hot water will still help bloom the cocoa, although the chocolate flavor may be slightly less deep.
Why use Golden Oreos instead of graham crackers?
Golden Oreos create buttery, salted clusters that are sturdy enough to remain noticeable beside the soft cake and marshmallow lava. Their flavor still gives the cake that familiar golden-cookie part of a s’more without disappearing under the chocolate.
Can I use graham crackers instead of Golden Oreos?
I developed and balanced this cake with Golden Oreos, so they are my recommendation. Graham crackers contain less filling and may toast, absorb butter, and soften differently. You can experiment, but the crunch and sweetness will not be identical.
How do I keep the marshmallow filling from leaking out?
Cool every component, use the filling at room temperature, and pipe a tall, continuous buttercream dam. Keep the marshmallow below halfway up that dam and chill the stacked cake briefly before the final coat of buttercream.
Can I make the S’mores Lava Cake ahead?
Yes. Bake and wrap the cooled cake layers up to 2 days ahead. Make the crunch up to 3 days ahead and keep it airtight at room temperature. The marshmallow filling can be refrigerated for up to 3 days, but it must return fully to room temperature and be whisked smooth before assembly.
Can I use dairy ingredients?
Yes. I test this recipe with specific non-dairy products, but you can use dairy milk, plain unsweetened yogurt, butter, and cream at the same listed amounts and temperatures.
Can I toast the marshmallows on top without a kitchen torch?
Yes. Toast them separately under a closely watched broiler, then place them on the finished cake once they are cool enough to handle. Do not put the fully frosted cake under the broiler.
Should I weigh the ingredients or use volume measurements?
I strongly recommend weighing the ingredients in grams for the most reliable result. Volume measurements are included for convenience, but the amount in a cup can change depending on how an ingredient is filled, packed, or poured. These recipes are easy to follow, but their ratios are precise, so I cannot guarantee the exact same result when volume measurements are used. I still use teaspoons and tablespoons for small amounts like leaveners, salt, spices, and flavorings because those are the most practical measurements.
Can I make this recipe gluten-free?
I have not tested this recipe with gluten-free flour, so I cannot guarantee the same texture, rise, or structure. If you would like to experiment, a cup-for-cup (1:1) gluten-free baking blend intended to replace all-purpose flour is the best place to start. Results may differ from the recipe as written.
Can I use all-purpose flour instead of cake flour?
Yes, of course. Replace the cake flour with the same amount of all-purpose flour by weight. The cake will have a slightly sturdier, less delicate crumb, but it will still be great.
More lava cakes to try


- Prep
- 1 hr
- Bake
- 22-25 min
- Total
- About 4 hr, including cooling and assembly
- Yield
- One 3-layer 8-inch cake
Measurement note
For the closest match to the recipe I tested, use grams. Volume measurements are included for convenience, but cups can vary, so I cannot guarantee the exact same result when measuring by volume.
Ingredients
Chocolate Cake
- 235 g cake flour, sifted235 g (about 1 3/4 cups + 3 tablespoons) cake flour, sifted
- 50 g Dutch-process cocoa powder50 g (about 1/2 cup + 1 teaspoon) Dutch-process cocoa powder
- 30 g natural cocoa powder30 g (about 5 tablespoons) natural cocoa powder
- 10 g baking powder (weigh for accuracy)2 teaspoons baking powder
- 6 g baking soda (weigh for accuracy)1 1/4 teaspoons baking soda
- 4 g fine sea salt (weigh for accuracy)4 g fine sea salt (weigh for accuracy)
- 300 g granulated sugar300 g (about 1 1/2 cups) granulated sugar
- 50 g light brown sugar, packed50 g (about 3 tablespoons + 2 1/4 teaspoons) light brown sugar, packed
- 230 g milk230 g (about 3/4 cup + 3 tablespoons) milk
- 15 g apple cider vinegar15 g (about 1 tablespoon) apple cider vinegar
- 140 g neutral oil140 g (about 1/2 cup + 2 tablespoons) neutral oil
- 120 g plain unsweetened yogurt, room temperature120 g (about 7 tablespoons + 2 1/2 teaspoons) plain unsweetened yogurt, room temperature
- 10 g vanilla bean paste (weigh for accuracy)10 g vanilla bean paste (weigh for accuracy)
- 130 g hot brewed coffee130 g (about 1/2 cup + 2 teaspoons) hot brewed coffee
- 1 teaspoon espresso powder1 teaspoon espresso powder
Golden Oreo Crunch
- 120 g Golden Oreos, finely crushed, filling included (about 11 cookies)120 g Golden Oreos, finely crushed, filling included (about 11 cookies)
- 25 g granulated sugar25 g (about 2 tablespoons) granulated sugar
- 25 g light brown sugar, packed25 g (about 1 tablespoon + 2 5/8 teaspoons) light brown sugar, packed
- 30 g butter30 g (about 2 tablespoons + 1/4 teaspoon) butter
- 1/8 teaspoon fine sea salt1/8 teaspoon fine sea salt
Marshmallow Lava Filling
- 400 g marshmallow fluff400 g (about 3 cups + 2 tablespoons) marshmallow fluff
- 160 g cream, warm160 g (about 2/3 cup) cream, warm
- 20 g butter, melted20 g (about 1 tablespoon + 1 1/4 teaspoons) butter, melted
- 1/4 teaspoon fine sea salt1/4 teaspoon fine sea salt
- 2 teaspoons vanilla bean paste2 teaspoons vanilla bean paste
Chocolate Buttercream
- 340 g butter, room temperature (3 sticks)340 g (about 1 1/2 cups) butter, room temperature (3 sticks)
- 35 g Dutch-process cocoa powder35 g (about 1/3 cup + 1 1/2 teaspoons) Dutch-process cocoa powder
- 15 g natural cocoa powder15 g (about 2 tablespoons + 1 1/2 teaspoons) natural cocoa powder
- 520 g powdered sugar, sifted520 g (about 4 1/3 cups) powdered sugar, sifted
- 1/2 teaspoon fine sea salt1/2 teaspoon fine sea salt
- 2 teaspoons vanilla bean paste2 teaspoons vanilla bean paste
- 75 g cream, slightly above room temperature75 g (about 5 tablespoons) cream, slightly above room temperature
For Finishing
- Marshmallows, for toppingMarshmallows, for topping
Pan used
I use Fat Daddio's 8-inch anodized aluminum round cake pans for this recipe.
Instructions
- 1Preheat the oven to 350°F (175°C). Line three 8-inch cake pans with parchment paper and lightly grease.
- 2Stir the espresso powder into the hot brewed coffee until dissolved. Set aside.
- 3In a large bowl, whisk together the cake flour, granulated sugar, brown sugar, Dutch-process cocoa powder, natural cocoa powder, baking powder, baking soda, and salt.
- 4In a separate bowl, combine the milk and apple cider vinegar and let stand for 2-3 minutes.
- 5Add the oil, yogurt, and vanilla to the milk mixture and whisk until smooth.
- 6Pour the wet ingredients into the dry ingredients and whisk just until combined.
- 7Add the hot coffee mixture and whisk until the batter is smooth.
- 8Divide the batter evenly among the prepared pans.
- 9Bake for 22-25 minutes, or until the centers spring back when lightly touched and a tester comes out with moist crumbs.
- 10Cool the layers in the pans for 15 minutes, then transfer them to wire racks to cool completely.
- 11Make the Golden Oreo crunch. Melt the butter in a pan over medium heat. Add the crushed Golden Oreos, granulated sugar, brown sugar, and salt.
- 12Cook, stirring constantly, until the mixture looks dry, lightly golden, and forms crisp clusters. Continue cooking for 1-2 minutes, until lightly toasted and no longer greasy.
- 13Spread the crunch in a thin layer on parchment paper and cool completely.
- 14Make the marshmallow lava. Whisk the marshmallow fluff, salt, and vanilla bean paste until smooth.
- 15Slowly stream in the warm cream while whisking continuously until glossy and fluid. Whisk in the melted butter until fully incorporated.
- 16Let the marshmallow lava cool completely to room temperature before assembly. It should thicken slightly while remaining pourable.
- 17Make the chocolate buttercream. Beat the room-temperature butter until smooth and creamy.
- 18Add both cocoa powders, the salt, and vanilla bean paste. Beat until completely smooth with no dry pockets.
- 19Add the powdered sugar in 2-3 additions, mixing on low until incorporated. Increase the speed and mix until fluffy.
- 20Slowly stream in the cream until the buttercream is silky, light, and spreadable. Beat for 2-3 minutes, until smooth and aerated.
- 21Place the first cake layer on a serving board or cake stand. Spread on a thin layer of buttercream, then pipe a tall, continuous buttercream dam around the edge.
- 22Reserve a little marshmallow lava and Golden Oreo crunch for the top. Scatter cooled crunch inside the buttercream dam, then pour in half of the remaining room-temperature marshmallow lava. Keep the filling below halfway up the dam.
- 23Add the second cake layer and repeat with a thin buttercream layer, a tall dam, cooled crunch, and the remaining filling, keeping the reserved topping aside.
- 24Top with the final cake layer and frost with chocolate buttercream. Finish with the reserved marshmallow lava and Golden Oreo crunch, then add marshmallows. Toast the marshmallows carefully with a kitchen torch, or toast them separately under a closely watched broiler before placing them on the cake. Do not put the frosted cake under the broiler. Chill briefly until the buttercream is steady, then let the cake soften slightly before slicing.
Helpful notes
- Use the marshmallow lava at room temperature and keep it below halfway up a tall buttercream dam.
- Reserve a little marshmallow lava and Golden Oreo crunch for decorating before filling the cake layers.

Meet the baker
Angela Heckler
Angela Heckler is the recipe developer, baker, and photographer behind Obsessed Cakes. Her Old-Fashioned Donut Loaf series is a growing collection of cake-donut-inspired loaves with soft, deeply moist crumbs, buttery streusel, and crackly glaze. Angela develops and tests every recipe in her Arizona kitchen. Follow Obsessed Cakes on Instagram, TikTok, and YouTube.
Made it? Tell us.
Ratings and reviews
Be the first to rate this recipe.
No reviews yet.
Make the recipe, leave a rating, and share how it turned out.Did you make this?
Share your bake on Instagram - tag @obsessedwithcashews and use #obsessedcakes.