Sugar Cookie Lava Cake
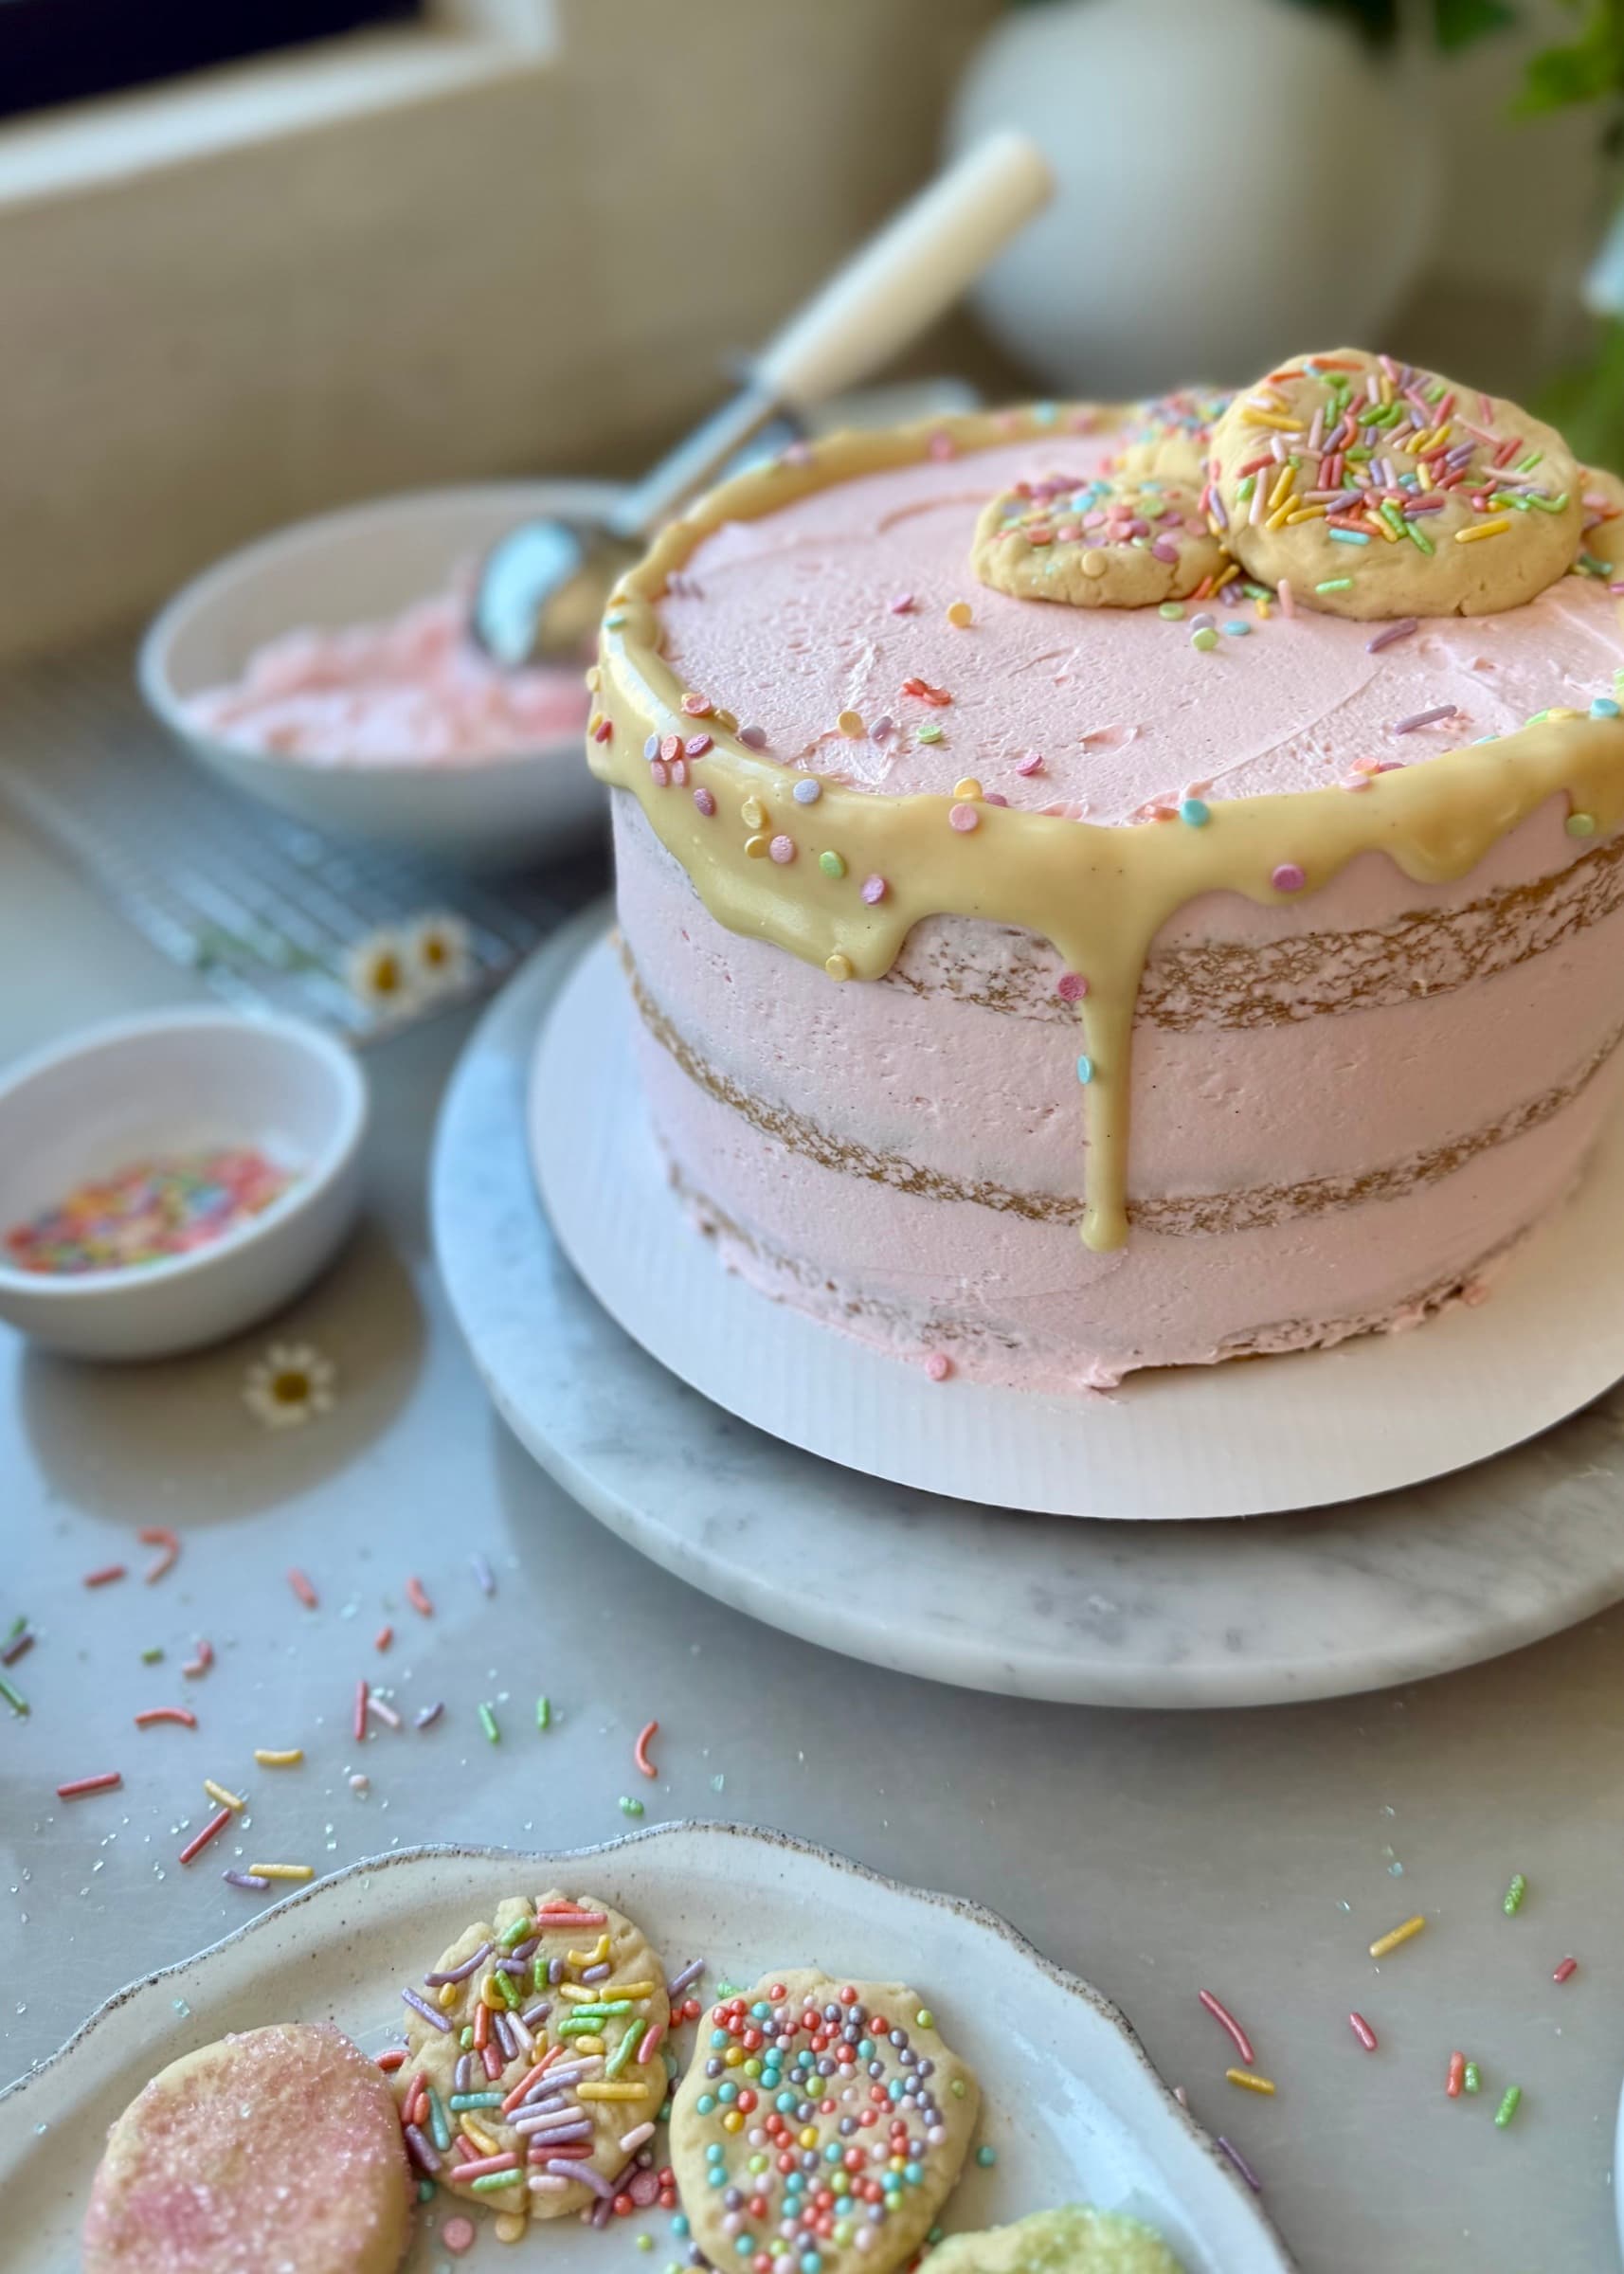
Be the first to reviewThis sugar cookie lava cake is joyful from the first look to the first slice. The soft vanilla cake, creamy cookie lava, pastel sprinkles, and little pieces of sugar cookie dough make every layer feel like a celebration.
Vanilla bean paste gives the cake and fillings a round, fragrant vanilla flavor, while a small amount of almond extract brings in that unmistakable bakery-style sugar cookie note. The cookie lava becomes thick and glossy as it cools, then settles beautifully through each slice.
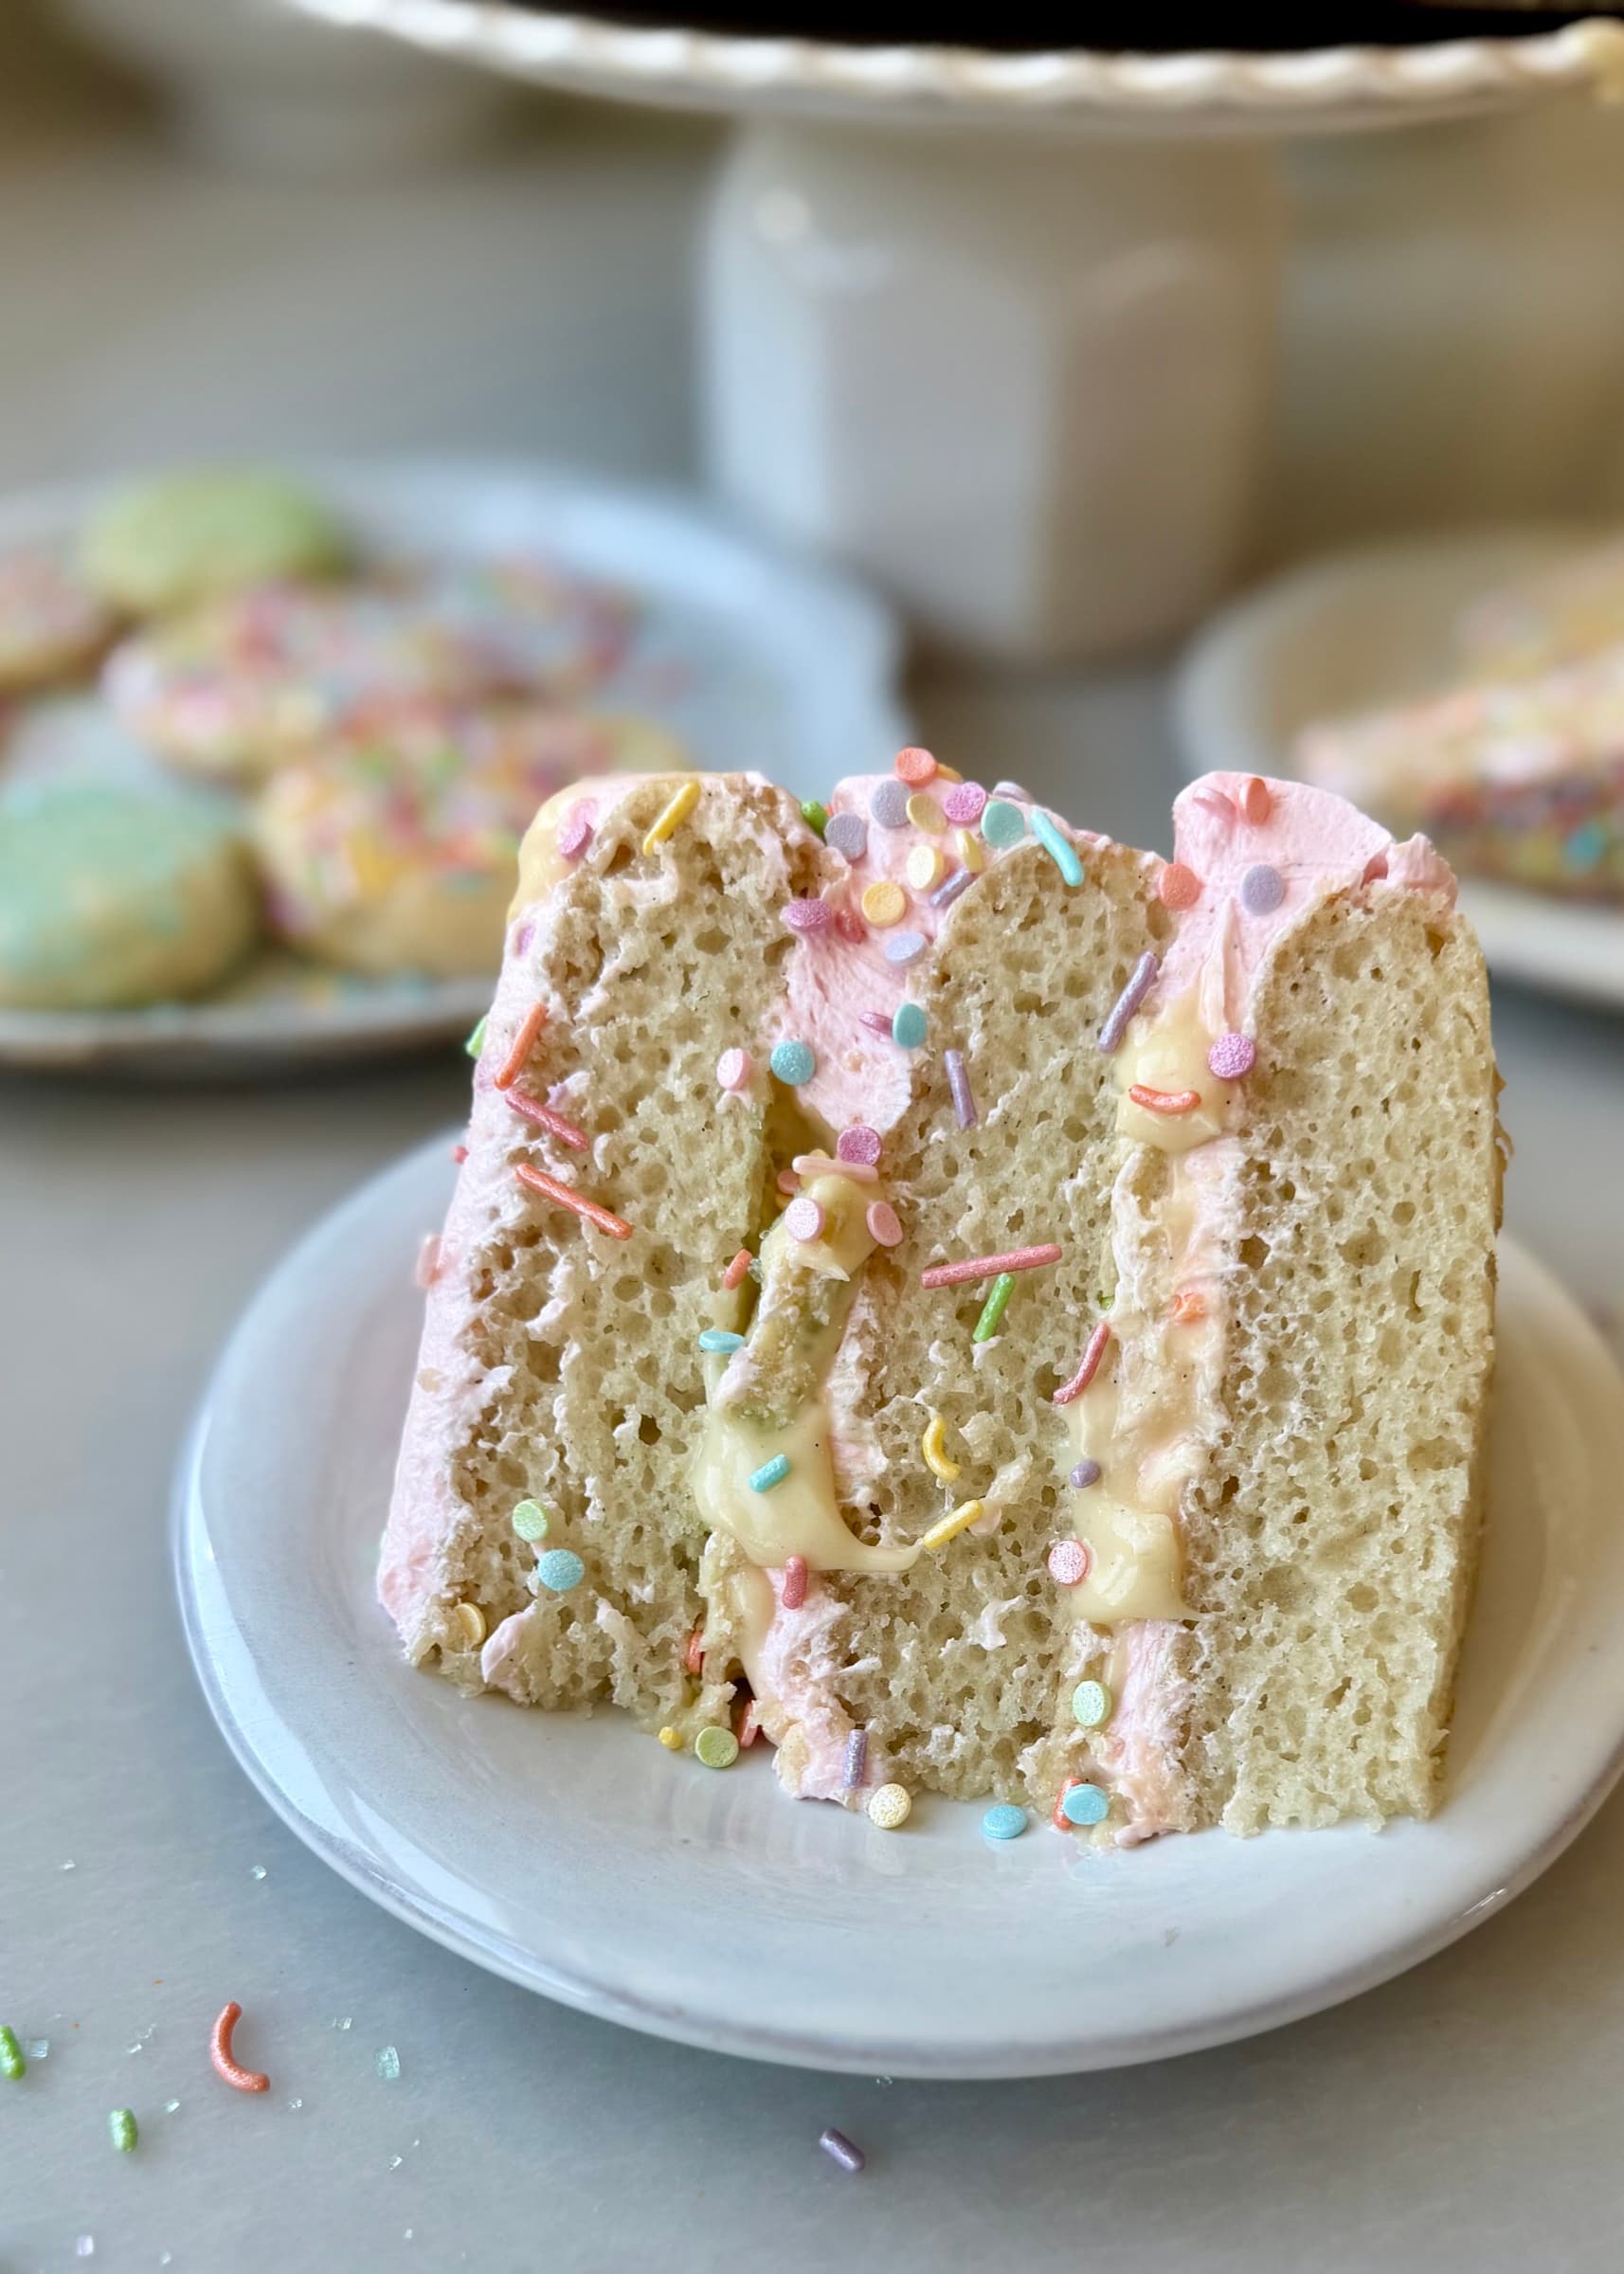
This is the kind of cake that looks playful on the outside and becomes even more fun when the first slice reveals everything tucked between the layers.
Save this recipe
Want to save this recipe for later?
Enter your email and I’ll send it to your inbox.
That Lofthouse Sugar Cookie Flavor
I am not sure when I learned that Lofthouse sugar cookies often include a little almond extract. I was not allowed to buy them as a kid, so I always sought them out at birthday parties and holiday gatherings.
Years later, I made the Banana Diaries Soft & Chewy Vegan Sugar Cookie Bars for my daughter's birthday when she was a baby. I remember seeing almond extract in the recipe and thinking it was unique. The moment I took a bite, I was immediately brought back to those soft frosted cookies - and so much of that familiar flavor came from the almond extract.
It is subtle, but paired with a super-soft cookie and frosting, it makes the whole thing feel like such a treat. That is exactly why I made a sugar cookie lava cake. It is soft, simple, and hits the spot.
Ingredient notes
Key ingredients
Vanilla bean paste
Vanilla bean paste brings a full vanilla aroma and the pretty flecks of vanilla bean.
Almond extract
A little almond extract creates the familiar bakery-style sugar cookie flavor. Begin with the smaller amount because brands vary in strength.
Flour for the unbaked fillings
Heat-treat the flour for the cookie dough and lava to 165°F, then let it cool completely before using.
Sprinkles
Use sprinkles in any color palette you love. Press them lightly into the cookie-dough pieces so they stay in place during assembly.
Brands I used for this recipe
These are preferences, not requirements. If you choose the non-dairy route, these are the products I test with. Dairy equivalents can be used at the same listed amounts and temperatures.
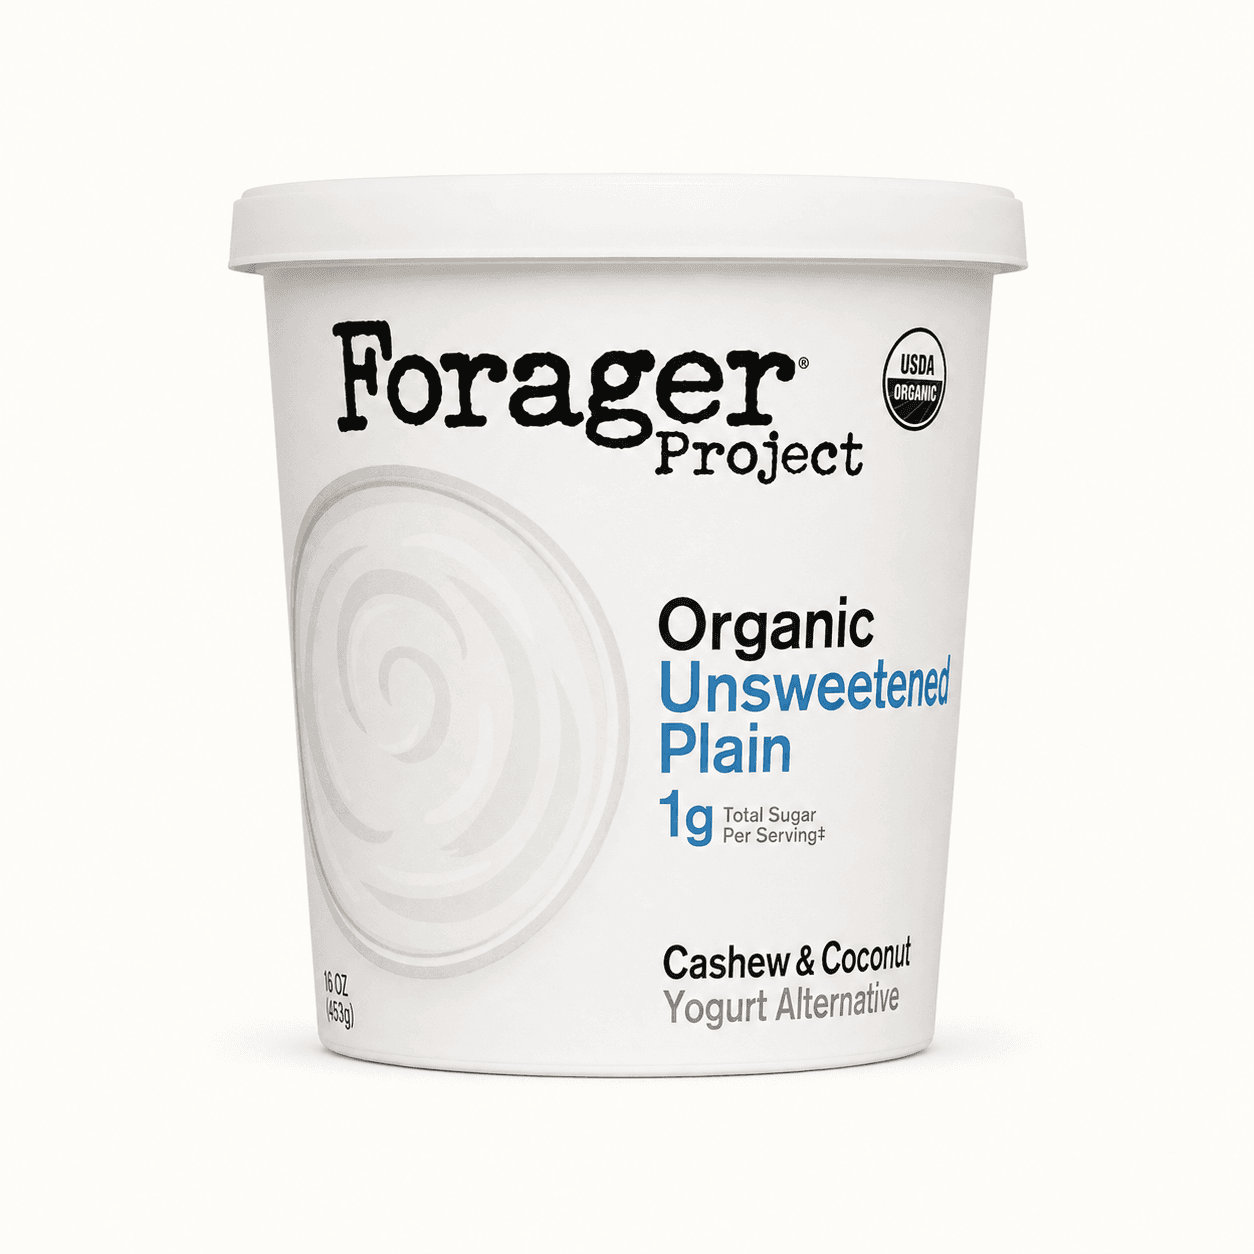
Forager Unsweetened Plain Yogurt
Plain unsweetened yogurt adds moisture, acidity, and body so the crumb bakes up tender without tasting tangy.
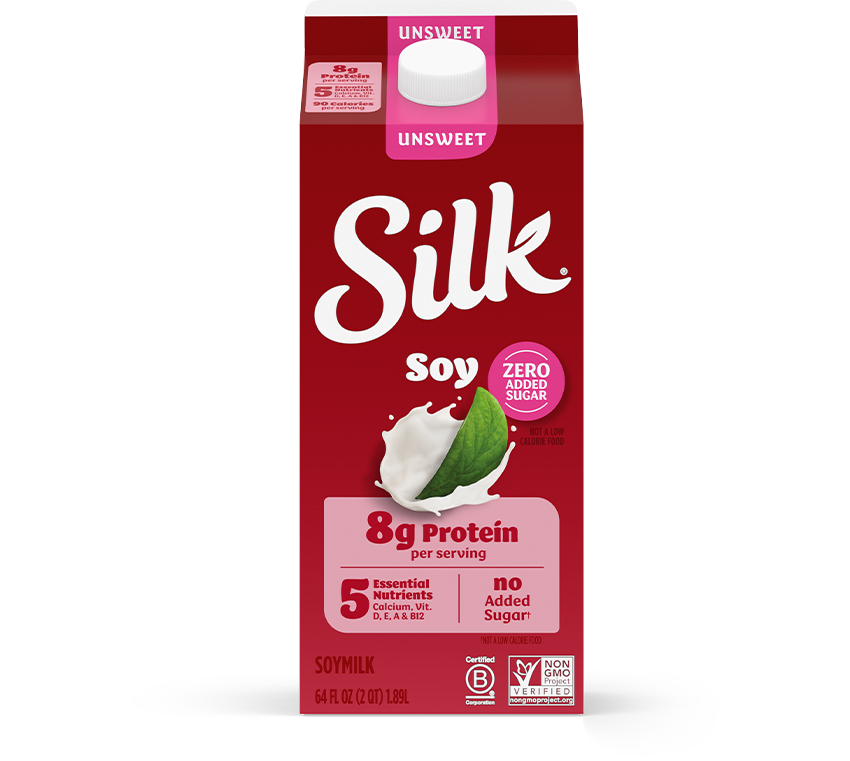
Silk Original Unsweet
Milk affects how smoothly a batter, filling, or frosting comes together. Soy milk and Ripple tend to emulsify well because their protein and fat help create a creamy, cohesive finish.
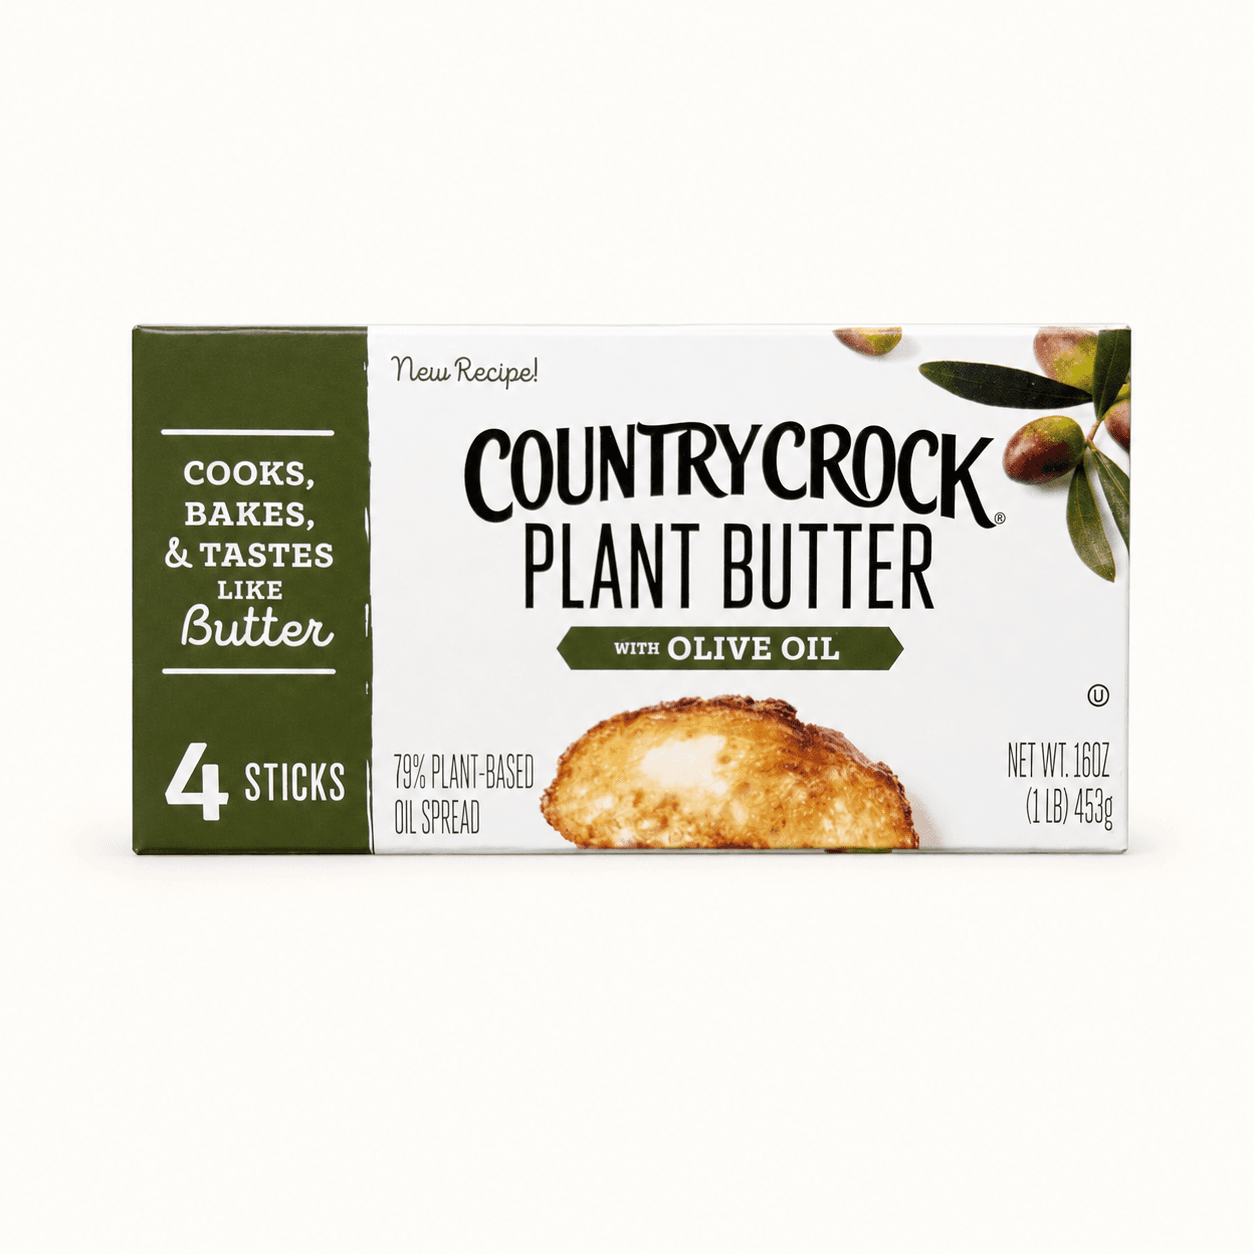
Country Crock Plant Butter Sticks
Use butter sticks for buttercream and fillings that need to hold their shape.
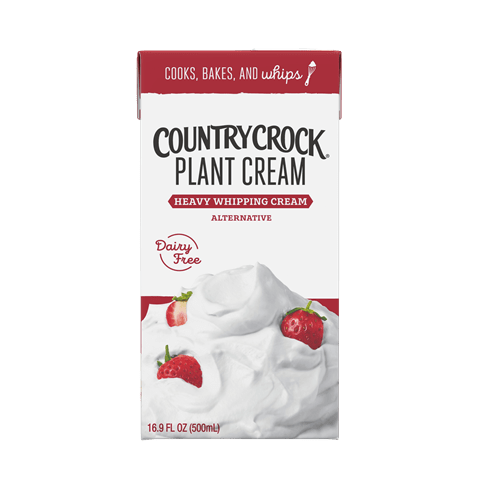
Country Crock Heavy Plant Cream
Heavy cream affects silkiness, looseness, and how buttercream or filling sets after chilling.
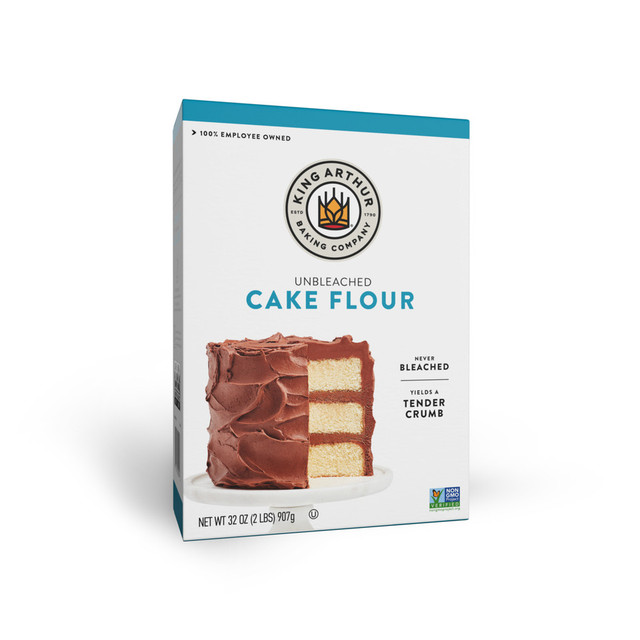
King Arthur Unbleached Cake Flour
I use King Arthur Unbleached Cake Flour for this recipe.

Rising Star Baking Supply Vanilla Bean Paste
I use Rising Star Baking Supply Vanilla Bean Paste for this recipe.
From this recipe
Tested notes
Keep the lava at room temperature during assembly so it supports the buttercream and cake structure.
Store the finished cake covered in the refrigerator for up to 4 days.
Testing notes
Why this works
Let the lava find its texture
The flour thickens the lava as it cools. Let it reach room temperature, then whisk in milk 1 teaspoon at a time only if needed until it is thick, glossy, and slowly pourable.
Build a supported center
Pipe a tall, continuous buttercream dam around each filled layer. Keep the lava below halfway up the dam, then add the cookie-dough pieces so the next cake layer sits evenly.
Step by step
How It All Comes Together
Step 1
Start with a cold cake layer
Place the first cold cake layer on a cake board and spread a thin, even layer of almond-vanilla buttercream over the top. Cold layers make the filled cake much easier to assemble.
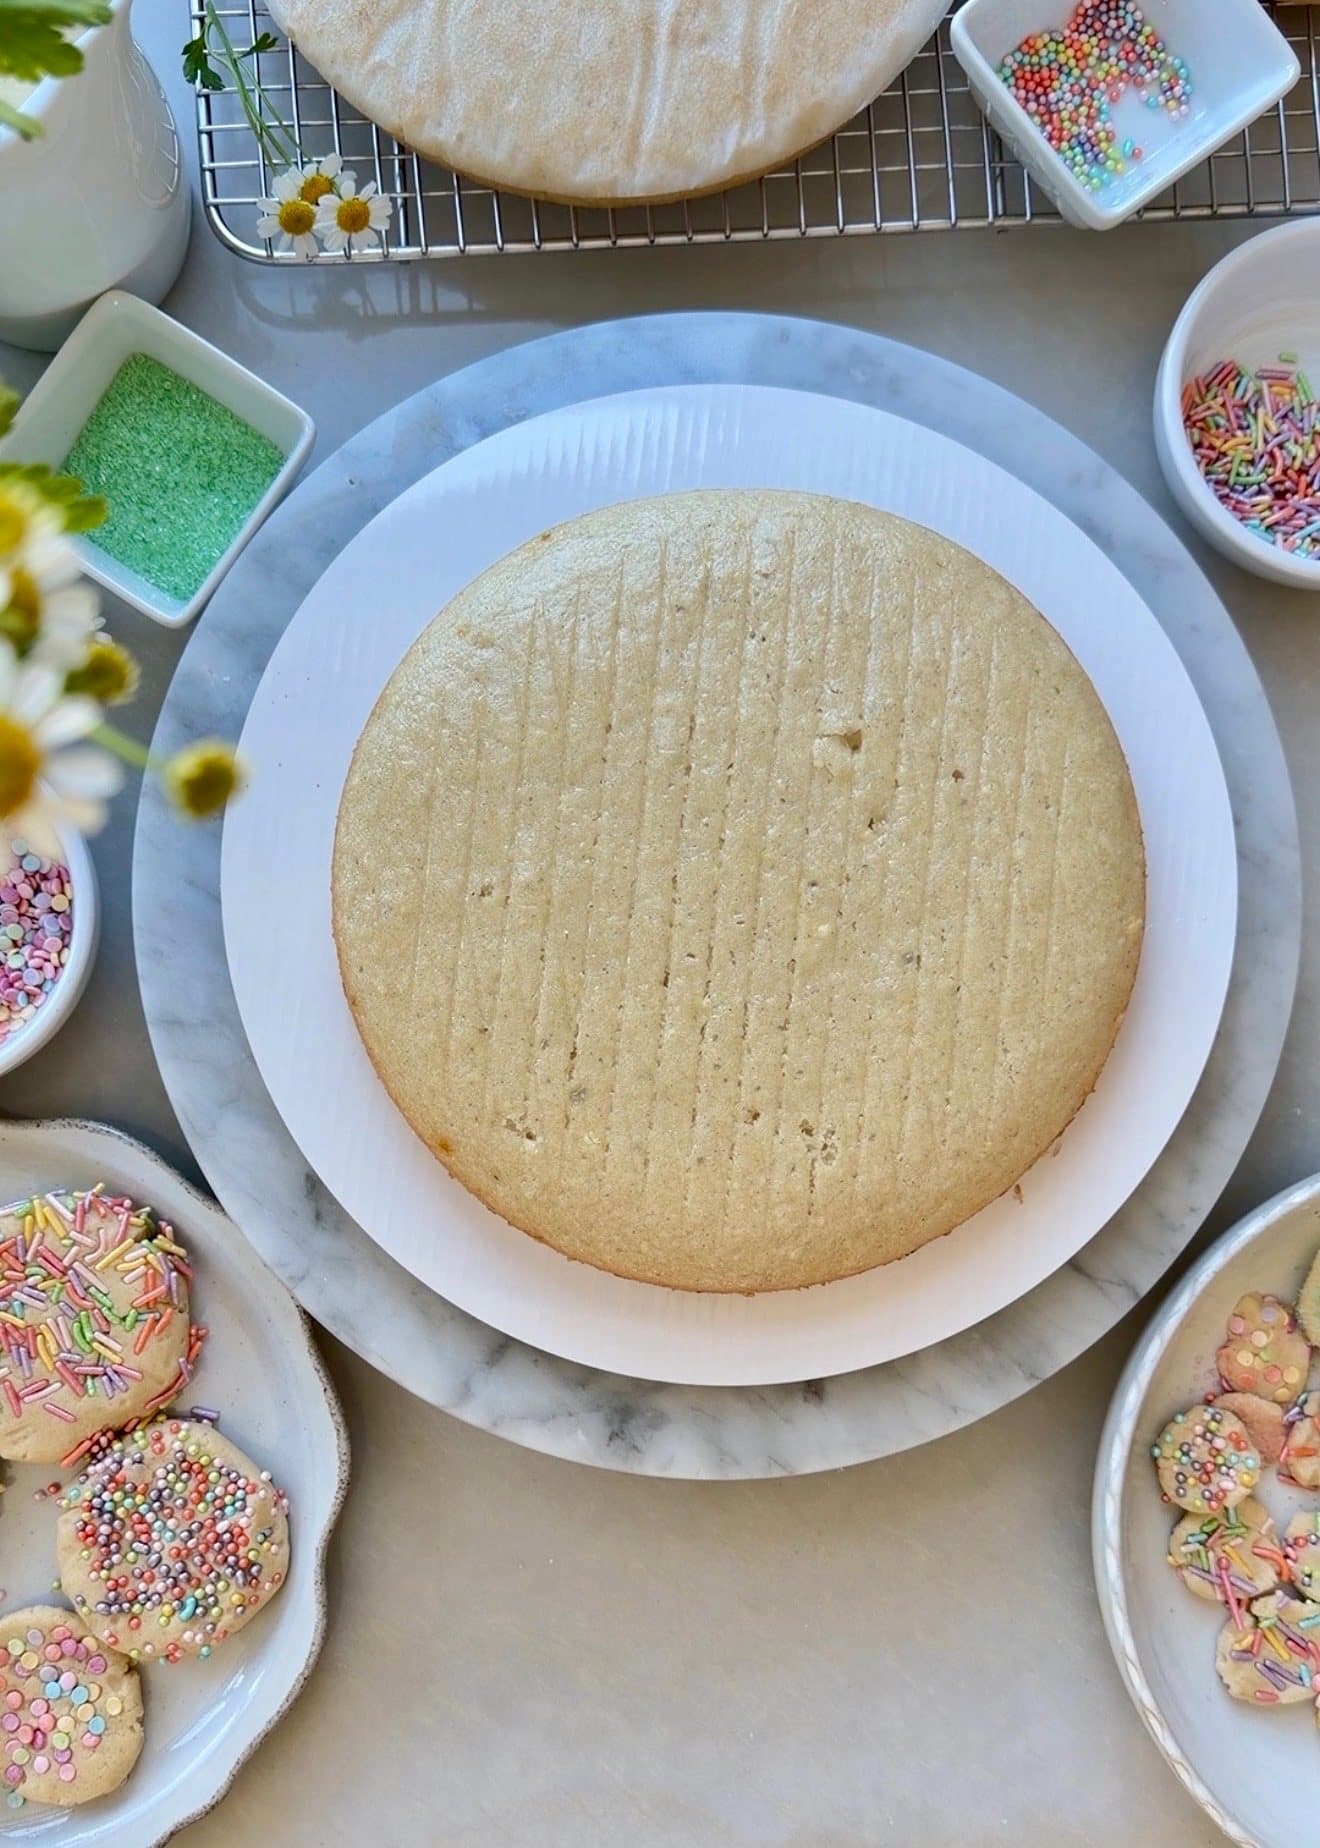
Start with a cold cake layer. 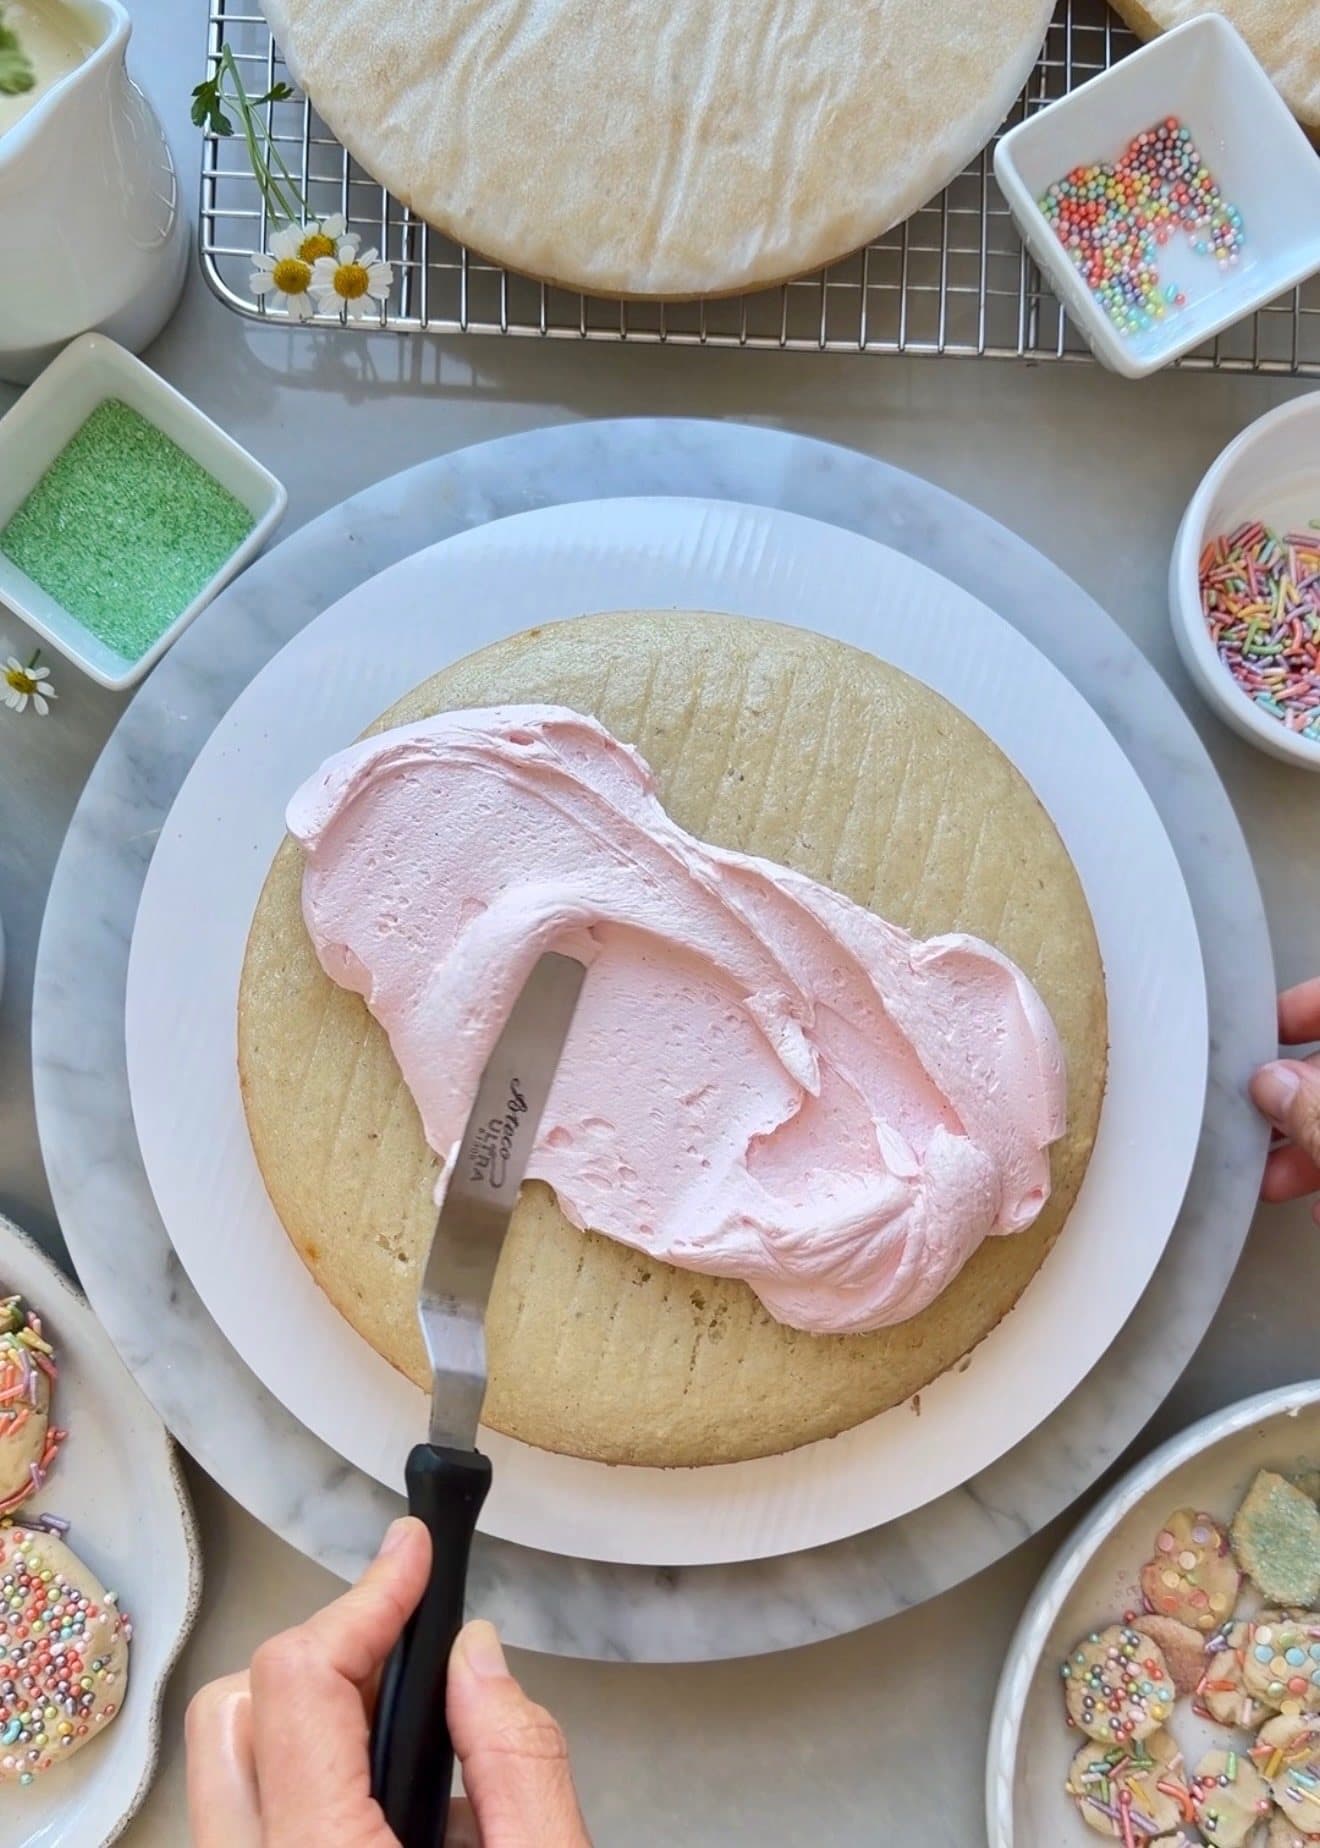
Spread a thin coat of almond-vanilla buttercream. Step 2
Pipe the dam and add the lava
Pipe a tall, continuous buttercream dam around the edge. Spoon the room-temperature cookie lava into the center, keeping it below halfway up the dam so the next layer stays supported.
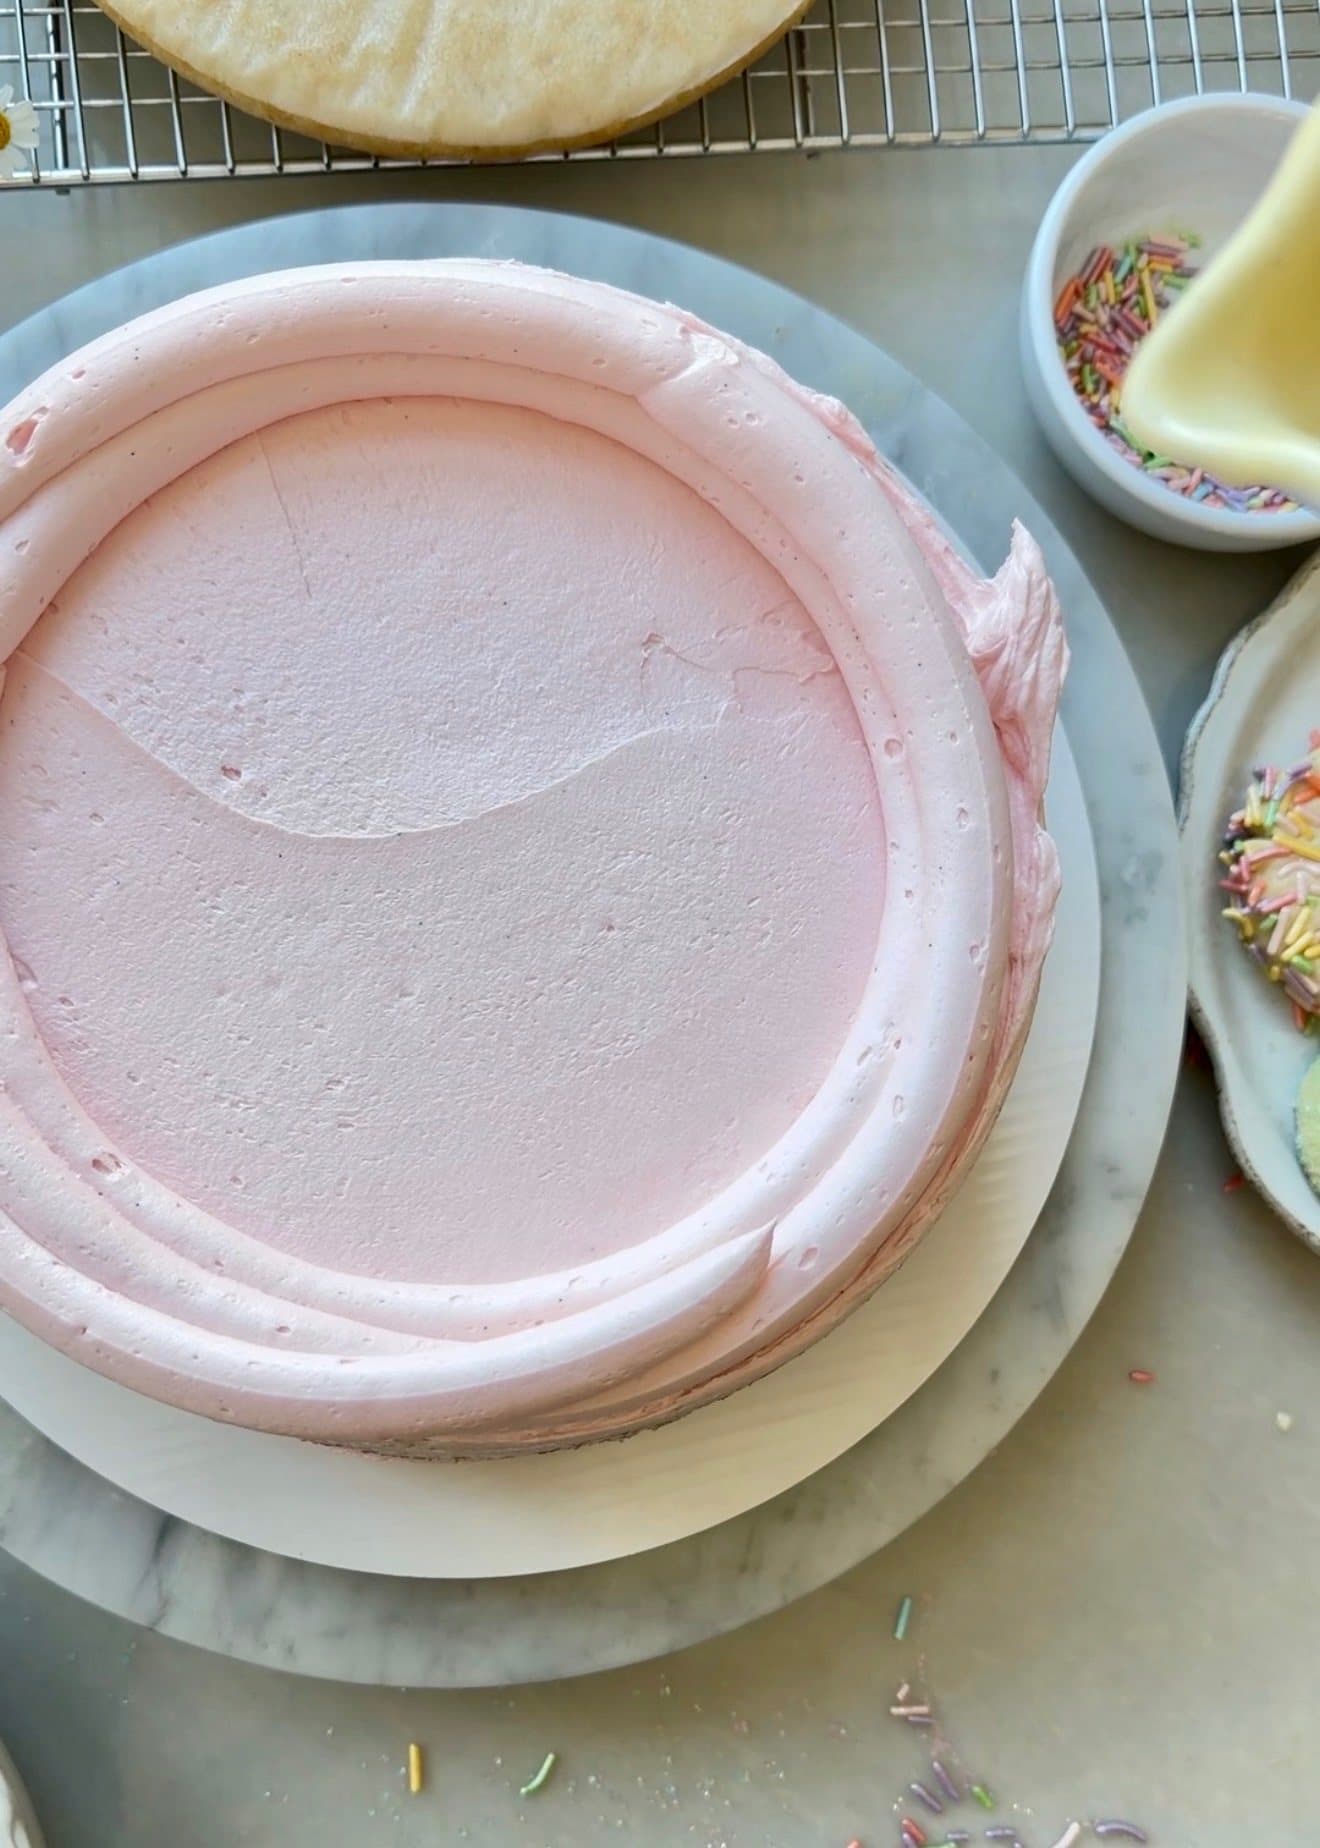
Pipe an unbroken buttercream border to hold the filling. 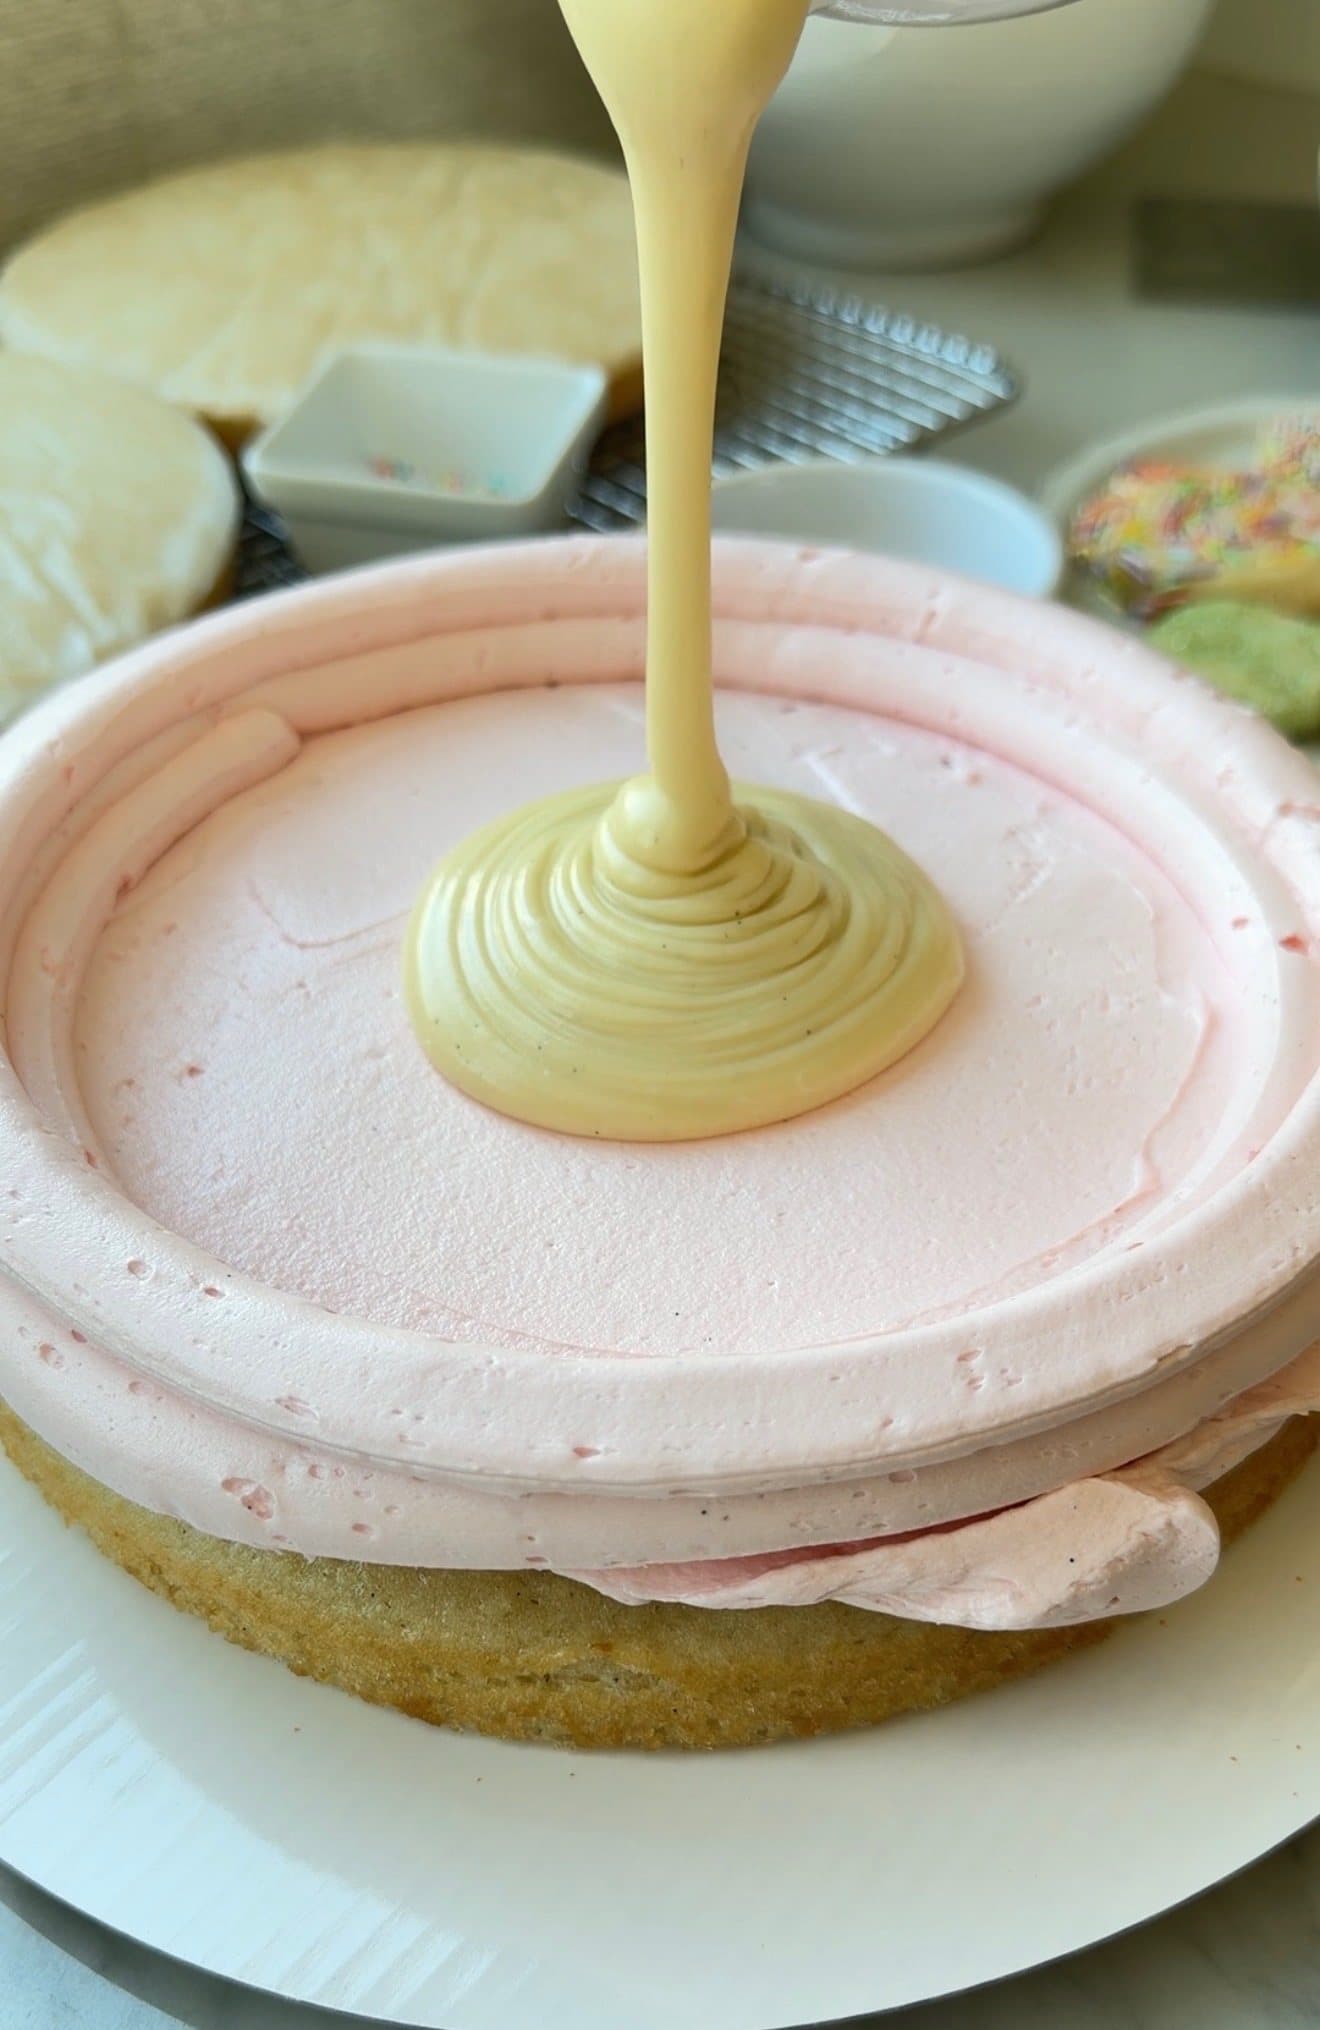
Add the cooled cookie filling inside the border. Step 3
Add the cookie dough pieces
Scatter the chilled, sprinkle-coated sugar cookie dough pieces evenly over the lava. Repeat the buttercream, dam, lava, and cookie dough on the second layer before adding the final cake layer.
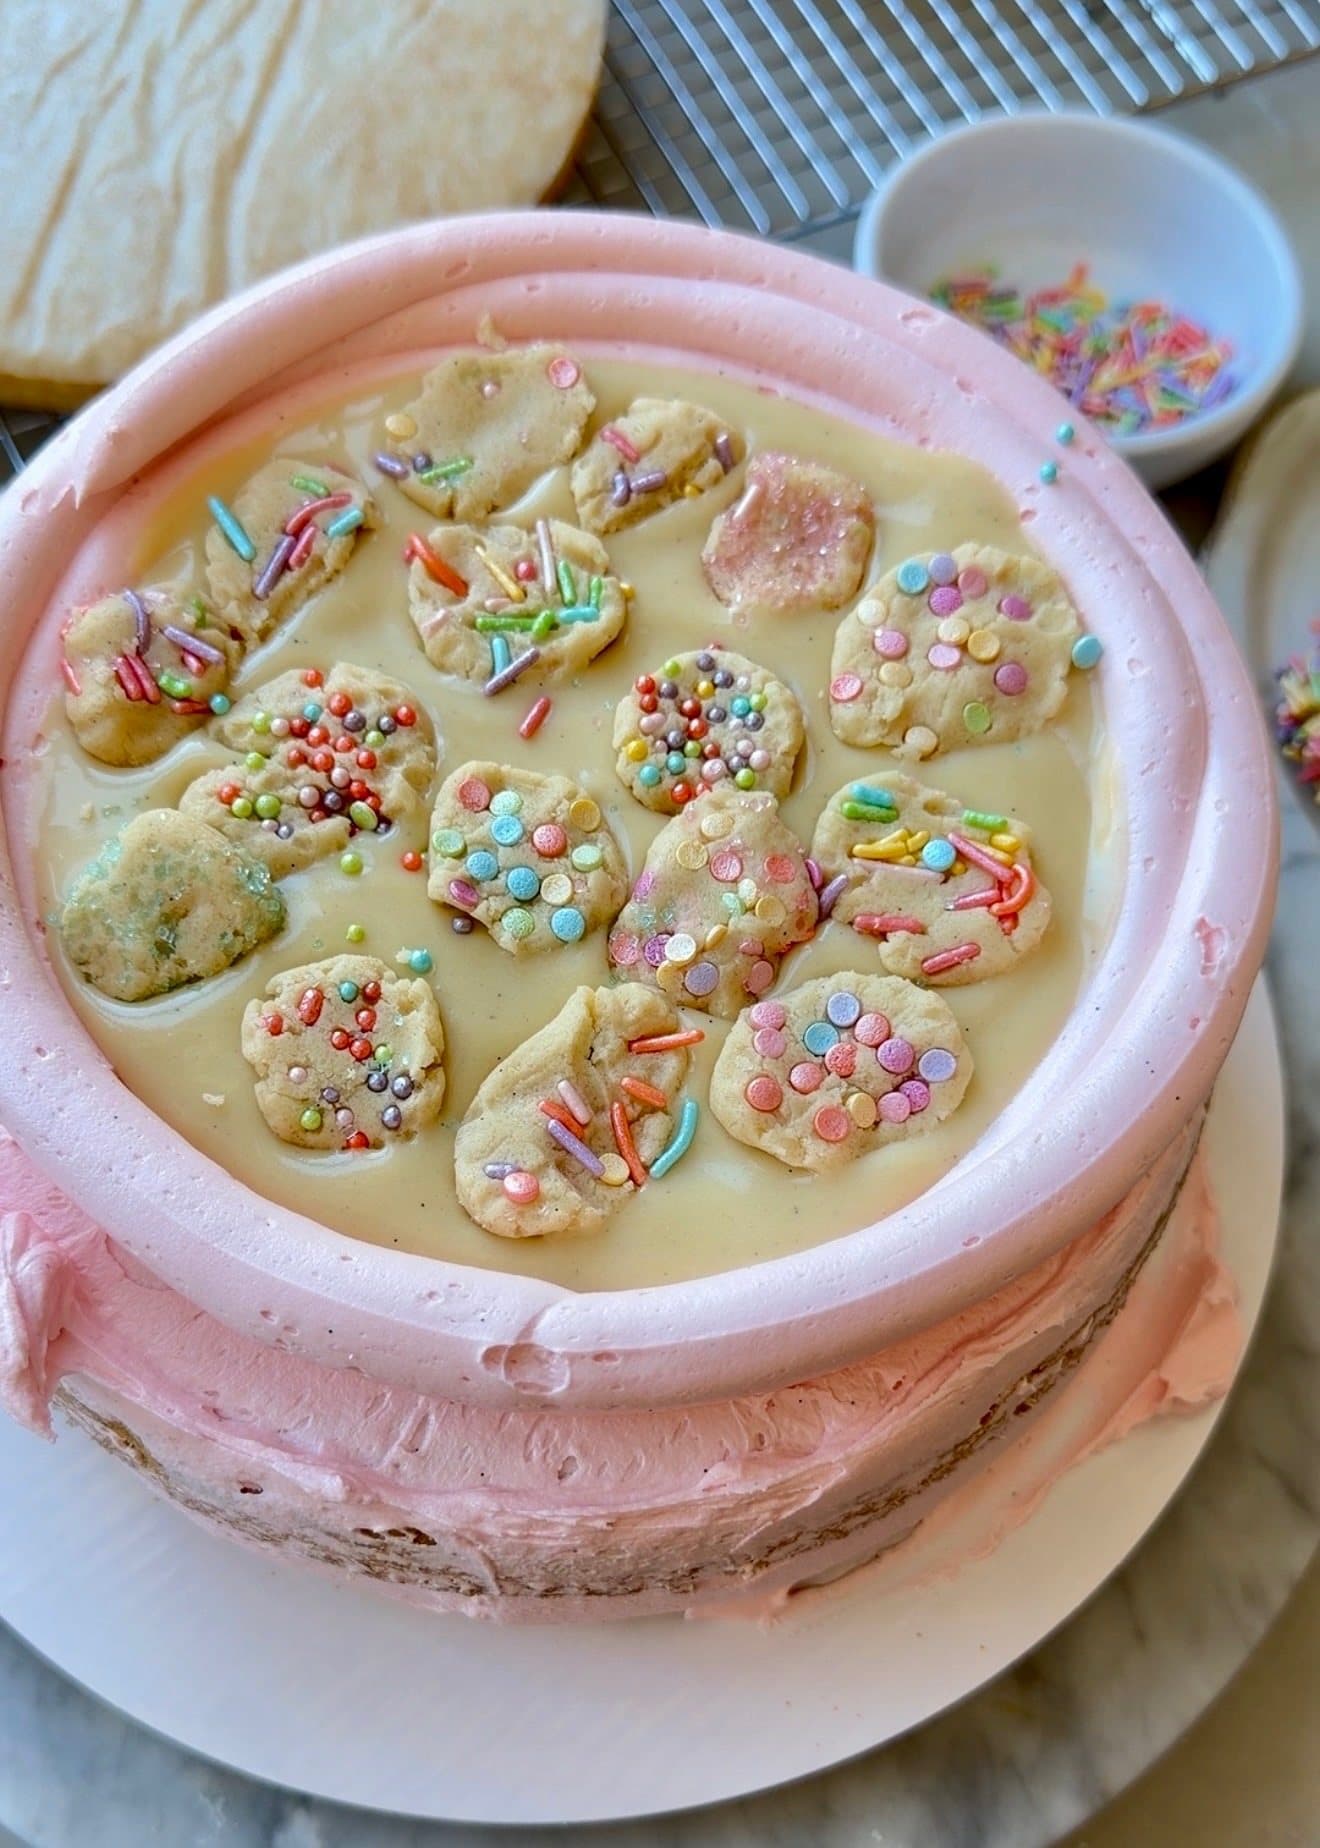
Scatter the sprinkle-coated cookie dough pieces over the filling. 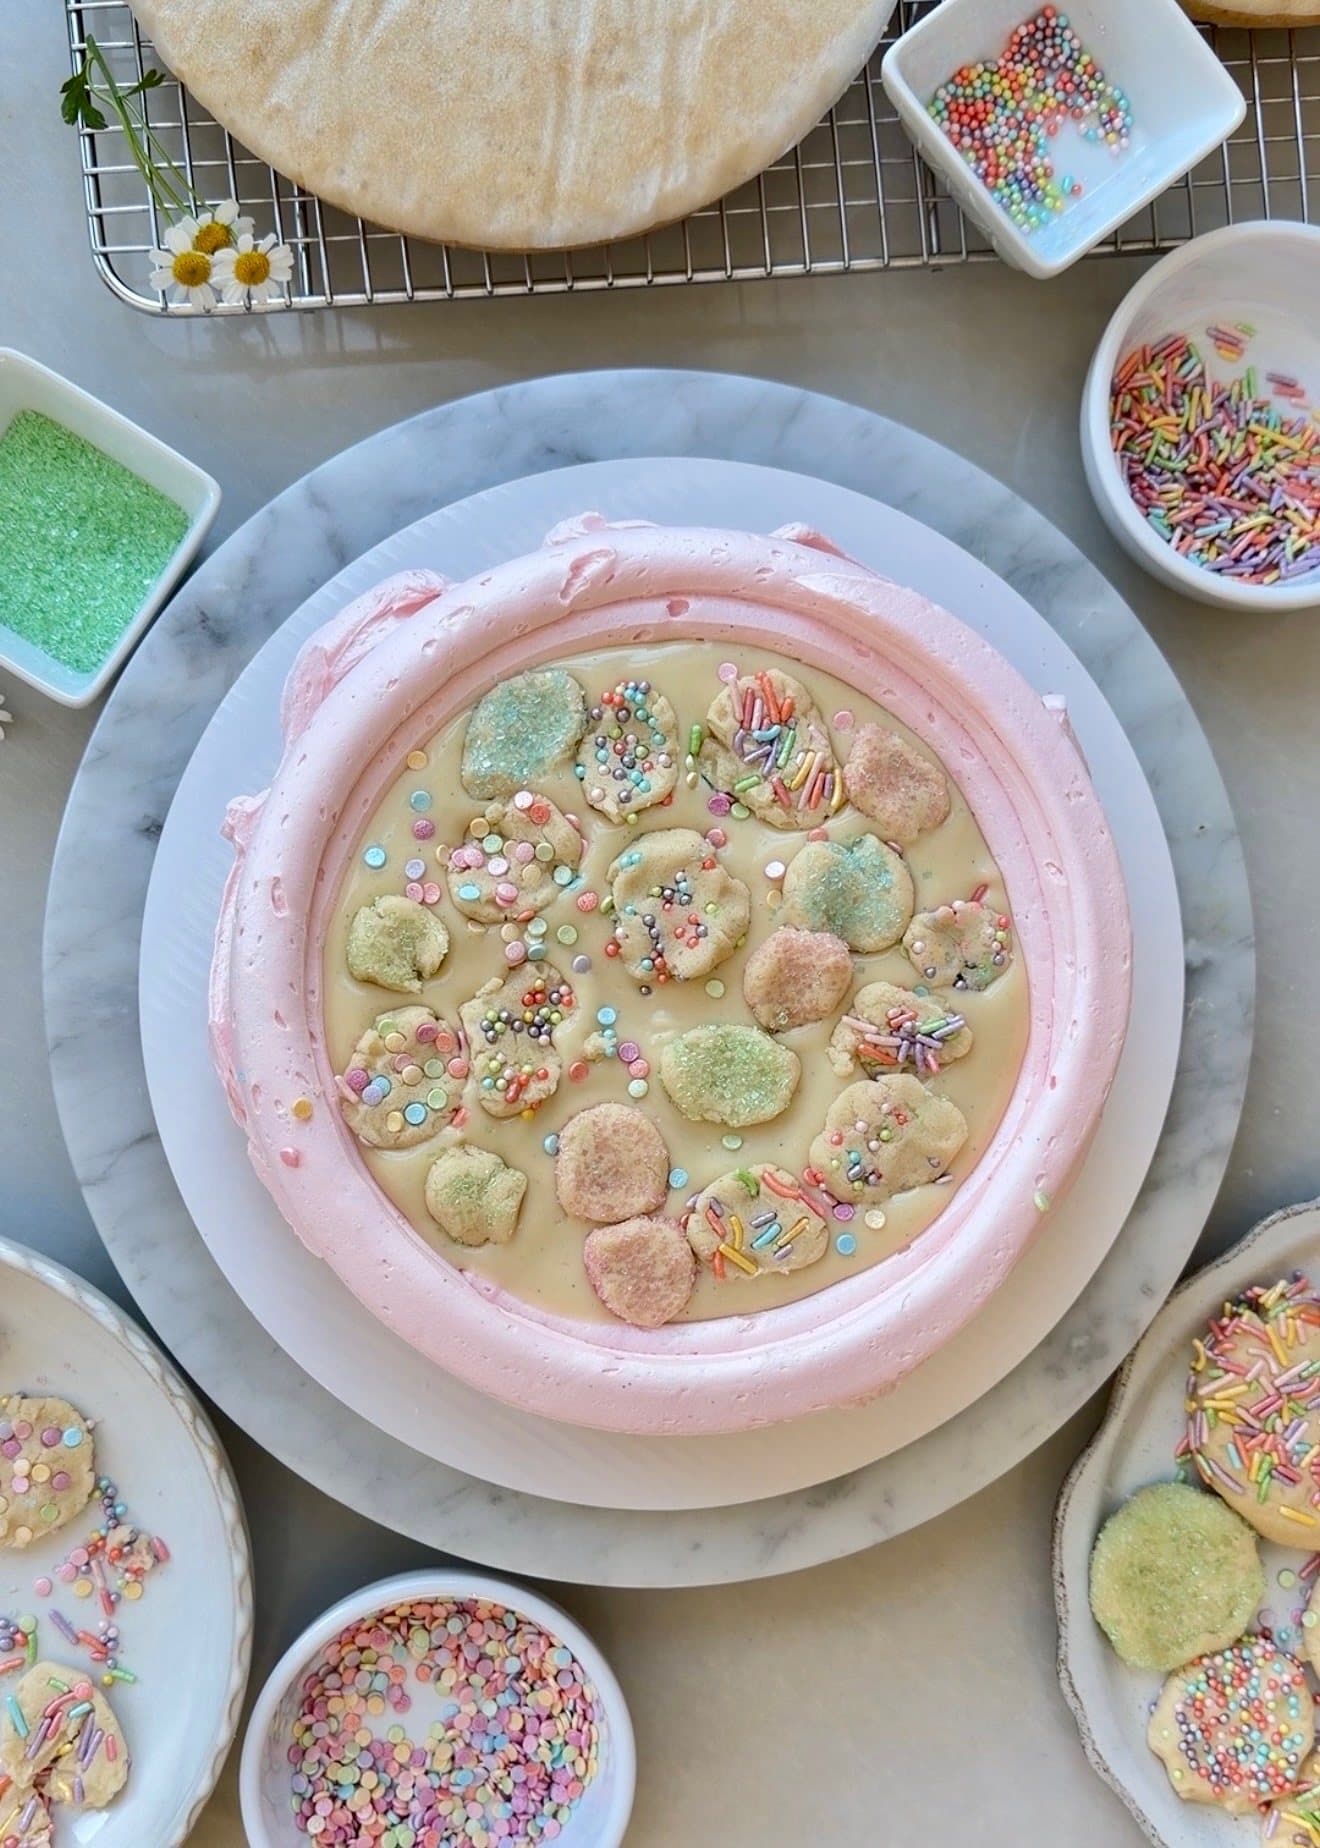
Keep the filling below the border before adding the next layer. Step 4
Frost and decorate
Apply a thin crumb coat and chill until firm, then finish with the remaining buttercream. Decorate with extra lava, sugar cookie dough pieces, and sprinkles.
Finish with buttercream, extra filling, and sprinkles. 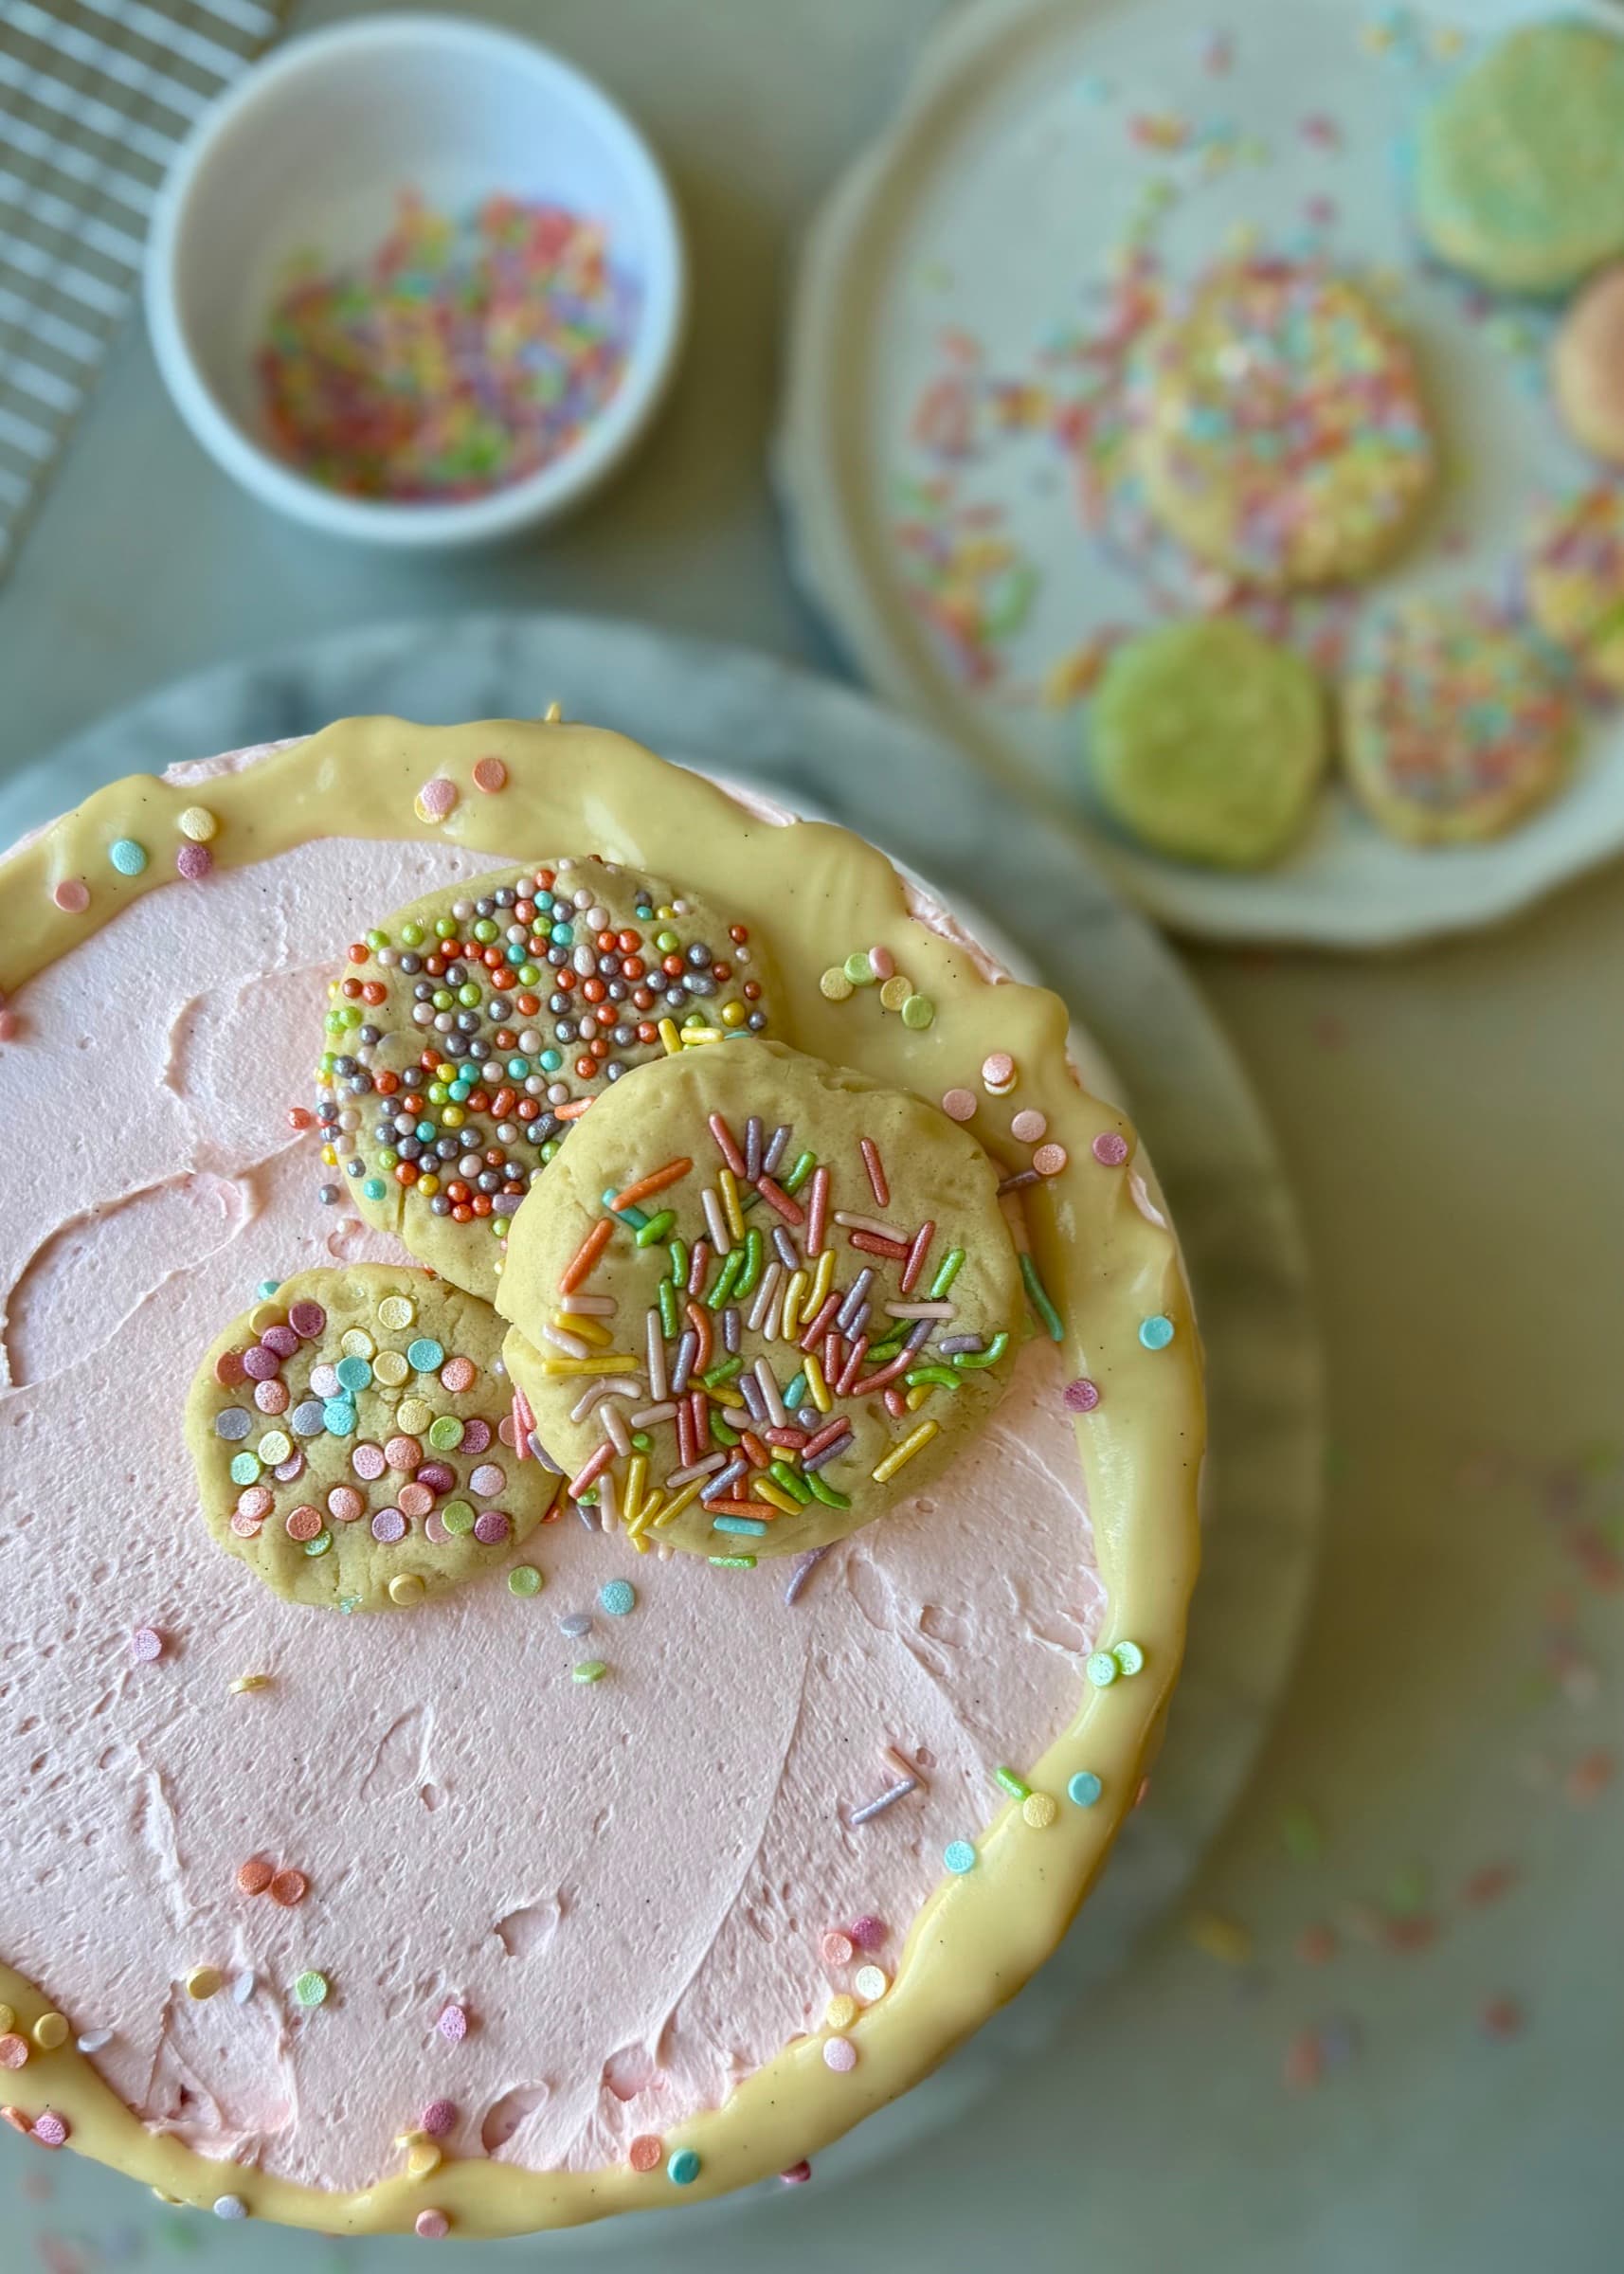
Add a few extra cookie dough pieces on top. Step 5
Chill briefly and slice
Chill the cake only until the buttercream is firm enough to cut, then use a sharp knife. Let each slice sit briefly if you want the cookie lava softer.
The cookie filling runs between all three cake layers. 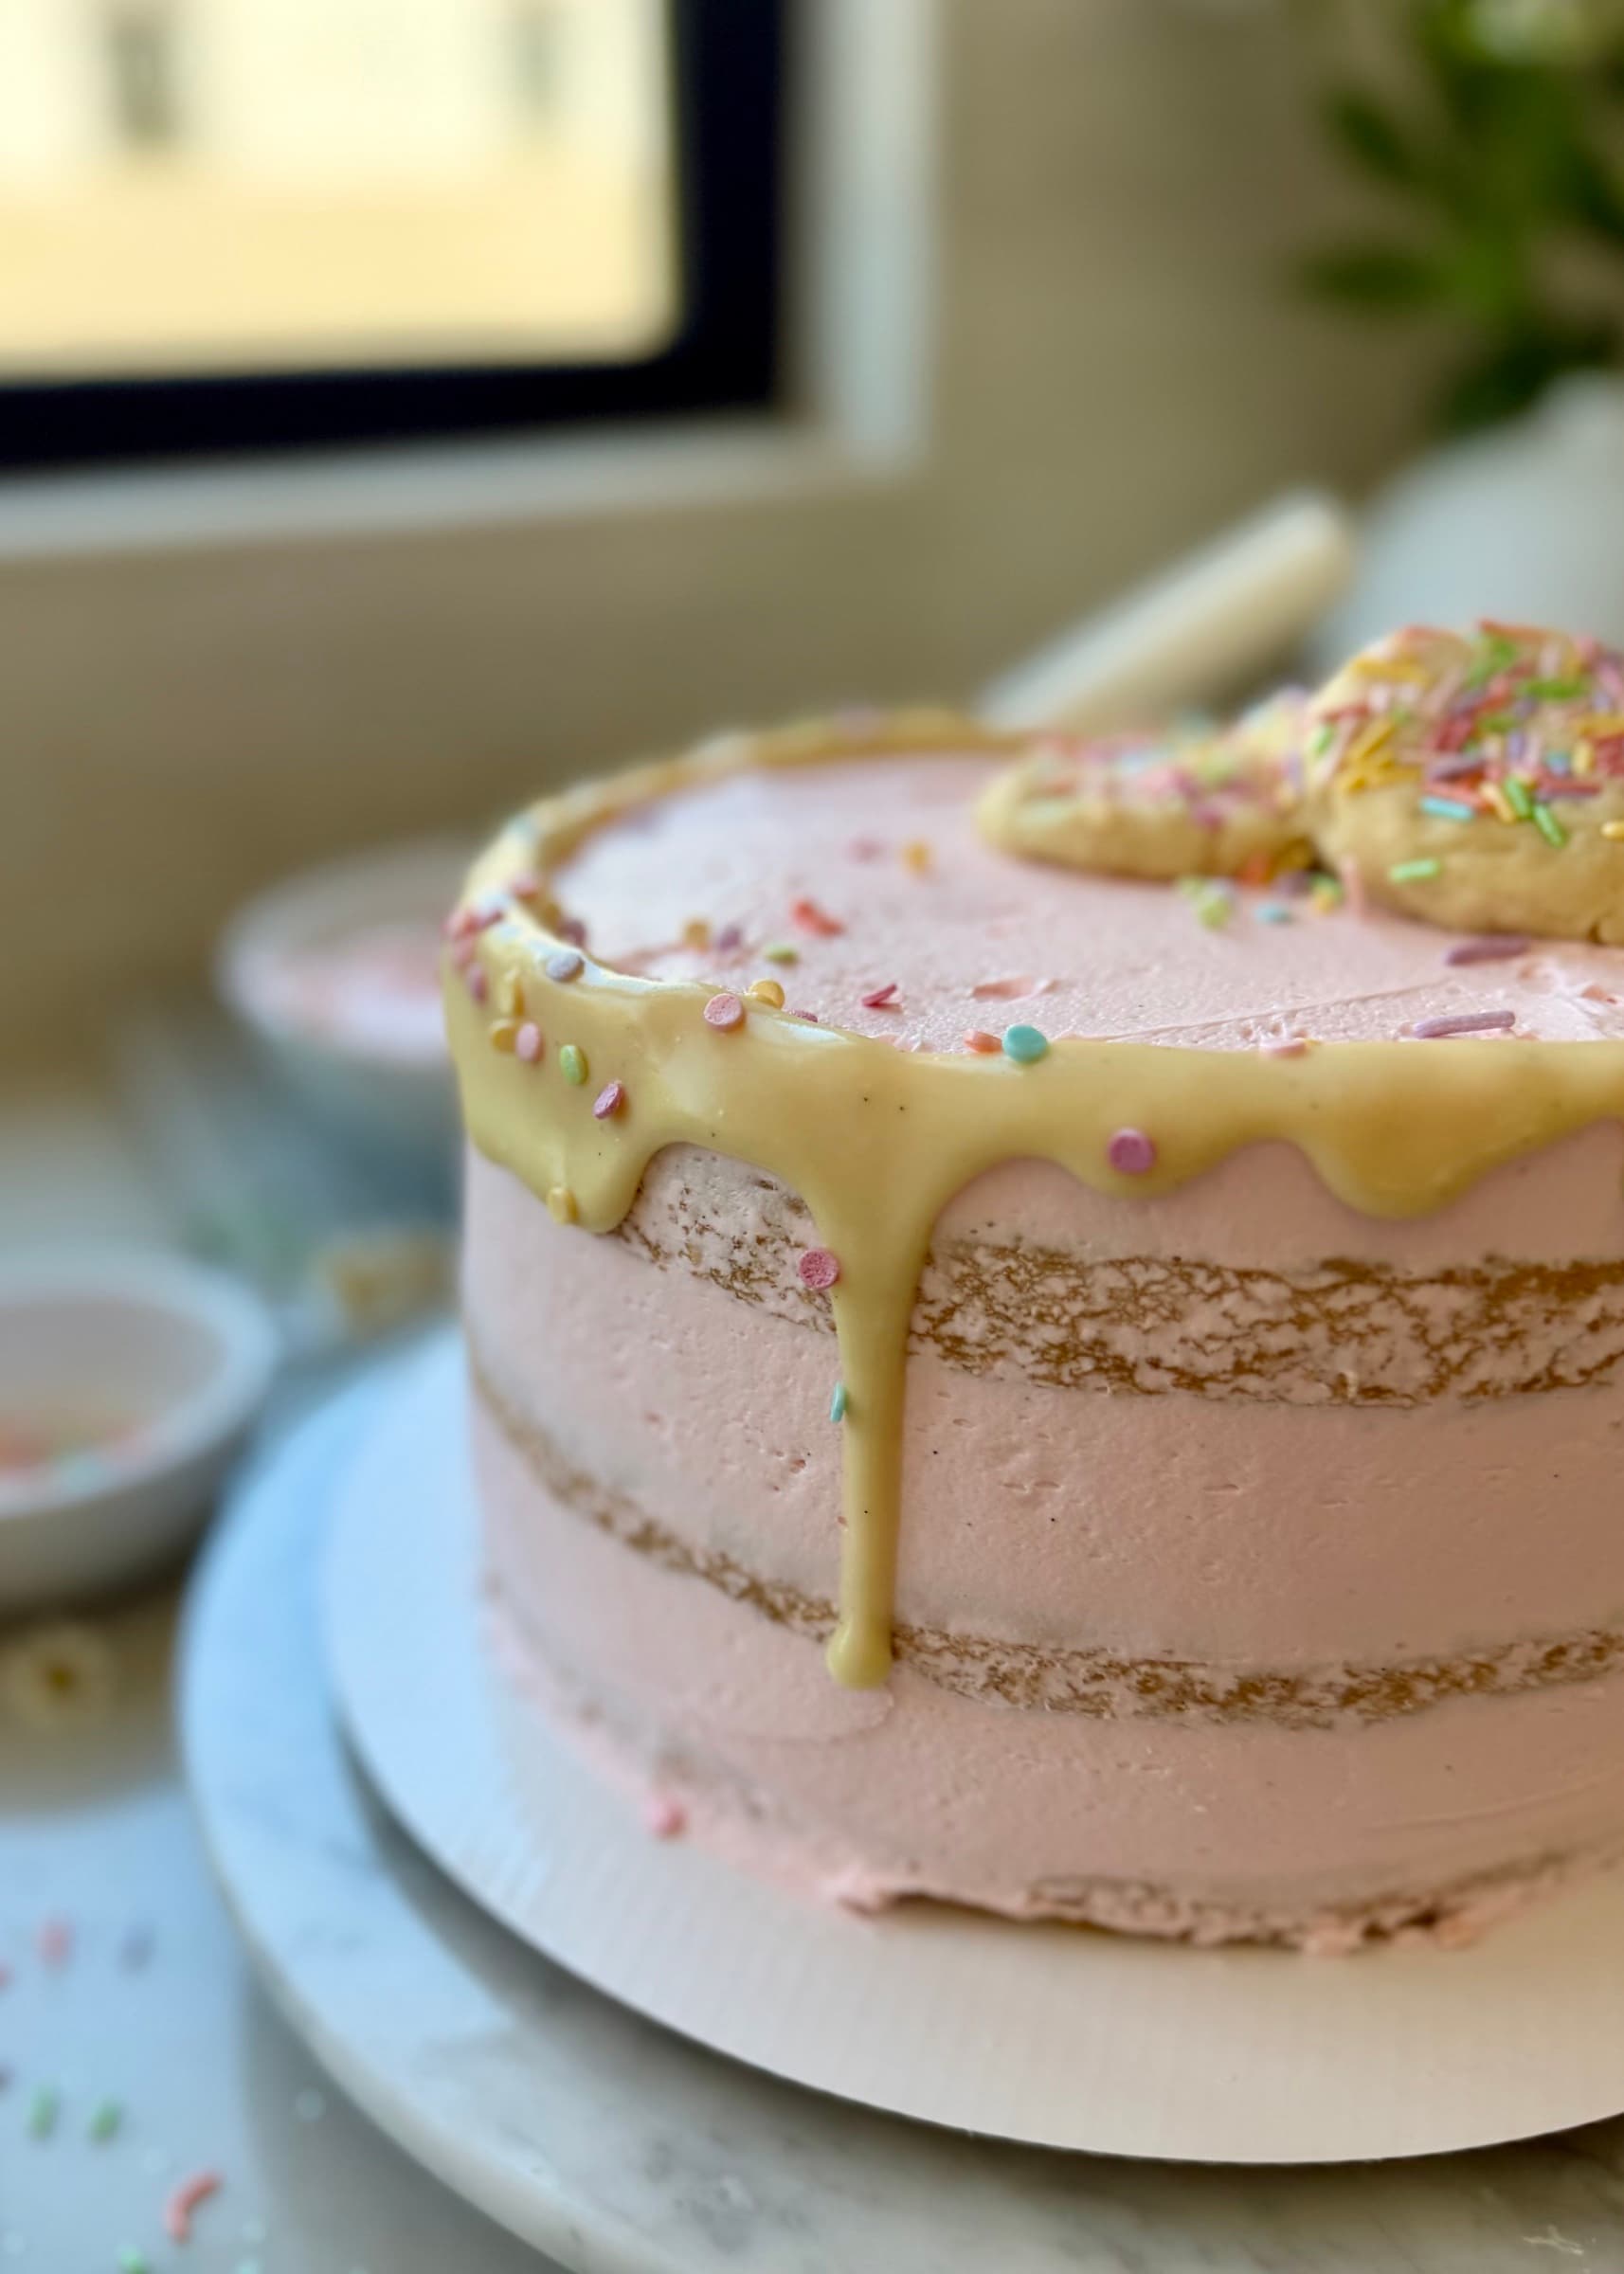
Chill just until the buttercream is firm enough to slice.
From Instagram
Watch the reel
Watch the sugar cookie cake, vanilla lava, sprinkle-coated cookie dough, and buttercream come together layer by layer.
Open the reelSmall things that matter
Tips for the best cake
Weigh the batter into the pans for even layers that bake at the same rate.
Use cool cake layers and room-temperature lava during assembly.
If the buttercream softens while you work, refrigerate the bowl and cake briefly until firm, then continue.
For a first filled layer cake, use a modest amount of lava and cookie dough between the layers.
Troubleshooting
If This Happens
The cookie lava is too thick
Whisk the room-temperature lava until smooth, then add milk 1 teaspoon at a time only as needed. Stop when it is glossy and slowly pourable.
The cookie lava is escaping the cake
Make sure the lava is at room temperature, pipe a tall and continuous buttercream dam, and keep the filling below halfway up the dam.
The buttercream is soft while stacking
Refrigerate both the cake and the bowl of buttercream briefly. Continue only after the buttercream is firm enough to hold a sturdy dam.
Before you slice
Texture and serving notes
For the softest lava texture, let refrigerated slices stand at room temperature for 20–30 minutes before serving.
A warm, dry knife makes clean cuts through the cookie-dough pieces and filled layers.
Keep it good
Storage
Fridge
Store the cake covered in the refrigerator for up to 4 days.
Fridge
Store extra lava separately in the refrigerator and warm it gently before spooning it over individual slices.
Recipe FAQ
Questions that come up
Can I use vanilla extract?
Yes. Use the same amount of vanilla extract anywhere the recipe calls for vanilla bean paste.
How thick should the lava be for assembly?
At room temperature it should be glossy and slowly pourable. It should settle when spooned while still holding inside the buttercream dam.
Can I make the components ahead?
Yes. Bake and chill the wrapped cake layers, refrigerate the cookie dough, and refrigerate the lava. Bring the lava to room temperature and adjust it with milk only if needed before assembly.
Should I weigh the ingredients or use volume measurements?
I strongly recommend weighing the ingredients in grams for the most reliable result. Volume measurements are included for convenience, but the amount in a cup can change depending on how an ingredient is filled, packed, or poured. These recipes are easy to follow, but their ratios are precise, so I cannot guarantee the exact same result when volume measurements are used. I still use teaspoons and tablespoons for small amounts like leaveners, salt, spices, and flavorings because those are the most practical measurements.
Can I make this recipe gluten-free?
I have not tested this recipe with gluten-free flour, so I cannot guarantee the same texture, rise, or structure. If you would like to experiment, a cup-for-cup (1:1) gluten-free baking blend intended to replace all-purpose flour is the best place to start. Results may differ from the recipe as written.
Can I use all-purpose flour instead of cake flour?
Yes, of course. Replace the cake flour with the same amount of all-purpose flour by weight. The cake will have a slightly sturdier, less delicate crumb, but it will still be great.
More lava cakes to try



- Prep
- 50 min
- Bake
- 22-24 min
- Total
- 3 hr
- Yield
- One 8-inch three-layer cake
Measurement note
For the closest match to the recipe I tested, use grams. Volume measurements are included for convenience, but cups can vary, so I cannot guarantee the exact same result when measuring by volume.
Ingredients
Sugar Cookie Cake Layers
- 300 g cake flour300 g (about 2 1/2 cups) cake flour
- 10 g cornstarch10 g (about 1 tablespoon + 1 1/4 teaspoons) cornstarch
- 2 teaspoons baking powder2 teaspoons baking powder
- 1/2 teaspoon baking soda1/2 teaspoon baking soda
- 1 teaspoon fine sea salt1 teaspoon fine sea salt
- 270 g granulated sugar270 g (about 1 1/3 cups + 1 teaspoon) granulated sugar
- 135 g neutral oil135 g (about 1/2 cup + 1 tablespoon + 2 teaspoons) neutral oil
- 240 g plain unsweetened yogurt, room temperature240 g (about 2/3 cup + 5 tablespoons) plain unsweetened yogurt, room temperature
- 240 g milk, room temperature240 g (about 1 cup) milk, room temperature
- 15 g apple cider vinegar15 g (about 1 tablespoon) apple cider vinegar
- 1 teaspoon vanilla bean paste1 teaspoon vanilla bean paste
- 1/8–1/4 teaspoon almond extract1/8–1/4 teaspoon almond extract
Sugar Cookie Cookie Dough
- 170 g butter, slightly cool170 g (about 3/4 cup) butter, slightly cool
- 120 g granulated sugar120 g (about 1/2 cup + 1 tablespoon + 2 teaspoons) granulated sugar
- 90 g powdered sugar90 g (about 3/4 cup) powdered sugar
- 200 g all-purpose flour, prepared and cooled as noted200 g (about 1 2/3 cups) all-purpose flour, prepared and cooled as noted
- 1 tablespoon vanilla bean paste1 tablespoon vanilla bean paste
- 1/8 teaspoon almond extract1/8 teaspoon almond extract
- 1/4 teaspoon fine sea salt1/4 teaspoon fine sea salt
- Sprinkles, as needed for coatingSprinkles, as needed for coating
Sugar Cookie Buttercream
- 340 g butter, room temperature (3 sticks)340 g (about 1 1/2 cups) butter, room temperature (3 sticks)
- 520 g powdered sugar, sifted520 g (about 4 1/3 cups) powdered sugar, sifted
- 1 teaspoon vanilla bean paste1 teaspoon vanilla bean paste
- 1/4–1/2 teaspoon almond extract1/4–1/2 teaspoon almond extract
- 1/4 teaspoon fine sea salt1/4 teaspoon fine sea salt
- 60–100 g cream, room temperature60–100 g (about 1/4 cup to 6 tablespoons + 2 teaspoons) cream, room temperature
Sugar Cookie Lava
- 70 g butter70 g (about 5 tablespoons) butter
- 80 g granulated sugar80 g (about 6 tablespoons + 1 1/2 teaspoons) granulated sugar
- 40 g all-purpose flour, prepared and cooled as noted40 g (about 1/3 cup) all-purpose flour, prepared and cooled as noted
- 45–60 g cream45–60 g (about 3 tablespoons to 1/4 cup) cream
- 30 g milk, plus more only if needed30 g (about 2 tablespoons) milk, plus more only if needed
- 2 teaspoons vanilla bean paste2 teaspoons vanilla bean paste
- 1/8 teaspoon almond extract1/8 teaspoon almond extract
- 1/4 teaspoon fine sea salt1/4 teaspoon fine sea salt
Pan used
I use three 8-inch round cake pans for these layers. Shop Fat Daddio's round cake pans - choose 8-inch. Not sponsored.
I personally prefer light-colored aluminum pans for these layers. Dark or black pans brown the edges more quickly, so begin checking a few minutes early if that is what you have or if your oven runs fast. You do not need new pans to make this cake.
Instructions
- 1Make the one-bowl sugar cookie cake. Preheat the oven to 350°F (177°C). Grease and line three 8-inch round cake pans with parchment paper.
- 2In a large bowl, whisk together the granulated sugar, oil, yogurt, milk, apple cider vinegar, vanilla bean paste, and almond extract until smooth and fully emulsified.
- 3Add the cake flour, cornstarch, baking powder, baking soda, and salt directly to the same bowl. Whisk gently just until the batter is smooth and no dry streaks remain. Do not overmix.
- 4Divide the batter evenly among the prepared pans by weight and tap each pan lightly once or twice to release large air bubbles.
- 5Bake for 22–24 minutes, beginning to check at 22 minutes. The layers are done when the centers spring back lightly and a tester inserted into the center comes out with a few moist crumbs and no wet batter.
- 6Cool the layers in the pans for 10 minutes, then turn them onto wire racks and cool completely. Once fully cool, wrap and refrigerate the layers until assembly.
- 7Make the sugar cookie dough. Beat the slightly cool butter, granulated sugar, and powdered sugar on medium speed until creamy and cohesive, scraping the bowl as needed. Keep the mixture creamy without whipping in excess air.
- 8Add the vanilla bean paste, almond extract, and salt and mix until evenly incorporated. Add the prepared flour and mix on low just until a thick dough forms.
- 9Pinch the dough into small irregular pieces or rounds. Press or roll each piece lightly in sprinkles, then refrigerate for 10–15 minutes, or until firm enough to handle.
- 10Make the sugar cookie buttercream. Beat the butter for 2–3 minutes, scraping the bowl as needed, until pale, light, and smooth.
- 11Add the vanilla bean paste, 1/4 teaspoon almond extract, and salt. Mix until combined, then add the sifted powdered sugar gradually on low speed.
- 12With the mixer running on low, slowly stream in the room-temperature cream a little at a time until the buttercream is silky and holds a sturdy piped dam. Taste and add the remaining almond extract if desired. The buttercream will continue to settle and thicken as it rests.
- 13Make the sugar cookie lava. Melt the butter in a small saucepan over medium heat. Add the granulated sugar and stir until the mixture is glossy and slightly textured.
- 14Whisk in the prepared flour until evenly incorporated and thickened. Gradually stream in the cream, followed by the milk, whisking until smooth.
- 15Remove from the heat and whisk in the vanilla bean paste, almond extract, and salt. Let the lava cool completely to room temperature; it will thicken significantly as it cools.
- 16Before assembly, whisk the room-temperature lava until smooth. If needed, add milk 1 teaspoon at a time until it is thick, glossy, and slowly pourable.
- 17Assemble the cake. Place the first cold cake layer on a cake board. Spread a thin layer of buttercream over the top, then pipe a tall, continuous buttercream dam around the edge.
- 18Spoon the room-temperature lava inside the dam, keeping the filling below halfway up the dam. Scatter an even layer of chilled sprinkle-coated cookie-dough pieces over the lava.
- 19Add the second cake layer and repeat the thin buttercream layer, tall dam, lava, and cookie-dough pieces. Place the final cake layer on top.
- 20Apply a thin crumb coat and refrigerate the cake for 15–20 minutes, or until firm. Finish with the remaining buttercream, then refrigerate for 20–30 minutes to set the cake.
- 21Decorate with remaining lava, cookie-dough pieces, and sprinkles. Warm extra lava gently and serve it alongside individual slices if desired.
Helpful notes
- Heat-treat the flour for the cookie dough and lava to 165°F, then let it cool completely before using.
- Keep the lava at room temperature during assembly so it supports the buttercream and cake structure.
- Store the finished cake covered in the refrigerator for up to 4 days.

Meet the baker
Angela Heckler
Angela Heckler is the recipe developer, baker, and photographer behind Obsessed Cakes. Her Old-Fashioned Donut Loaf series is a growing collection of cake-donut-inspired loaves with soft, deeply moist crumbs, buttery streusel, and crackly glaze. Angela develops and tests every recipe in her Arizona kitchen. Follow Obsessed Cakes on Instagram, TikTok, and YouTube.
Made it? Tell us.
Ratings and reviews
Be the first to rate this recipe.
No reviews yet.
Make the recipe, leave a rating, and share how it turned out.Did you make this?
Share your bake on Instagram - tag @obsessedwithcashews and use #obsessedcakes.