Warm Mocha Poke Cake
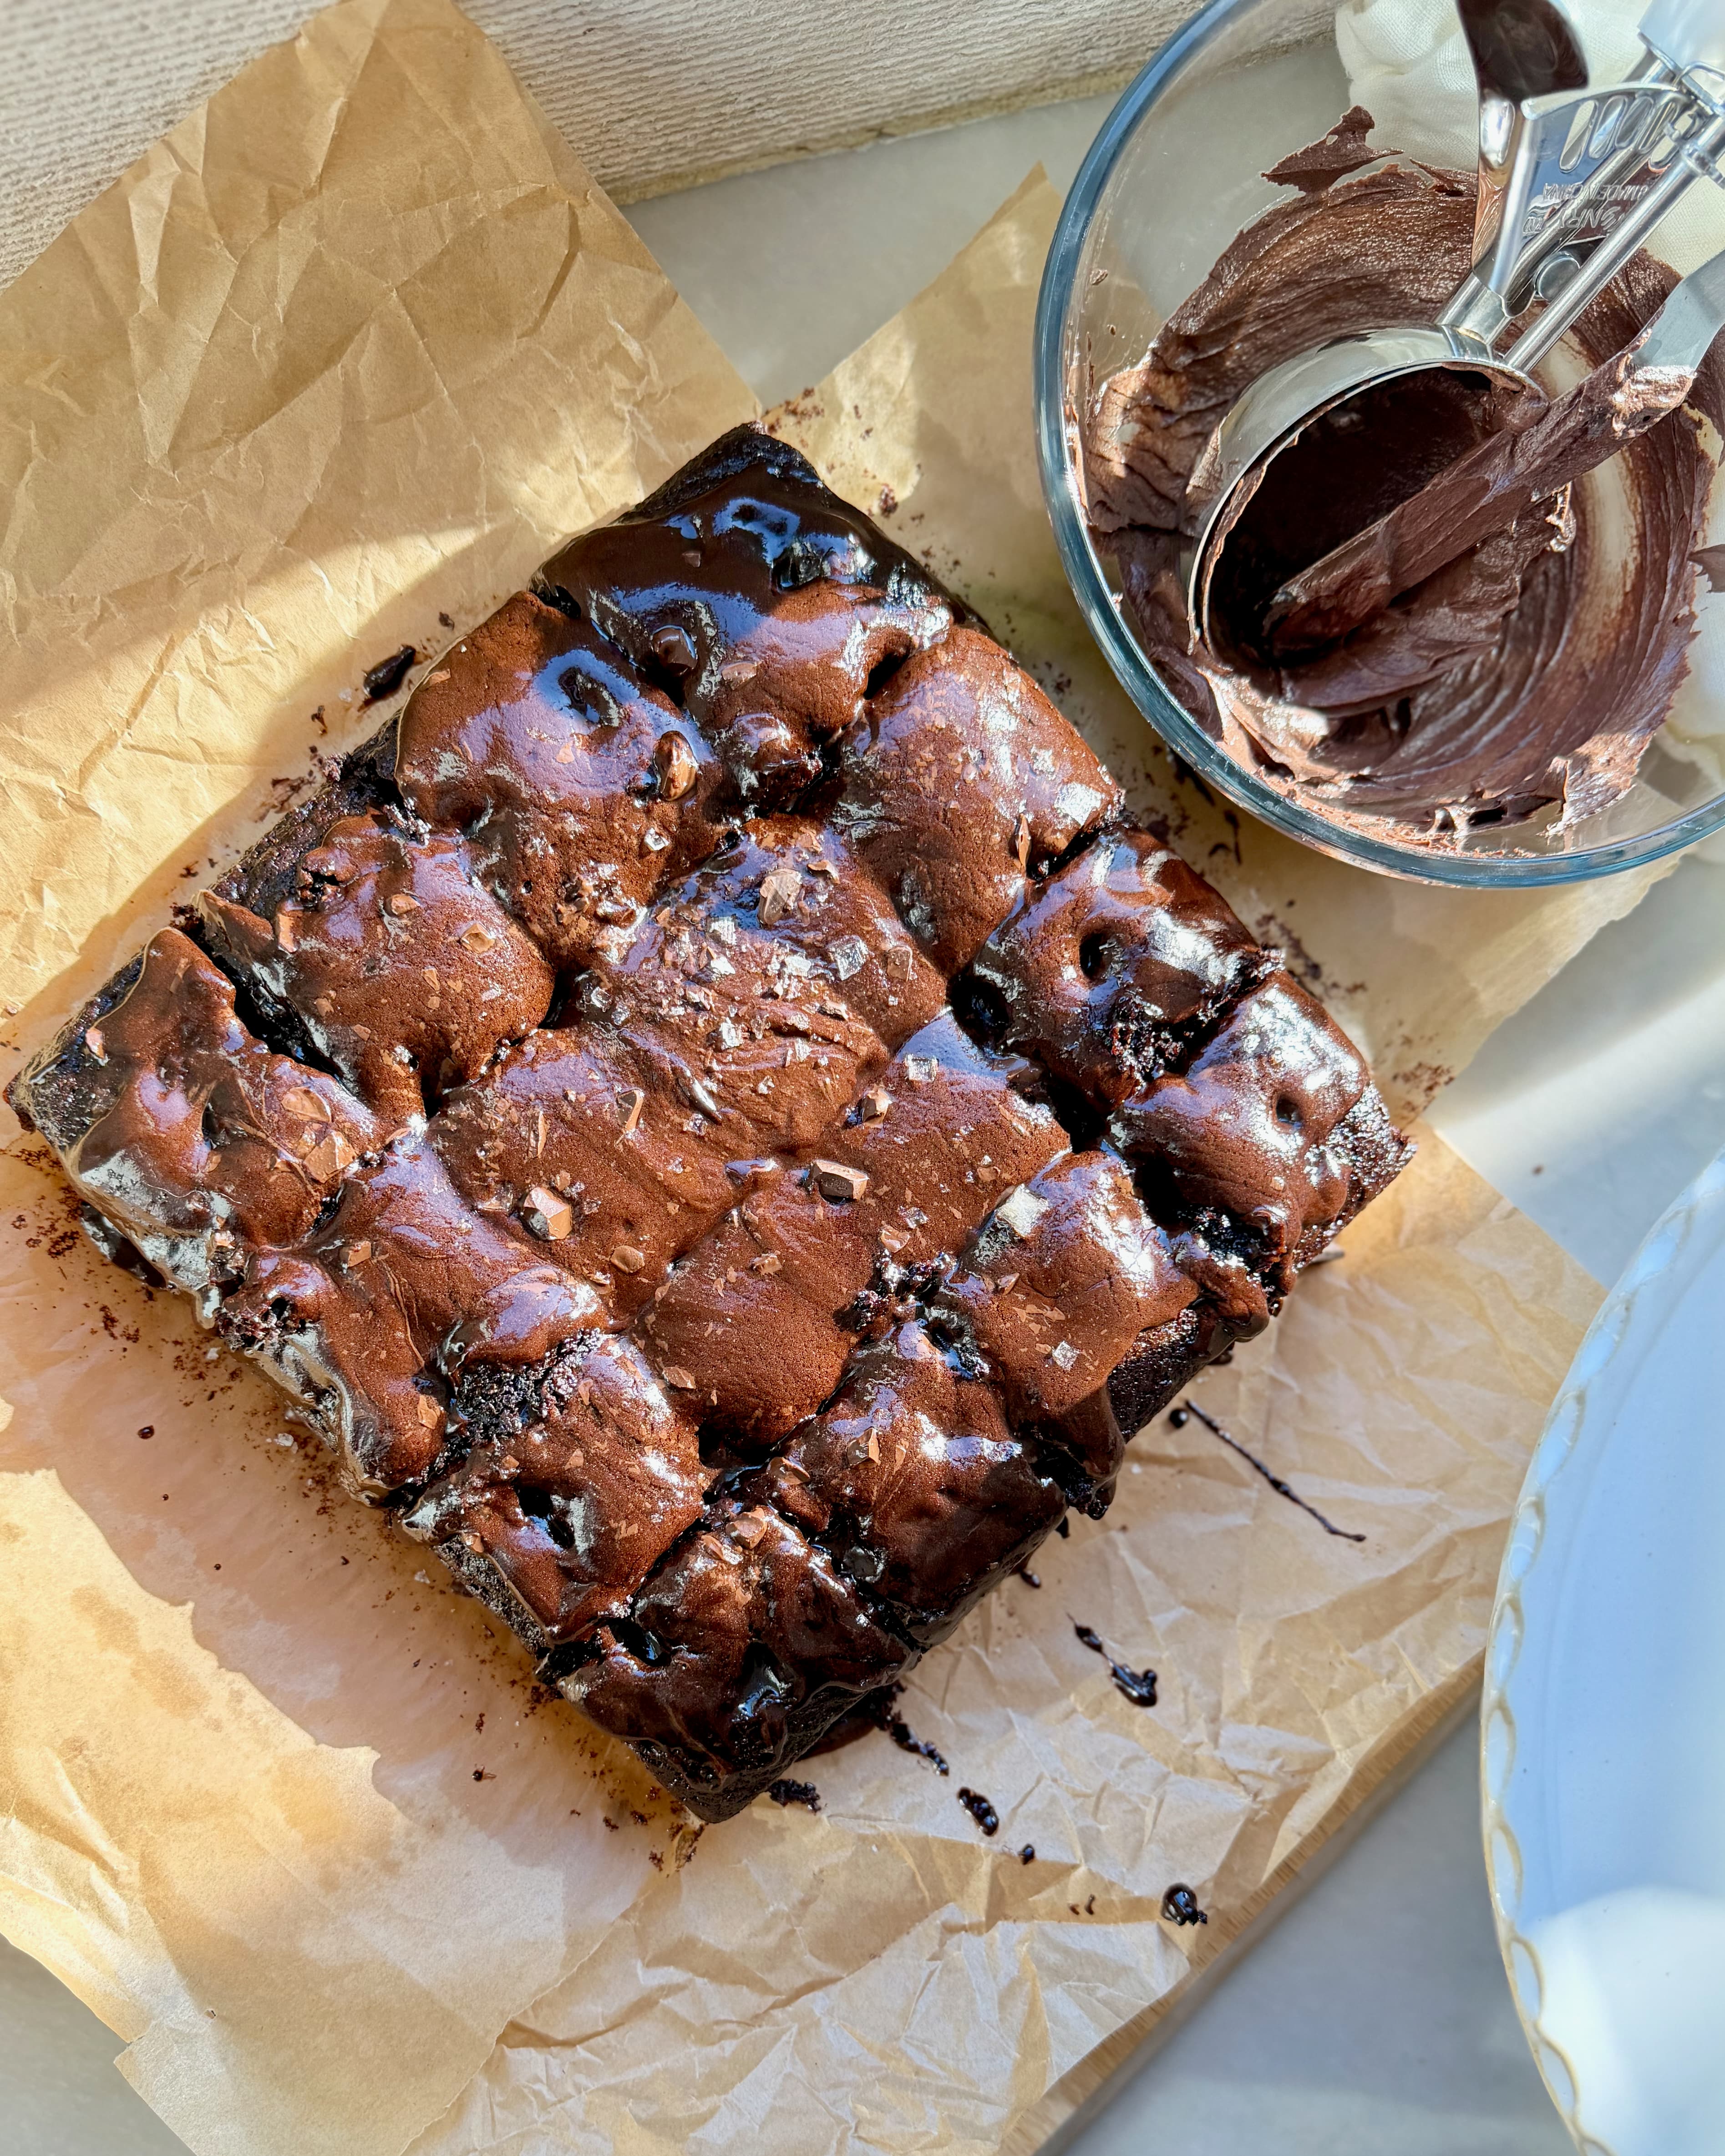
Be the first to reviewThis is the warm chocolate cake I want when I want something that feels rich, cozy, and a little dramatic without turning into a full project.
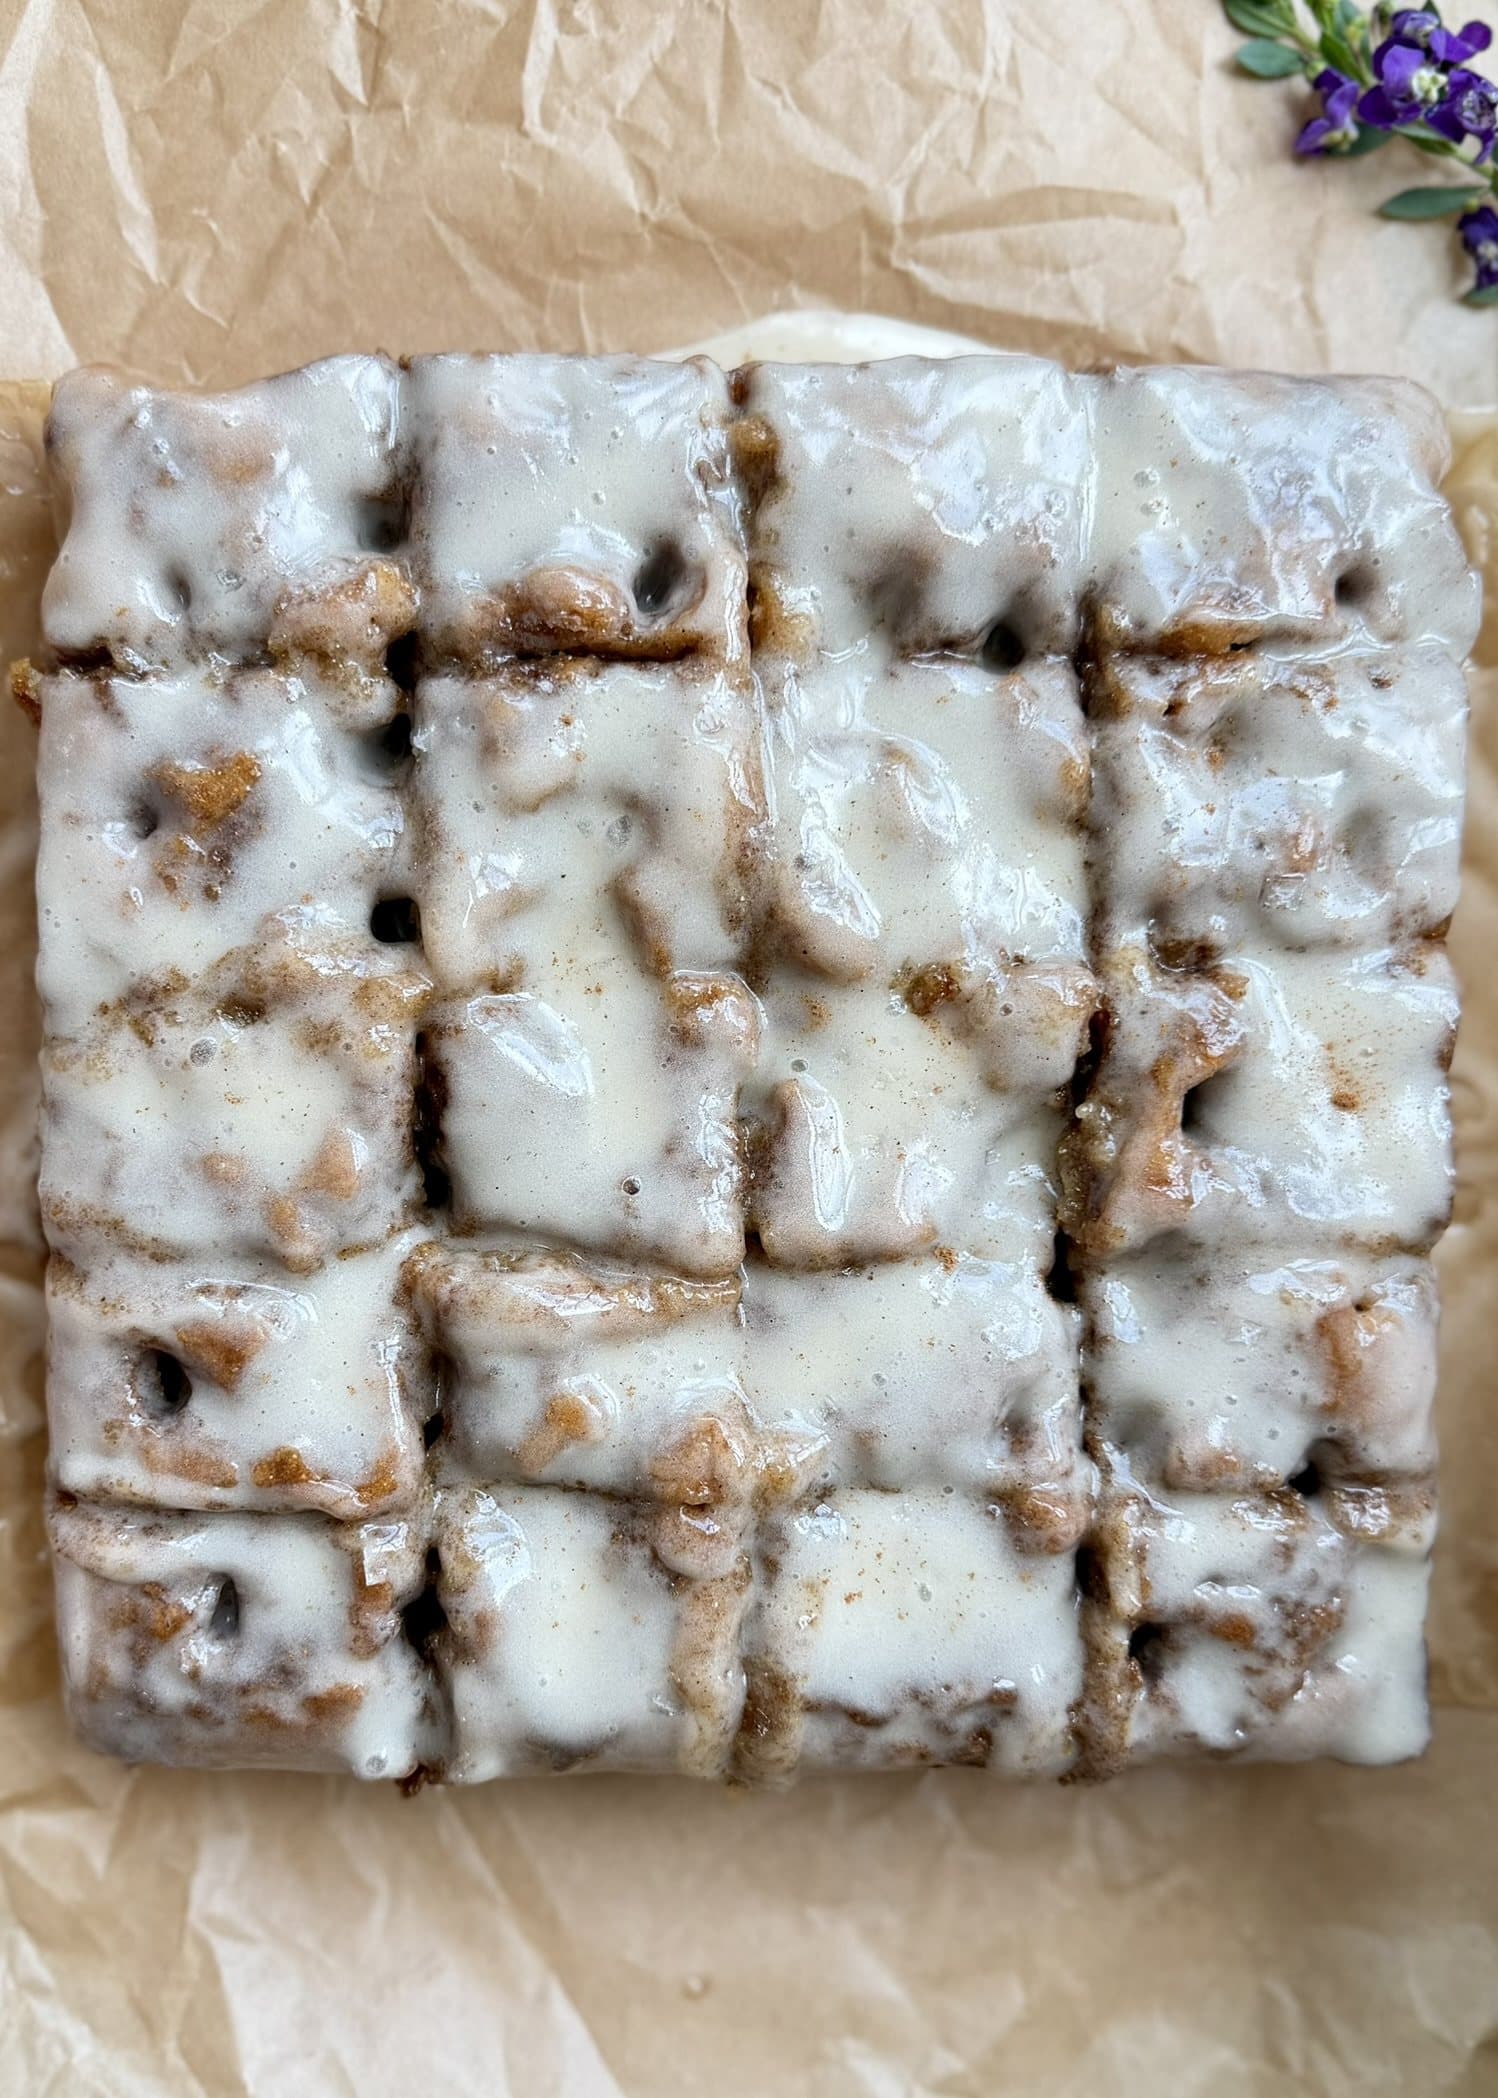
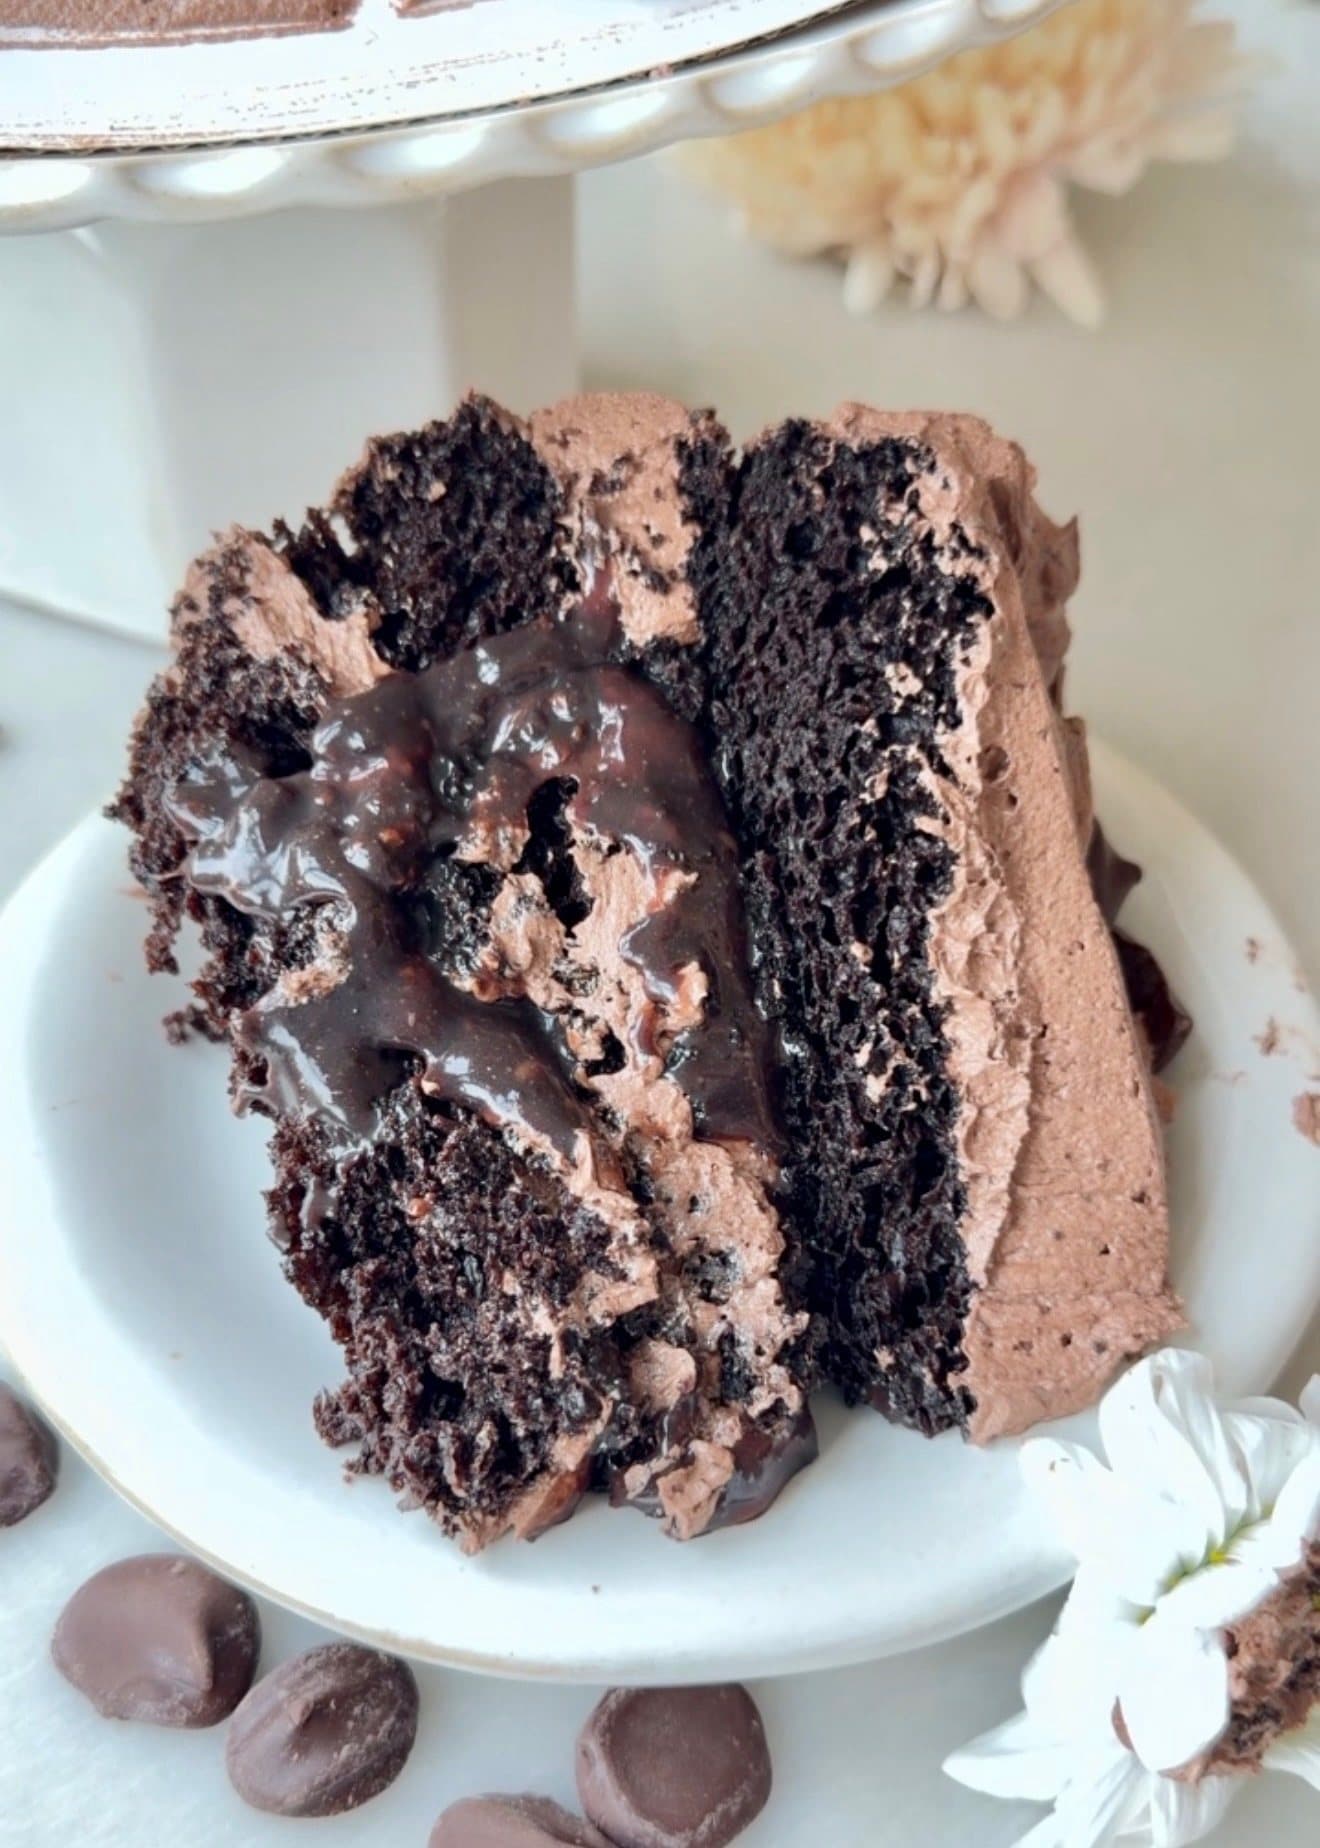
The cake is soft and fudge-like, the mocha icing goes on warm, and the little holes give it places to settle so the top eats almost like a thin layer of frosting and sauce at the same time.
The best part is how easy it is to make and serve. No stacking, chilling, or waiting around like most cakes: give the icing a few minutes to settle, then dive in while it is still warm.
Save this recipe
Want to save this recipe for later?
Enter your email and I’ll send it to your inbox.
Where My Love of Poke Cakes Started
This warm mocha poke cake was the second recipe in this series, but my love of poke cakes started much earlier. Growing up, I spent summers making Better Than S*x Cake with a lifelong friend. That was the dessert that introduced me to poke cakes.
I wanted this series to combine that longtime love with two things that are still very much me: a complete lack of patience and a love of gooey, messy desserts. This warm mocha cake gives me all of it. The icing goes on while the cake is warm, settles into every hole, and lets you cut into it without a long wait.
Ingredient notes
Key ingredients
Dutch process and natural cocoa powder
Using both gives the cake a rounder chocolate flavor. Dutch cocoa brings deep, smooth cocoa notes, while natural cocoa adds brightness and helps the chocolate taste less flat.
Hot coffee and espresso powder
Coffee wakes up the cocoa and makes the cake taste more chocolatey. Espresso powder adds the mocha note, so dissolve it fully before it goes into the batter or icing.
Plain unsweetened yogurt
Yogurt keeps the cake tender and adds body to the batter.
Room-temperature milk
Room-temperature milk blends more smoothly into the batter and icing.
Butter sticks
Use butter sticks for the icing so it stays smooth and stable.
Maldon sea salt and dark chocolate
Maldon and chopped dark chocolate give the top a little crunch, contrast, and tiny bursts of extra chocolate in each piece. I like Guittard Super Cookie Chips here.
Brands I used for this recipe
These are preferences, not requirements. If you choose the non-dairy route, these are the products I test with. Dairy equivalents can be used at the same listed amounts and temperatures.
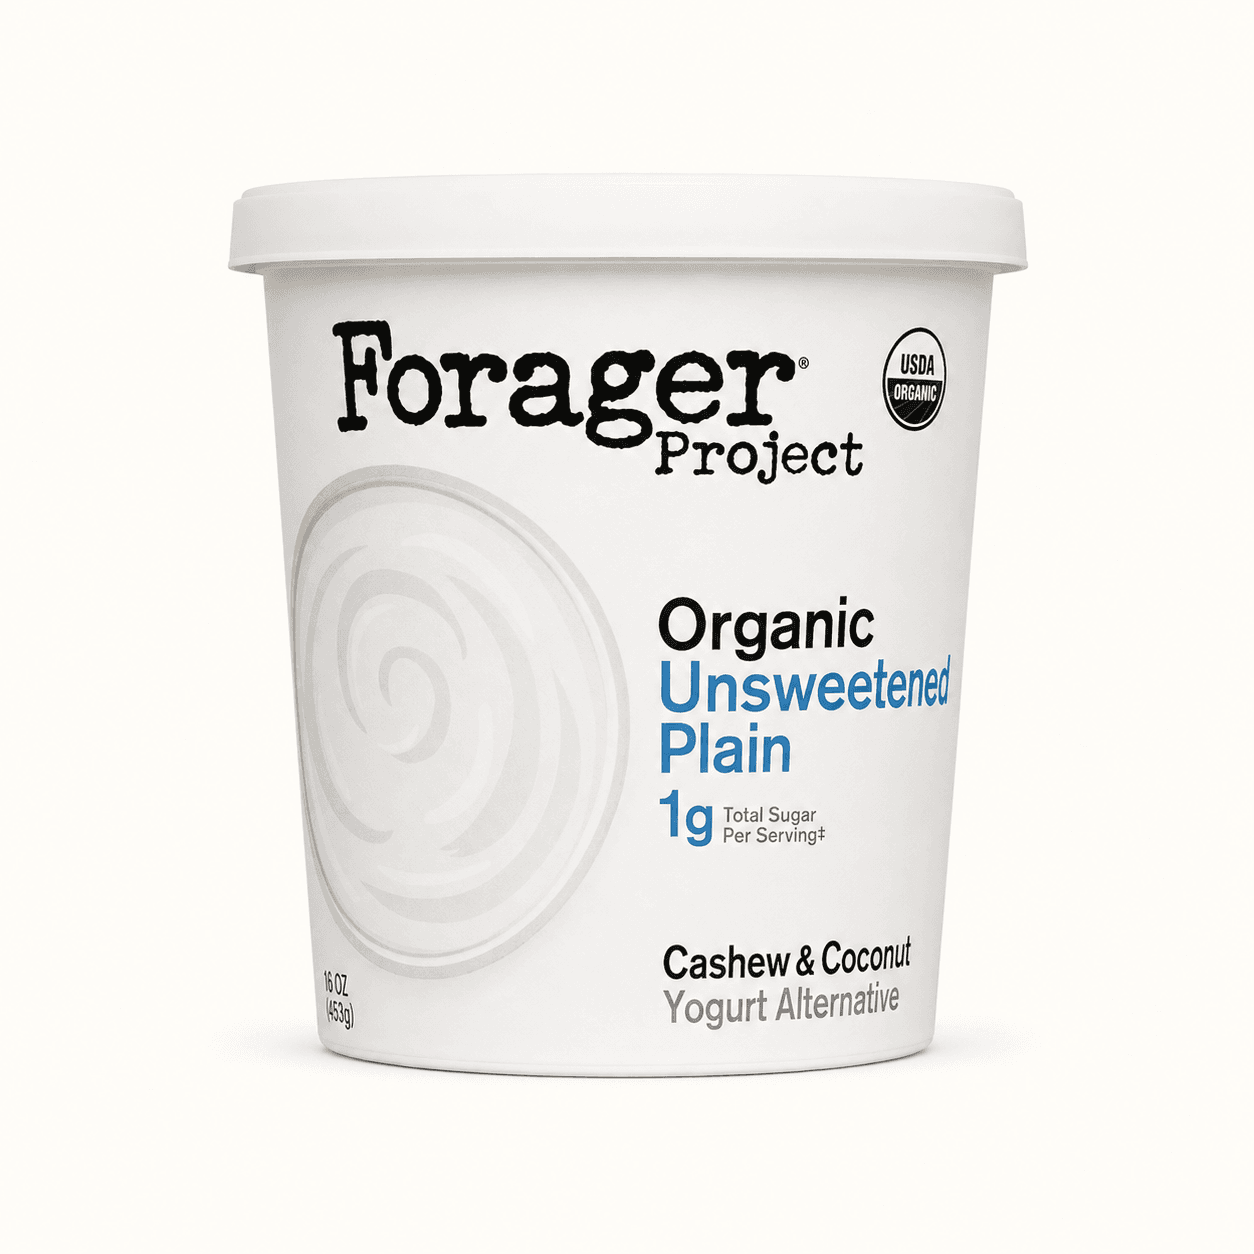
Forager Unsweetened Plain Yogurt
Plain unsweetened yogurt adds moisture, acidity, and body so the crumb bakes up tender without tasting tangy.
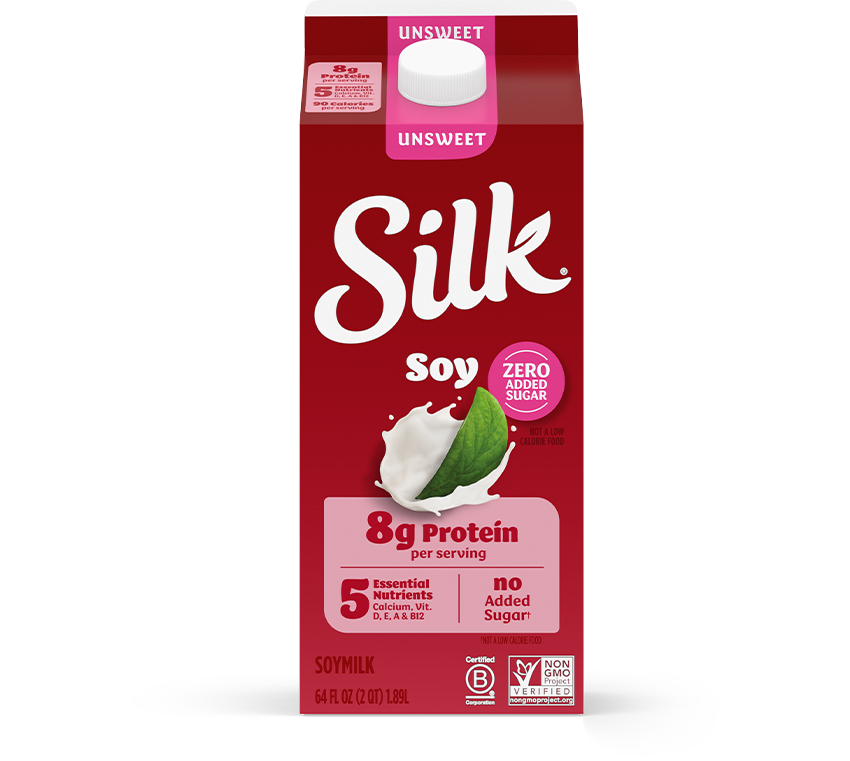
Silk Original Unsweet
Milk affects how smoothly a batter, filling, or frosting comes together. Soy milk and Ripple tend to emulsify well because their protein and fat help create a creamy, cohesive finish.
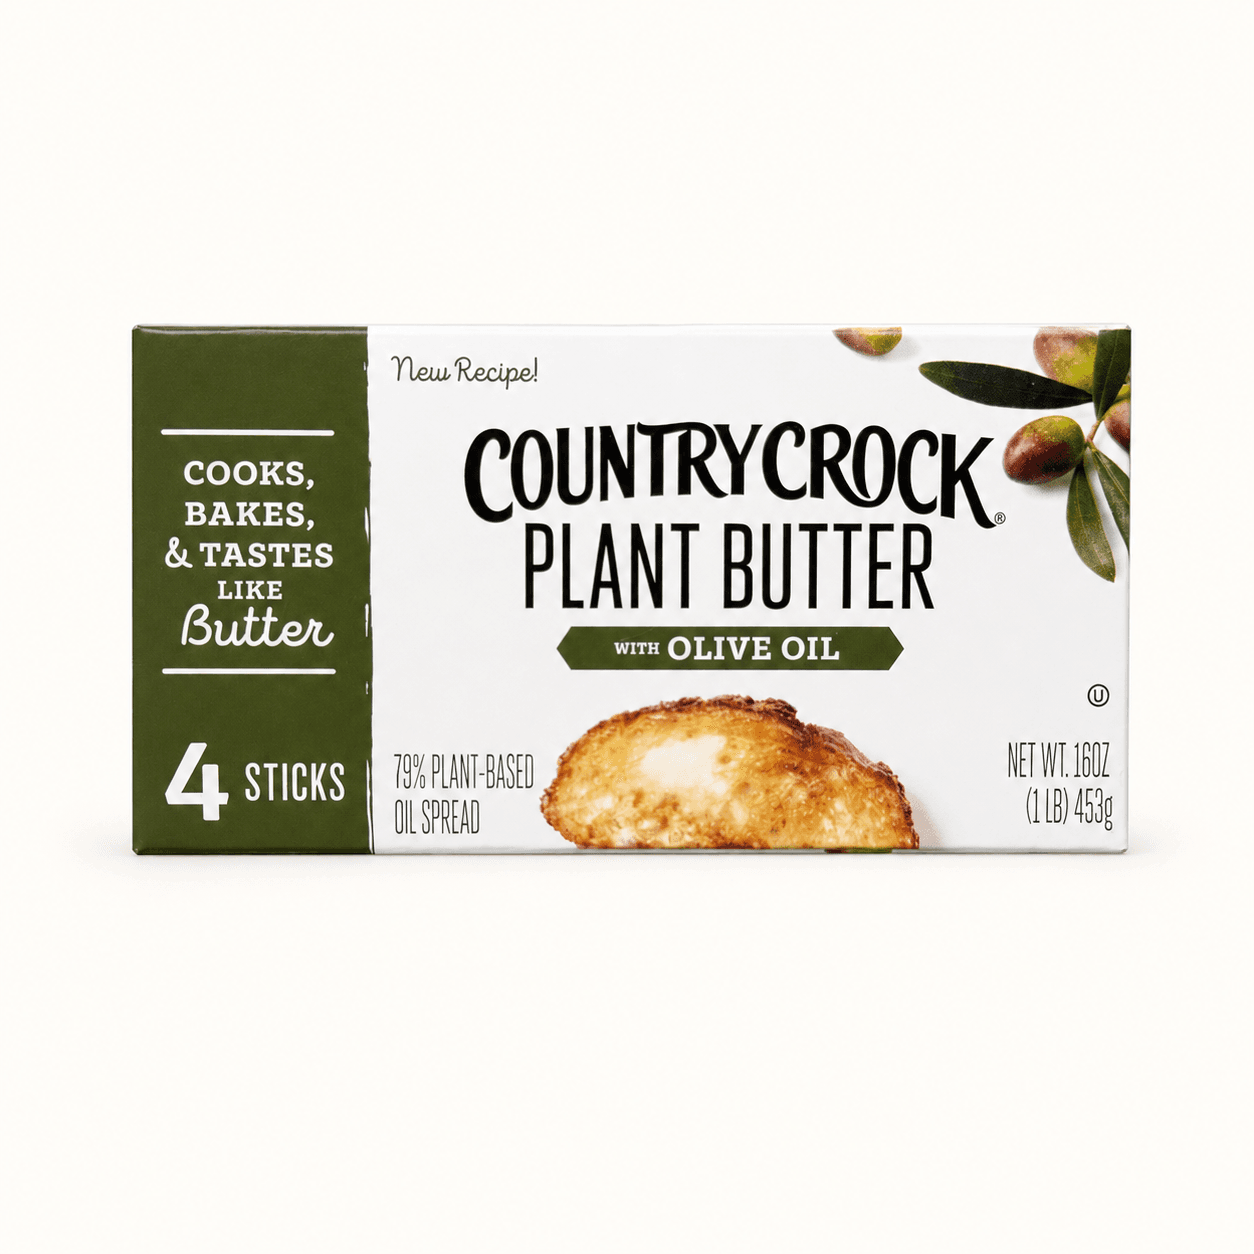
Country Crock Plant Butter Sticks
Use butter sticks for buttercream and fillings that need to hold their shape.
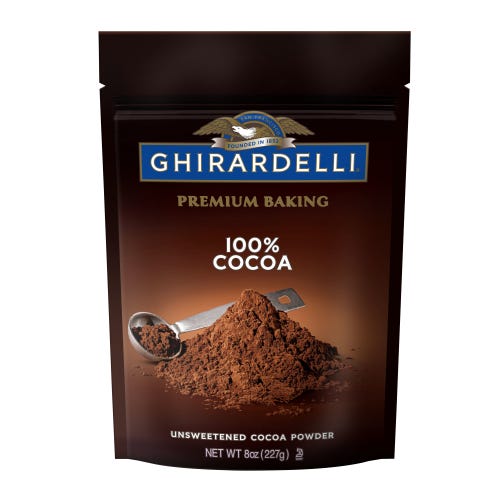
Ghirardelli natural cocoa powder
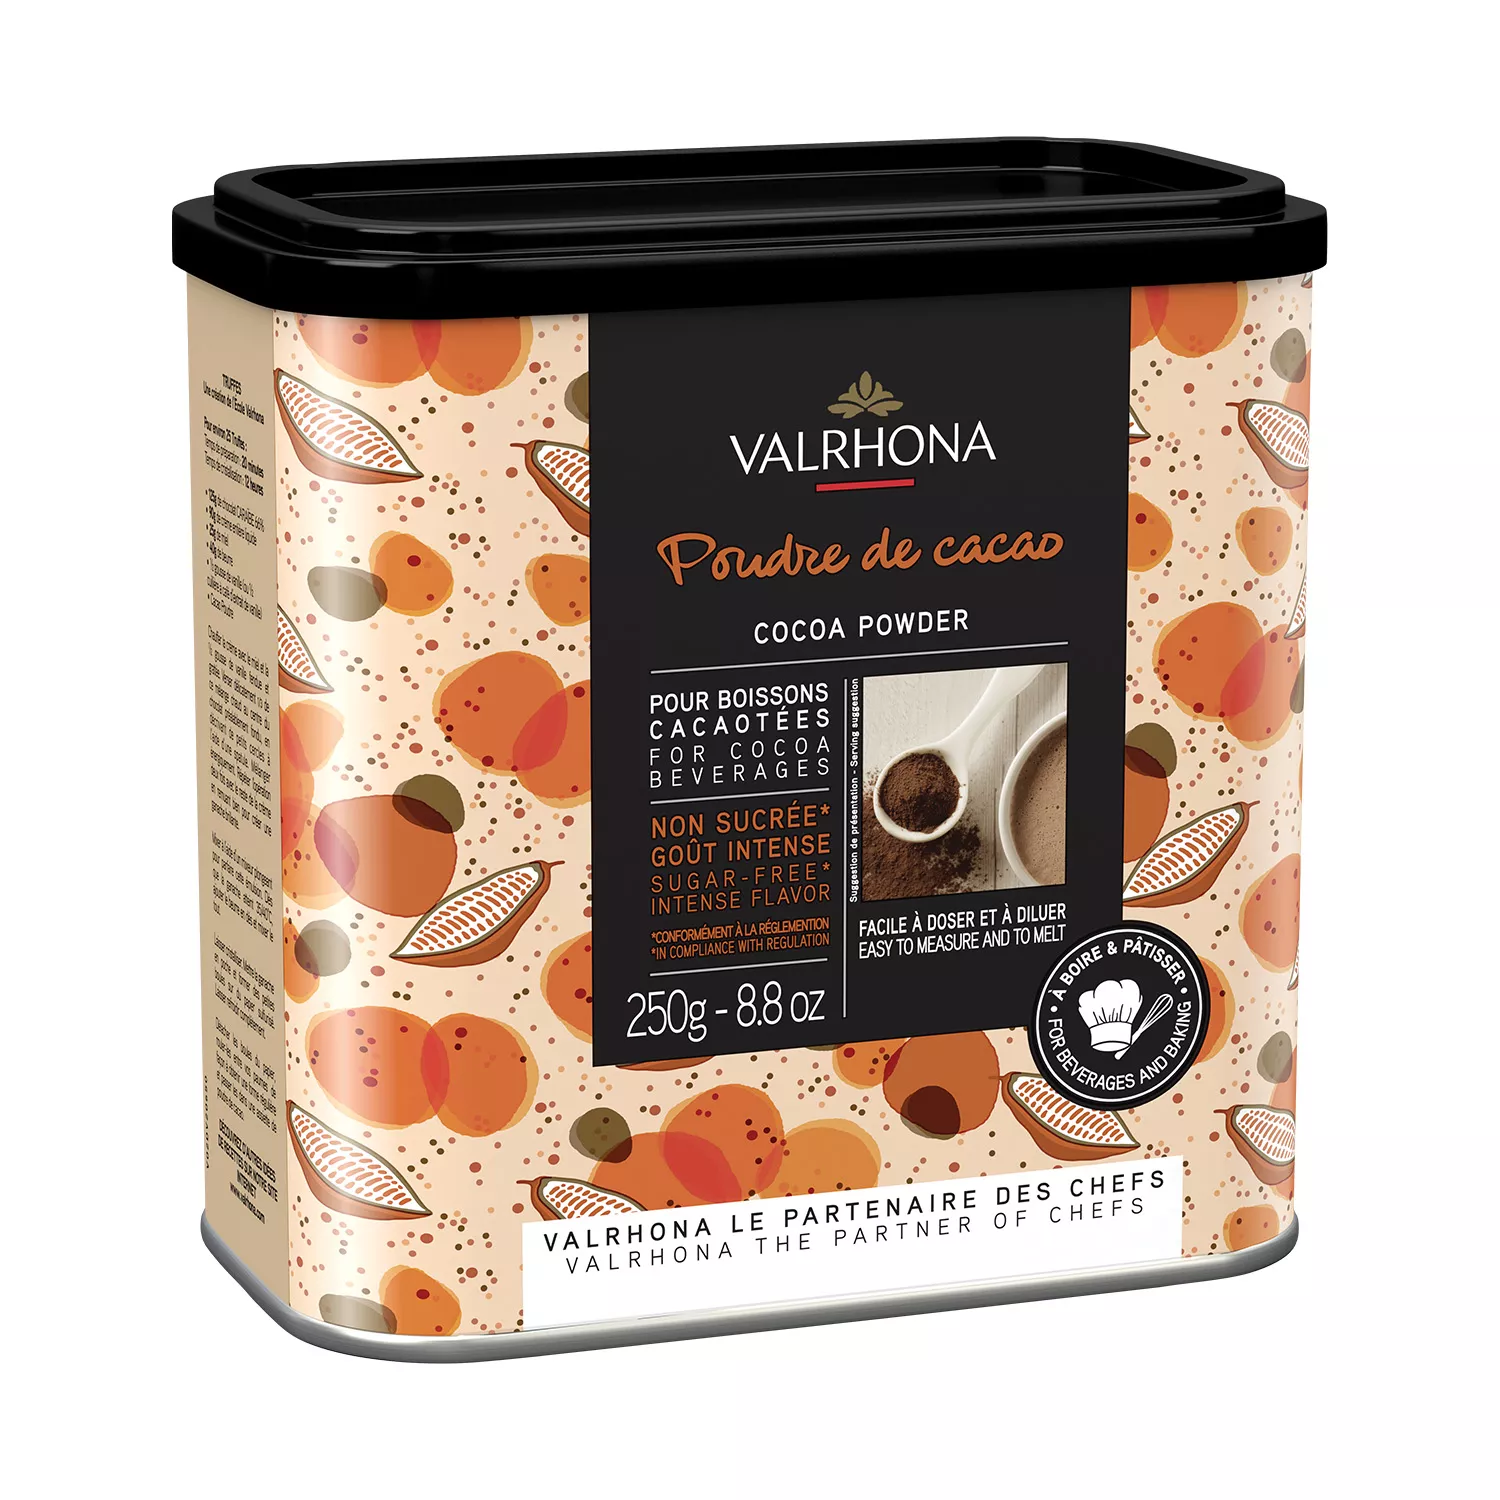
Ghirardelli is my natural cocoa preference. The Valrhona cocoa powder linked here is Dutch processed; use the cocoa type listed in the recipe.
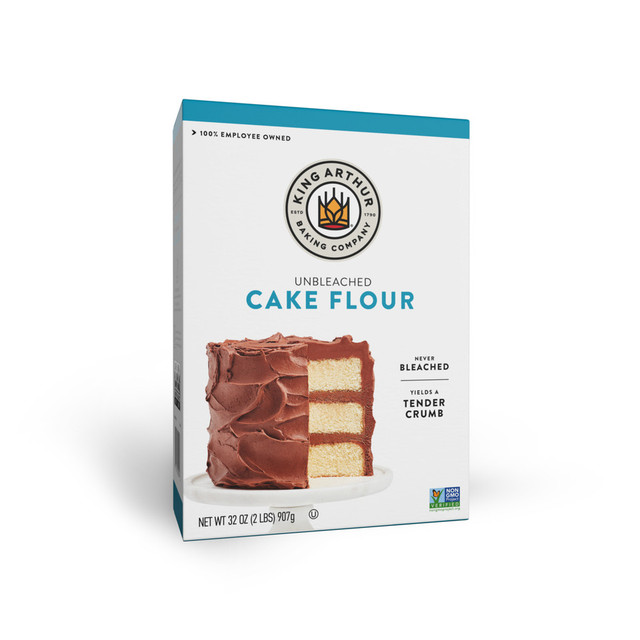
King Arthur Unbleached Cake Flour
I use King Arthur Unbleached Cake Flour for this recipe.

Rising Star Baking Supply Vanilla Bean Paste
I use Rising Star Baking Supply Vanilla Bean Paste for this recipe.
Testing notes
Why this works
Why the nutmeg is optional
A tiny pinch of nutmeg gives the chocolate and coffee a warmer, more bakery-style depth. It should not taste spiced; it just makes the mocha flavor feel a little rounder.
How warm the mocha icing should be
Warm the icing until it looks smooth, glossy, and fluid, almost like it has been sitting in the sun. Stop before it looks oily or separated. If the butter separates, the icing can turn greasy instead of silky.
Why the batter gets one extra whisk
After the hot coffee goes in, that short 30-45 second whisk helps the flour and cocoa fully hydrate. The batter should look smooth, glossy, and slightly thickened, which gives the cake a finer, more cohesive crumb while keeping it tender.
How to adjust the espresso
Start with the listed amount, then taste before adding more. For a stronger espresso note, try 2 1/4 teaspoons in the icing. I would not go past 2 3/4 teaspoons, and the flavor will develop slightly as it sits.
Step by step
How It All Comes Together
Step 1
Whisk the wet ingredients
Whisk the sugars, yogurt, milk, oil, apple cider vinegar, and vanilla bean paste until the mixture is smooth.
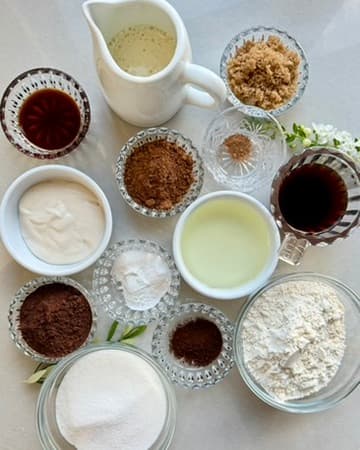
Have the cake ingredients measured before mixing. 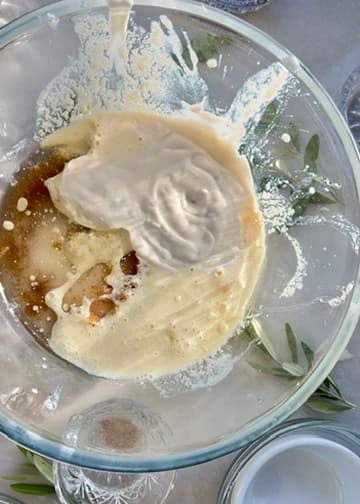
Whisk the wet ingredients until evenly combined. Step 2
Add the cocoa and dry ingredients
Whisk in the cake flour, both cocoa powders, leaveners, salt, and nutmeg. Add the hot coffee mixture and keep whisking for 30-45 seconds, until the batter looks smooth, glossy, and slightly thickened.
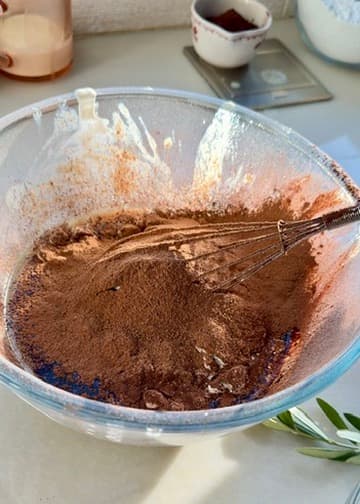
Break up any cocoa lumps as you mix. 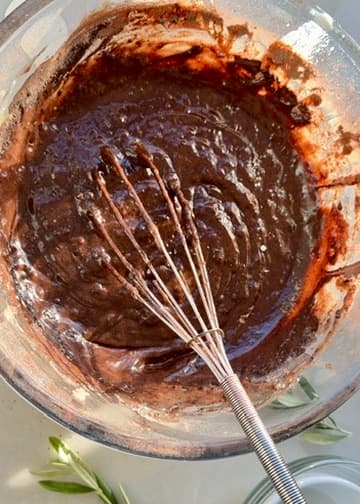
Scrape around the bowl so no dry mixture remains. 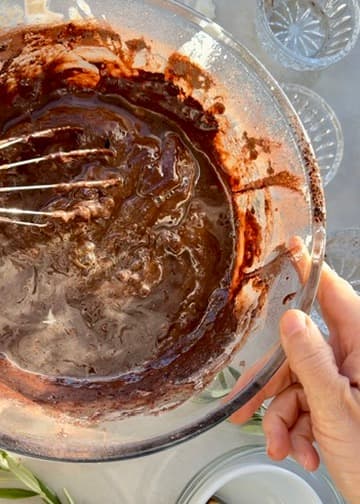
Whisk the added liquid through until the batter is uniform. Step 3
Bake and poke the warm cake
Pour the batter into the parchment-lined pan and bake until a tester comes out with a few moist crumbs. Let the cake rest for 5-8 minutes, then poke evenly spaced holes with a wooden spoon handle or thick skewer.
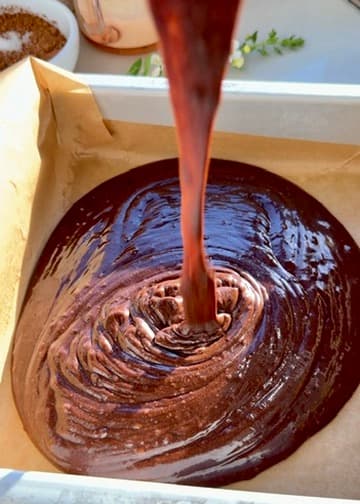
Pour the batter into the prepared cake pan. Step 4
Make the icing and finish the cake
Beat the butter smooth, then mix in the sifted sugar, cocoa, vanilla bean paste, dissolved espresso, and enough milk to make the icing spreadable. Warm it in 5-second bursts until glossy and fluid. Spread it over the cake and into the holes, then add the chopped dark chocolate and Maldon. Let the icing settle for 5-8 minutes before serving.
The topping settles into the cake's holes and cut edges. Serve a square with some of the topping from around the edges.
From Instagram
Watch the reel
Watch the warm mocha icing settle into the cake before the chocolate and Maldon go on top.
Open the reelSmall things that matter
Tips for the best cake
Sift both cocoa powders so the batter and icing stay smooth.
Use a wooden spoon handle or thick skewer for the holes. The goal is little pockets for icing, not tunnels through the cake.
Sprinkle the chocolate and Maldon while the icing is still warm so both cling to the top.
Troubleshooting
If This Happens
The batter does not look smooth and glossy
Keep whisking for the full 30-45 seconds after the hot coffee goes in. That short final whisk gives the flour and cocoa time to hydrate and the batter should become smoother and slightly thicker.
The mocha icing looks oily
It got too hot and the butter started to separate. Stop heating it, let it cool slightly, and stir gently until it comes back together.
The icing is too thick to spread
Warm it for another 5 seconds and stir. If it is still too thick, add a very small amount of the measured milk until it is fluid enough to spread over the warm cake.
The icing is sitting on top instead of settling into the cake
Poke the cake evenly while it is still warm, then use the spatula to guide the warm icing toward the holes as you spread it.
Before you slice
Texture and serving notes
Let the icing settle for 5-8 minutes, then serve the cake warm for the softest, fudgiest texture.
Let it cool completely if you want a firmer icing layer and cleaner squares.
Keep it good
Storage
Counter
Store covered at room temperature for up to 1 day.
Fridge
Refrigerate leftovers in an airtight container for up to 4 days.
Reheat
Gently warm individual pieces if you want the icing soft again.
Recipe FAQ
Questions that come up
Can I serve mocha poke cake warm?
Yes. This cake is written to be served warm, when the mocha icing is soft and fudgy. Let it rest for 5-8 minutes after icing so the top settles slightly before slicing.
Why did my mocha icing look greasy?
The icing likely got too hot and the butter started to separate. Warm it in short bursts and stop when it looks glossy and fluid, like it has been sitting in the sun, not melted.
Can I make the mocha flavor stronger?
Yes. Start with the listed espresso powder, then increase the icing to 2 1/4 teaspoons if you want more coffee flavor. Taste as you go and avoid exceeding 2 3/4 teaspoons.
Do I need to wait for mocha poke cake to cool?
No. Let the icing settle for 5-8 minutes, then serve it warm. It is the kind of cake you can make, ice, and actually eat without waiting around for layers to chill or frosting to set.
Should I weigh the ingredients or use volume measurements?
I strongly recommend weighing the ingredients in grams for the most reliable result. Volume measurements are included for convenience, but the amount in a cup can change depending on how an ingredient is filled, packed, or poured. These recipes are easy to follow, but their ratios are precise, so I cannot guarantee the exact same result when volume measurements are used. I still use teaspoons and tablespoons for small amounts like leaveners, salt, spices, and flavorings because those are the most practical measurements.
Can I make this recipe gluten-free?
I have not tested this recipe with gluten-free flour, so I cannot guarantee the same texture, rise, or structure. If you would like to experiment, a cup-for-cup (1:1) gluten-free baking blend intended to replace all-purpose flour is the best place to start. Results may differ from the recipe as written.
Can I use all-purpose flour instead of cake flour?
Yes, of course. Replace the cake flour with the same amount of all-purpose flour by weight. The cake will have a slightly sturdier, less delicate crumb, but it will still be great.
More recipes to try
- Prep
- 25 min
- Bake
- 35-40 min
- Total
- 1 hr 15 min
- Yield
- One 9x9-inch cake
Measurement note
For the closest match to the recipe I tested, use grams. Volume measurements are included for convenience, but cups can vary, so I cannot guarantee the exact same result when measuring by volume.
Ingredients
Mocha Cake
- 170 g cake flour, sifted170 g (about 1 cup + 7 tablespoons) cake flour, sifted
- 35 g Dutch process cocoa powder, sift after measuring35 g (about 1/3 cup + 1 1/2 teaspoons) Dutch process cocoa powder, sift after measuring
- 18 g natural cocoa powder, sift after measuring18 g (about 3 tablespoons) natural cocoa powder, sift after measuring
- 1 1/2 teaspoons baking powder1 1/2 teaspoons baking powder
- 1/2 teaspoon baking soda1/2 teaspoon baking soda
- 1/2 teaspoon fine sea salt1/2 teaspoon fine sea salt
- 1/8 teaspoon ground nutmeg, optional1/8 teaspoon ground nutmeg, optional
- 210 g granulated sugar210 g (about 1 cup + 1 tablespoon) granulated sugar
- 35 g light brown sugar, packed35 g (about 2 tablespoons + 2 teaspoons) light brown sugar, packed
- 95 g plain unsweetened yogurt, room temperature95 g (about 1/3 cup + 2 1/2 teaspoons) plain unsweetened yogurt, room temperature
- 160 g milk160 g (about 2/3 cup) milk
- 98 g neutral oil98 g (about 7 tablespoons) neutral oil
- 10 g apple cider vinegar10 g (about 2 teaspoons) apple cider vinegar
- 1 1/2 teaspoons vanilla bean paste1 1/2 teaspoons vanilla bean paste
- 91 g hot brewed coffee91 g (about 1/3 cup + 2 1/2 teaspoons) hot brewed coffee
- 2 teaspoons espresso powder2 teaspoons espresso powder
Warm Mocha Icing
- 126 g butter sticks, room temperature126 g (about 1/2 cup + 1 tablespoon) butter sticks, room temperature
- 180 g powdered sugar, sifted180 g (about 1 1/2 cups) powdered sugar, sifted
- 30 g Dutch process cocoa powder30 g (about 5 tablespoons) Dutch process cocoa powder
- 10 g natural cocoa powder10 g (about 1 tablespoon + 2 teaspoons) natural cocoa powder
- 1 tablespoon vanilla bean paste1 tablespoon vanilla bean paste
- 2 teaspoons espresso powder, plus more to taste if desired2 teaspoons espresso powder, plus more to taste if desired
- 16-20 g milk, room temperature16-20 g (about 1 tablespoon + 1/8 teaspoon to 1 tablespoon + 1 teaspoon) milk, room temperature
Toppings
- Maldon flaky sea salt, highly recommendedMaldon flaky sea salt, highly recommended
- Finely chopped dark chocolate or Guittard Super Cookie ChipsFinely chopped dark chocolate or Guittard Super Cookie Chips
Instructions
- 1Preheat oven to 350°F (175°C). Line a 9x9-inch baking pan with parchment paper.
- 2Stir the espresso powder into the hot brewed coffee until completely dissolved. Set aside.
- 3In a large bowl, add both sugars, yogurt, milk, oil, apple cider vinegar, and vanilla bean paste. Whisk until smooth.
- 4In the same bowl, whisk together the cake flour, Dutch cocoa powder, natural cocoa powder, baking powder, baking soda, salt, and nutmeg, if using.
- 5Add the hot coffee mixture and whisk for 30-45 seconds, until the batter is smooth, glossy, and slightly thickened.
- 6Pour the batter into the prepared pan and smooth the top.
- 7Bake for 35-40 minutes, checking at 35 minutes, until the center springs back when lightly touched, a toothpick inserted in the center comes out with a few moist crumbs, and the internal temperature reaches 208-210°F.
- 8Let the cake cool in the pan for 5-8 minutes.
- 9Make the warm mocha icing. Beat the butter until smooth and creamy.
- 10Dissolve the espresso powder in 1 teaspoon of the milk until completely smooth.
- 11Add the powdered sugar, Dutch cocoa powder, natural cocoa powder, vanilla bean paste, and dissolved espresso mixture. Beat on low until combined, then increase to medium-high just until mixed thoroughly. Do not overmix.
- 12Add the remaining milk a little at a time until the icing is smooth and spreadable.
- 13Microwave the icing in 5-second intervals, stirring between each, until it is smooth, glossy, and fluid enough to spread easily over the warm cake. It should look sun-warmed, not melted or greasy.
- 14While the cake is still warm, use the handle of a wooden spoon or a thick skewer to poke holes evenly across the surface.
- 15Spread the warm mocha icing evenly over the cake, encouraging it to seep into the holes and create a thin, fudgy layer.
- 16Immediately sprinkle chopped dark chocolate and Maldon sea salt over the warm icing so they adhere to the surface.
- 17Let the cake rest for 5-8 minutes so the icing can settle slightly into the cake.
- 18Serve warm, or let cool completely if you prefer a firmer icing.

Meet the baker
Angela Heckler
Angela Heckler is the recipe developer, baker, and photographer behind Obsessed Cakes. Her Old-Fashioned Donut Loaf series is a growing collection of cake-donut-inspired loaves with soft, deeply moist crumbs, buttery streusel, and crackly glaze. Angela develops and tests every recipe in her Arizona kitchen. Follow Obsessed Cakes on Instagram, TikTok, and YouTube.
Made it? Tell us.
Ratings and reviews
Be the first to rate this recipe.
No reviews yet.
Make the recipe, leave a rating, and share how it turned out.Did you make this?
Share your bake on Instagram - tag @obsessedwithcashews and use #obsessedcakes.