Lava Cakes
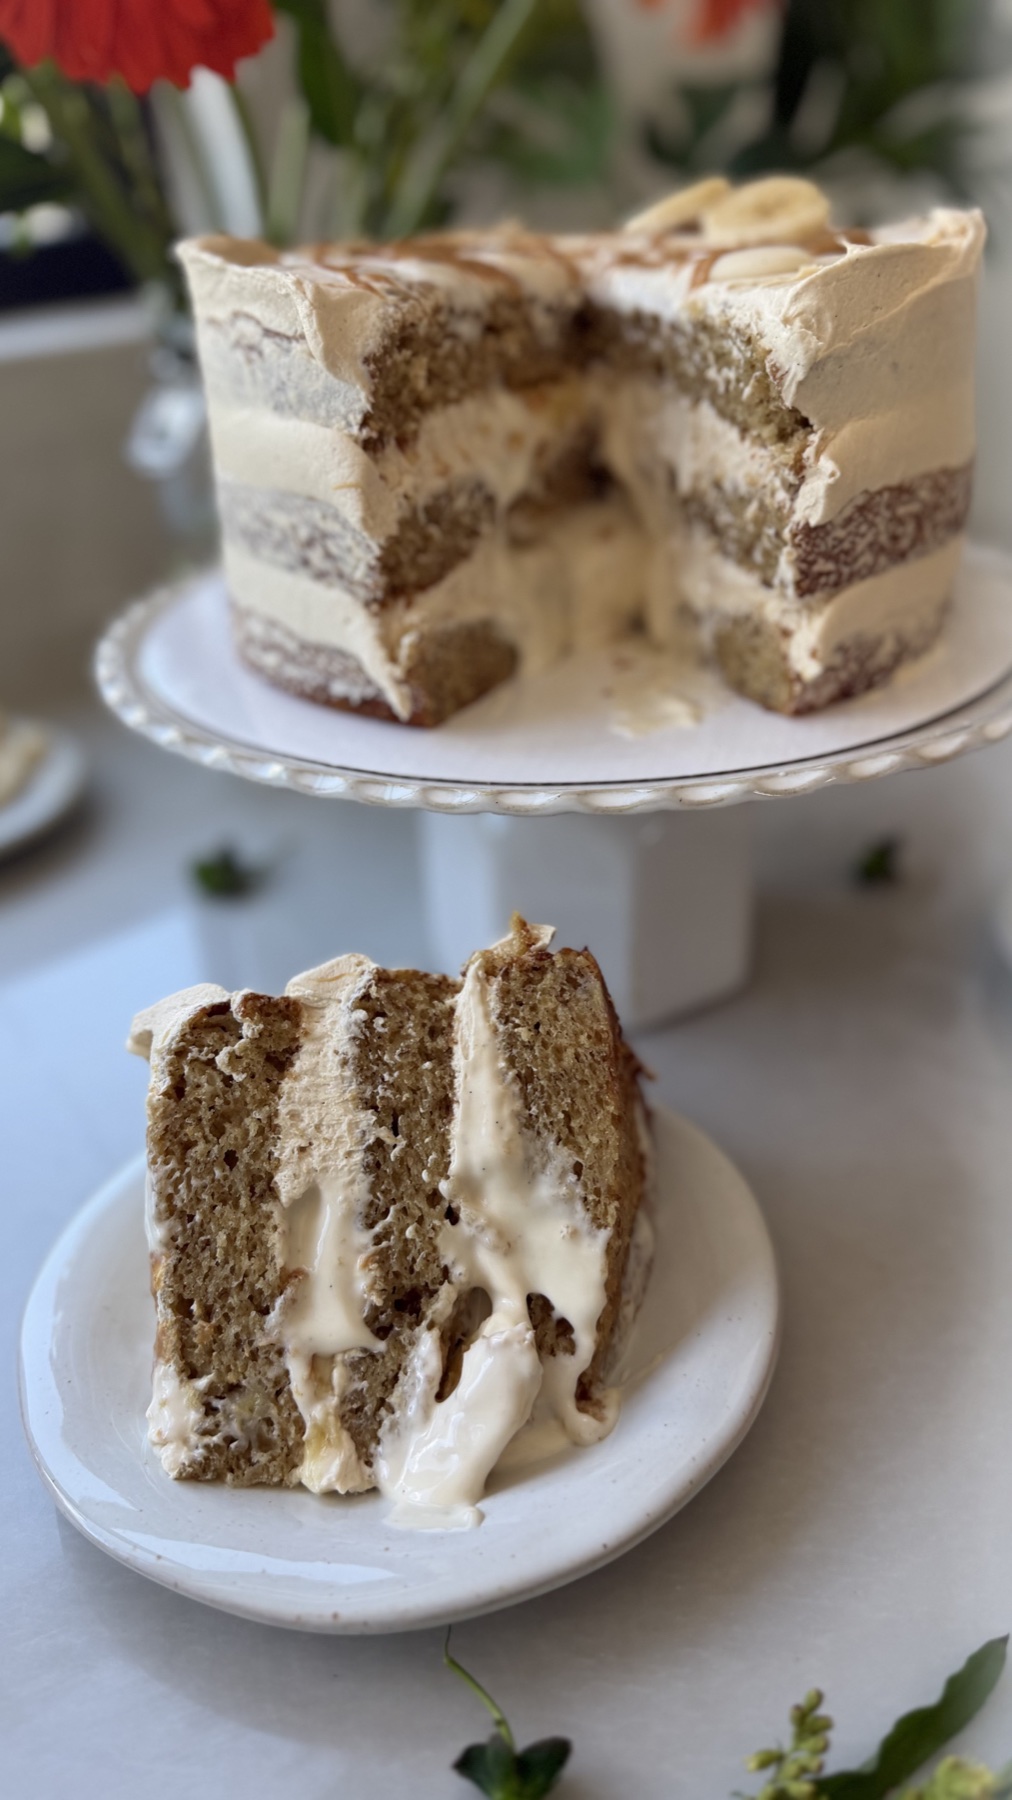
Banana Fluffernutter Lava Cake
Moist banana cake layered with whipped peanut butter buttercream, fresh bananas, and silky marshmallow lava.
Prep
1 hr
Bake
22–25 min
Total
About 3 hr, including cooling and assembly
Yield
One 8-inch three-layer cake
A note from my kitchen
Before you bake this
Peanut butter, marshmallow fluff, and banana already belong together, but putting them into a layer cake makes every part of the combination more dramatic. The cake brings the deep banana flavor, the buttercream adds salt and richness, and the marshmallow filling stays soft enough to spill gently into each slice.
Save me a slice ;)
Thinking out loud
The fluffernutter cake I wanted to eat
The cravings, questions, and running commentary behind this bake.
I always have about four tubs of Dandies marshmallow fluff in the pantry because peanut butter and fluff might be the best combination ever. Add banana and my eyes roll back. I could live on this trio. I put it over ice cream all the time because it is easy, instantly melty, and never disappoints.
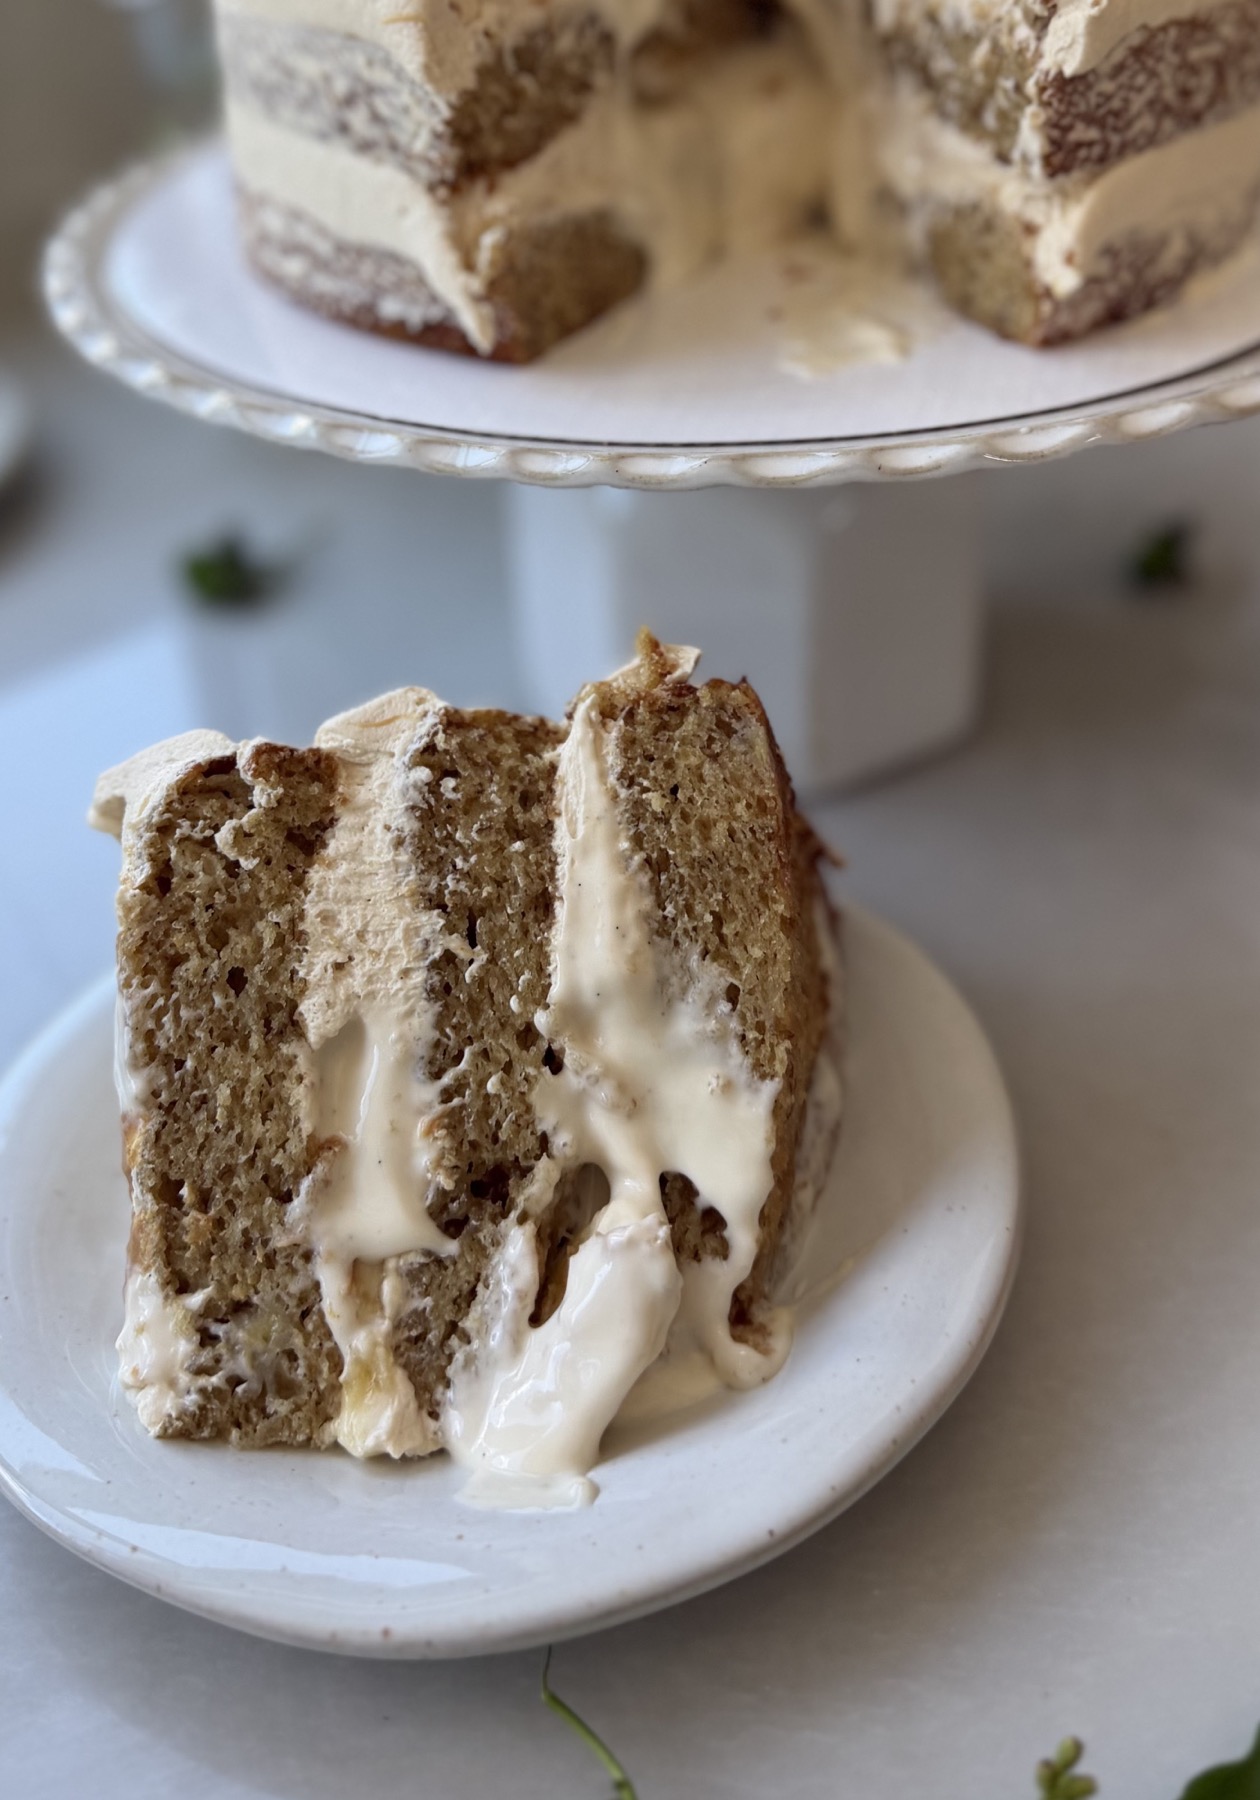
This cake turns that obsession into something unforgettable: moist, fluffy banana cake layered with silky marshmallow lava, fresh banana slices, and whipped peanut butter buttercream. The salty peanut butter balances the sweet marshmallow perfectly, while the banana makes everything soft, warm, and familiar. If you love fluffernutter, this might become your favorite cake.
I highly recommend Dandies marshmallow fluff. It behaves like a dream in this lava cake and gives the filling the completely perfect glossy, silky texture I want.
Read this first
The quick notes.
Flavor
Ripe banana, salty peanut butter, vanilla bean, and sweet marshmallow.
Texture
Moist banana cake, cloud-like buttercream, fresh bananas, and silky marshmallow lava.
Best moment
Cutting the first slice and watching the marshmallow filling settle between the layers.
From this recipe
Tested notes
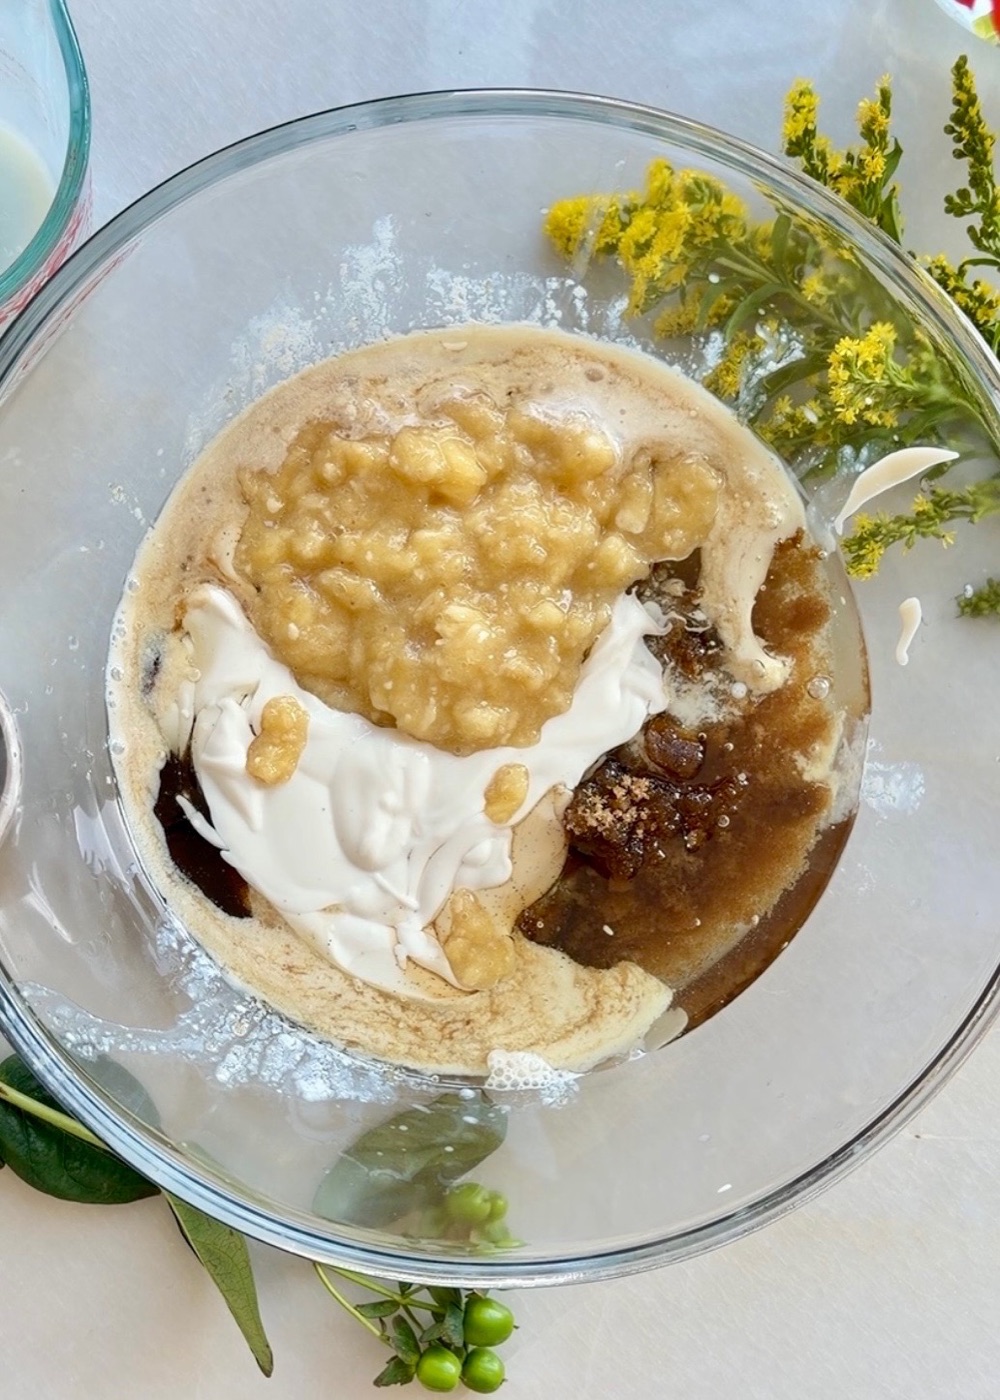
Use super-ripe bananas in the cake and fresh, firm-ripe bananas in the filling; each stage needs a different texture.
Dandies marshmallow fluff is my top recommendation for the lava filling because it loosens smoothly and stays beautifully glossy.
For a non-dairy version, use Forager Unsweetened Plain Yogurt, Silk Original Unsweetened Soy Milk, Country Crock Plant Butter Sticks, and Country Crock Plant Cream or Silk Dairy-Free Heavy Whipping Cream.
Keep the marshmallow filling below halfway up a tall buttercream dam for the most dependable layers.
Ingredient notes
Key ingredients
Very ripe bananas for the cake
Use deeply speckled, very soft bananas and mash them completely smooth. Super-ripe bananas give the cake concentrated flavor, moisture, and an even crumb.
Fresh bananas for the filling
Use firm-ripe fresh bananas for assembly. They should be sweet but still sturdy enough to slice neatly and stay in place inside the buttercream dam.
Dandies marshmallow fluff
I highly recommend Dandies. It is vegan, behaves beautifully when loosened with warm cream and melted butter, and gives the lava filling its glossy, silky texture.
Creamy peanut butter
When it comes to peanut butter, you will only see Jif in this house. If you are a Skippy person, that is okay too. Whichever one you choose, it must be a smooth, shelf-stable creamy peanut butter. I do not recommend natural peanut butter for this recipe because it can separate, soften the buttercream, and leave it without enough structure to hold the filling.
Cake flour and cornstarch
Together they keep the banana layers soft and fluffy enough to balance the rich filling and buttercream.
Brand notes
Brands that matter here
For the ingredients where brand choice changes texture, set, or flavor, these are the tested options I use.
Yogurt
Plain unsweetened yogurt
Plain unsweetened yogurt adds moisture, acidity, and body so the crumb bakes up tender without tasting tangy.
- 01Forager Unsweetened Plain Yogurt
- 02Silk Plain Unsweetened Yogurt
Milk
Milk
Milk affects how smoothly a batter, filling, or frosting comes together. Soy milk and Ripple tend to emulsify well because their protein and fat help create a creamy, cohesive finish.
- 01Silk Original Unsweet
- 02Plain unsweetened soy milk
- 03Ripple Original
- 04Oatly Barista Edition
Butter sticks
Butter sticks
Use butter sticks for buttercream and fillings that need to hold their shape.
- 01Country Crock Plant Butter Sticks
- 02Violife Plant Butter Sticks
- 03Earth Balance
- 04Miyoko's
Heavy cream
Heavy cream
Heavy cream affects silkiness, looseness, and how buttercream or filling sets after chilling.
- 01Country Crock Heavy Plant Cream
- 02Silk Heavy Whipping Cream Alternative
Marshmallows
Marshmallows and mallow
Use Dandies for marshmallows and mallow.
- 01Dandies
Testing notes
Why this works
Use two stages of banana ripeness
The cake needs very ripe, deeply speckled bananas for flavor and moisture. The filling needs fresh, firm-ripe bananas so the slices stay distinct and do not make the layers slippery.
Keep the marshmallow lava at room temperature
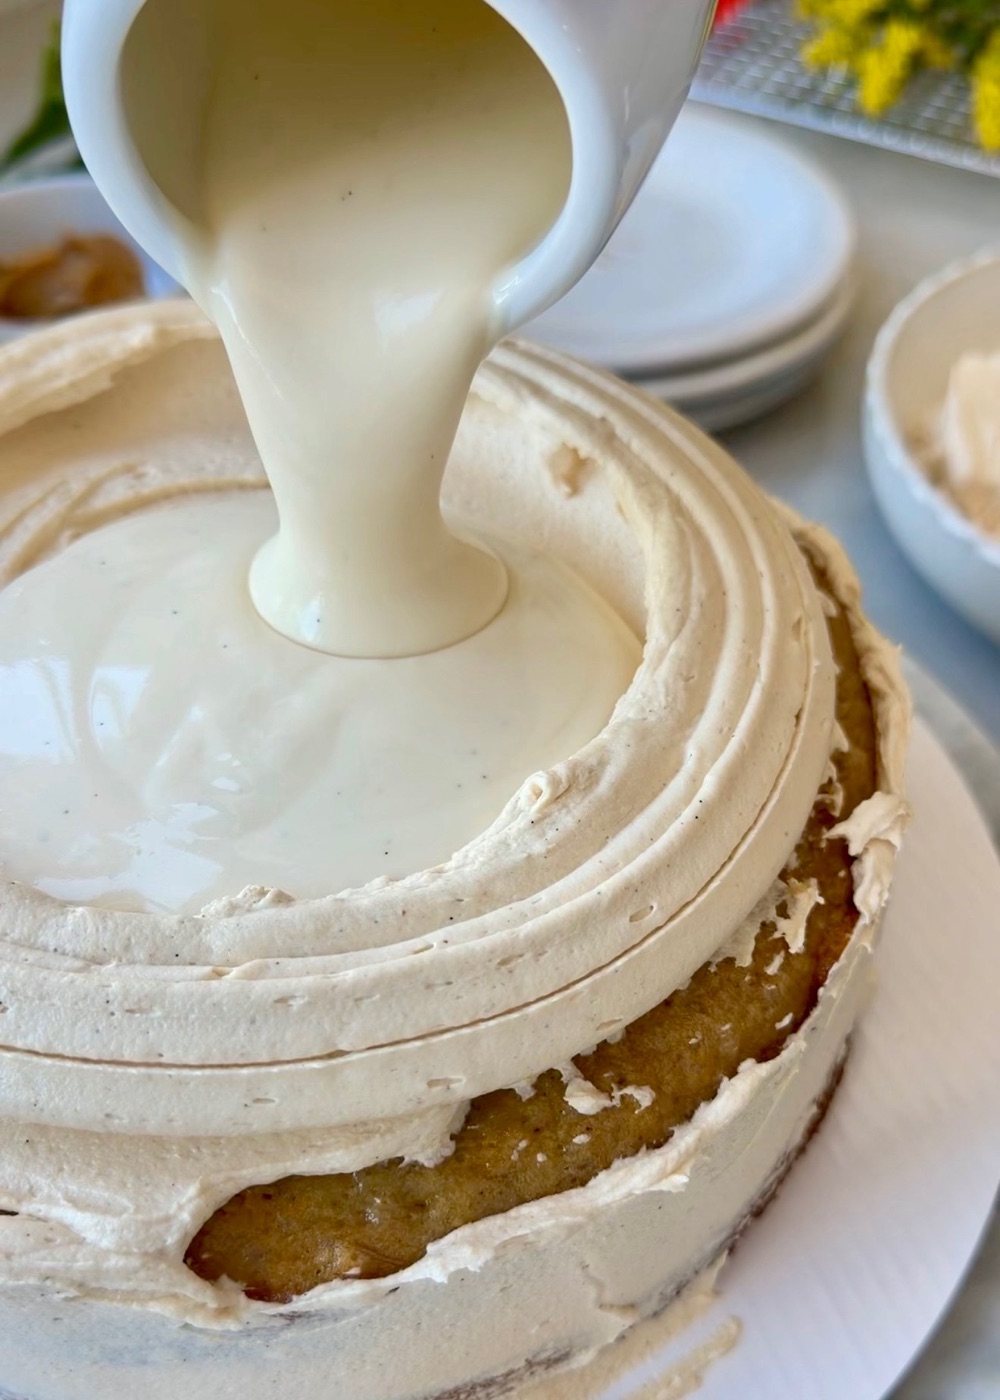
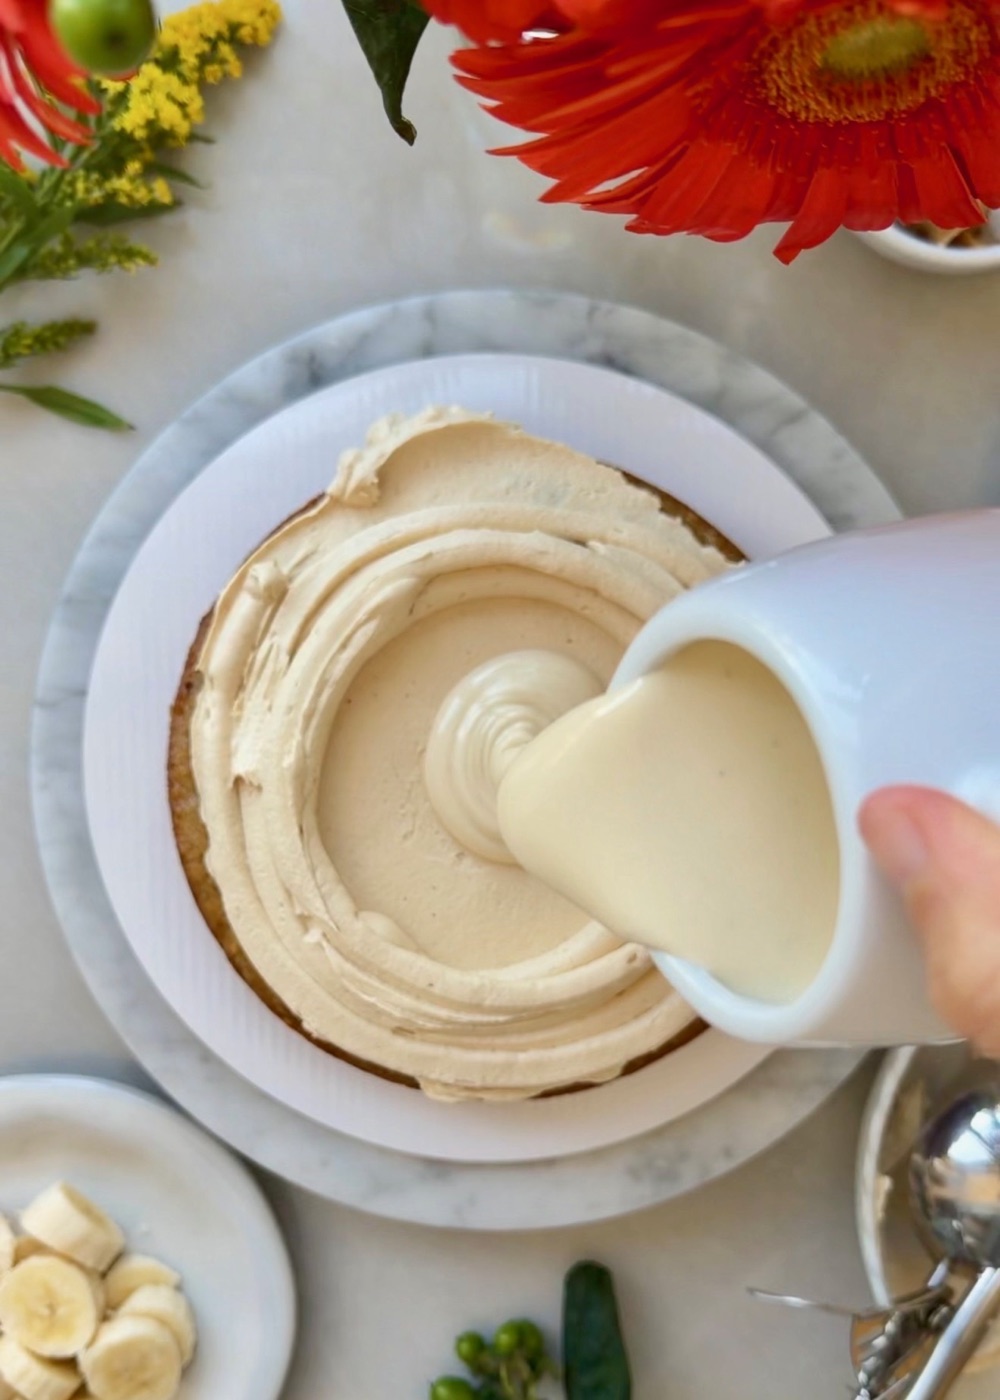
Let the filling stand until it is completely cool and slightly thickened but still pourable. Warm filling can soften the buttercream dam; cold filling can become too thick to settle smoothly.
Build a tall, complete dam
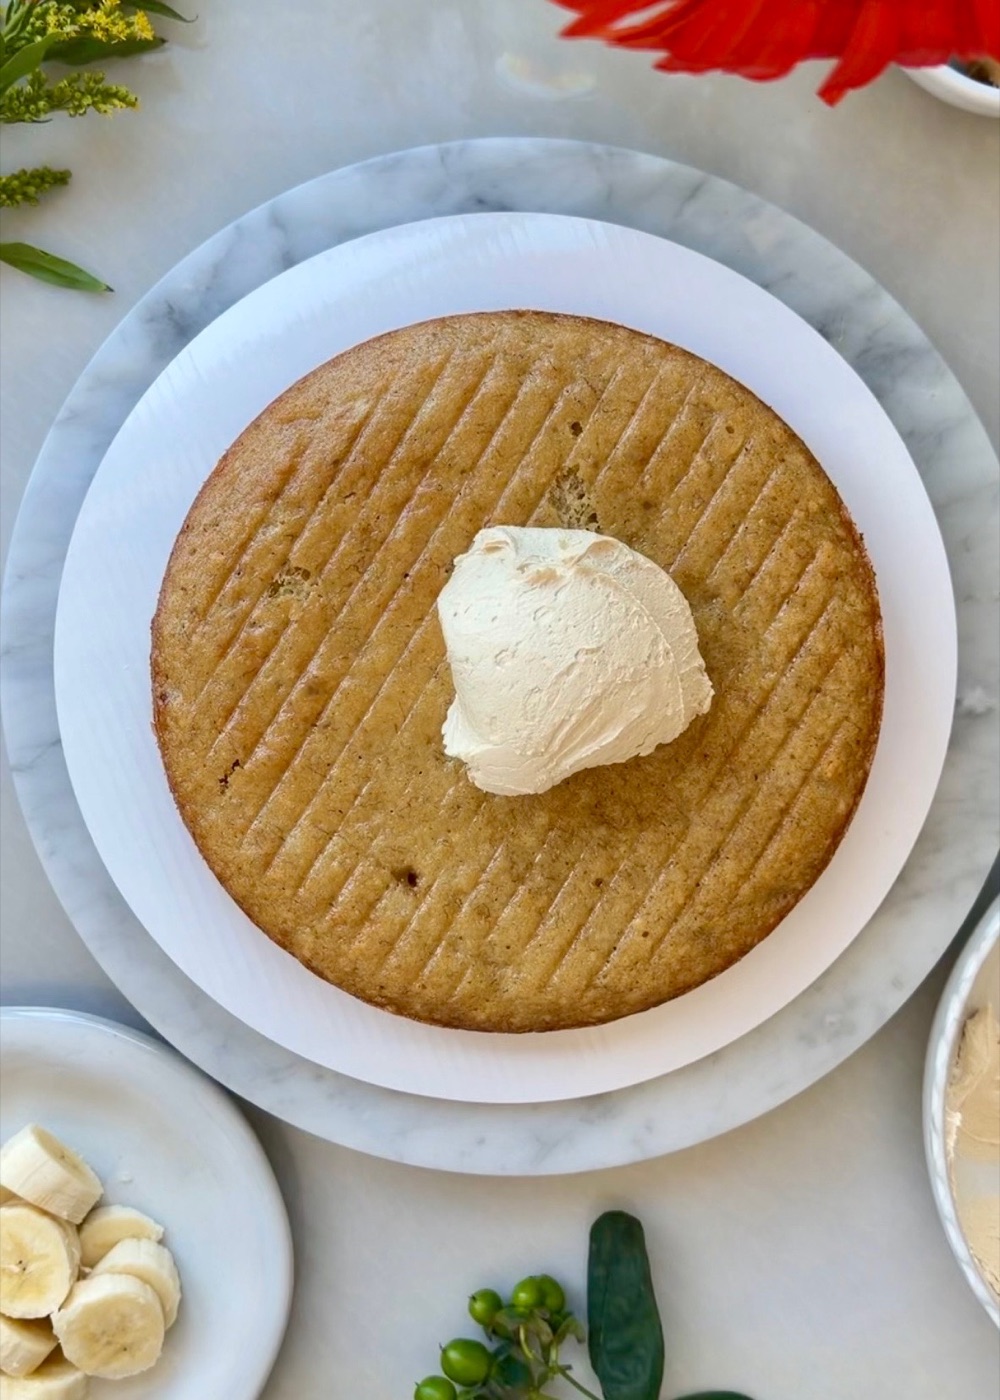
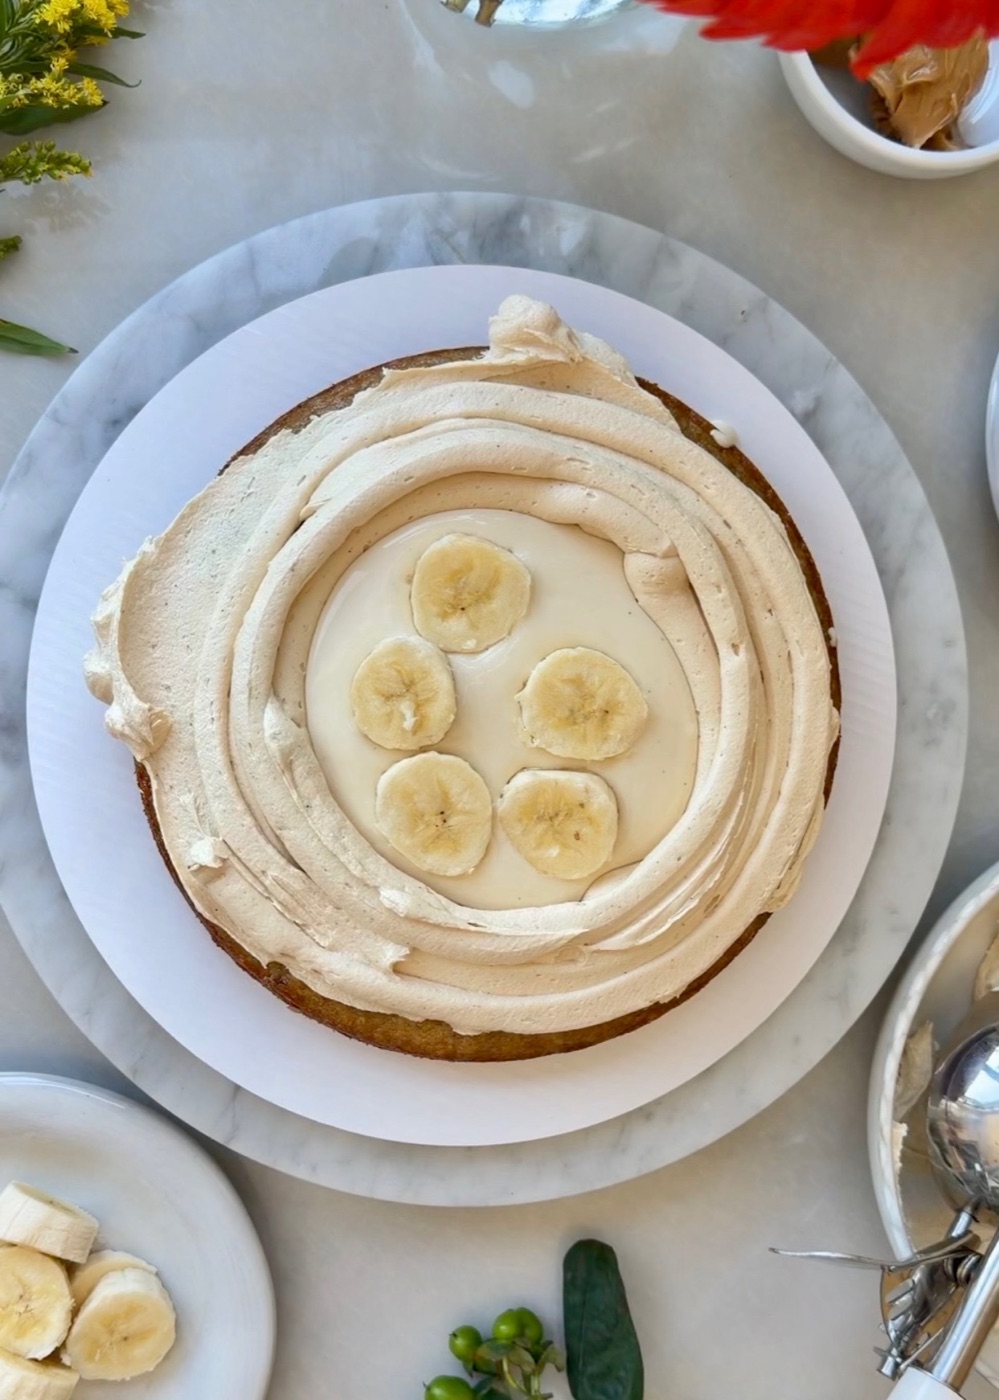
Pipe an unbroken ring of peanut butter buttercream around each layer. Keep the marshmallow lava below halfway up the dam, then arrange the bananas in a single layer.
Stop adding cream when the buttercream is ready
Stream the cream in slowly and stop once the buttercream is light, silky, and sturdy enough to pipe. The full amount may not be necessary depending on the butter and peanut butter you use.
Non-dairy brands I recommend
For a fully non-dairy cake, I recommend Dandies marshmallow fluff, Forager Unsweetened Plain Yogurt, Silk Original Unsweetened Soy Milk, Country Crock Plant Butter Sticks, and either Country Crock Plant Cream or Silk Dairy-Free Heavy Whipping Cream.
How it comes together
From Instagram
Watch the reel
Watch the banana layers, peanut butter buttercream, fresh bananas, and marshmallow lava come together.
Open the reelSmall things that matter
Tips for the best cake
Mash the super-ripe bananas for the cake until completely smooth so the layers bake evenly.
Bring the milk, yogurt, and buttercream cream to room temperature before mixing.
Use fresh, firm-ripe bananas for the filling and slice them immediately before assembly.
Cool the cake layers and marshmallow lava completely before stacking.
Keep the marshmallow filling below halfway up a tall buttercream dam.
Arrange the fresh banana slices in one flat layer rather than piling or overlapping them heavily.
Chill the stacked cake before applying the final buttercream coat.
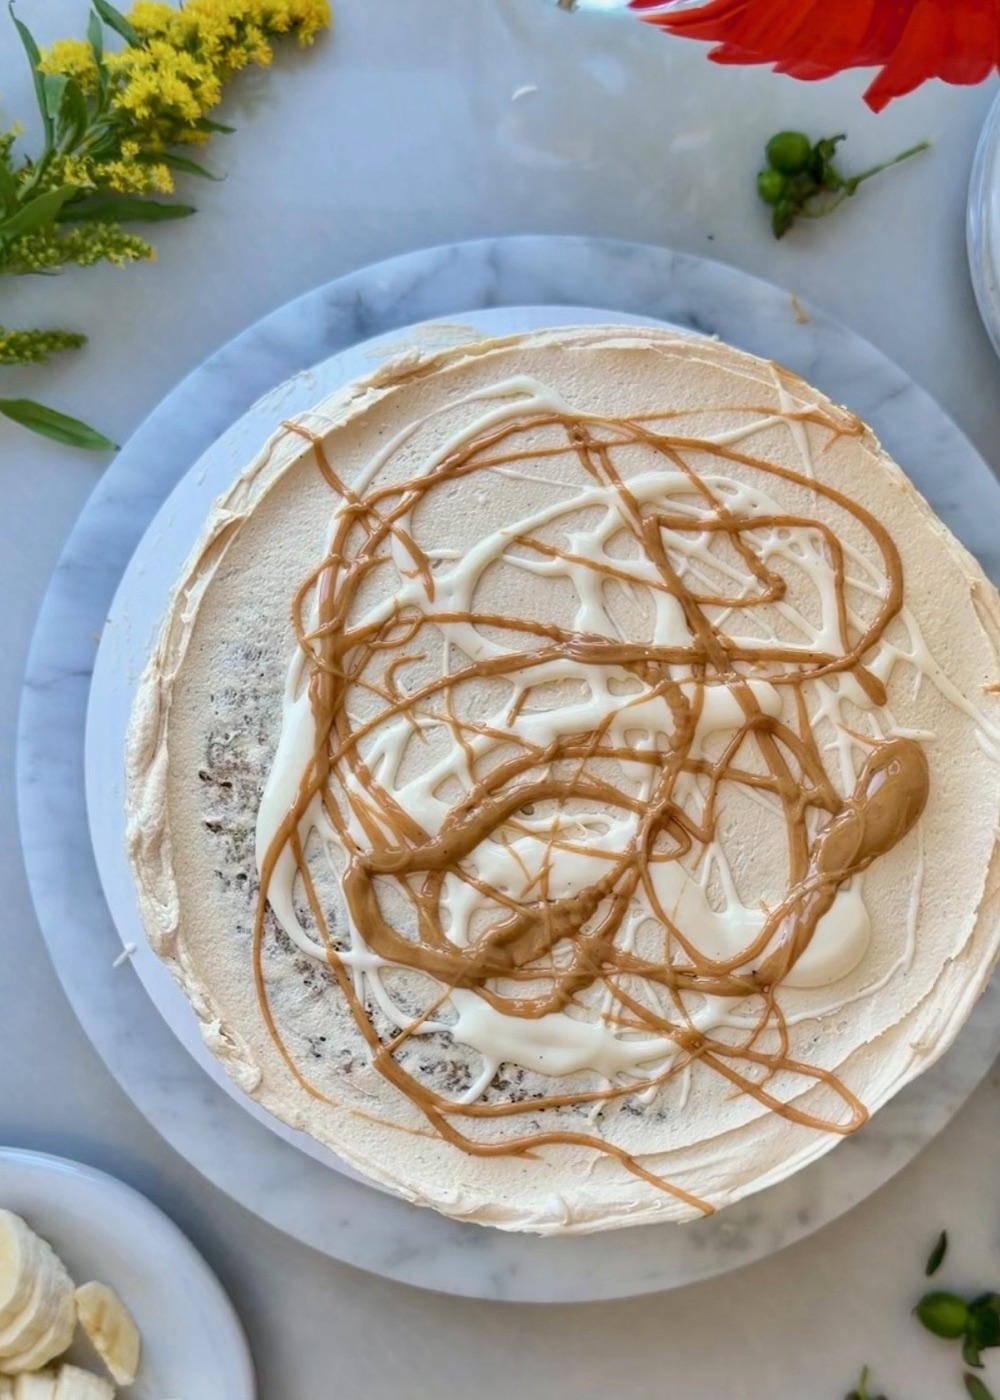
Before you slice
Texture and serving notes
For clean slices, chill the assembled cake until stable and use a sharp knife wiped between cuts.
Let each slice sit at room temperature for 15–20 minutes so the buttercream softens and the marshmallow lava becomes silky again.
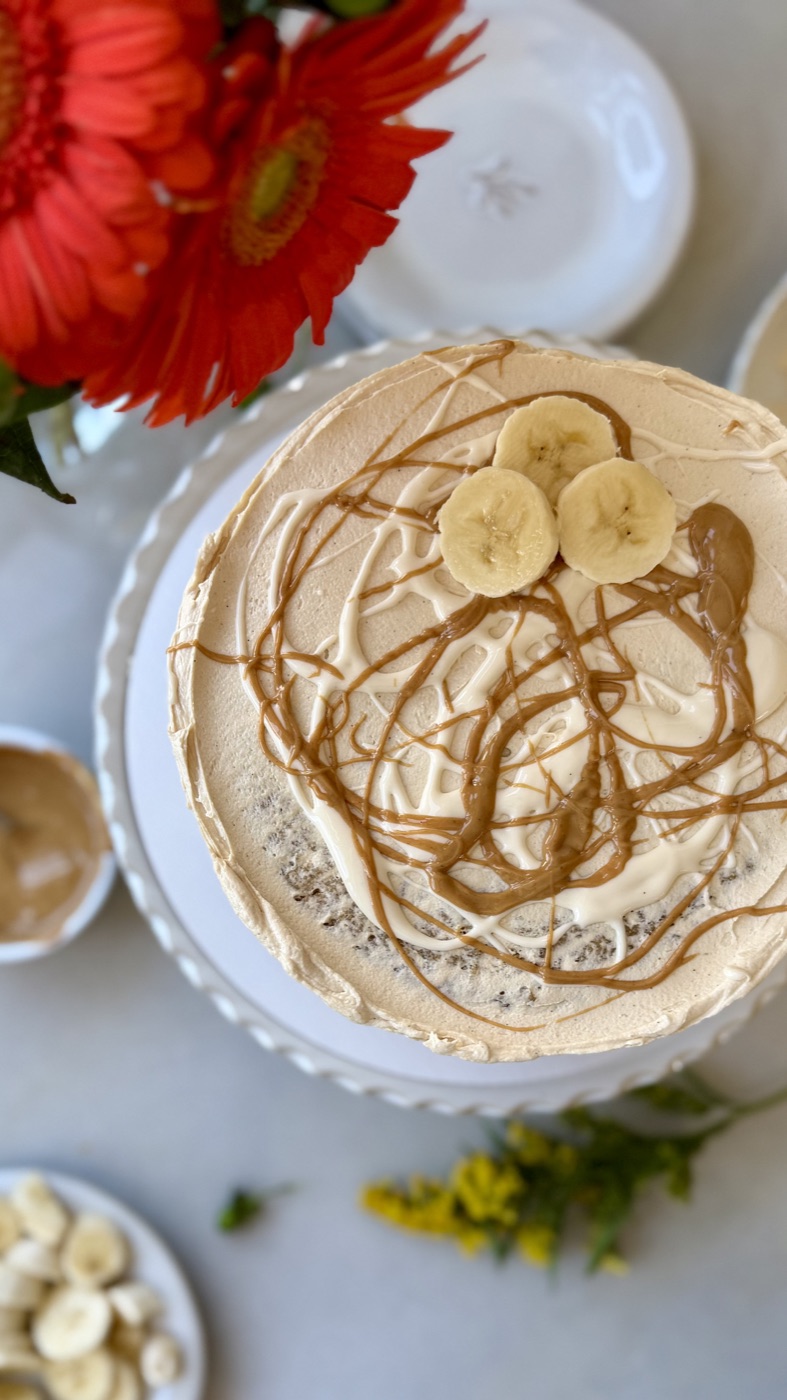
Drizzle the finished cake with a little warmed peanut butter and reserved marshmallow lava, if desired.
Keep it good
Storage
Fridge
Keep the assembled cake covered in the refrigerator because it contains fresh banana and a cream-based filling.
Note 2
For the best fresh-banana texture, serve within 2 days. The cake remains safe for up to 3 days when properly refrigerated.
Note 3
The cake layers, marshmallow lava, and buttercream can be prepared one day ahead and stored separately. Add the fresh banana slices only during final assembly.
Recipe FAQ
Questions that come up
Can I make this banana fluffernutter cake dairy-free?
Yes. I recommend Dandies marshmallow fluff, Forager Unsweetened Plain Yogurt, Silk Original Unsweetened Soy Milk, Country Crock Plant Butter Sticks, and Country Crock Plant Cream or Silk Dairy-Free Heavy Whipping Cream. Keep the listed amounts and temperatures the same.
Why do I need different bananas for the cake and filling?
Super-ripe, deeply speckled bananas are best for baking because they give the cake concentrated flavor and moisture. For the filling, use the kind of fresh, newly ripened banana you would be happiest eating on its own. That clean, just-ripe banana flavor is exactly what you want between the layers.
Can I use natural peanut butter?
No. Use a smooth, shelf-stable creamy peanut butter for this recipe. Natural peanut butter can separate and make the buttercream too soft to support the marshmallow filling.
How do I keep the marshmallow filling from leaking?
Cool it completely to room temperature, pipe a tall and unbroken buttercream dam, and keep the filling below halfway up that dam. Chill the cake briefly after stacking before adding the final coat.
Can I assemble the cake ahead of time?
Yes, but because the filling includes fresh bananas, it is best assembled no more than one day ahead. Keep it covered and refrigerated, then let slices soften briefly before serving.
Can I make this recipe gluten-free?
I have not tested this recipe with gluten-free flour, so I cannot guarantee the same texture, rise, or structure. If you would like to experiment, a cup-for-cup (1:1) gluten-free baking blend intended to replace all-purpose flour is the best place to start. Results may differ from the recipe as written.
Can I use all-purpose flour instead of cake flour?
Yes, but the cake will have a slightly sturdier, less fine crumb. You can replace the cake flour with the same amount of all-purpose flour by weight. For a closer substitute, use 105 g all-purpose flour plus 15 g cornstarch for every 120 g cake flour called for, whisking or sifting them together well. If the recipe separately lists additional cornstarch, keep that amount in the recipe too; this mixture replaces only the cake flour.
Made it? Tell us.
Ratings and reviews
Be the first to rate this recipe.
No reviews yet.
Make the recipe, leave a rating, and share how it turned out.Did you make this?
Share your bake on Instagram—tag @obsessedcakes and use #obsessedcakes.