The Best Chocolate Buttercream
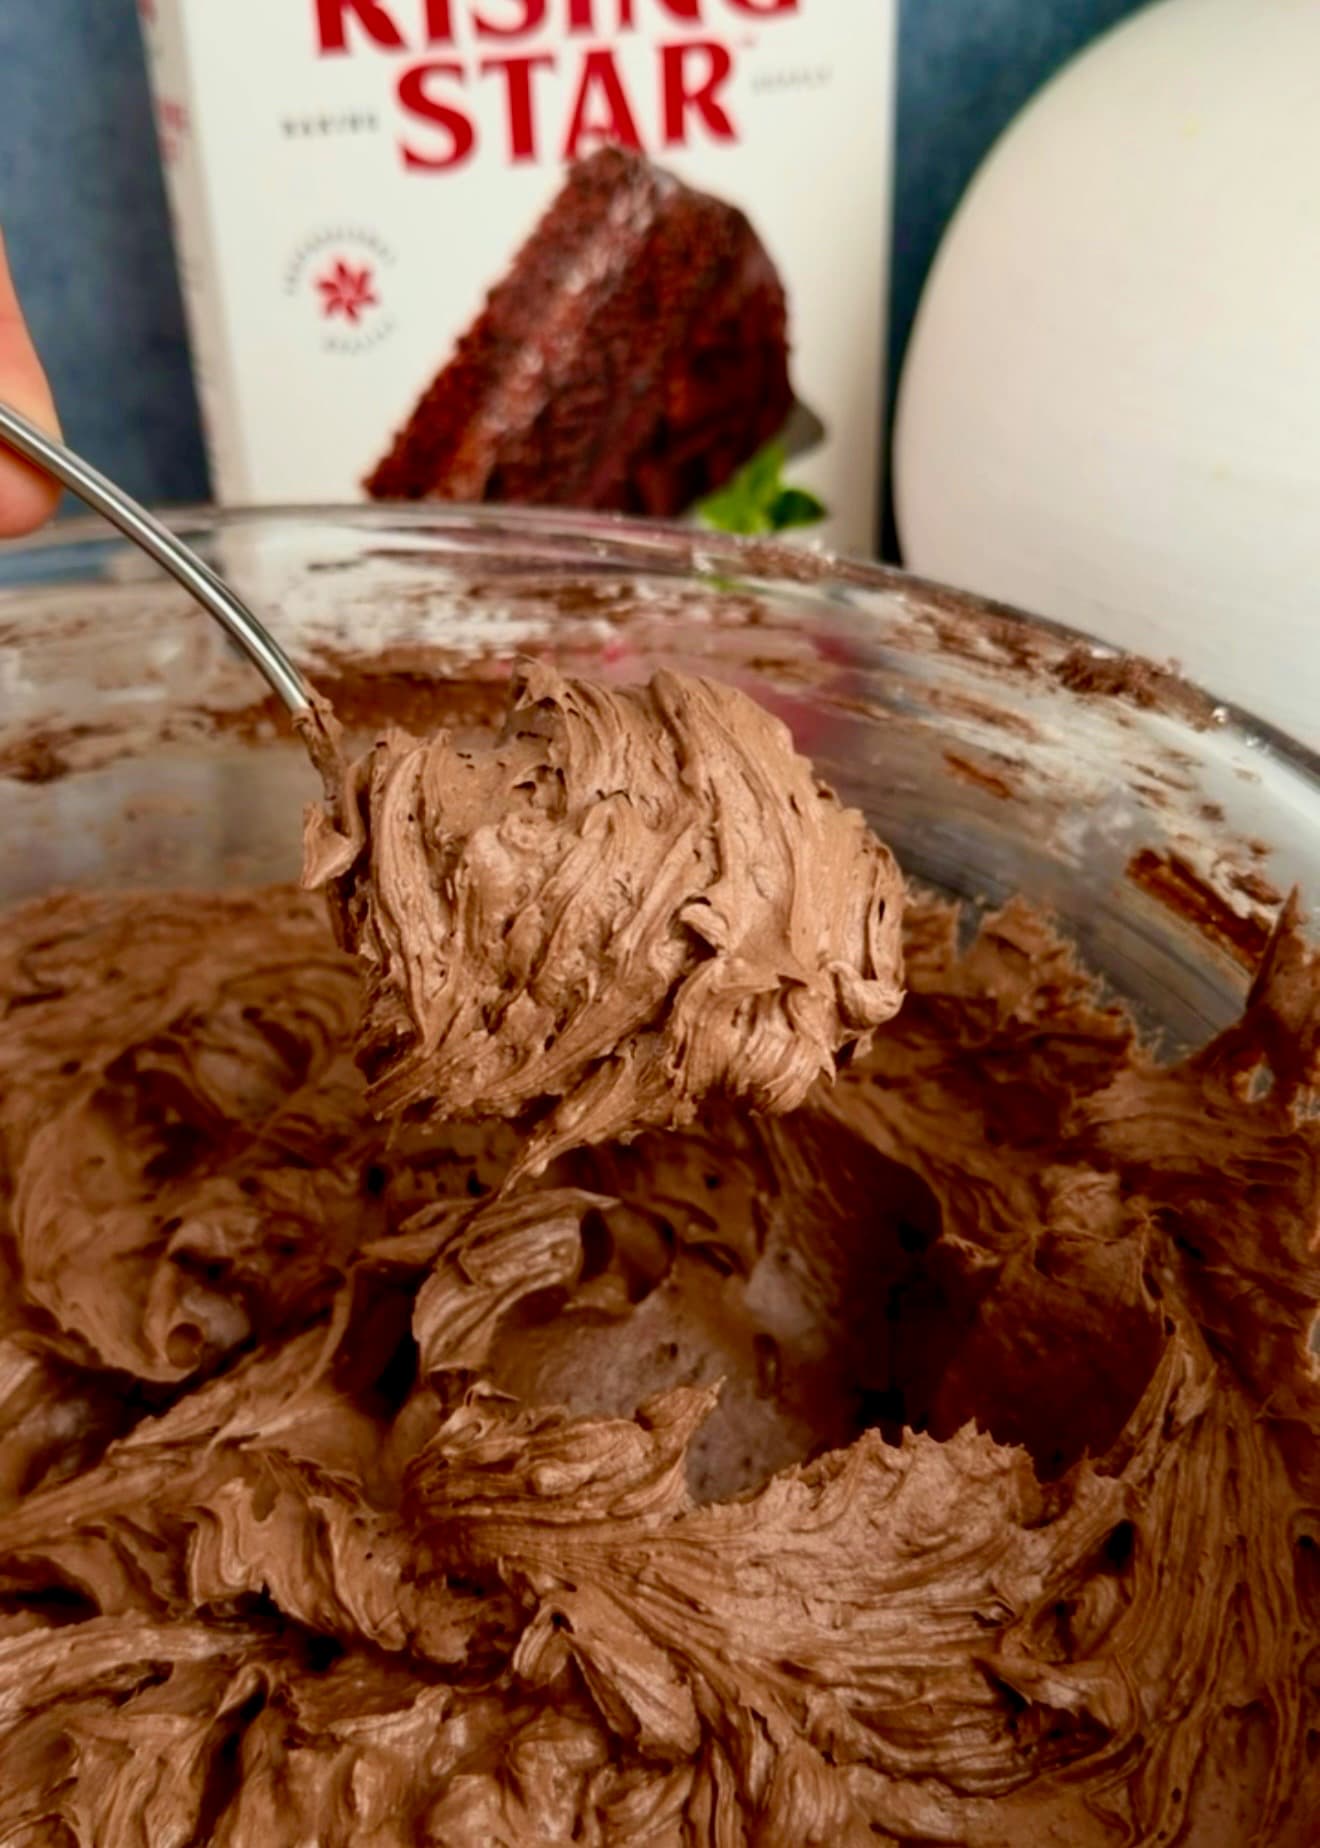
Be the first to reviewThis is my kind of chocolate buttercream: rich without tasting overly sweet, creamy enough to spread, and sturdy enough to pipe. Dutch-process cocoa and melted semisweet chocolate give it that deep chocolate flavor.
Save this recipe
Want to save this recipe for later?
Enter your email and I’ll send it to your inbox.
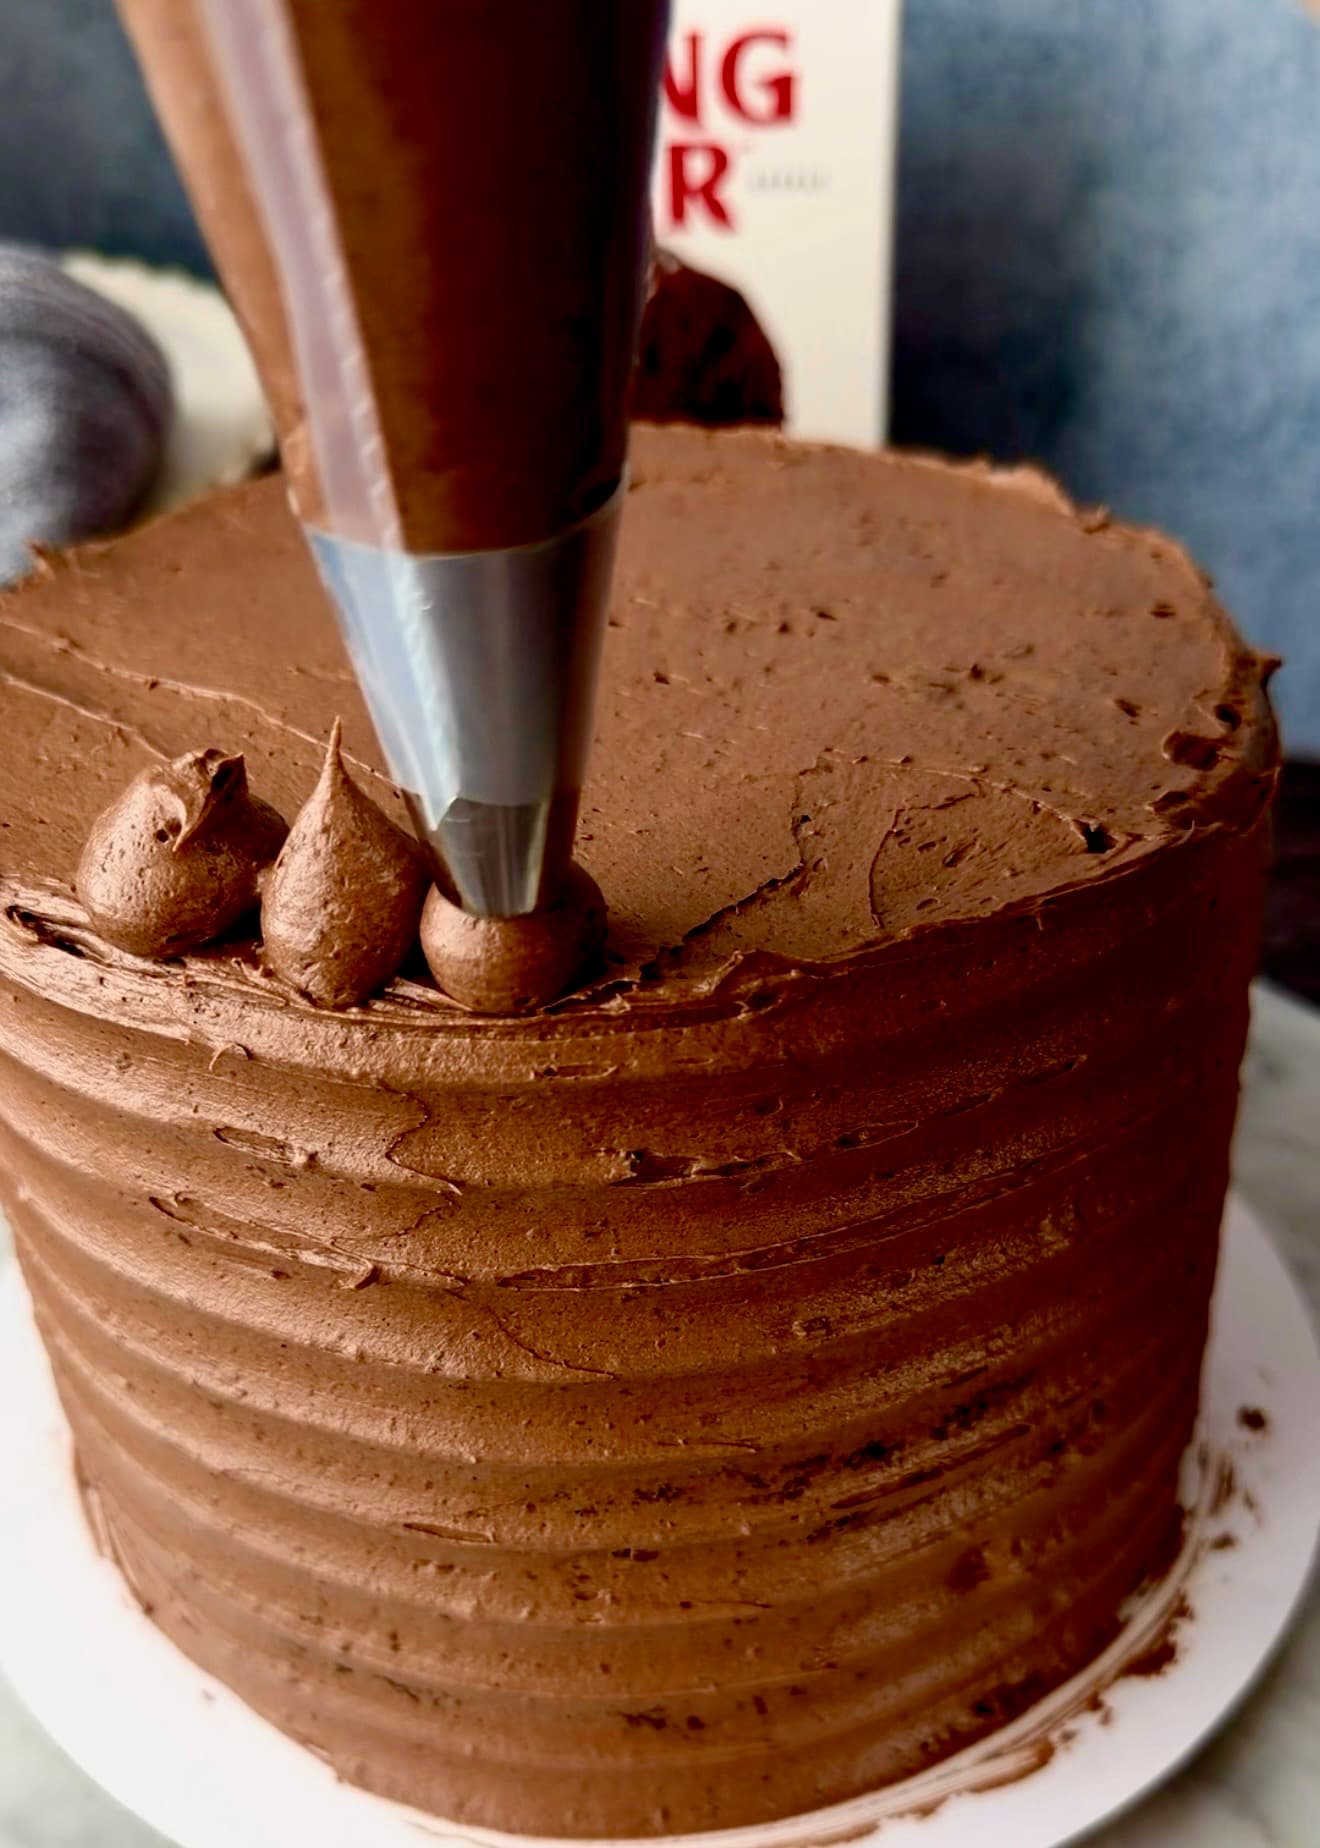
The frosting I want to eat
I used 56% cacao semisweet chocolate chips for this buttercream, and I love the balance. The chocolate comes through without the frosting tasting too sweet, and the deeper-colored chips help give it that beautiful brown color.
What I love most is that it still feels dreamy and glossy the next day. I want a frosting I enjoy eating just as much as I enjoy decorating with, and this one does both.
Ingredient notes
Key ingredients
Dutch-process cocoa powder
Gives the frosting a deep color and rounded cocoa flavor. Weigh the cocoa powder first, then sift it. Those little dry clumps are much easier to remove before they reach the bowl.
Semisweet chocolate
I use Guittard or Ghirardelli. Choose a chocolate you enjoy eating; 56% cacao is the balance I tested here. Weigh the chips before melting, since their size affects how they fit in a measuring cup.
Butter and heavy cream
Softened butter gives the frosting its body, while cream loosens it into a smooth, spreadable consistency. Start with soft butter and room-temperature cream so they combine evenly.
Testing notes
Why this works
Why temperature matters
Buttercream is a mixture of fat and water held together. Too much warmth softens or melts the butter, leaving loose frosting. Cold cream can firm the butter into small lumps, and melted chocolate can set into little flecks if it meets a cold mixture. Aim for compatible textures: softened butter, room-temperature cream, and chocolate that is fluid but no longer warm.
Keep the mixer low
High-speed mixing beats in more tiny air bubbles. Those bubbles scatter light, making chocolate frosting look paler and sometimes grayish. Low-speed mixing and a slow hand-stir help keep the finish smooth and the color rich.
Why the chocolate helps it pipe
Chocolate adds cocoa solids and cocoa butter. As the frosting cools and rests, some of that cocoa butter firms up, adding body so piped shapes hold their edges. The butter and cream keep the mixture spreadable.
Step by step
How It All Comes Together
Step 1
Sift the cocoa and powdered sugar
Start with smooth, softened butter. Weigh the cocoa powder first, then sift it. Add it with the sifted powdered sugar, vanilla bean paste, and salt. Sifting now saves you from chasing dry lumps through the finished frosting.
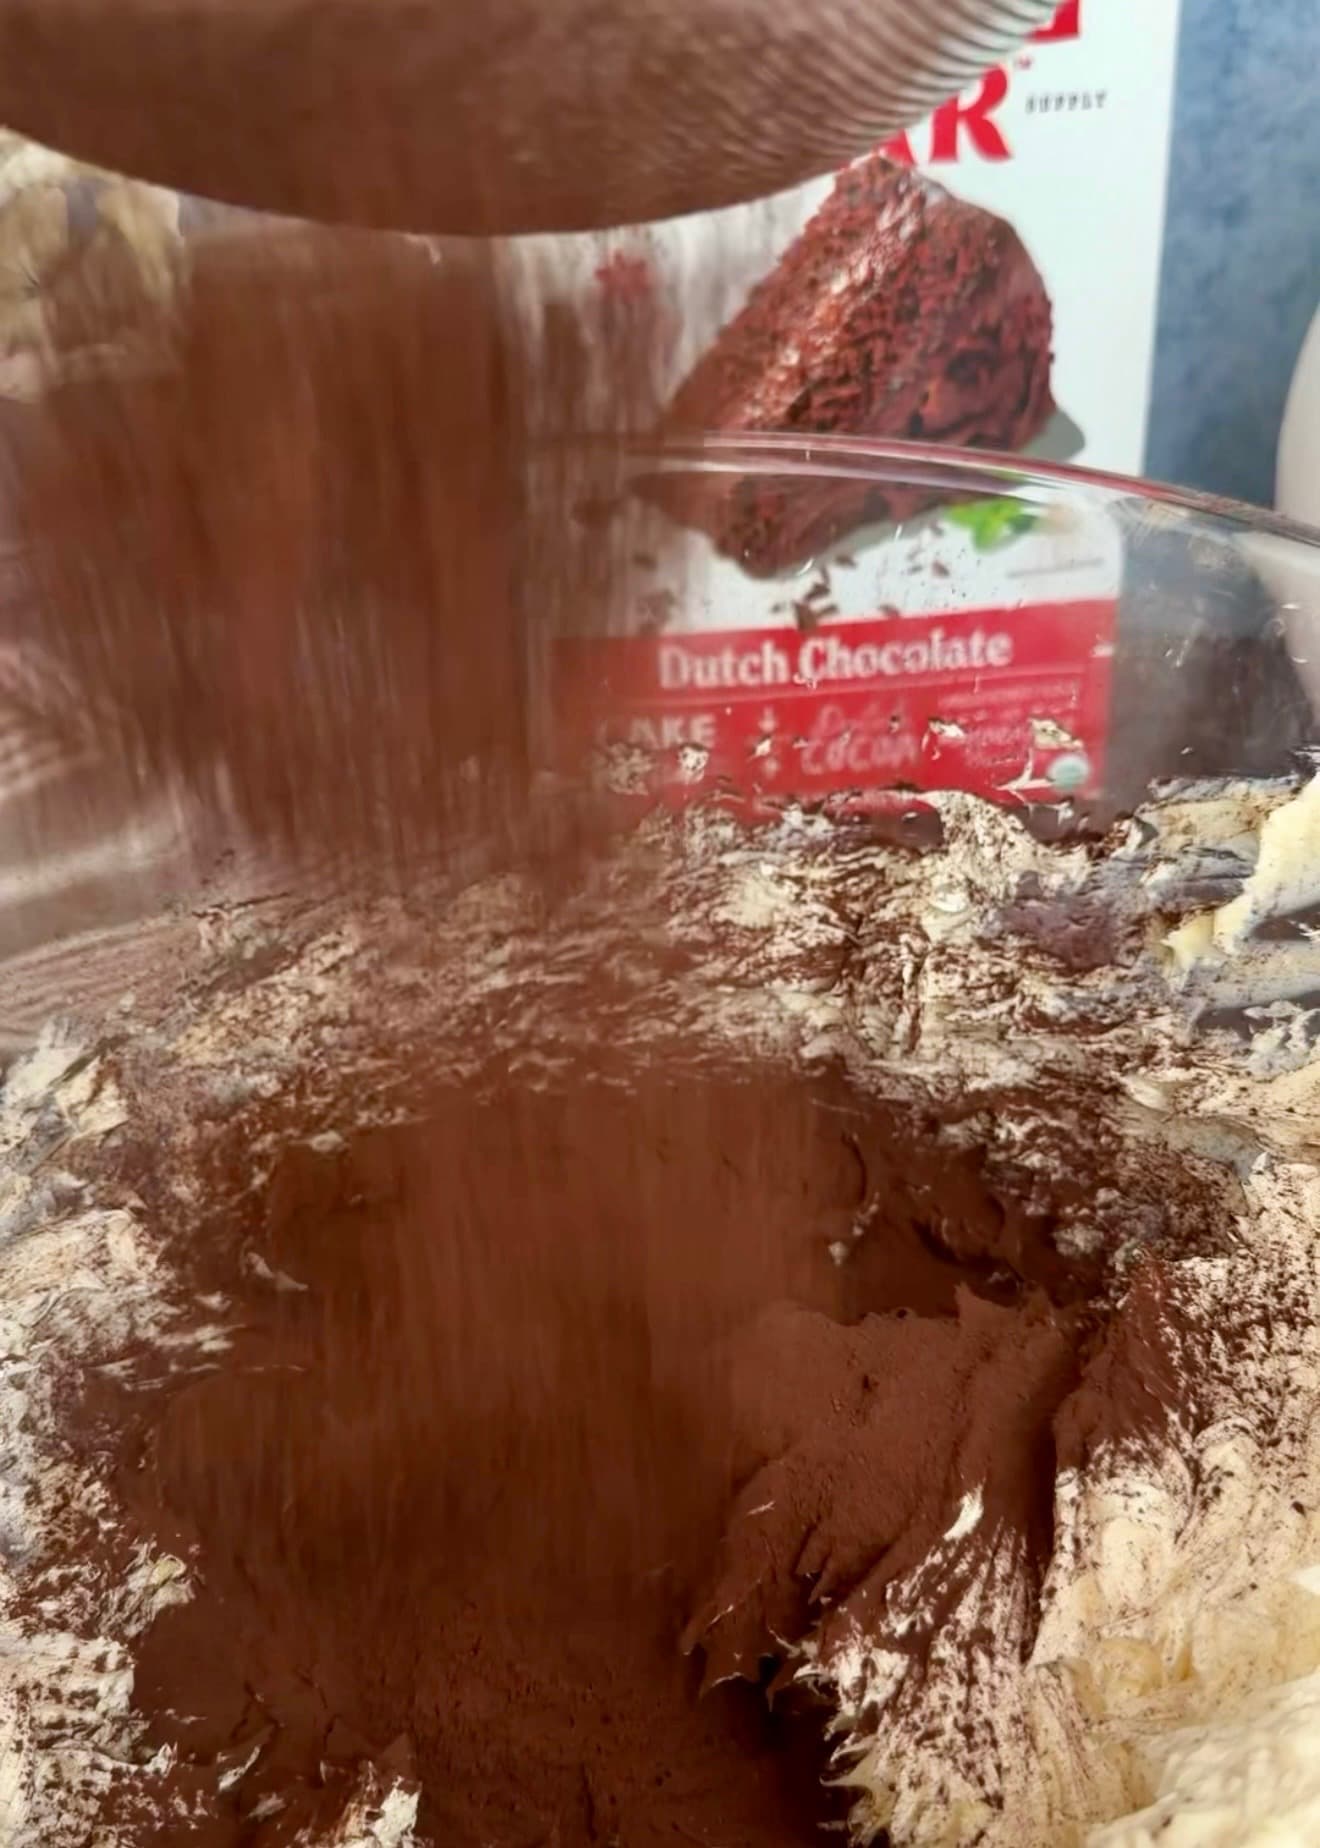
Break up the cocoa clumps with a sieve before mixing. 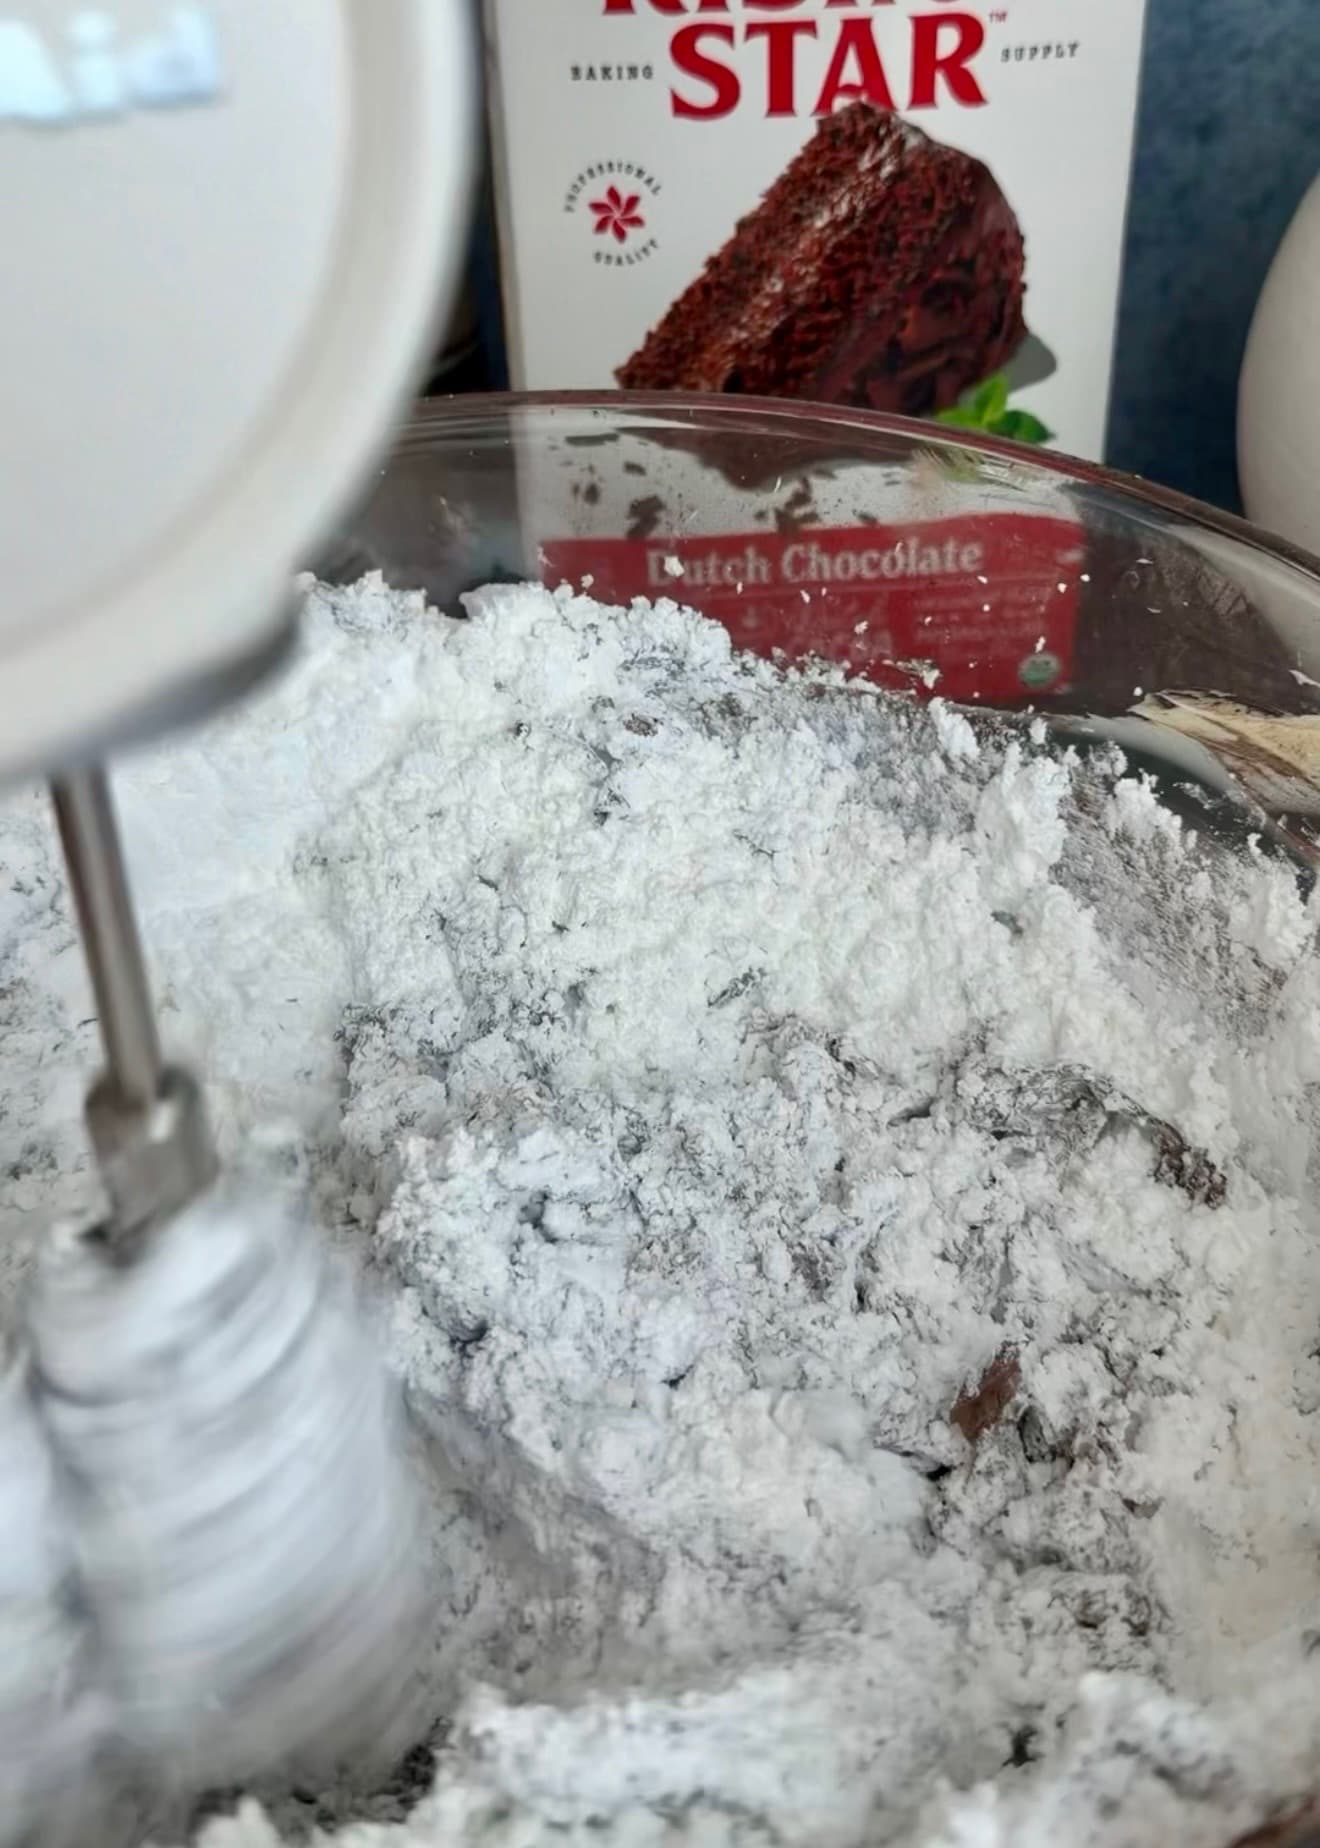
Begin on low so the powdered sugar stays in the bowl. Step 2
Mix the base on low
Scrape the bowl and beaters as needed. Keep mixing gently until the cocoa and powdered sugar are incorporated and the base is smooth. It will look lighter at this stage, before the melted chocolate goes in.
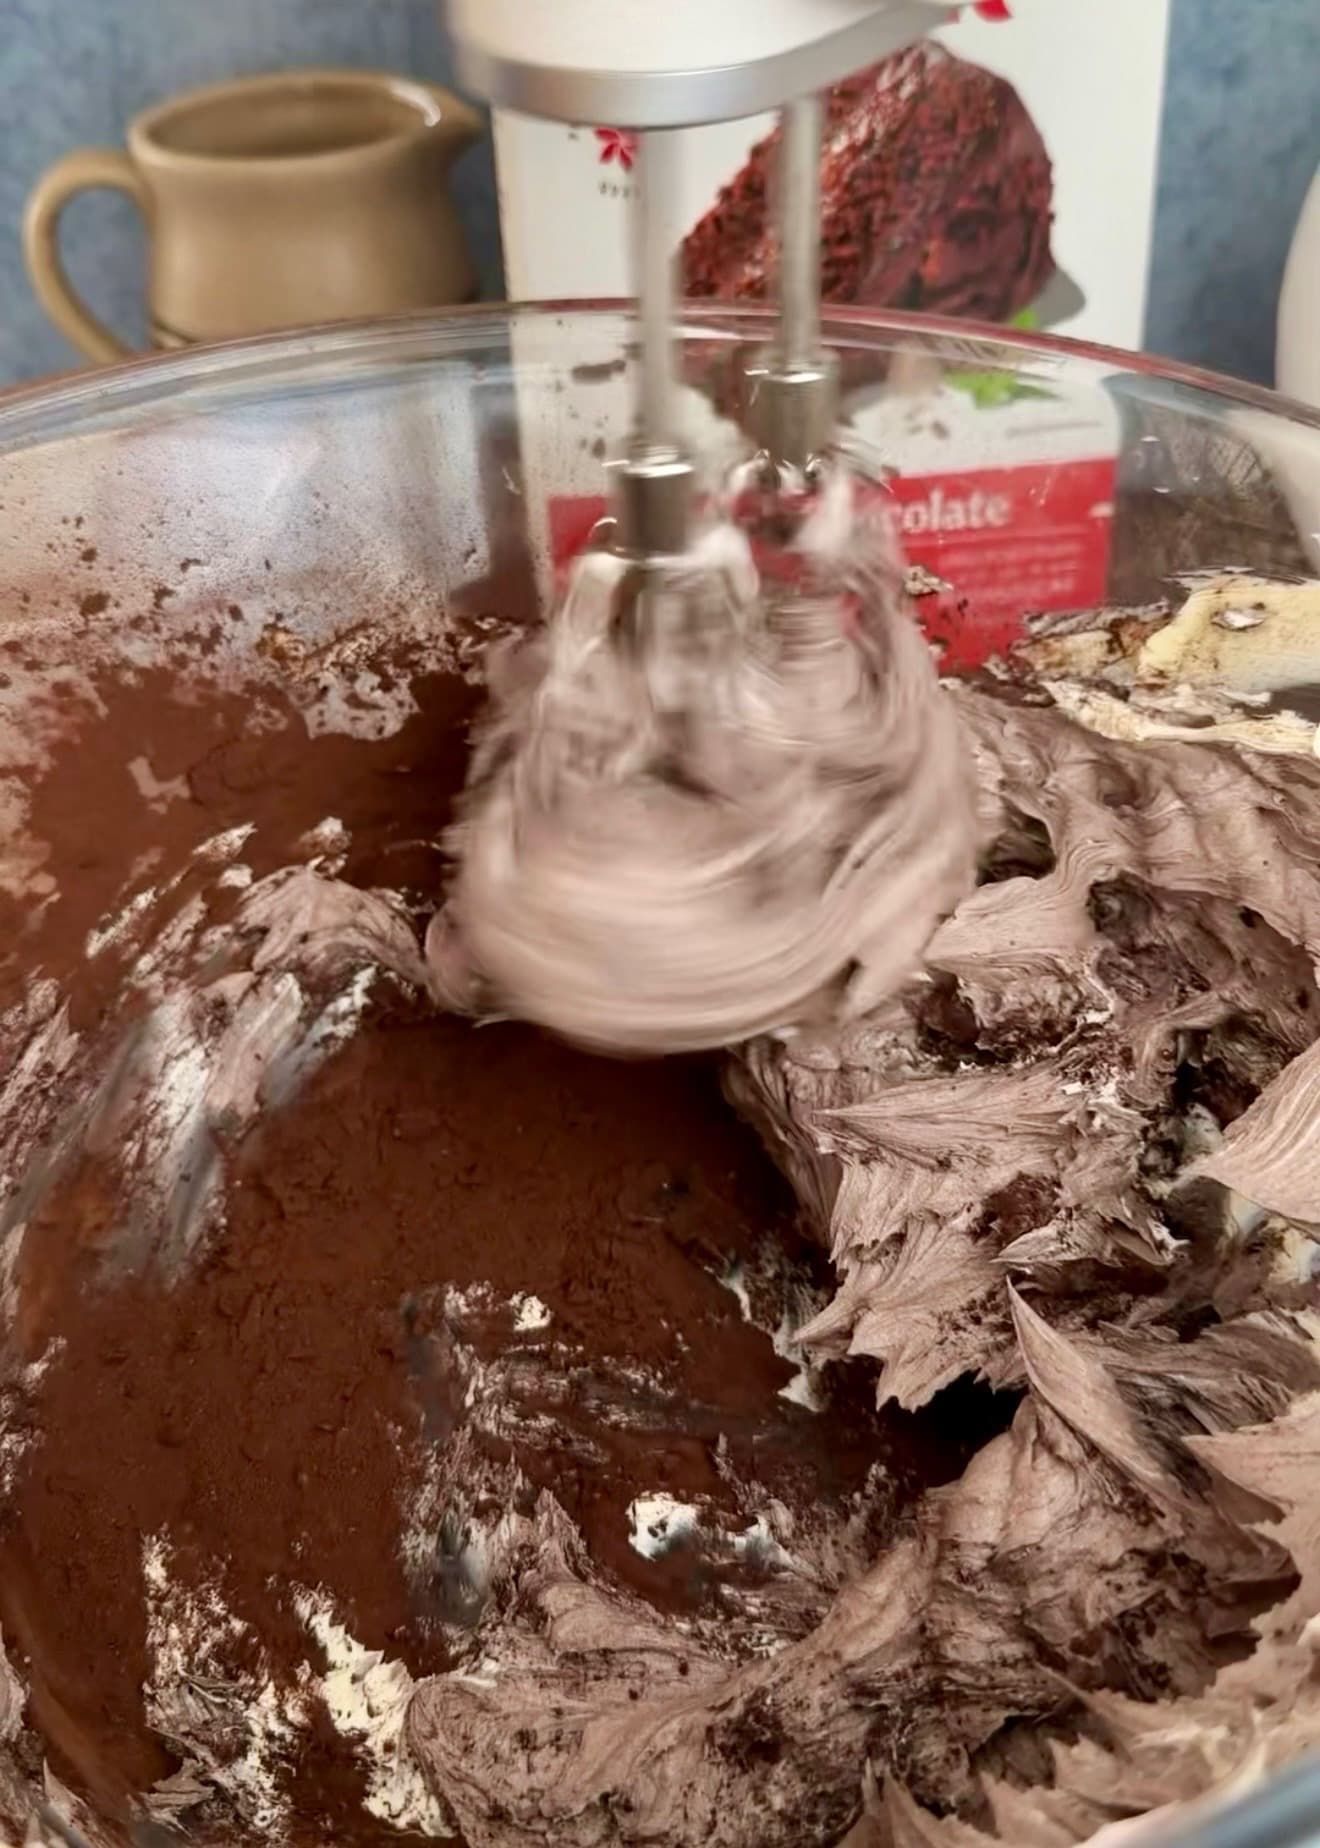
Scrape in the pale butter and dry cocoa still clinging to the sides. Step 3
Stream in the melted chocolate
The chocolate should pour easily but no longer feel warm. Add it slowly while mixing on low, just until the color is even. Hot chocolate can soften the butter too much; chocolate that has begun to set will leave little pieces in the frosting.
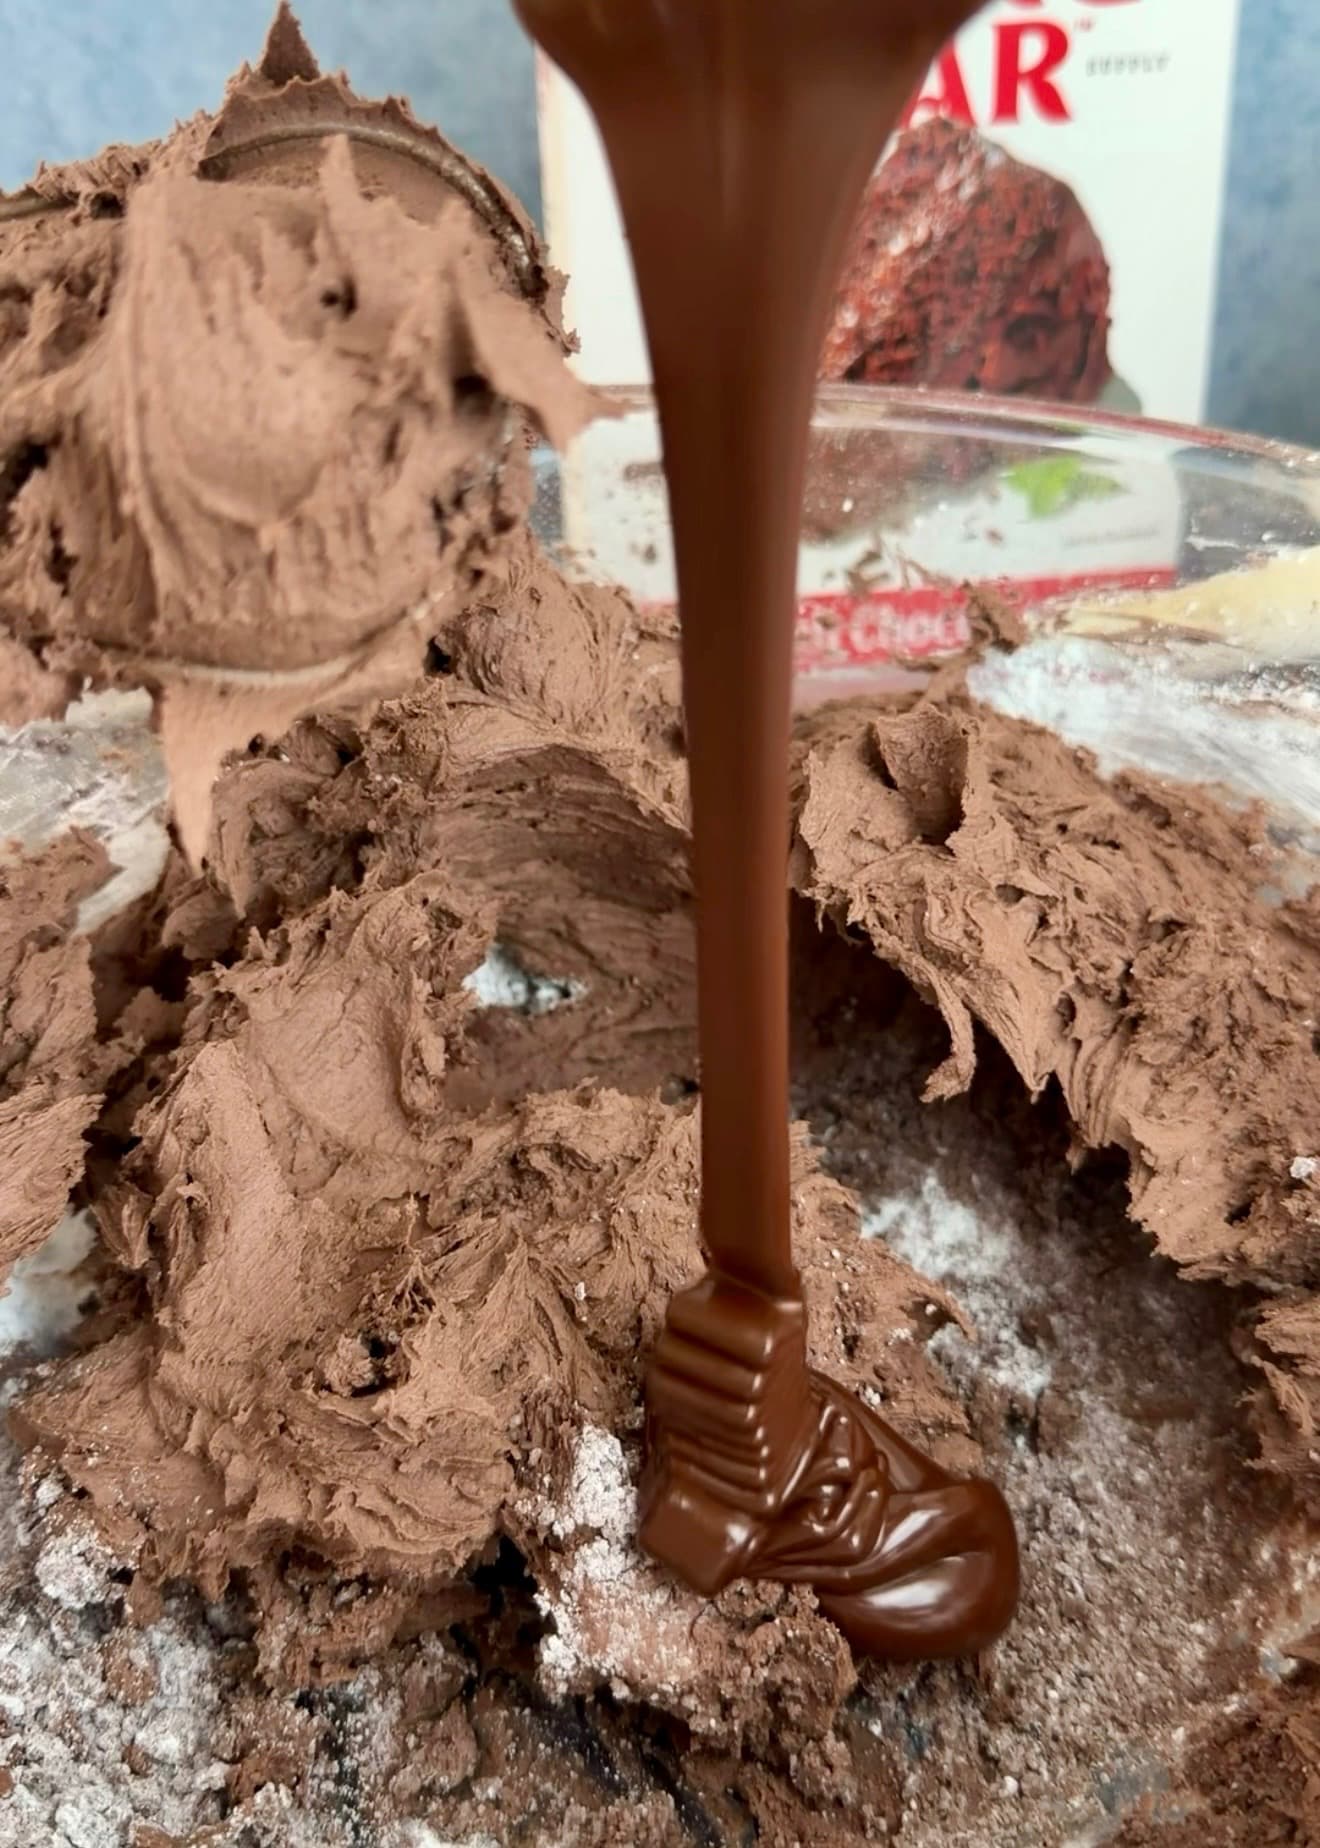
Look for a flowing ribbon, with no thickened bits in the melted chocolate. Step 4
Add the cream gradually
Stream in the room-temperature cream on low. Scrape the bowl, then stop mixing as soon as everything is evenly combined. Keep the mixing brief to limit air bubbles.
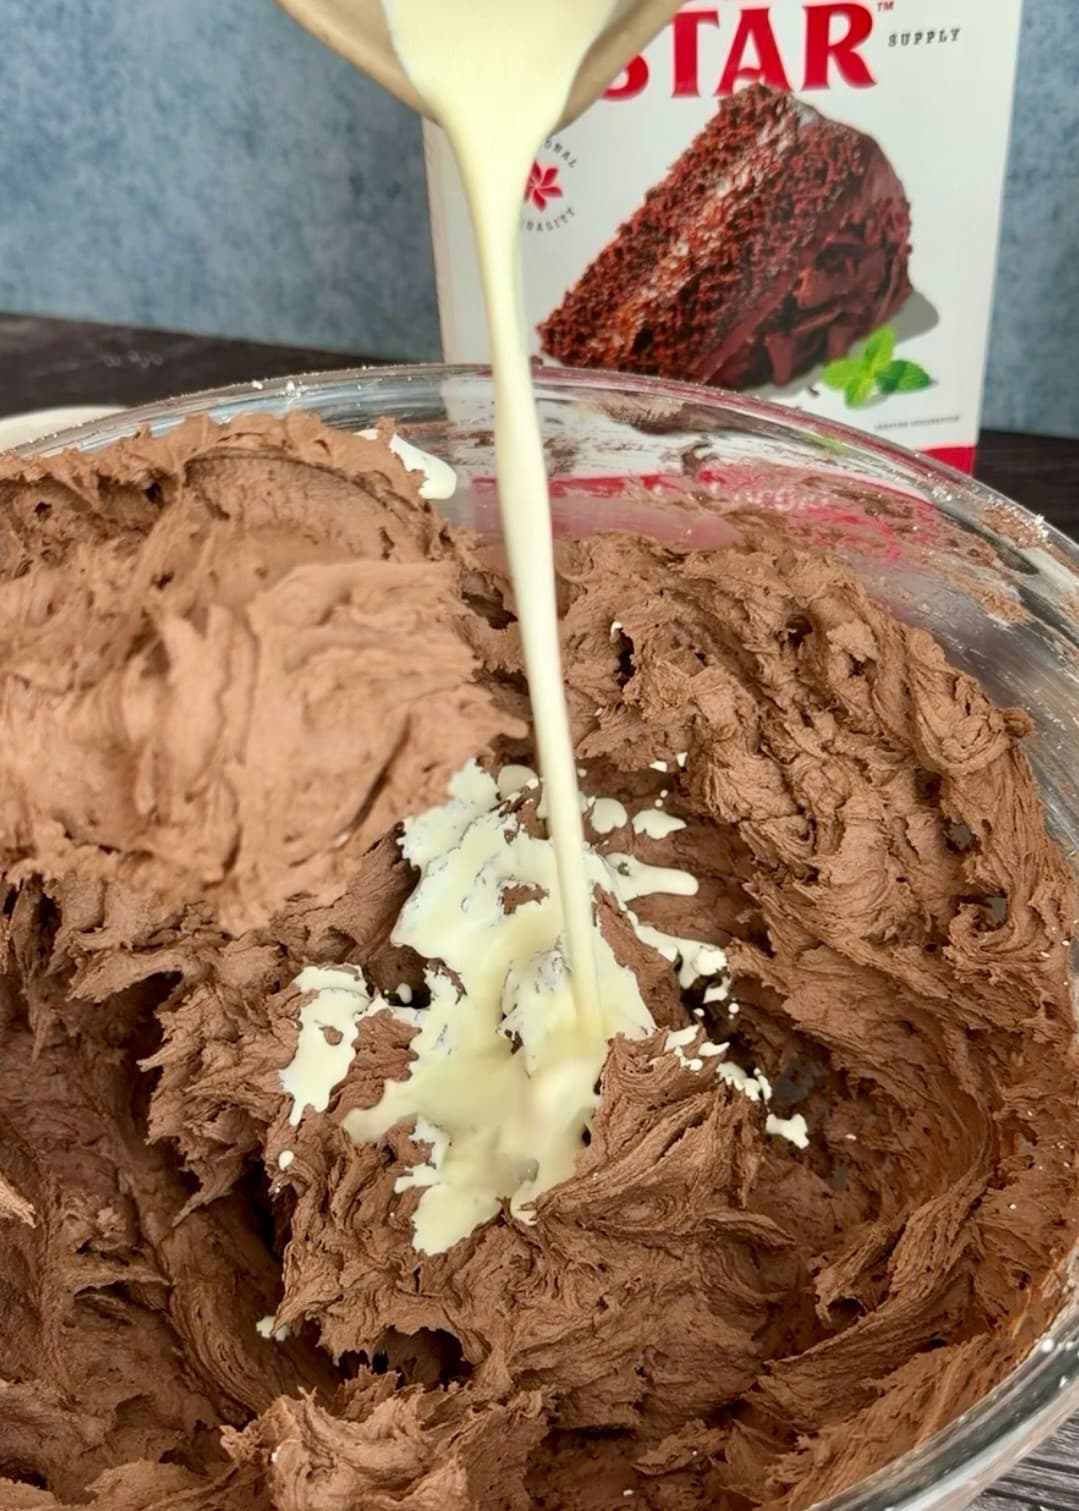
Let the cream lose its refrigerator chill before adding it. 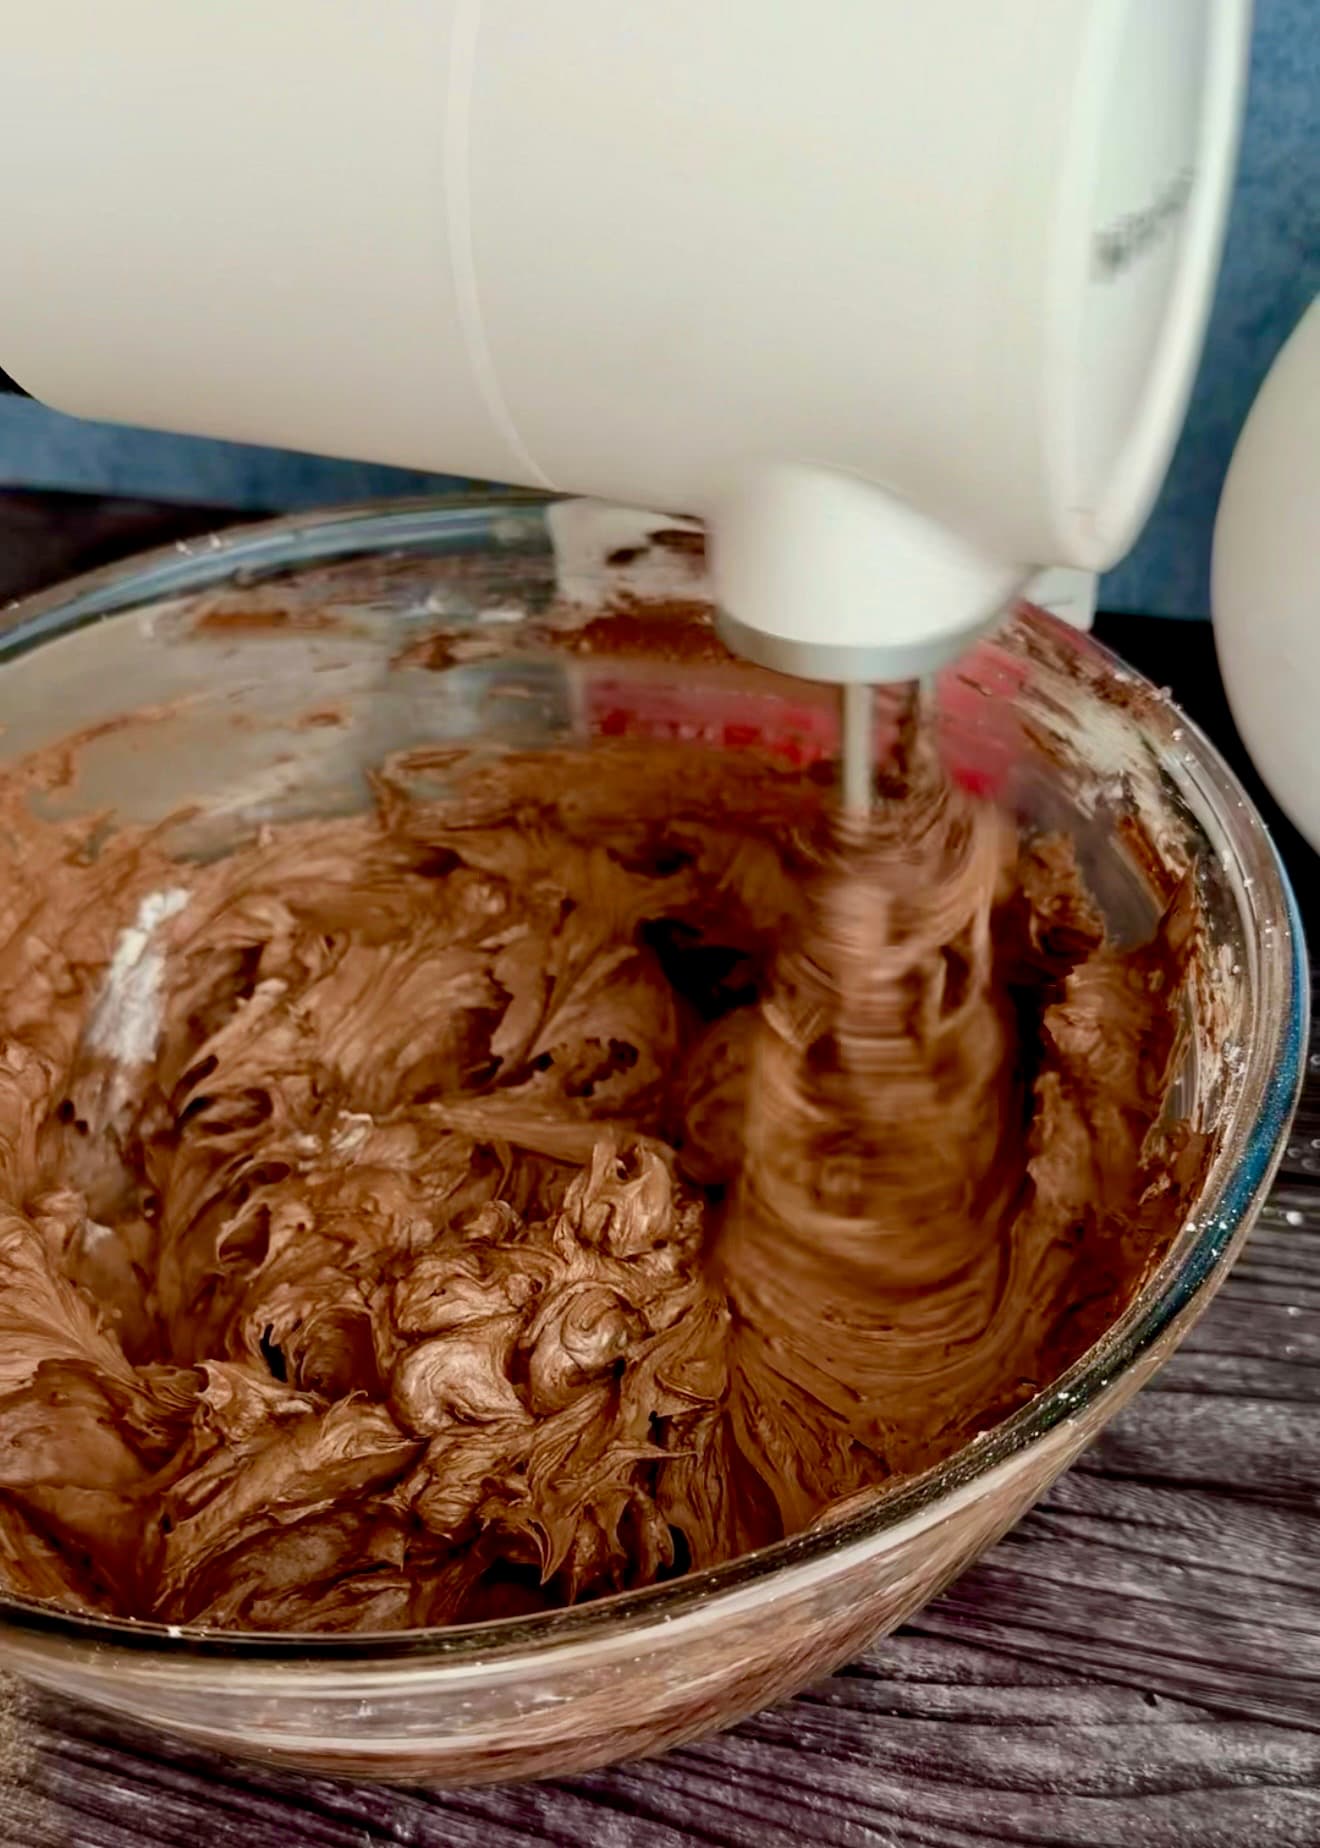
Stop once the cream is incorporated and the frosting looks uniform. Step 5
Smooth by hand and let it rest
Press and stir slowly with a spatula to work out excess air, then leave the frosting for 15-20 minutes. Finish with a gentle stir. The goal is a smooth, spreadable frosting that still holds soft ridges.
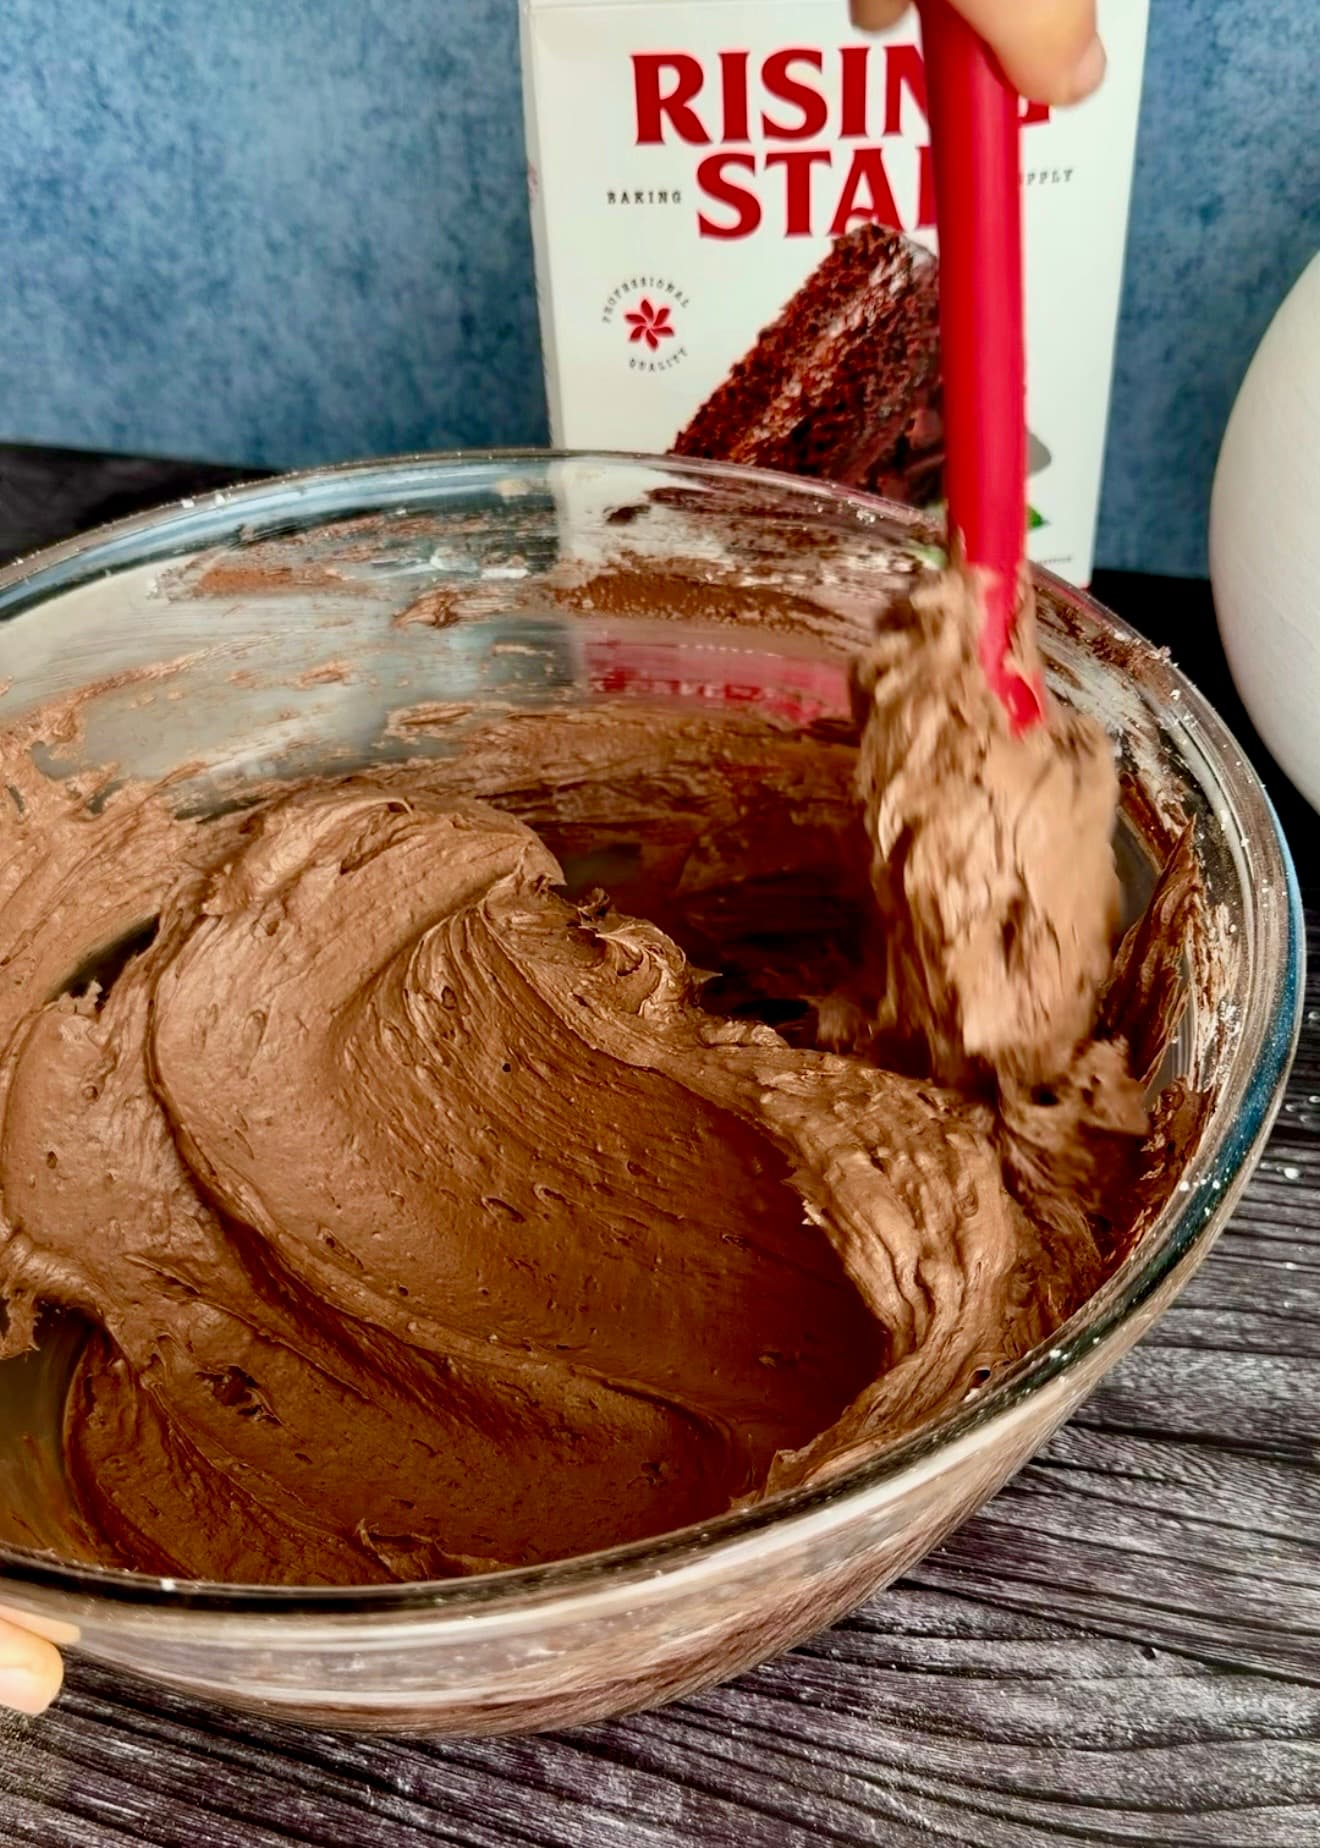
Use broad, slow strokes against the bowl to press out little air pockets. The finished frosting holds its shape on the spoon while staying creamy. Step 6
Spread or pipe
Use the frosting on completely cooled cake layers. One batch is the amount I use to frost a three-layer 8-inch cake. It also holds piped details beautifully.
Lift the piping tip after releasing pressure to leave a neat peak.
Troubleshooting
If This Happens
The frosting is too soft to pipe
Warm butter or chocolate can leave the mixture too loose. Chill the bowl briefly, checking often, until the frosting holds a soft ridge. Stir slowly before checking the piping consistency again.
The frosting looks lumpy after adding the cream
If the cream was cold, let the bowl lose its chill, then mix gently on low. Avoid adding more powdered sugar to fix a temperature problem.
There are little chocolate flecks
The chocolate may have started setting before it was fully mixed in. Gently warm the bowl over warm water for a few seconds at a time while stirring, then remove it from the warmth. Stop as soon as the flecks soften so you do not melt the buttercream.
Keep it good
Storage
Fridge
Cover and refrigerate leftover frosting. Let it soften before using, then stir slowly until smooth. Butter and chocolate firm in the refrigerator, so judge the texture once the frosting has lost its chill.
Note 2
A frosted cake's storage needs also depend on its filling. Follow the cake recipe's guidance, especially for cream, custard, or cheesecake fillings.
Recipe FAQ
Questions that come up
Can I use milk chocolate?
I haven't tested milk chocolate in this recipe. It would change both the sweetness and the way the frosting sets, so I recommend sticking with semisweet for the balance described here.
Can I use vanilla extract instead of vanilla bean paste?
Yes, use the same amount of vanilla extract.
Which cake can I use this on?
This is the buttercream in my Chocolate Lava Cake. You can also spread or pipe it onto your favorite fully cooled cake or cupcakes. The batch is the amount I use for a three-layer 8-inch cake; a cupcake count will depend on how generously you pipe it. Make Chocolate Lava Cake
- Prep
- About 15 min (estimated)
- Bake
- No baking
- Total
- About 30-35 min (estimated), plus softening and cooling the ingredients
- Yield
- Enough to frost one 3-layer 8-inch cake
Measurement note
For the closest match to the recipe I tested, use grams. Volume measurements are included for convenience, but cups can vary, so I cannot guarantee the exact same result when measuring by volume.
Ingredients
Chocolate Buttercream
- 339 g butter, softened
- 508 g powdered sugar, sifted
- 55 g Dutch-process cocoa powder, weigh first, then sift
- 120 g semisweet chocolate chips (56% cacao), melted and cooled
- 2 1/4 teaspoons vanilla bean paste
- 1/2 teaspoon fine salt
- 120 g heavy cream, room temperature
Instructions
- 1Get the temperatures right before mixing. The butter should be softened and easy to press, but not melted or greasy. Bring the cream to room temperature. Gently melt the chocolate, then let it cool until still fluid but no longer warm. Weigh the cocoa powder first, then sift it. Sift the powdered sugar too.
- 2Beat the softened butter on low speed until completely smooth and creamy, scraping the bowl and beaters as needed.
- 3Add the sifted powdered sugar, sifted cocoa powder, vanilla bean paste, and salt. Mix on low until incorporated and smooth, stopping to scrape the bottom and sides of the bowl. Avoid prolonged whipping or high speed.
- 4With the mixer running on low, slowly stream in the melted, cooled chocolate. Mix just until fully incorporated. If the chocolate has started to thicken in its bowl, gently rewarm it until fluid, then let any warmth subside before adding it.
- 5Keep the mixer on low and slowly stream in the room-temperature heavy cream. Continue mixing just until the frosting is smooth and evenly combined.
- 6Switch to a spatula and stir slowly by hand, pressing the frosting against the side of the bowl to release excess air. Let it rest for 15-20 minutes so it can settle and the color can deepen. Give it a gentle final stir before spreading or piping onto a completely cooled cake.
Meet the baker
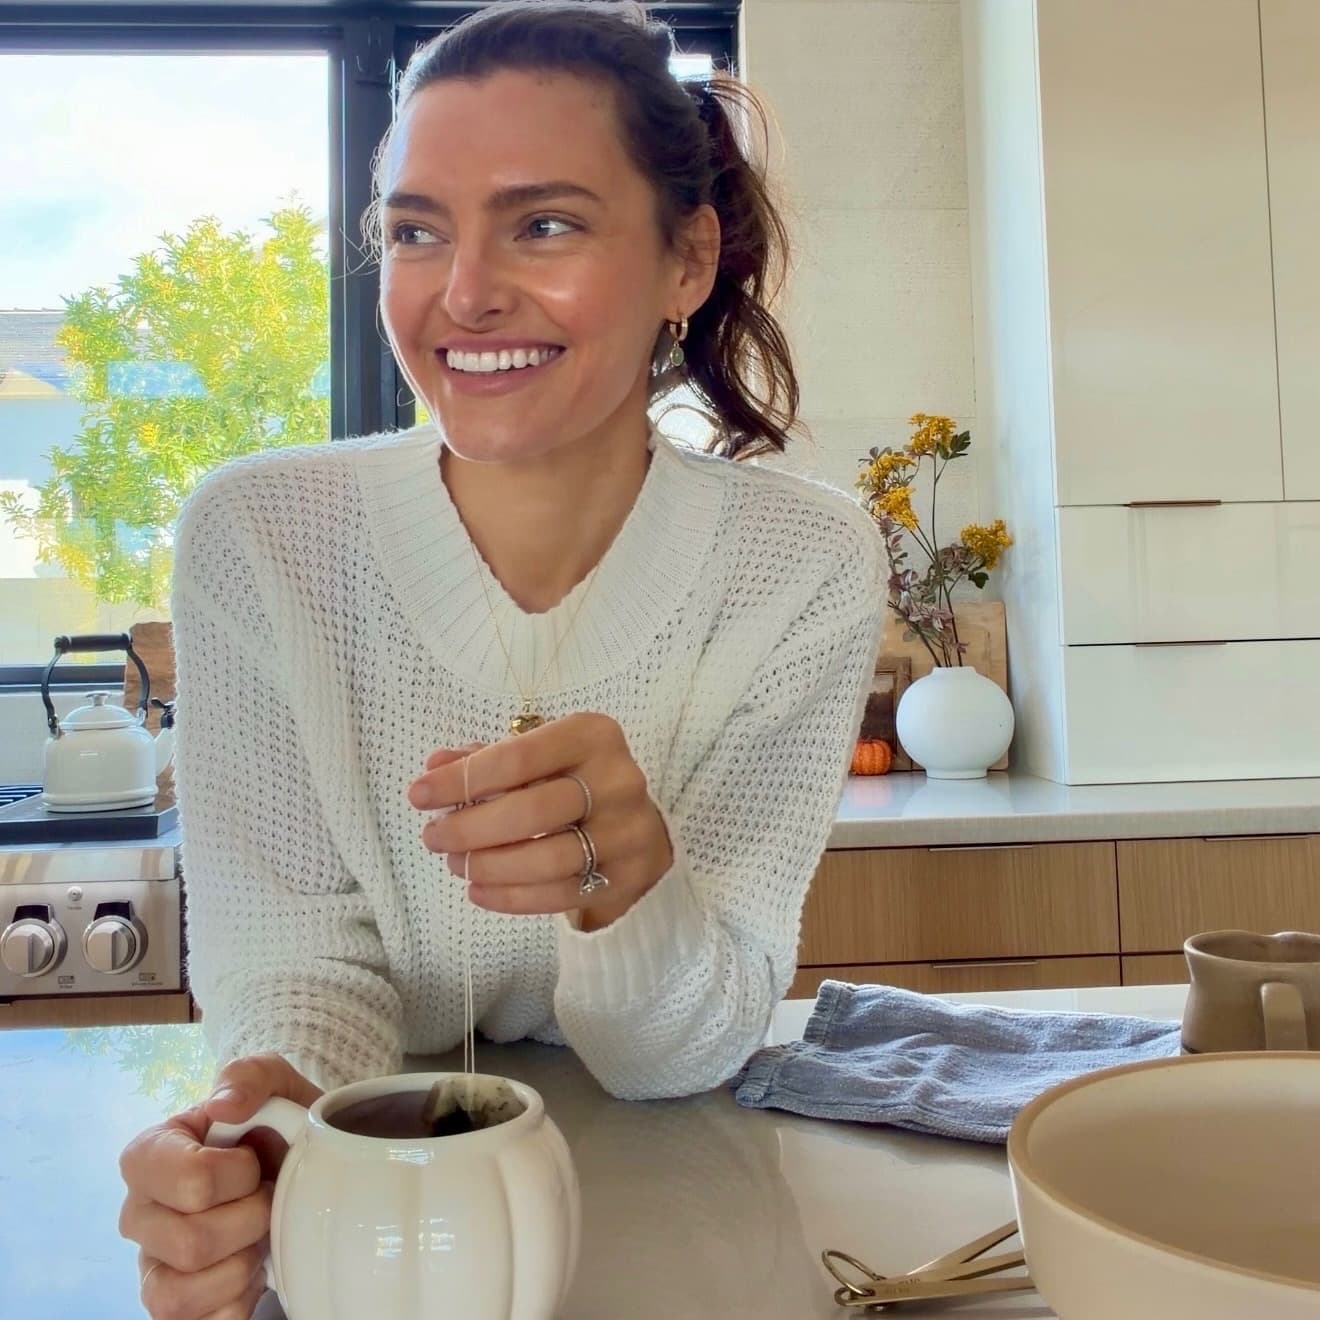
Angela Heckler
Angela Heckler is the recipe developer, baker, and photographer behind Obsessed Cakes. Her Old-Fashioned Donut Loaf series is a growing collection of cake-donut-inspired loaves with soft, deeply moist crumbs, buttery streusel, and crackly glaze. Angela develops and tests every recipe in her Arizona kitchen. Follow Obsessed Cakes on Instagram, TikTok, and YouTube.
Made it? Tell us.
Ratings and reviews
Be the first to rate this recipe.
No reviews yet.
Make the recipe, leave a rating, and share how it turned out.Did you make this?
Share your bake on Instagram - tag @obsessedwithcashews and use #obsessedcakes.