Gingerbread Fritter Coffee Cake
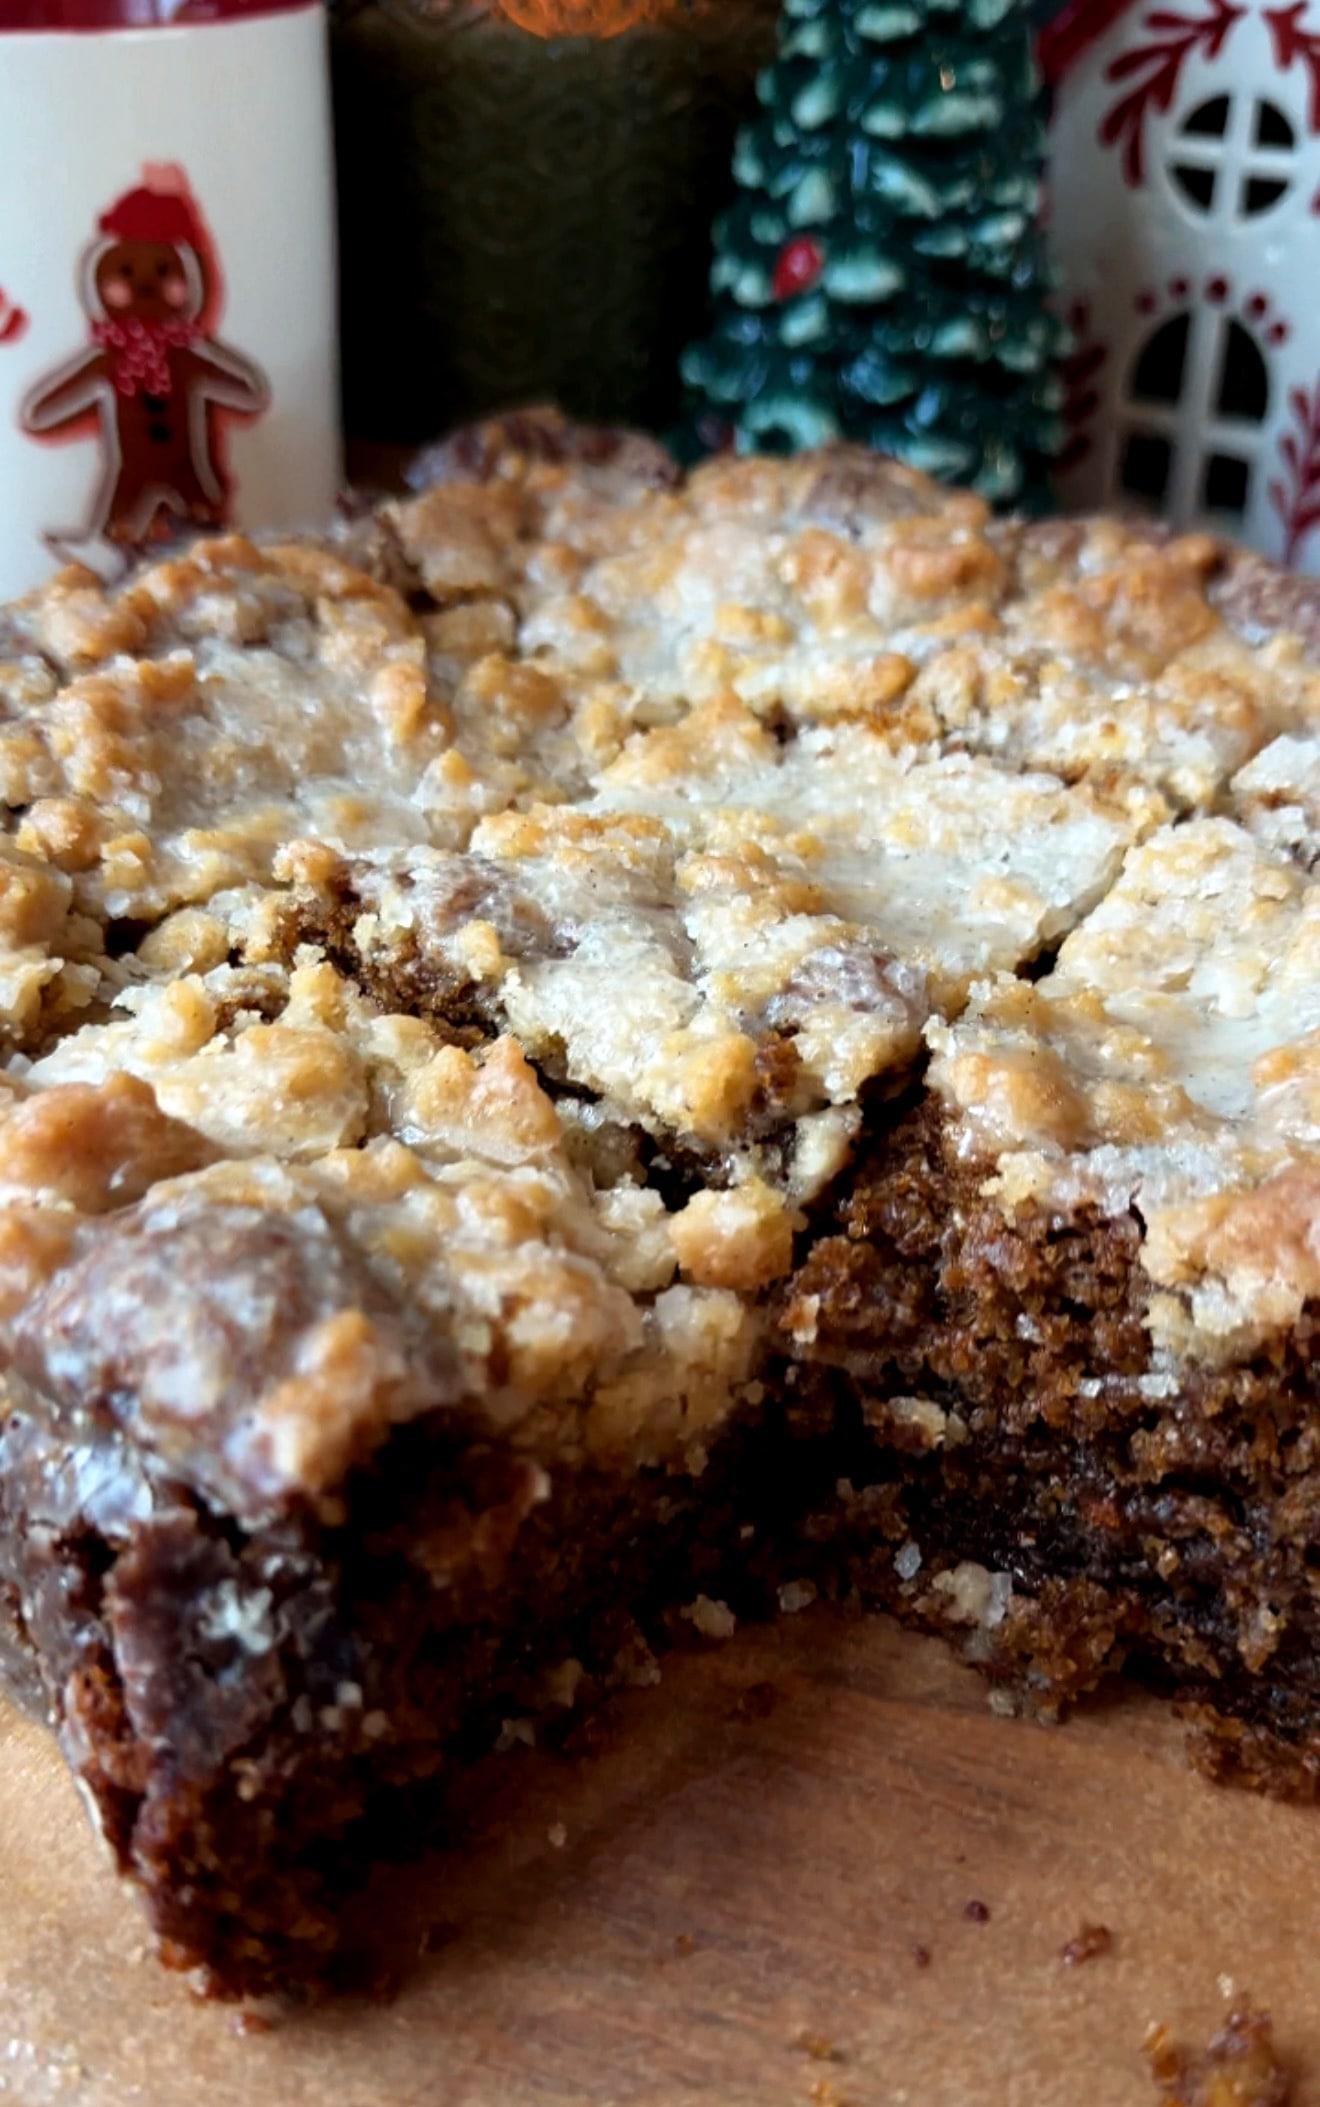
Be the first to reviewI love gingerbread when the spices leave room for the molasses to shine. This coffee cake has that cozy balance, with a buttery gingerbread ribbon, big vanilla crumble pieces, and a thin glaze that settles into the little cracks. The caramelized sides are especially lovely with a light brushing of glaze.
 Save to Pinterest
Save this recipe
Want to save this recipe for later?
Enter your email and I’ll send it to your inbox.
Finding that gingerbread balance
Getting the molasses and spices just right has been so much fun to work on. My first round was full of flavor and tasted amazing chilled overnight, but it had a tough time baking evenly. I love little pockets of different textures; those first pockets were a little too distinct.
This version keeps the soft gingerbread and buttery filling together under a generous vanilla crumble. I love optional sanding sugar on this one in particular. That little extra crunch makes it feel even more festive.
Be patient with this cake, both in the oven and afterward. Mine took 65 minutes to bake, and it needs at least 30 minutes in the pan before you even think about lifting it out. Let it tell you when it is sturdy enough.
Ingredient notes
Key ingredients
Regular unsulphured molasses
Use regular unsulphured molasses for the listed balance of sweetness and flavor. Measure the 85 g carefully; this recipe was developed around that amount.
Plain unsweetened Greek-style yogurt
I tested this version with thick Greek-style yogurt. I have started using it in my recipes because it seems to be what most people have on hand. The regular-yogurt suggestion in the FAQ is untested.
Ginger, cinnamon, allspice, and nutmeg
The cake gets all four spices, while the brown sugar ribbon gets ginger, cinnamon, and allspice. The vanilla crumble stays free of spices.
Cold butter for the crumble
Work it through the flour and sugars until the mixture holds together when squeezed, then break into large pieces and keep chilled. The filling uses melted butter.
Vanilla bean paste
Vanilla runs through the cake, crumble, and glaze. Keep the glaze thin enough to flow into the crumble and lightly coat the sides.
Brands I used for this recipe
Chosen avocado oil is the oil I used here. If you choose the dairy-free route, I tested this cake with Silk milk and Forager plain Greek-style yogurt. Dairy equivalents can be used at the same listed amounts and temperatures. These are my preferences for this recipe, not brands you have to use.
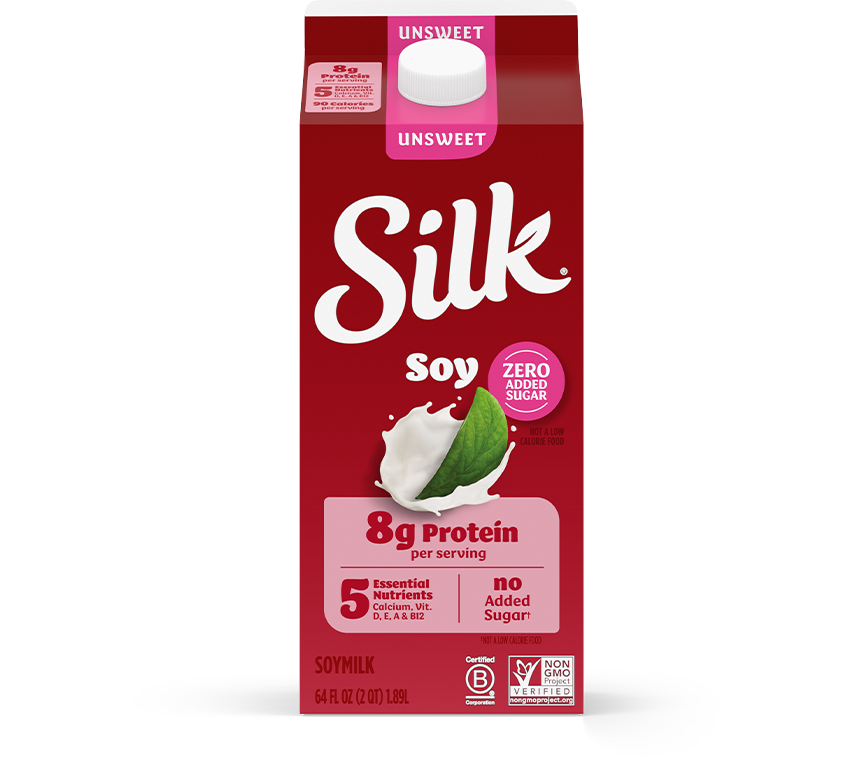
Silk Unsweet Soymilk
For the dairy-free route, this is the Silk milk I used.
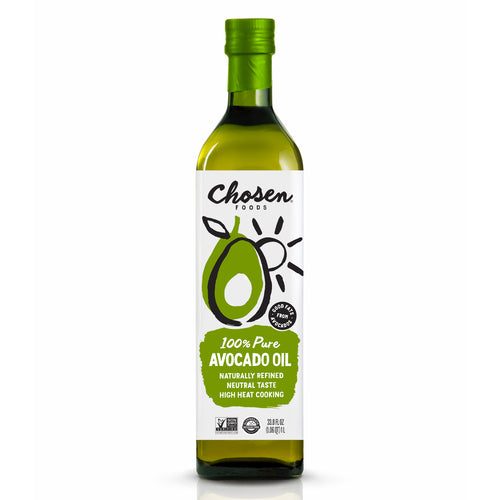
Chosen Foods 100% Pure Avocado Oil
Chosen avocado oil is what I used in this batter.
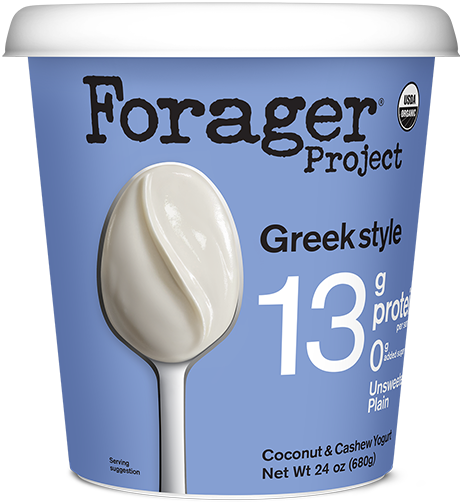
Forager Unsweetened Plain Greek Style Yogurt
For the dairy-free route, I used Forager plain Greek-style yogurt. Regular yogurt is an untested variation.
From this recipe
Tested notes
Mine took 65 minutes at 350°F, with a loose foil tent at 55 minutes. Begin checking at 40 minutes and use the center texture checks; your oven may need a different total time.
Wait at least 30 minutes before lifting, and longer if the cake still gives way too much. The cooling time is part of getting a stable slice.
Optional sanding sugar goes on before baking. A light glaze drizzle and a thin brushed coating on the sides are another finish I recommend.
Testing notes
Why this works
Line every side of the pan
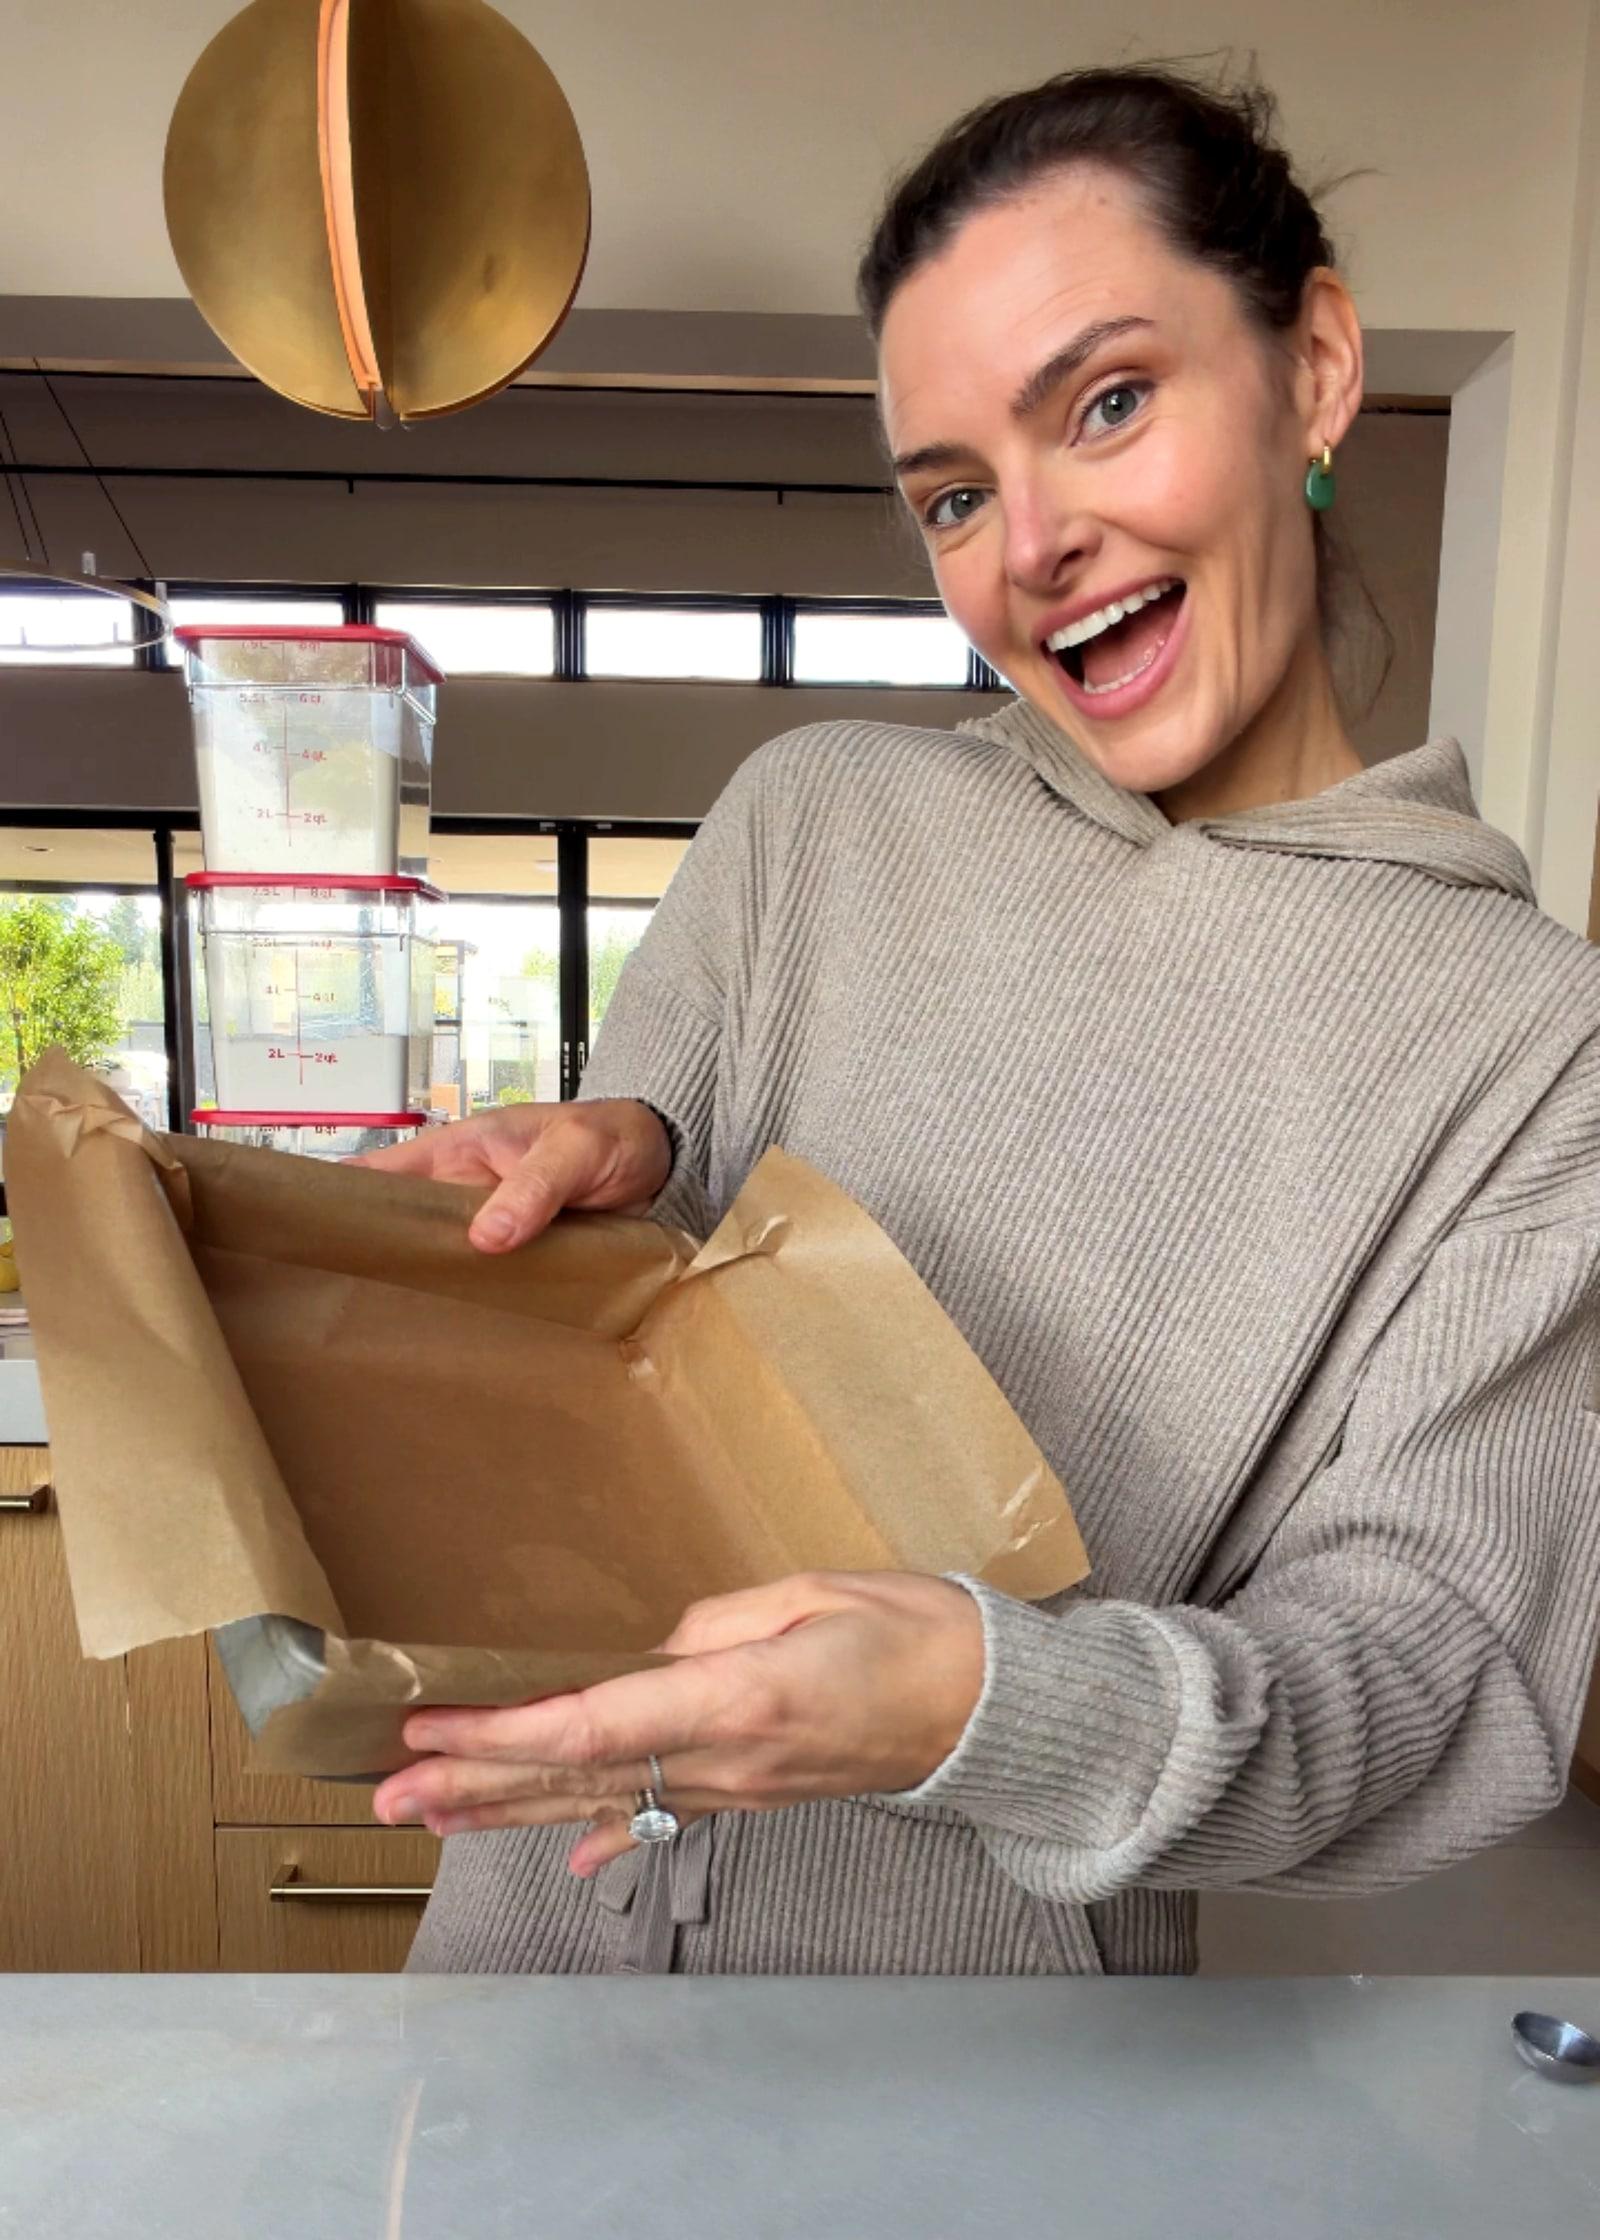
The filling reaches the edges and caramelizes there. Parchment across the bottom and all four sides lets you peel the paper away from those buttery edges. Leave enough overhang to lift the cake once it has rested.
Give most of the batter to the base
Start with about two-thirds of the batter. Dot the filling over it in small spoonfuls and spread gently to the edges, then add the remaining batter in dollops and connect them with a light touch.
Use the thermometer alongside the texture checks
Mine reached 220°F and was perfect, but that is an observation from my bake, not a target temperature. If the probe comes out coated in pasty batter, the cake needs longer, even if the reading looks finished. Check the cake near the center in two spots, avoiding the filling, and keep baking until the cake is set with no wet batter.
Rest at least 30 minutes before lifting
This molasses cake needs ample time to set. Start lifting gently with the parchment only after at least 30 minutes. A little give is fine, but if it bends deeply or starts to cave in, lower it back into the pan and wait longer.
Choose a full glaze or a lighter finish
The glaze should pour in a thin, steady ribbon, with the extra dripping onto the tray under the rack. If you are on the fence, drizzle just a little over the top. I especially recommend brushing a very thin layer over the caramelized sides.
Step by step
How It All Comes Together
Step 1
Grease and line the pan
Two crossed sheets of parchment cover the base and all four sides. Keep generous overhangs for lifting.
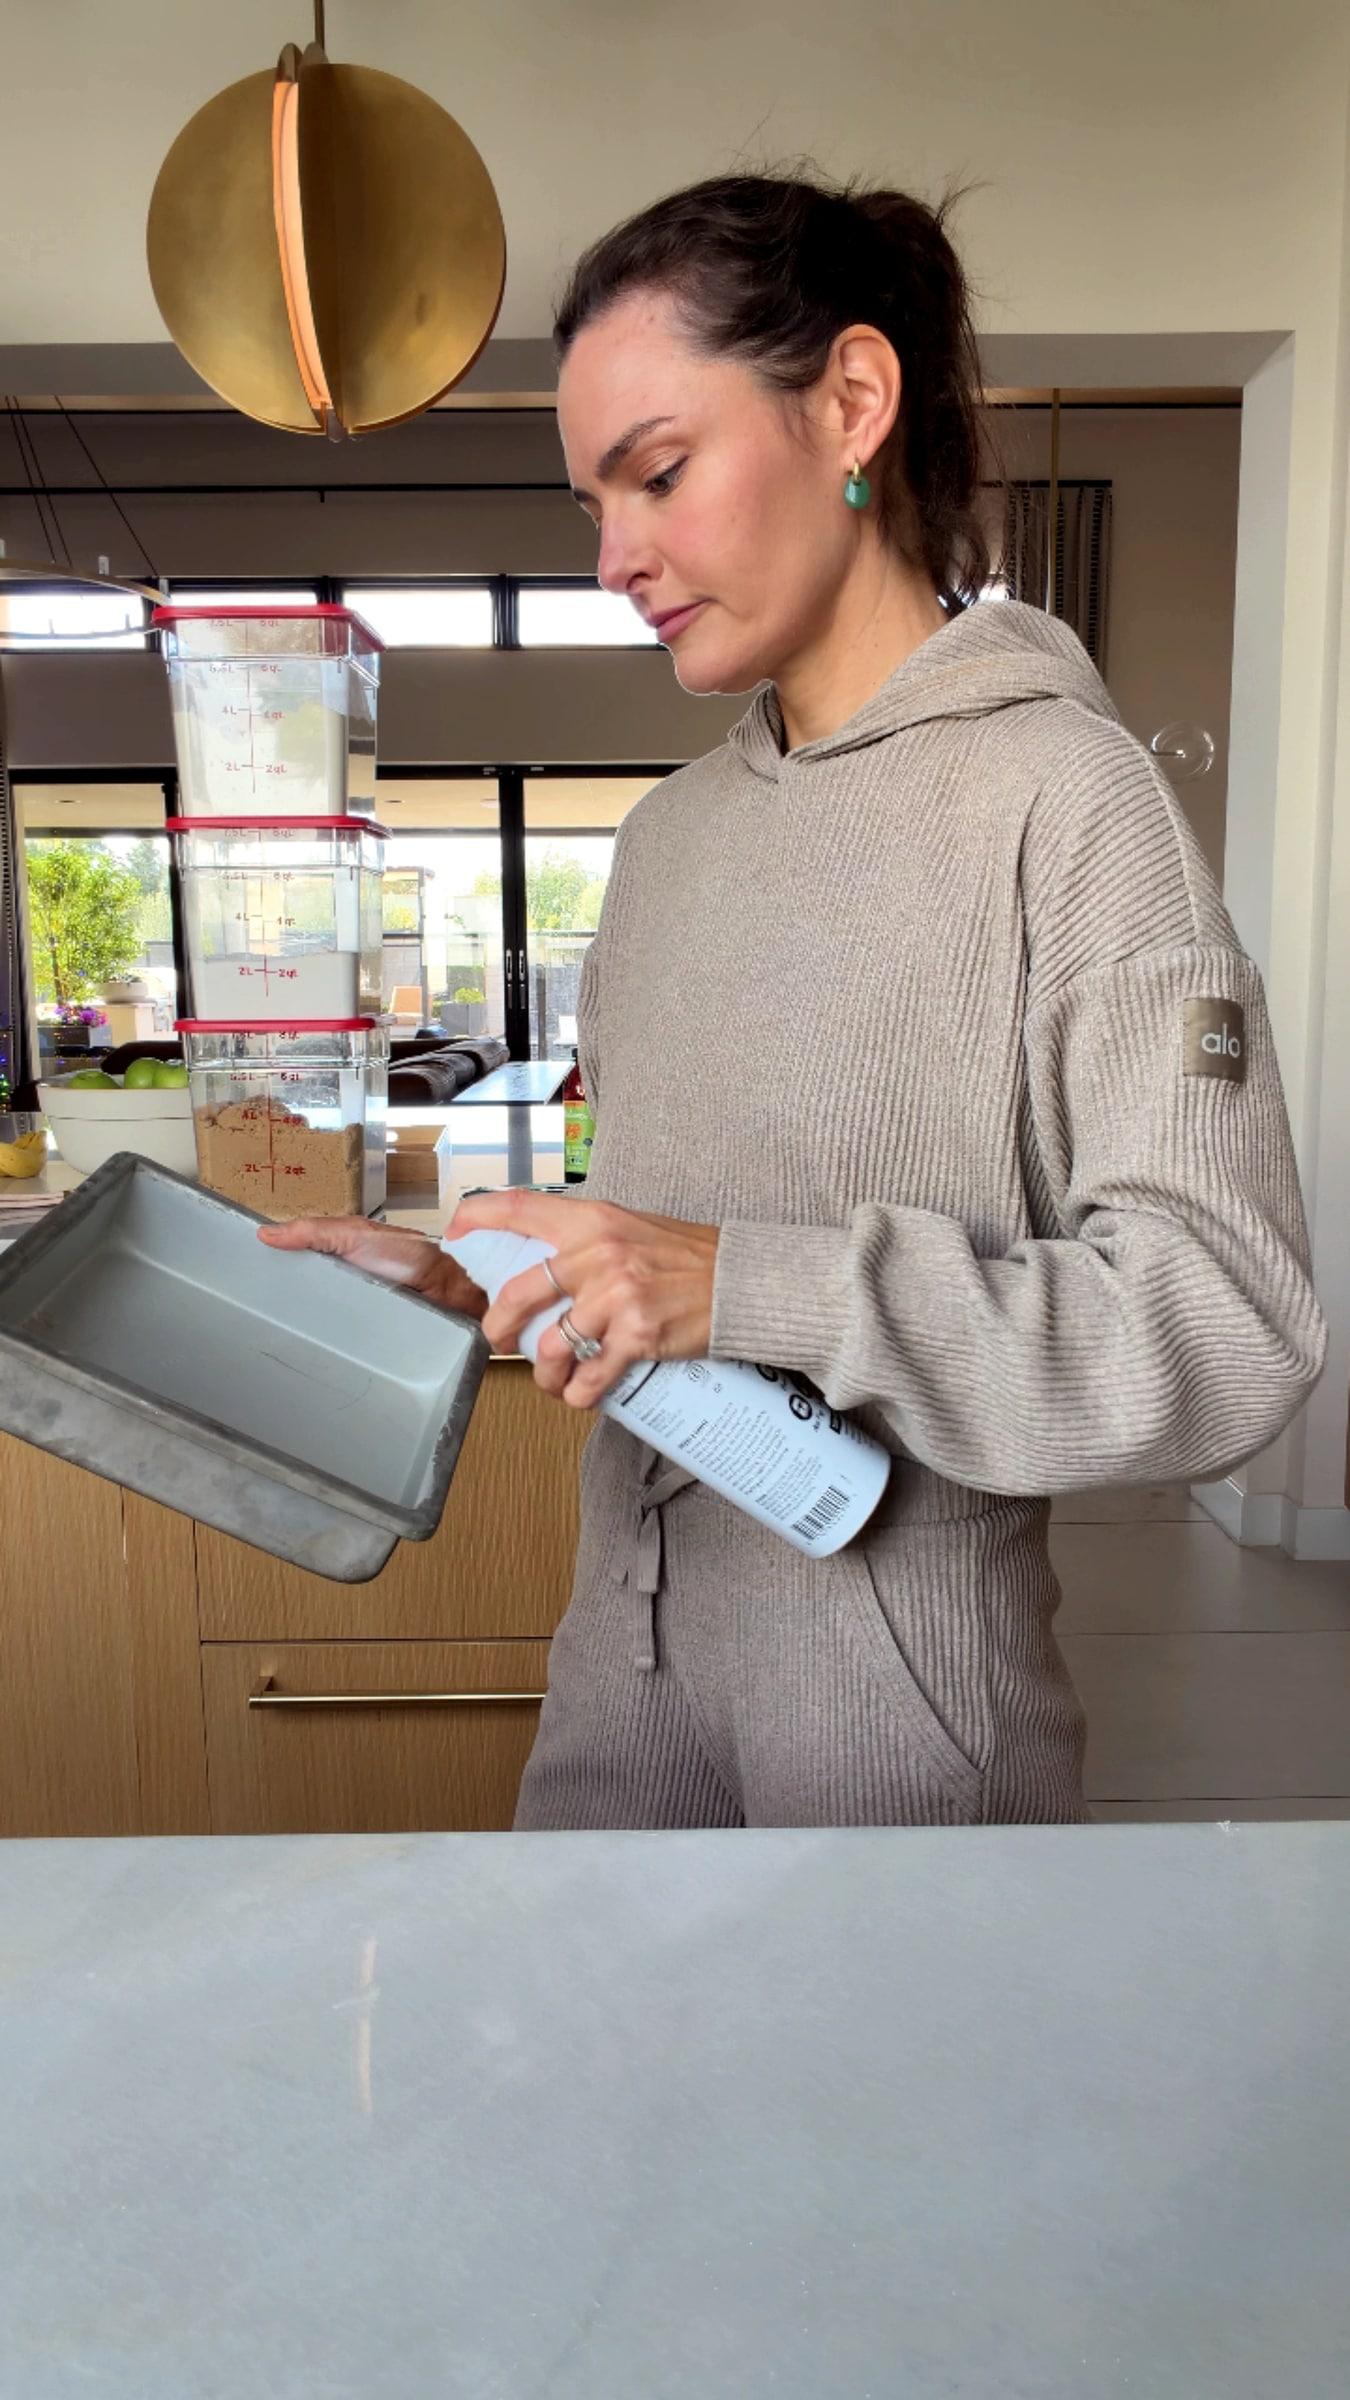
Lightly grease the pan before lining it. 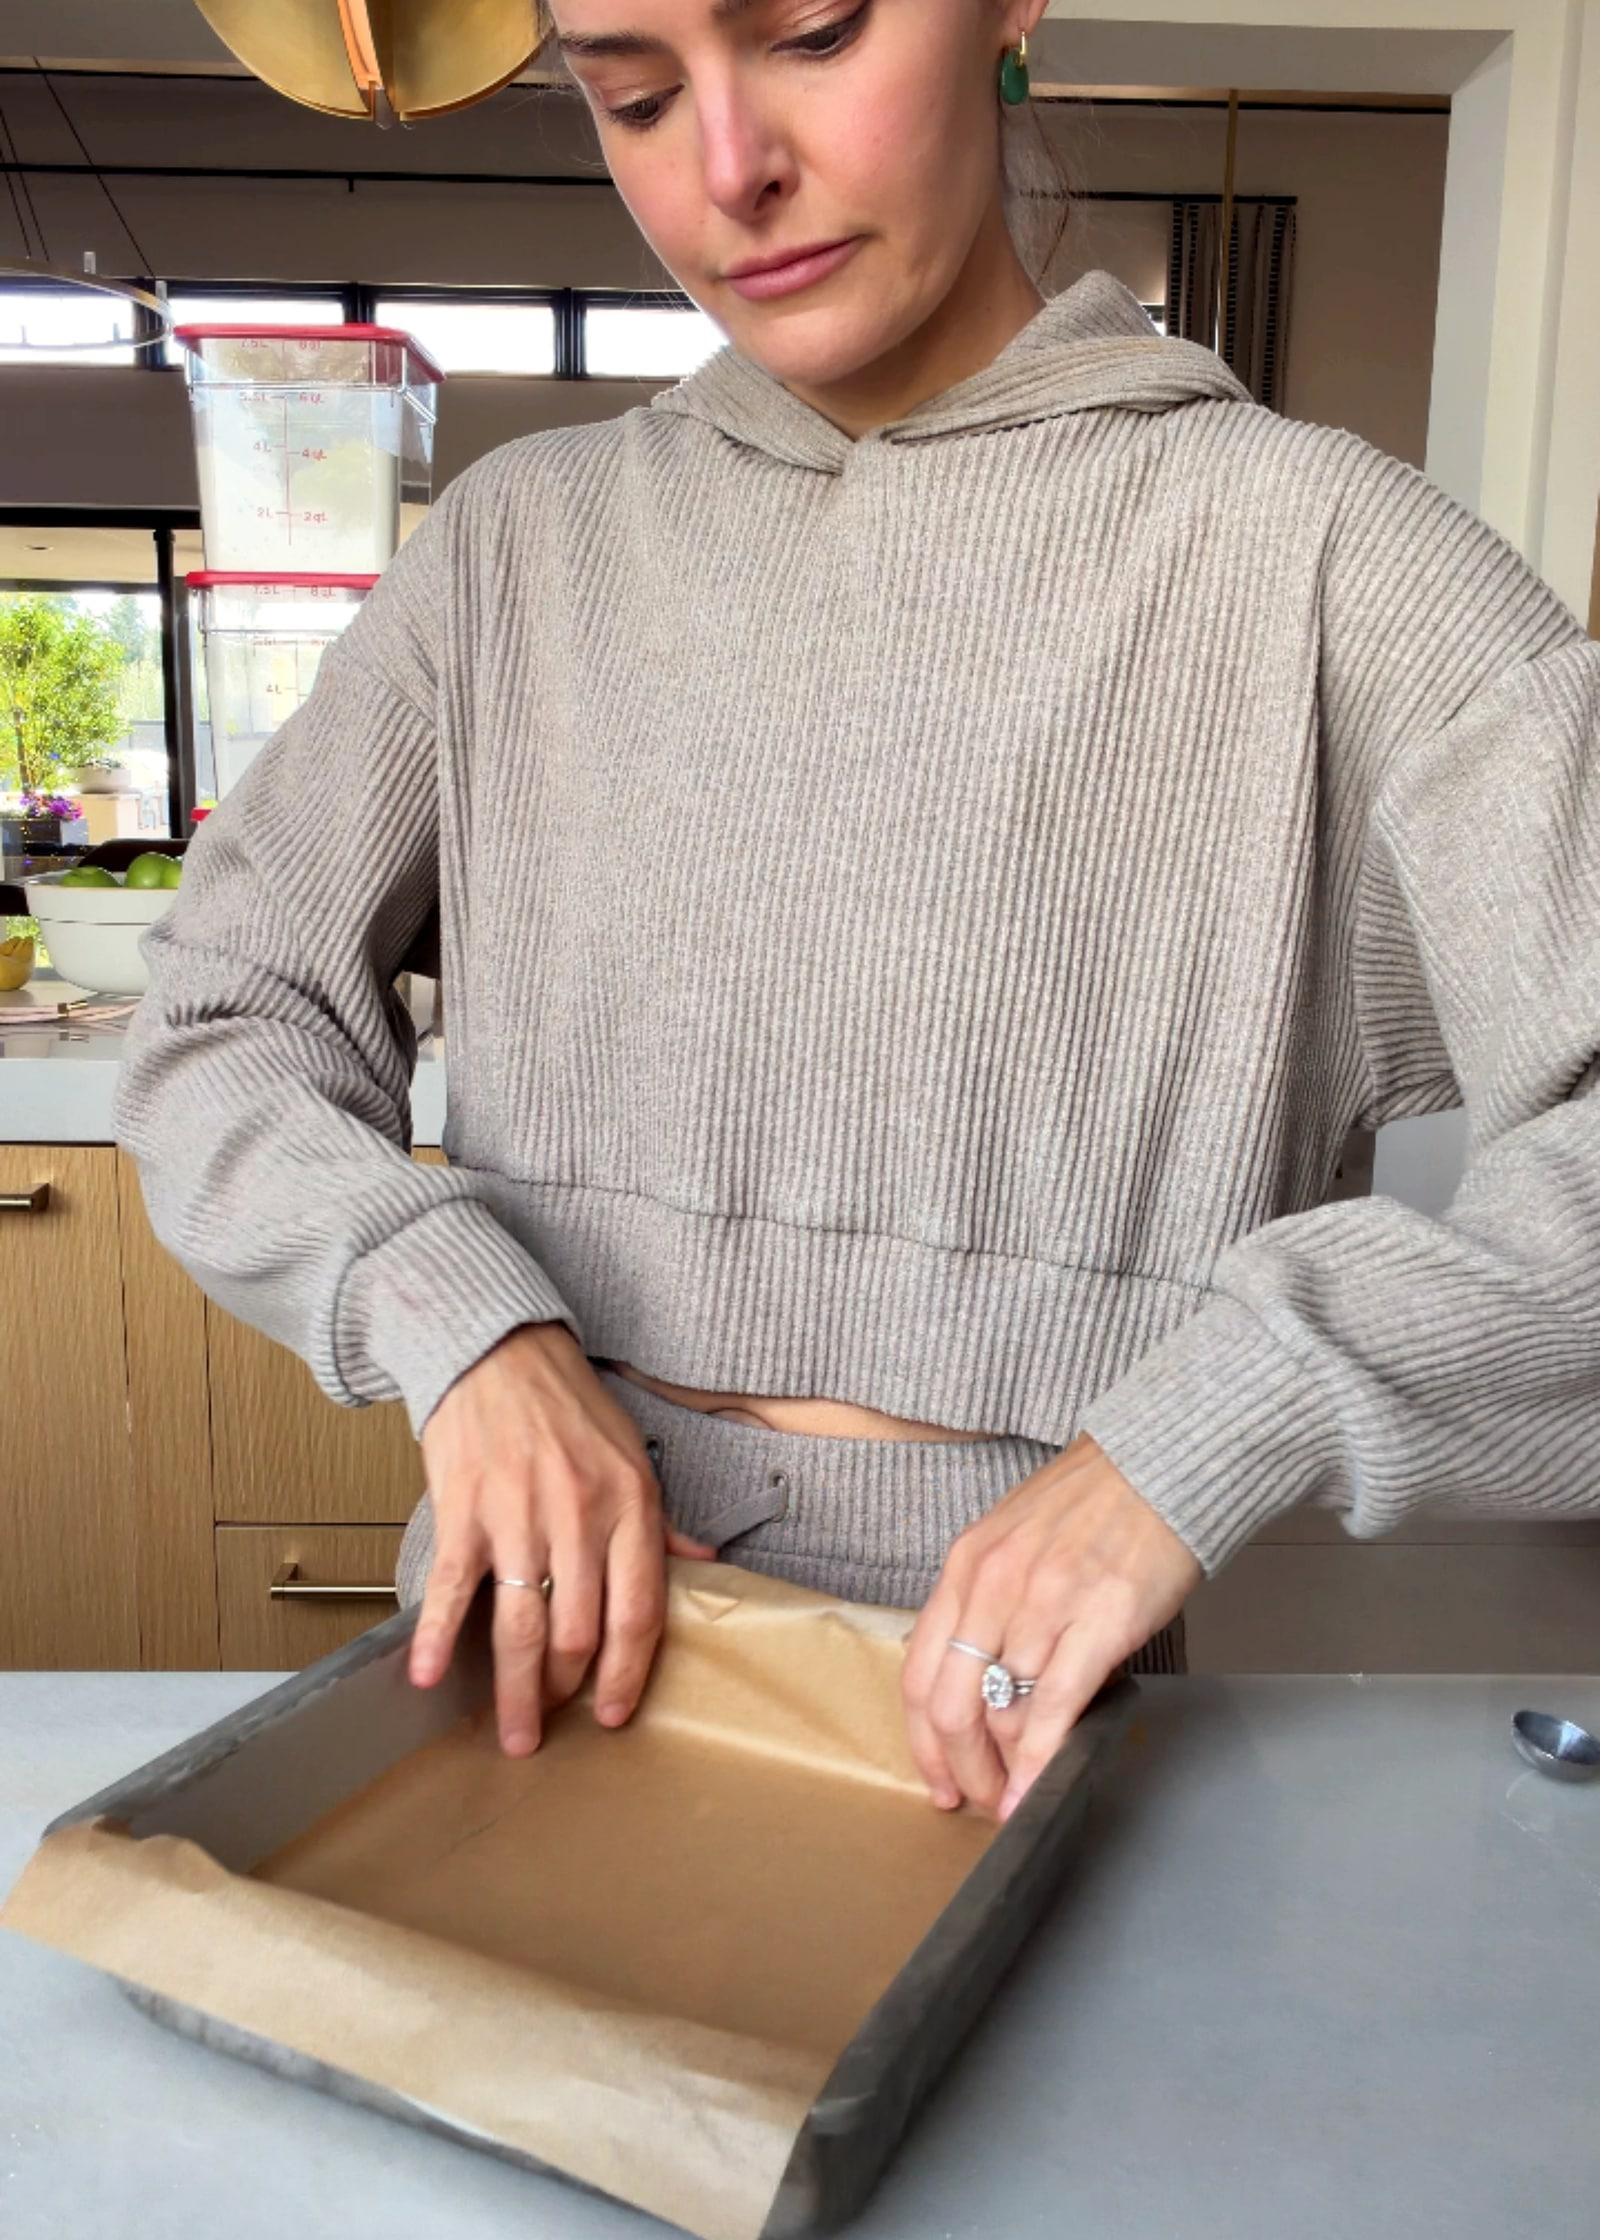
Cover the bottom and all four sides, leaving lifting overhangs. The long parchment overhangs will help lift out the rested cake. Step 2
Work the vanilla crumble together
Rub the cold butter through the flour, sugars, salt, and vanilla. Squeeze together, then break into large pieces and chill.
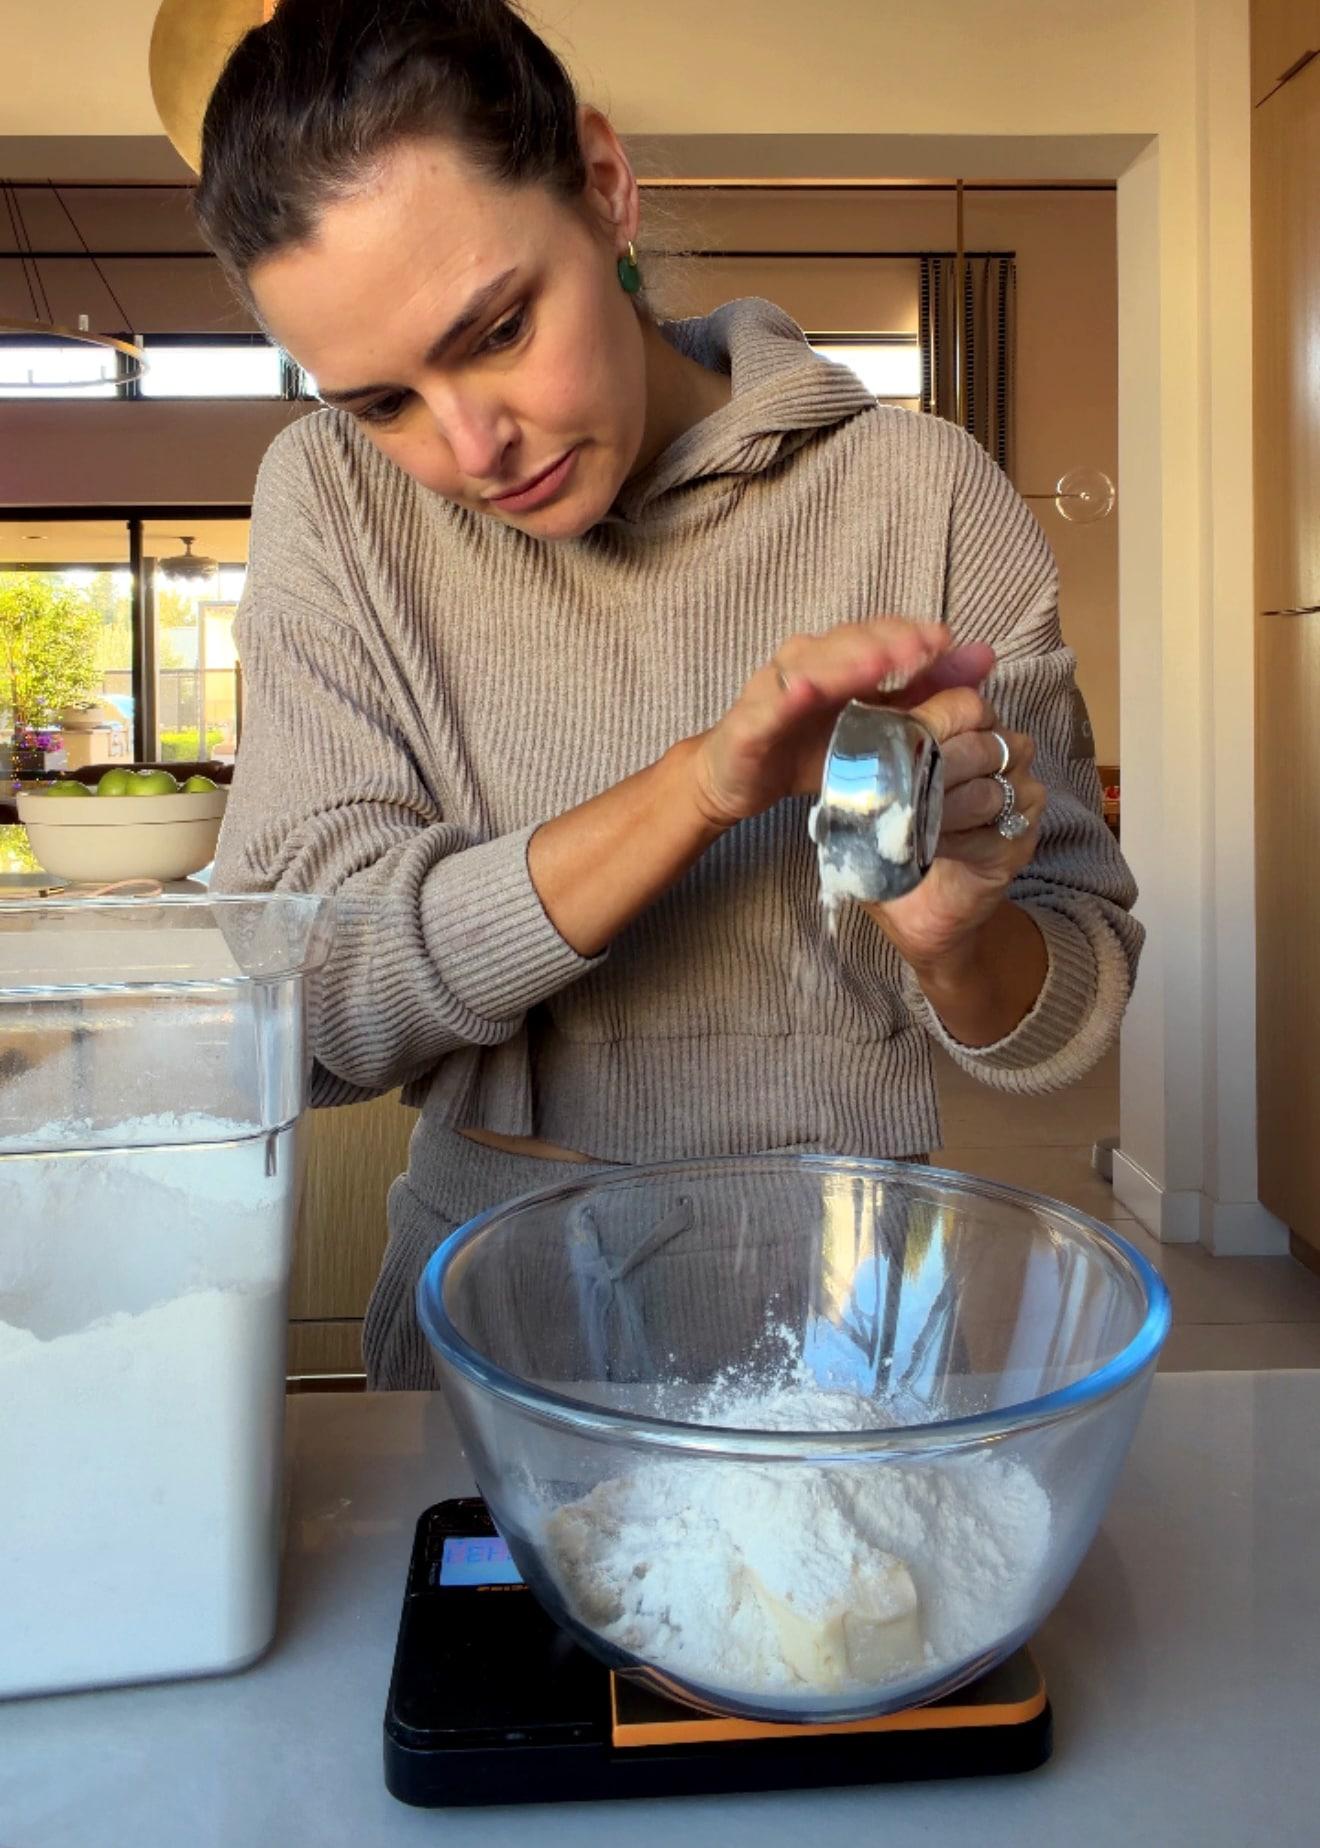
Combine the crumble ingredients with cold butter. 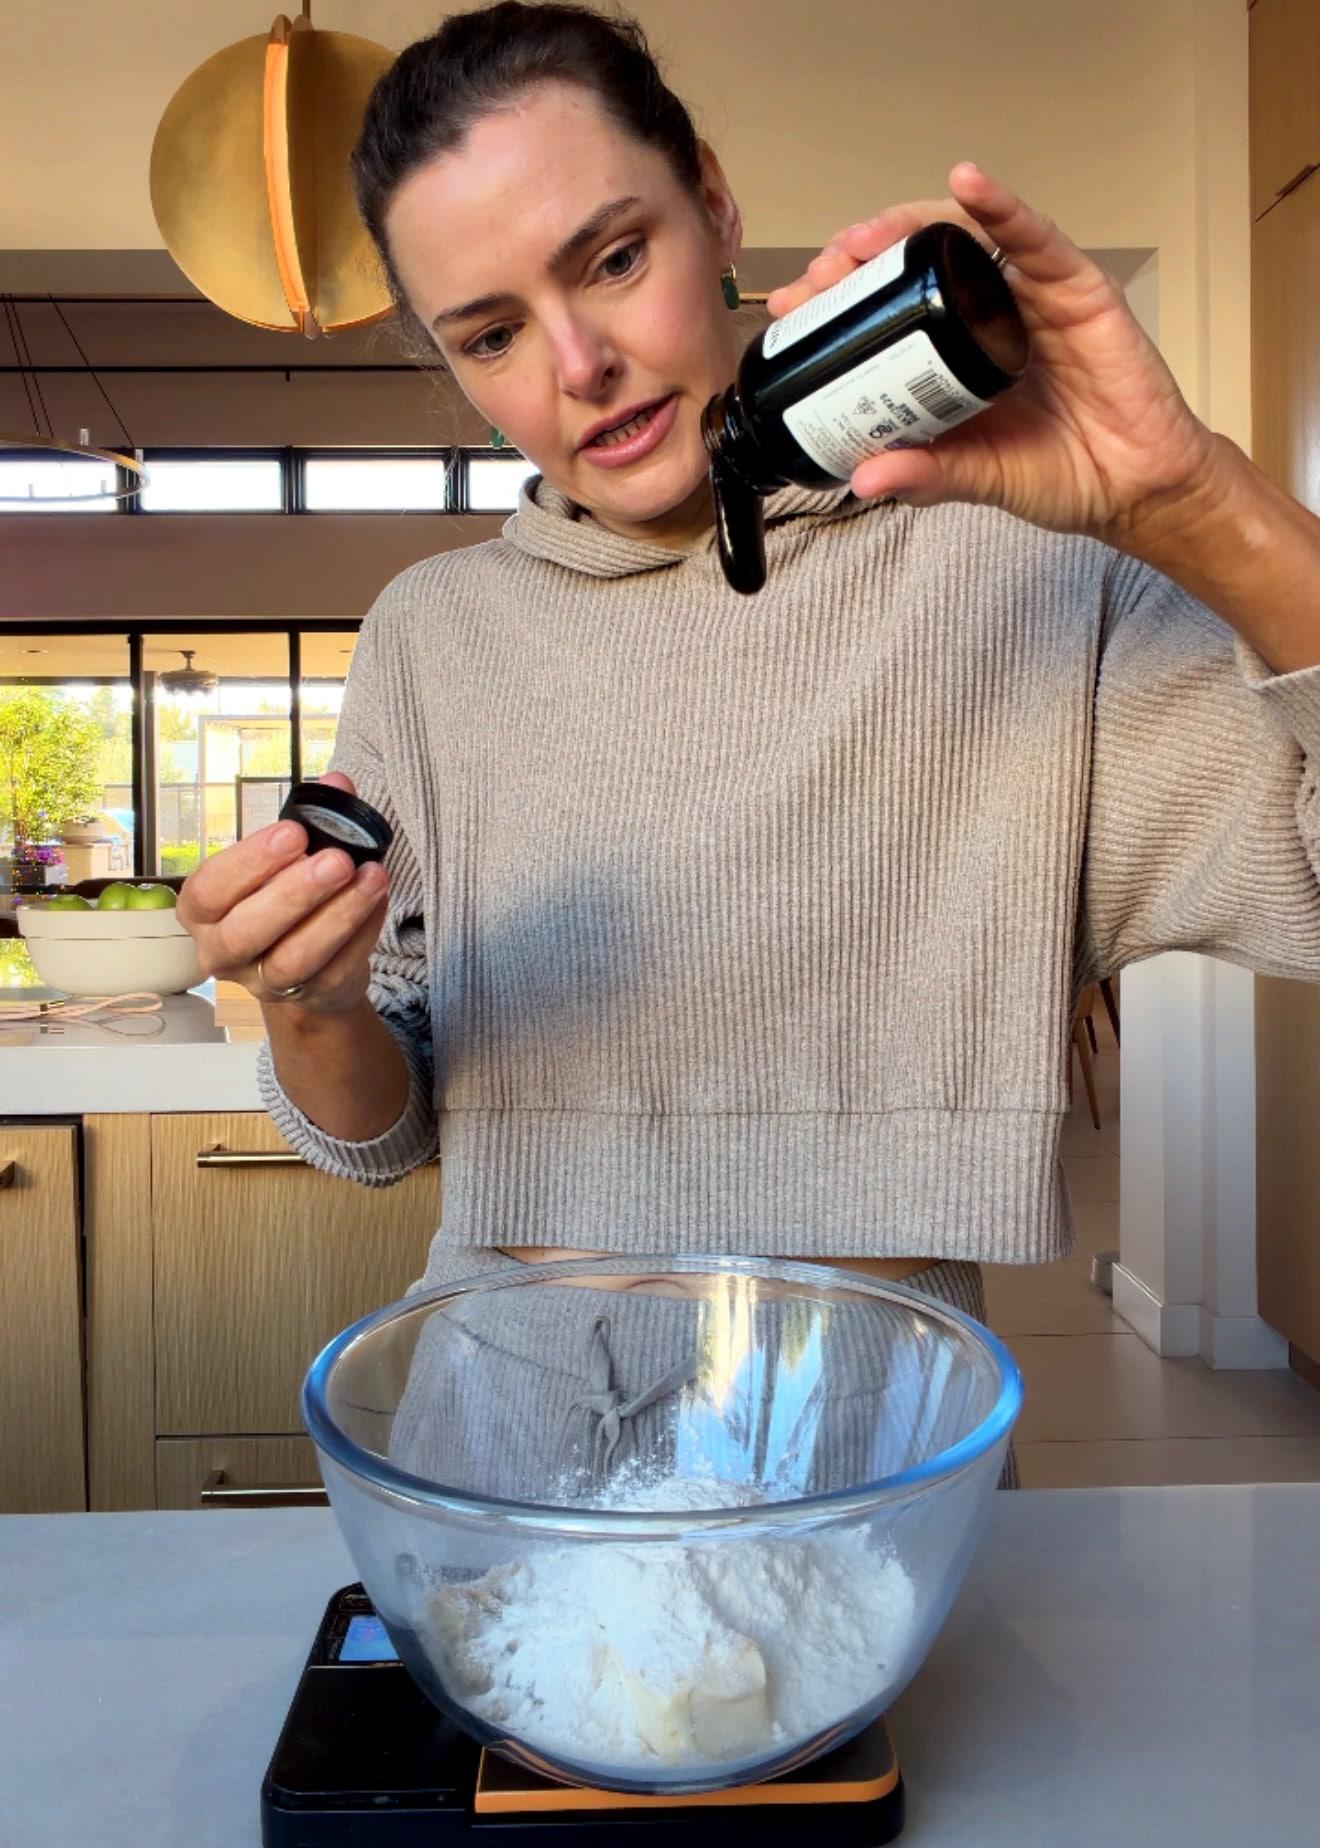
Vanilla bean paste flavors the crumble. 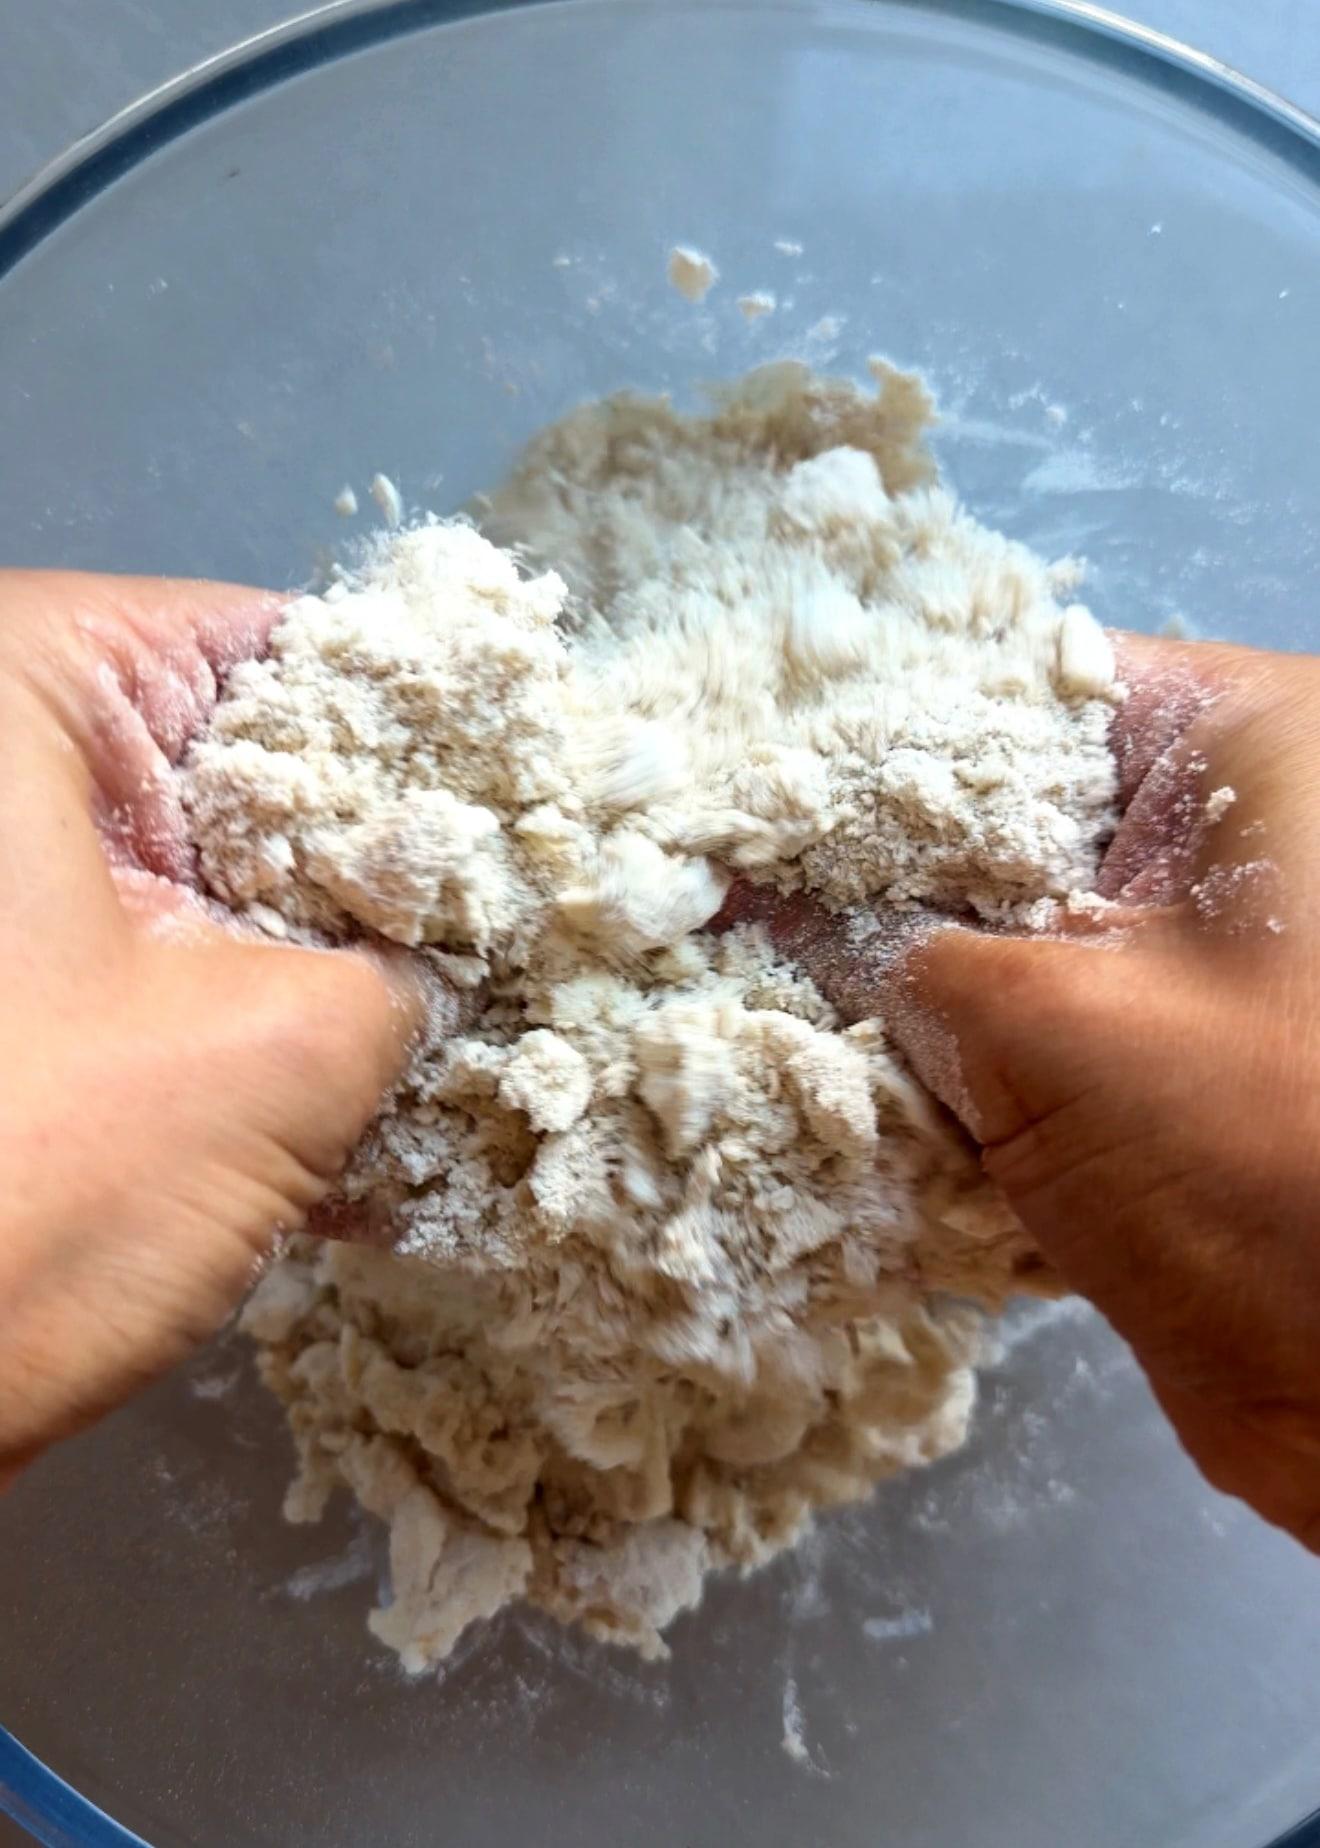
Rub the butter through the dry ingredients with your fingertips. 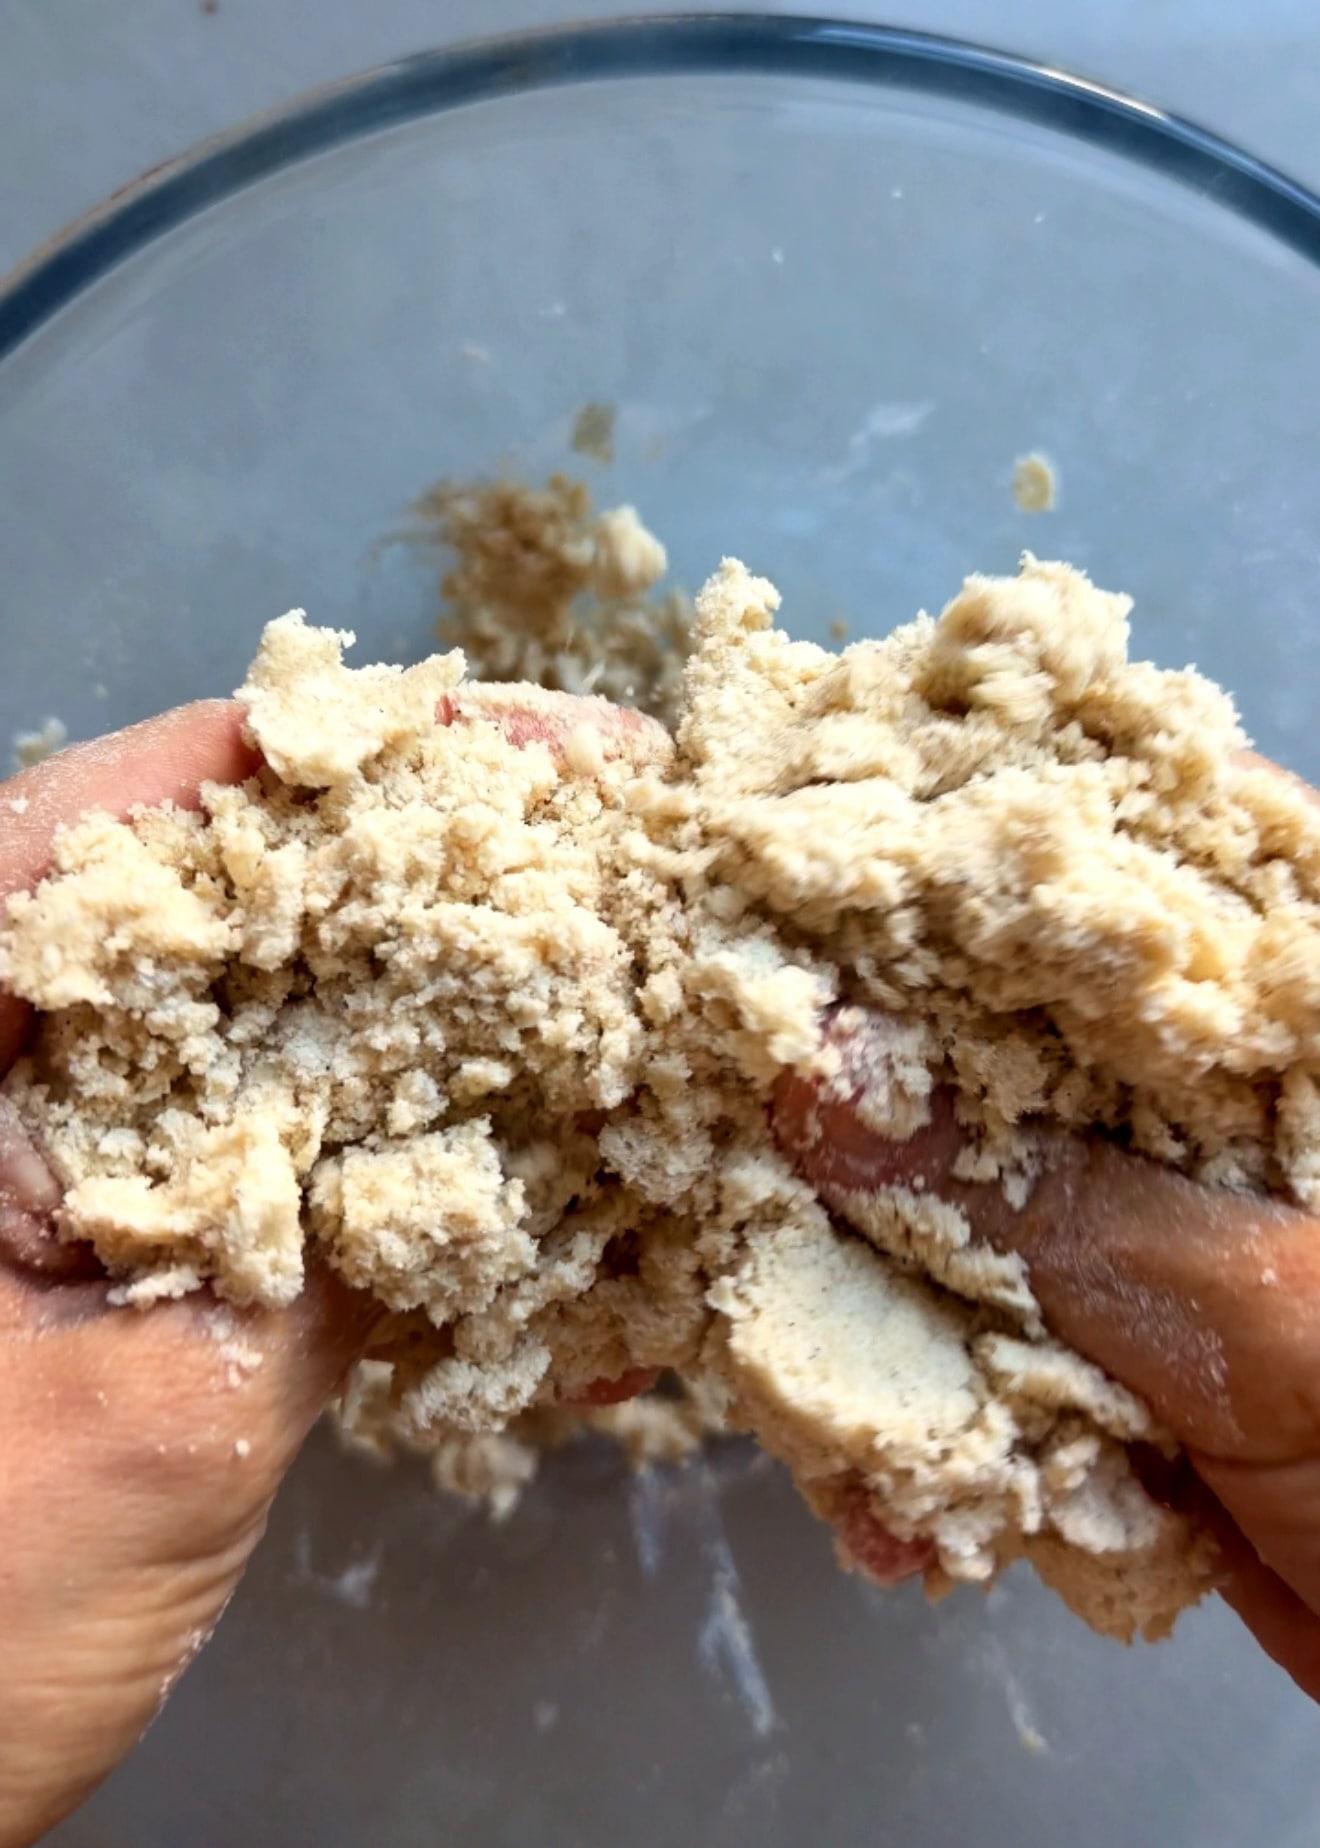
Keep working until there are no loose dry pockets. 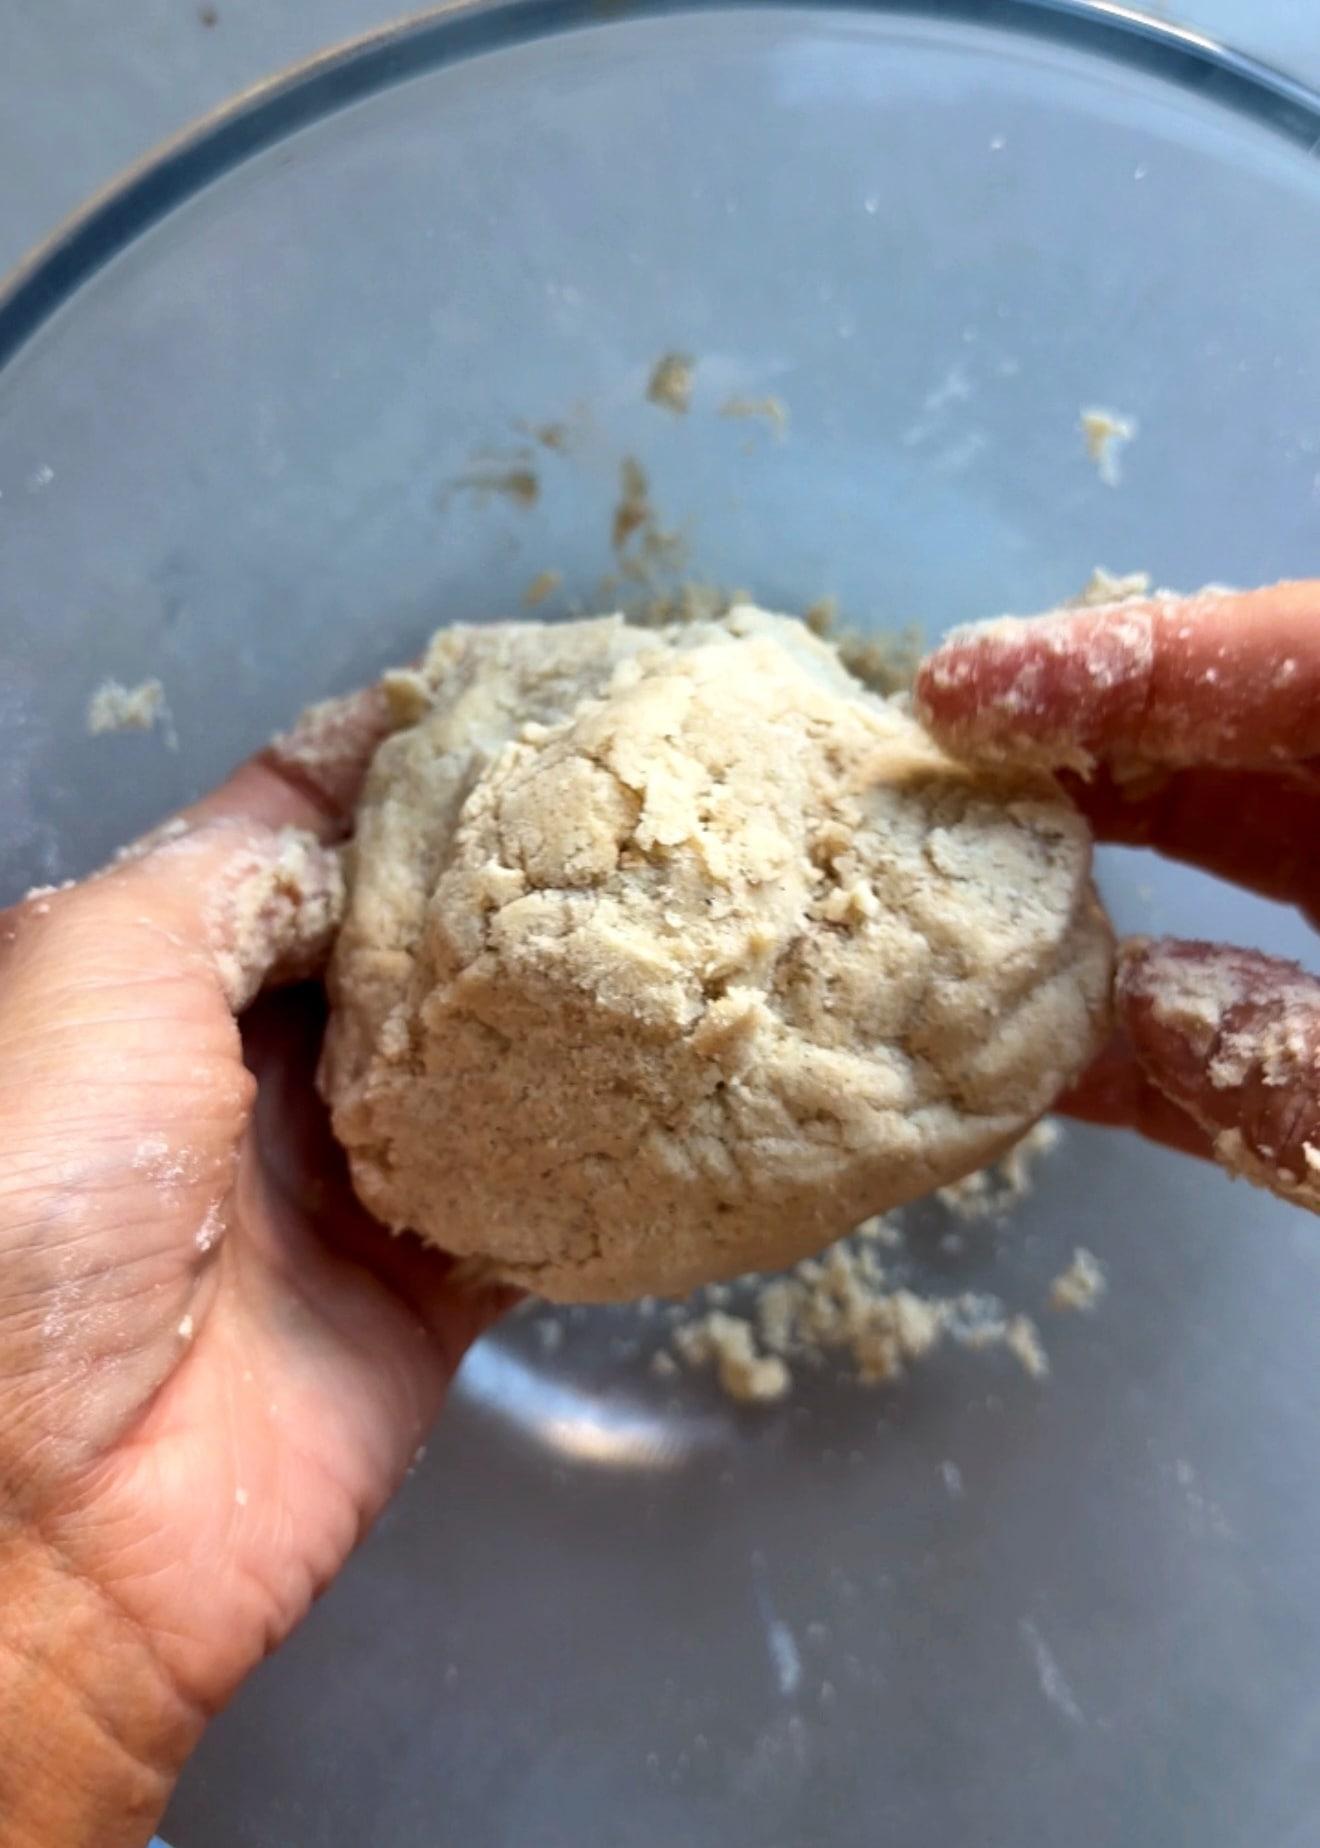
The mixture should hold together when squeezed. Step 3
Stir the gingerbread filling
Mix the dark brown sugar, melted butter, flour, spices, and salt into a spreadable paste.
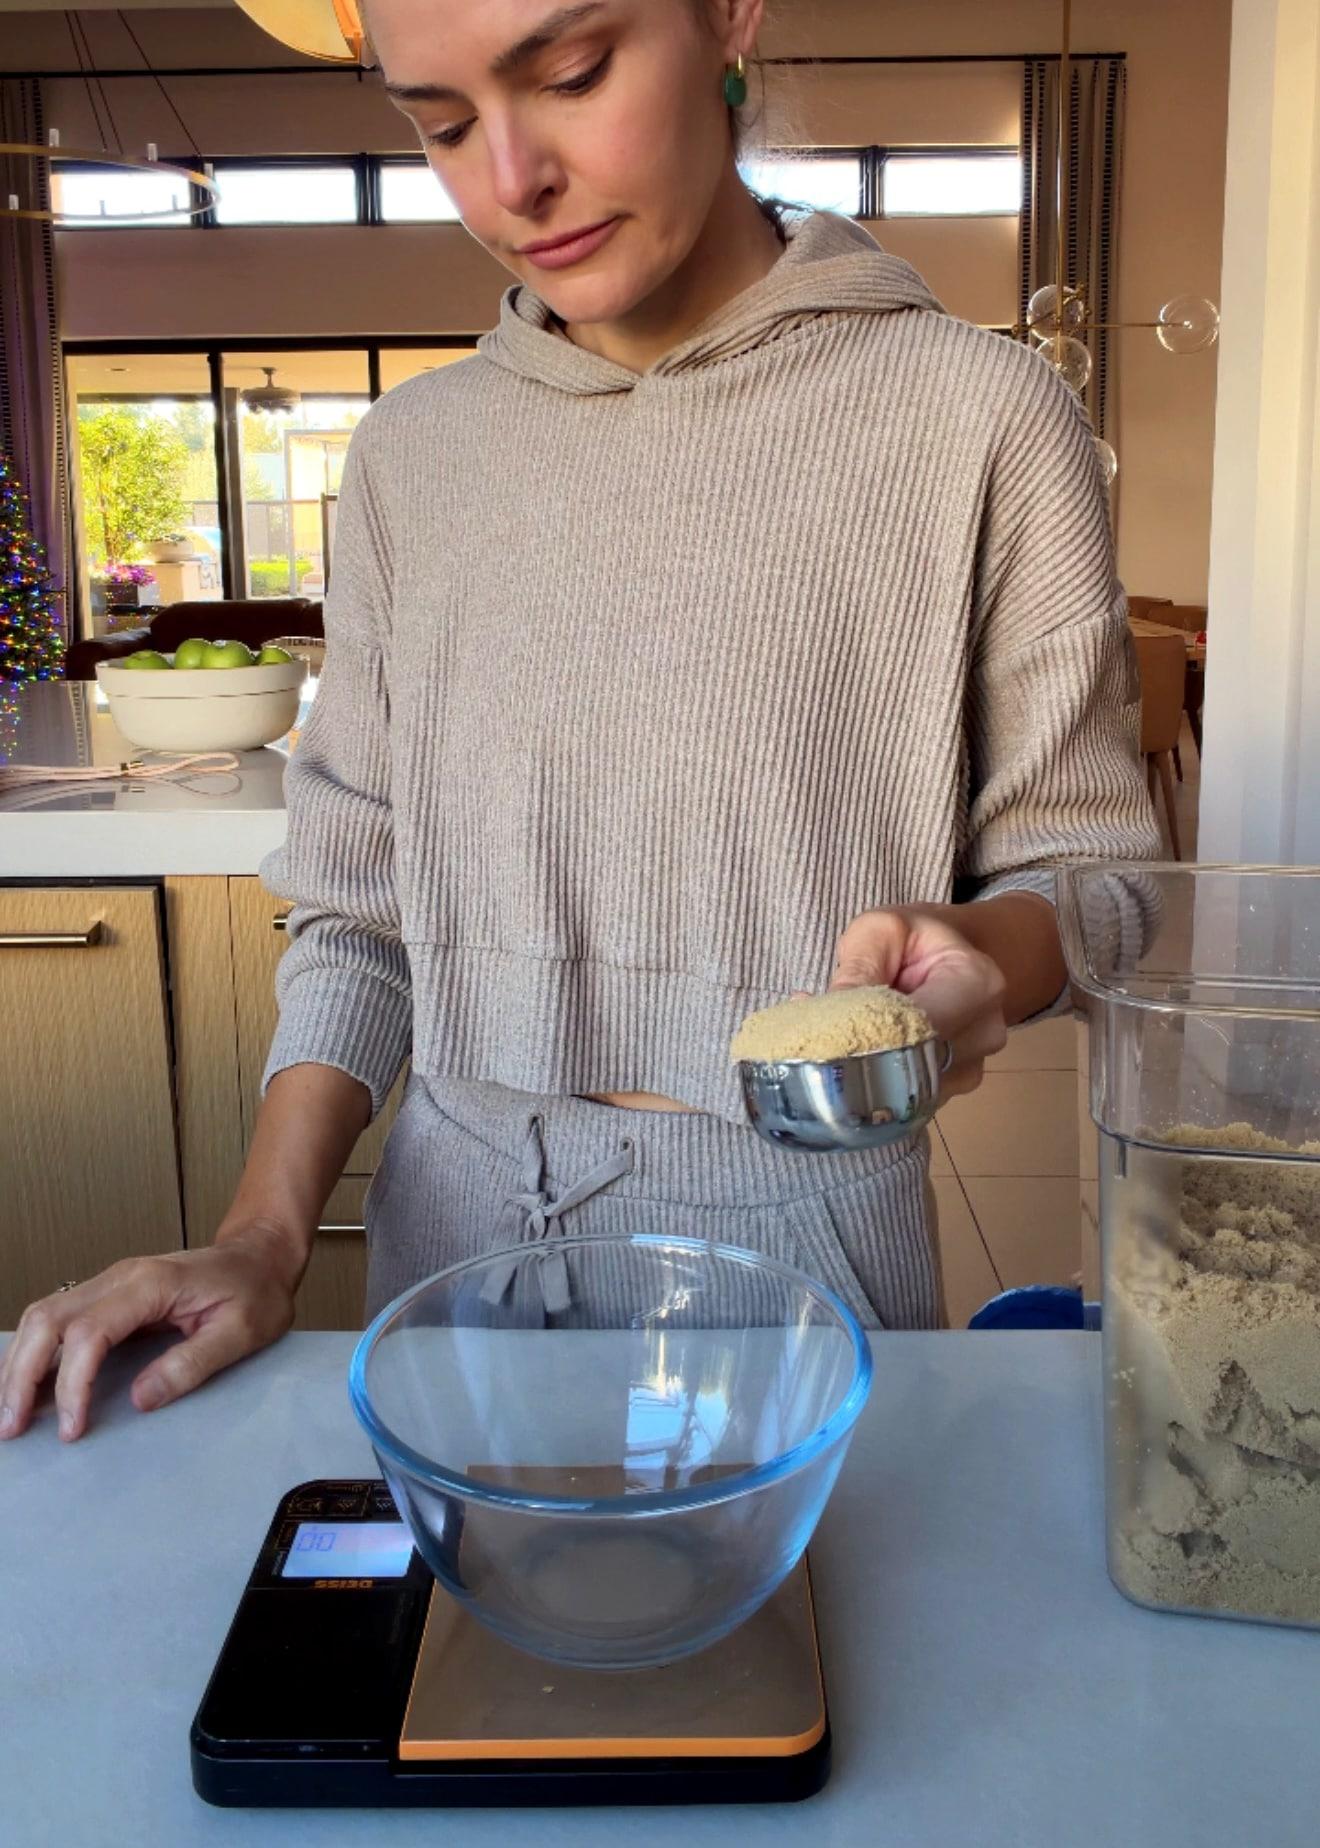
Dark brown sugar gives the filling its rich flavor. 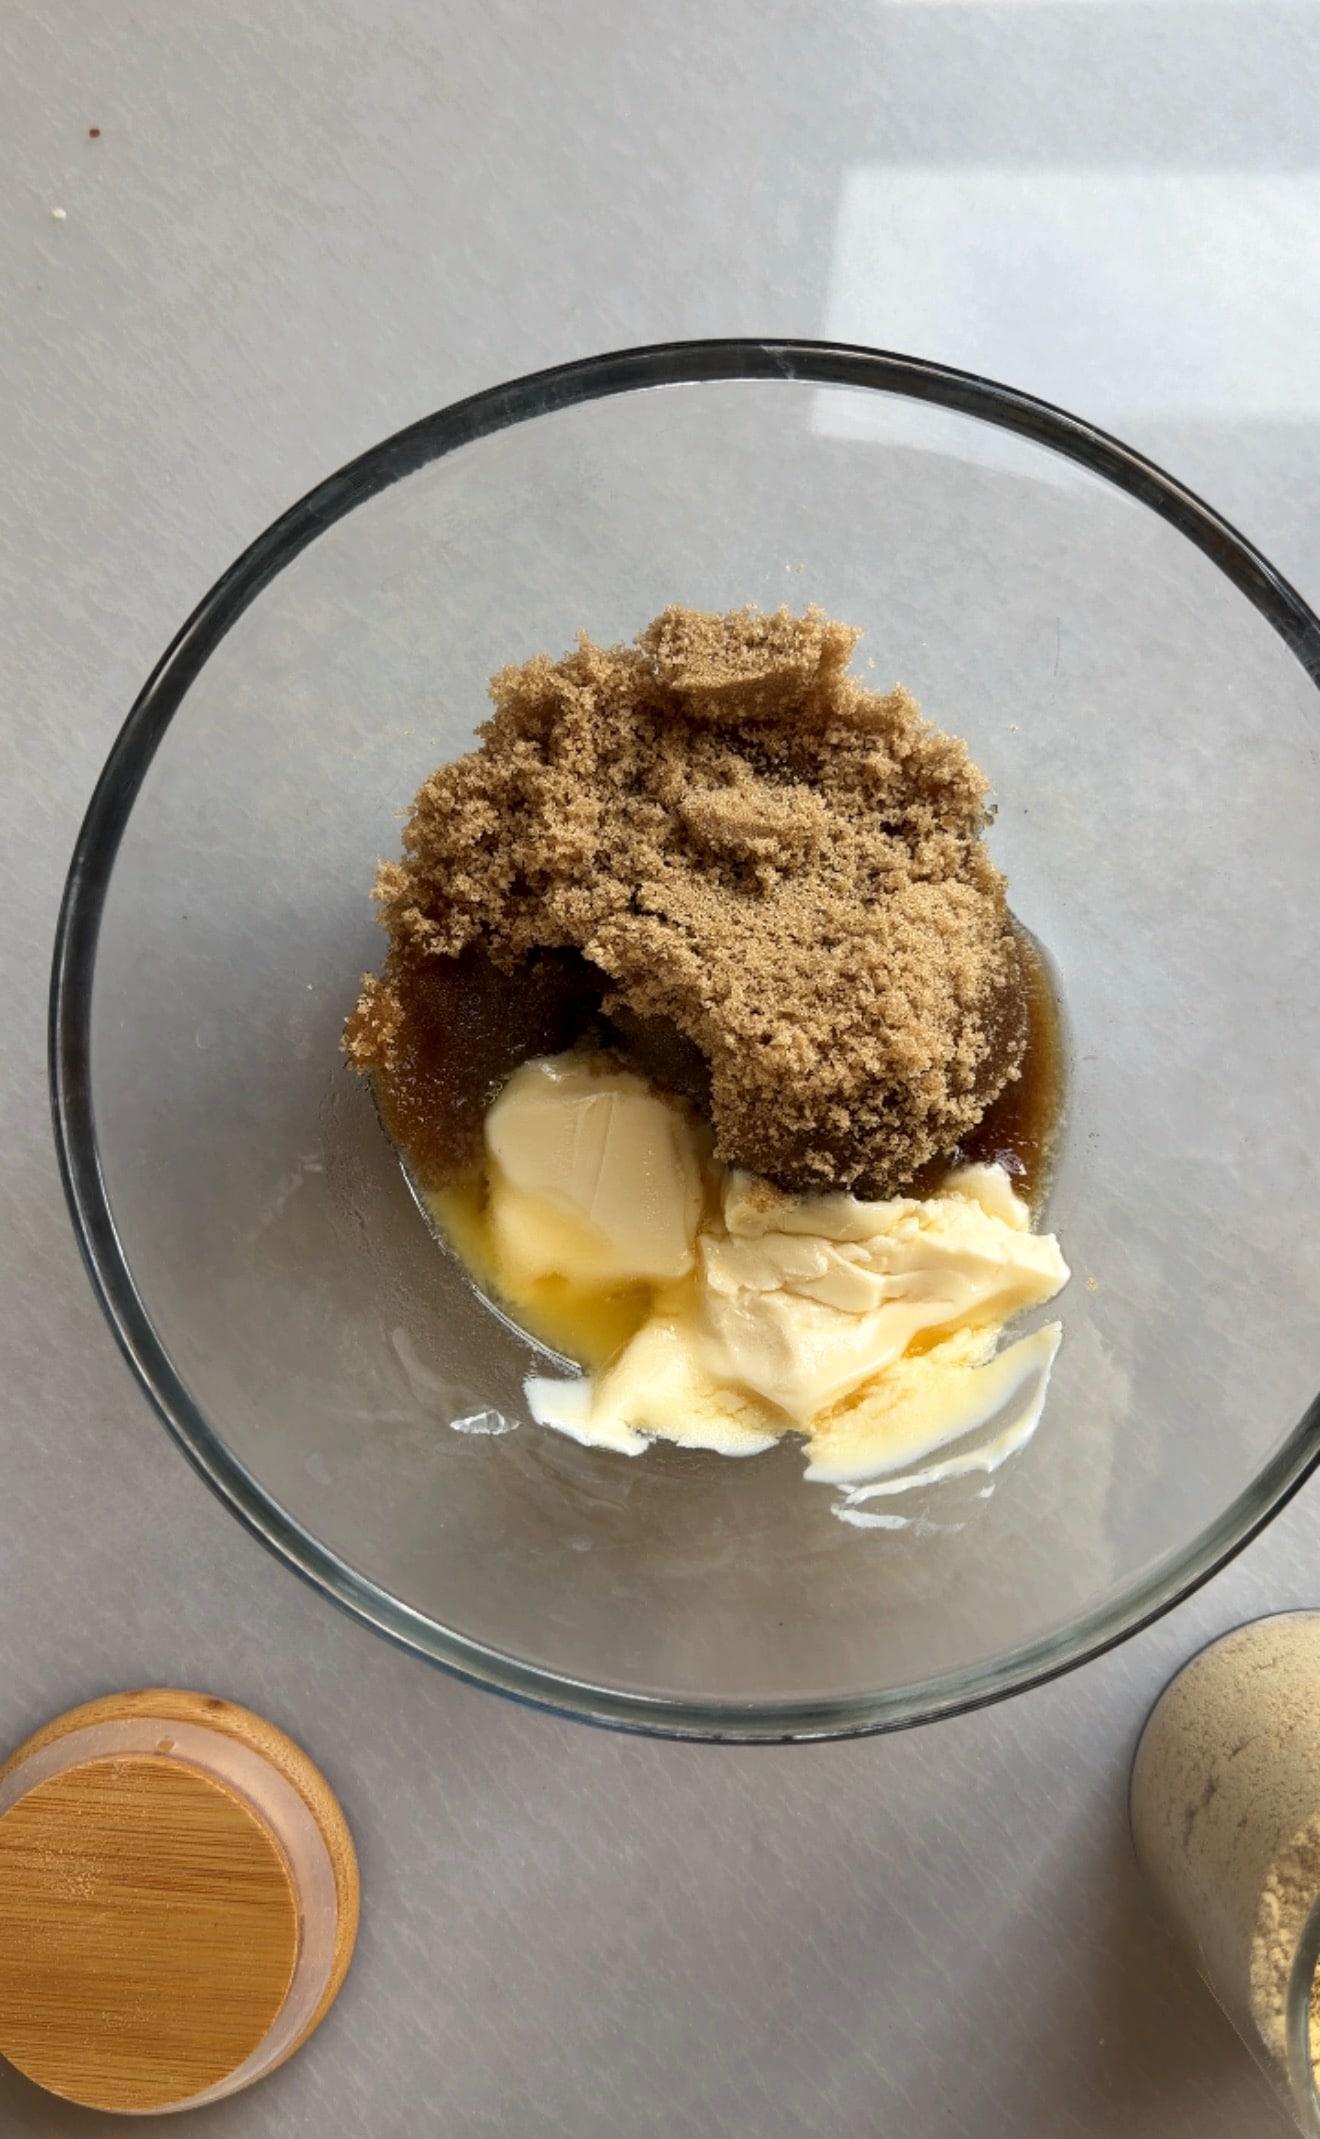
The filling starts with brown sugar and melted butter. 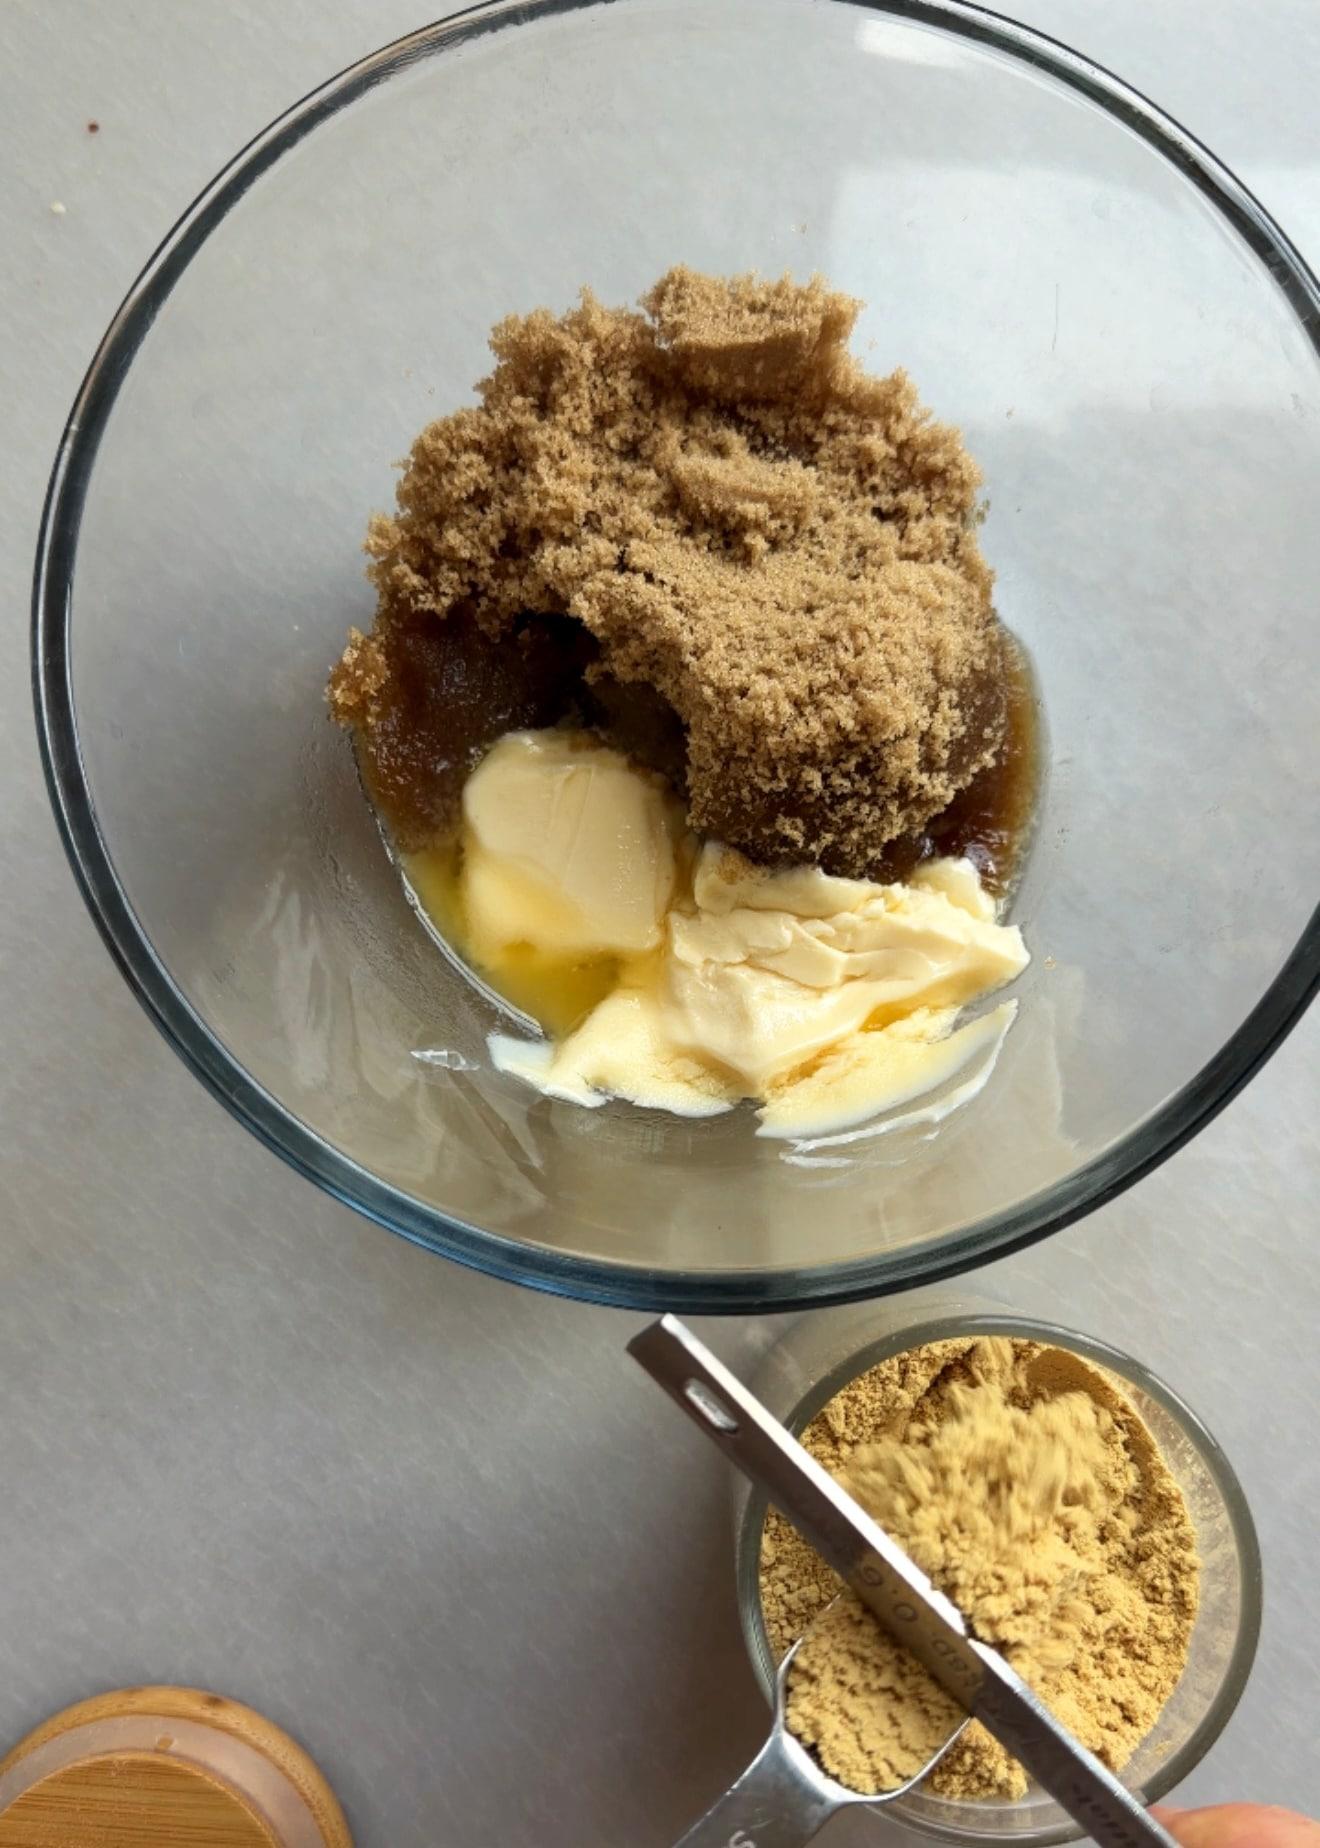
Stir through the sugar rather than leaving dry patches. 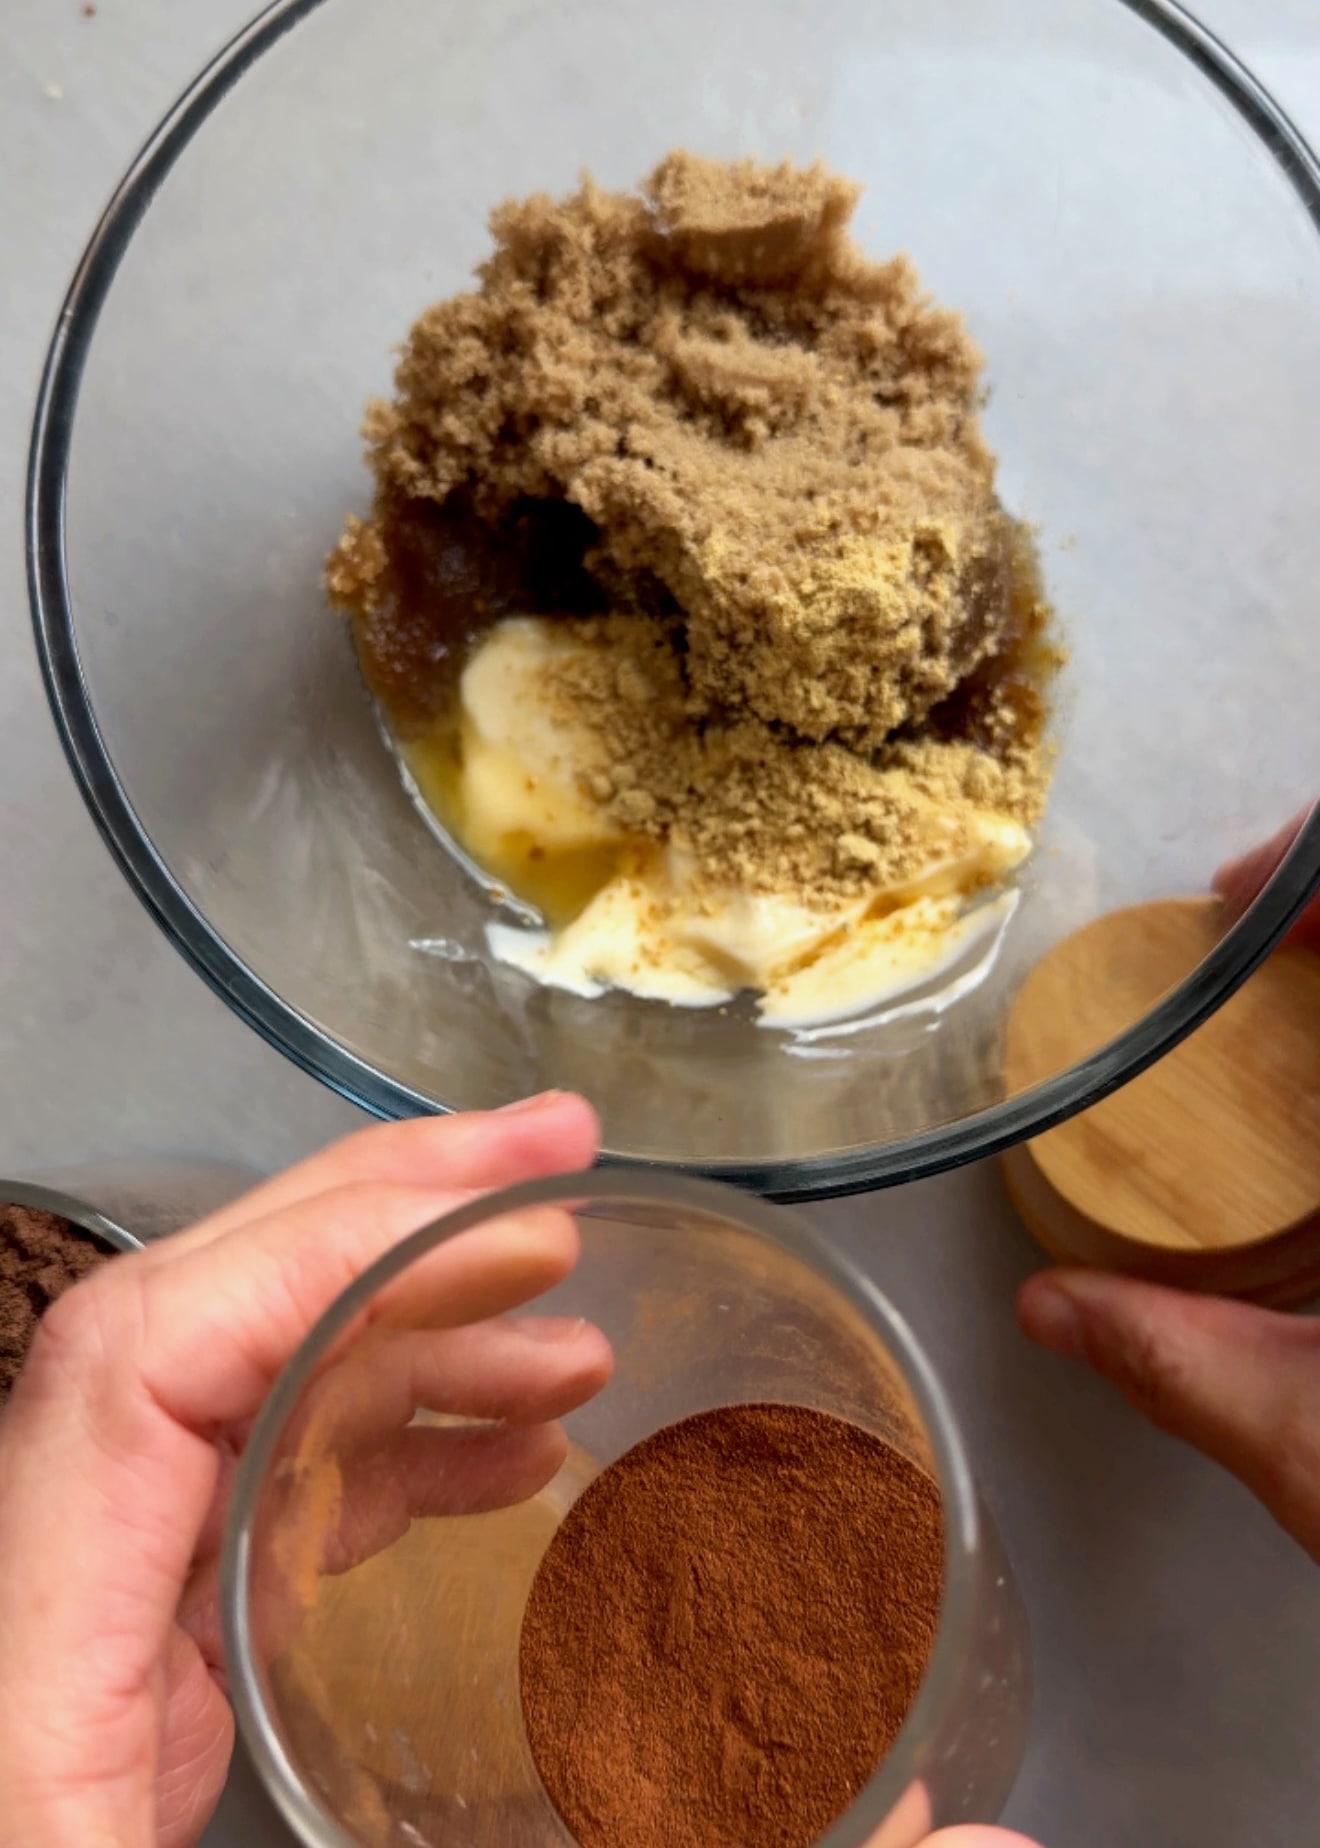
Ginger, cinnamon, and allspice season the ribbon. 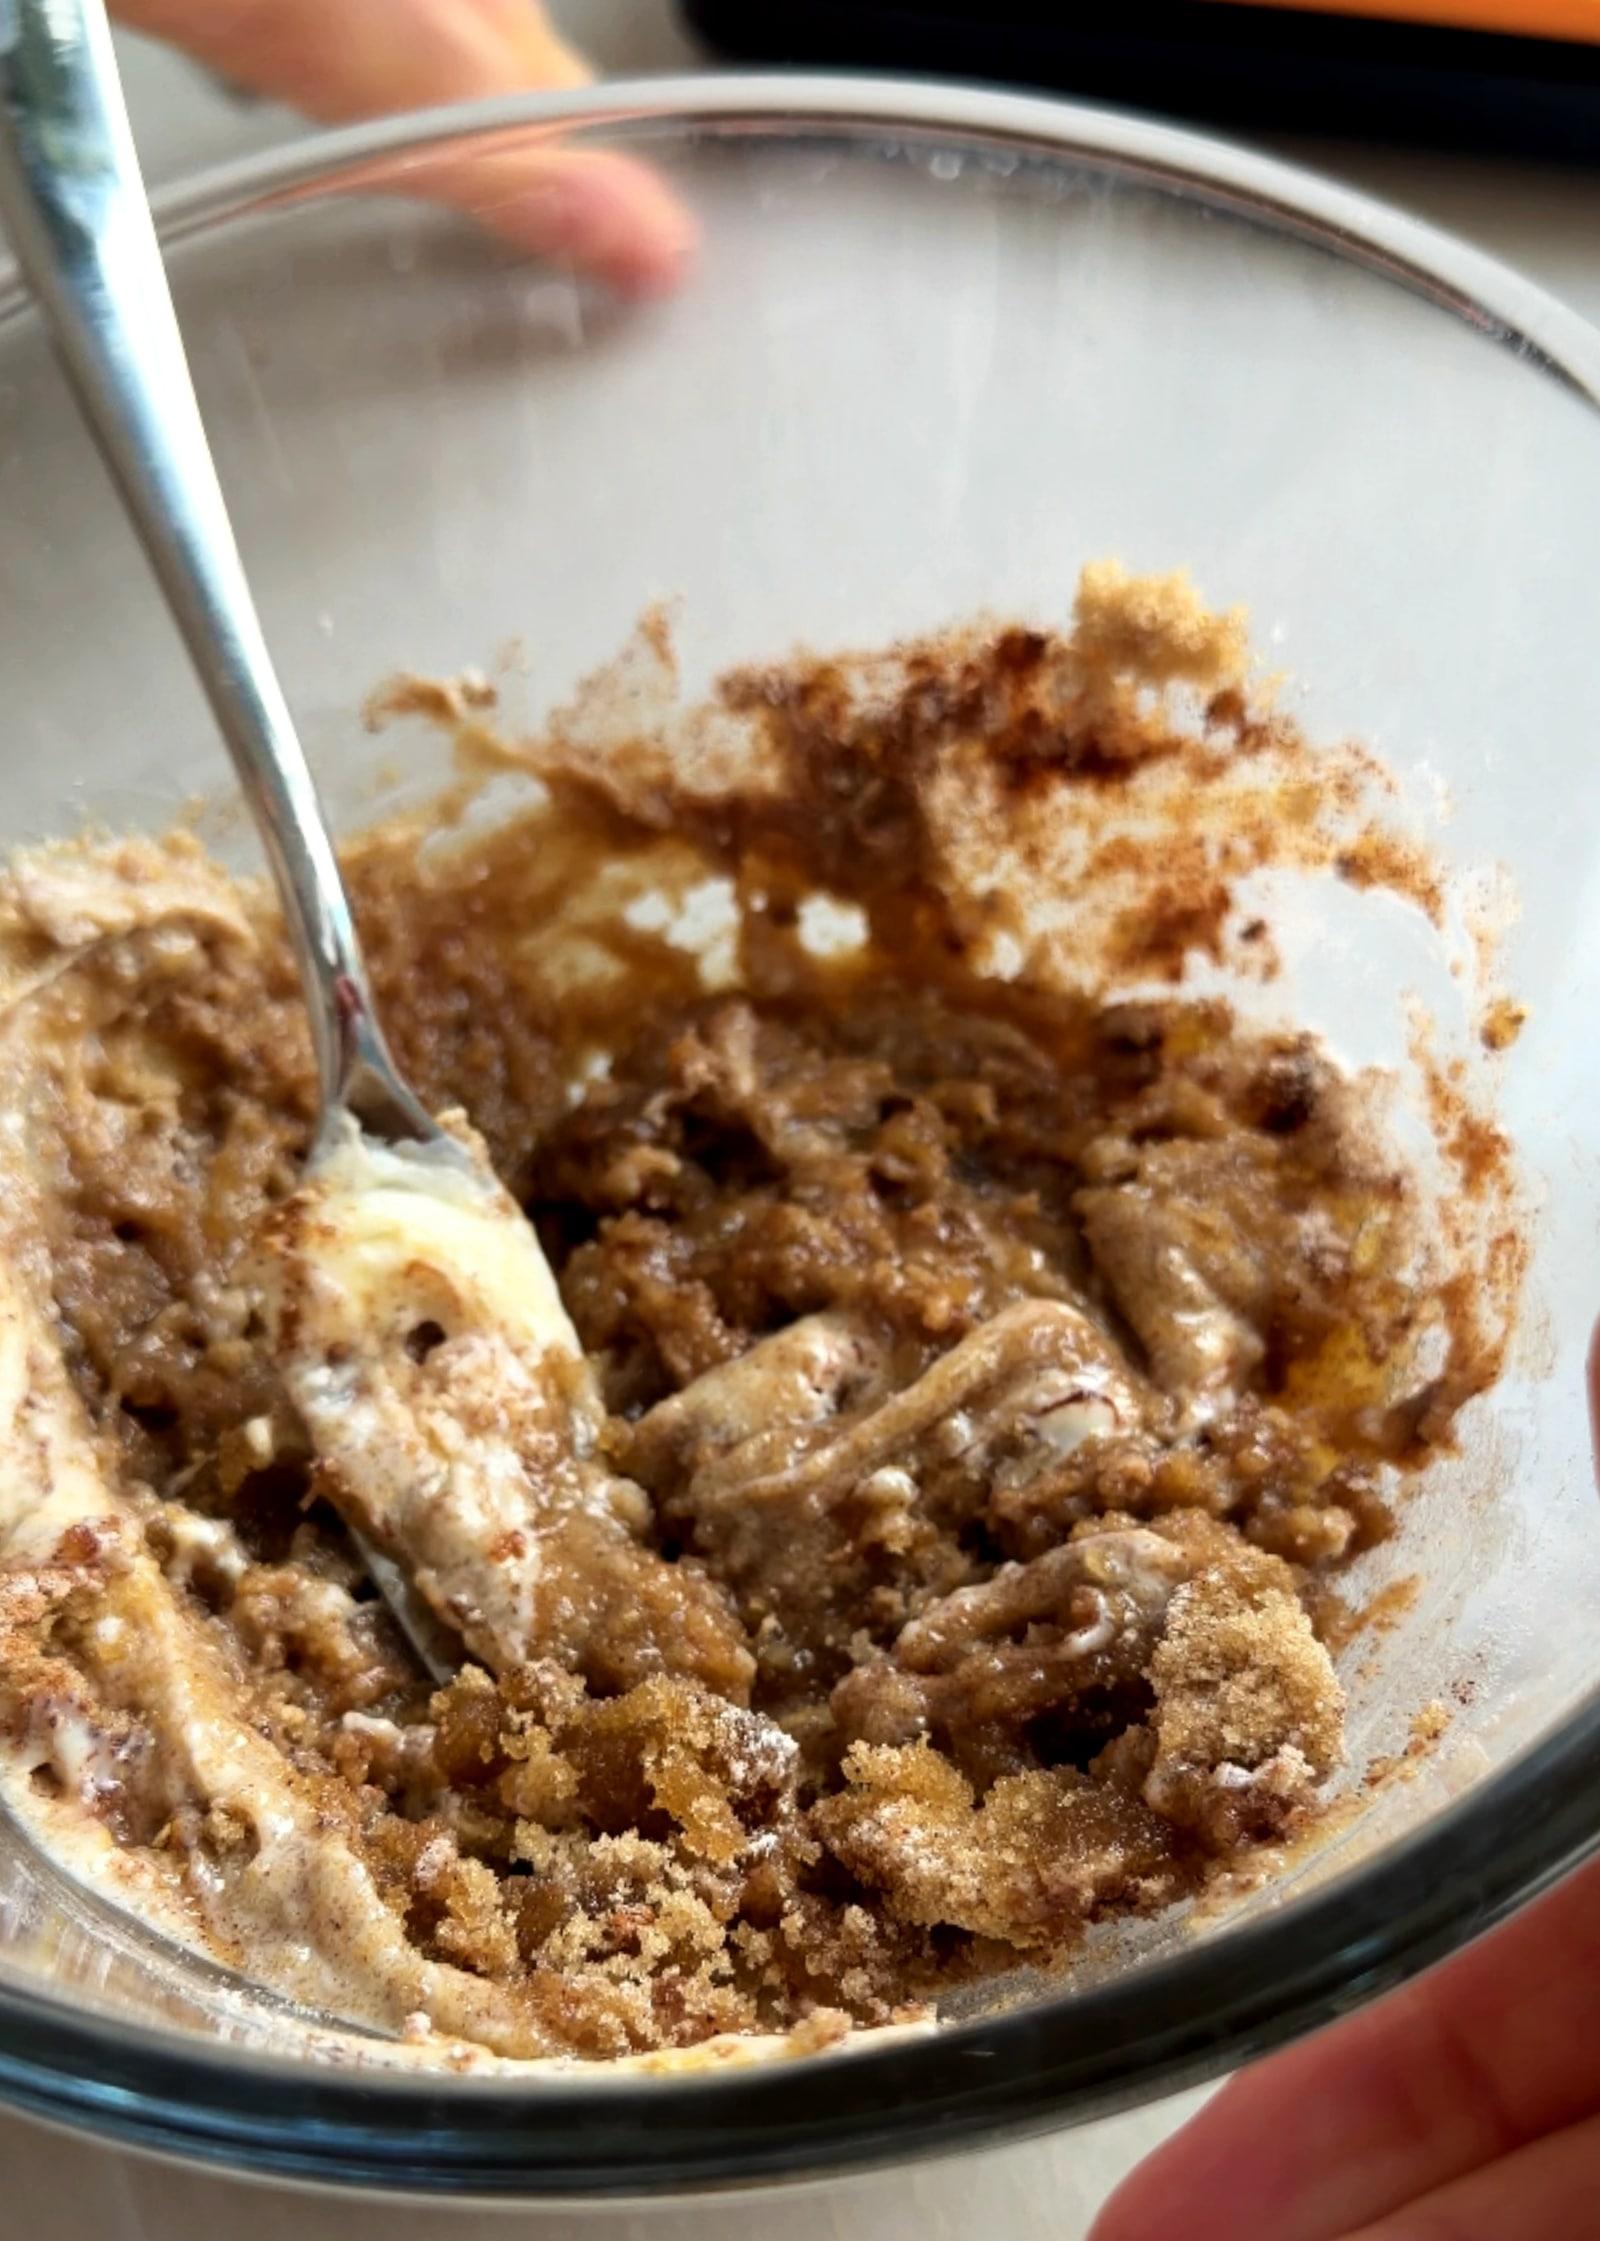
Mix into an evenly combined, spreadable paste. Step 4
Whisk the wet ingredients
Combine the sugars, molasses, avocado oil, yogurt, milk, and vanilla until smooth.
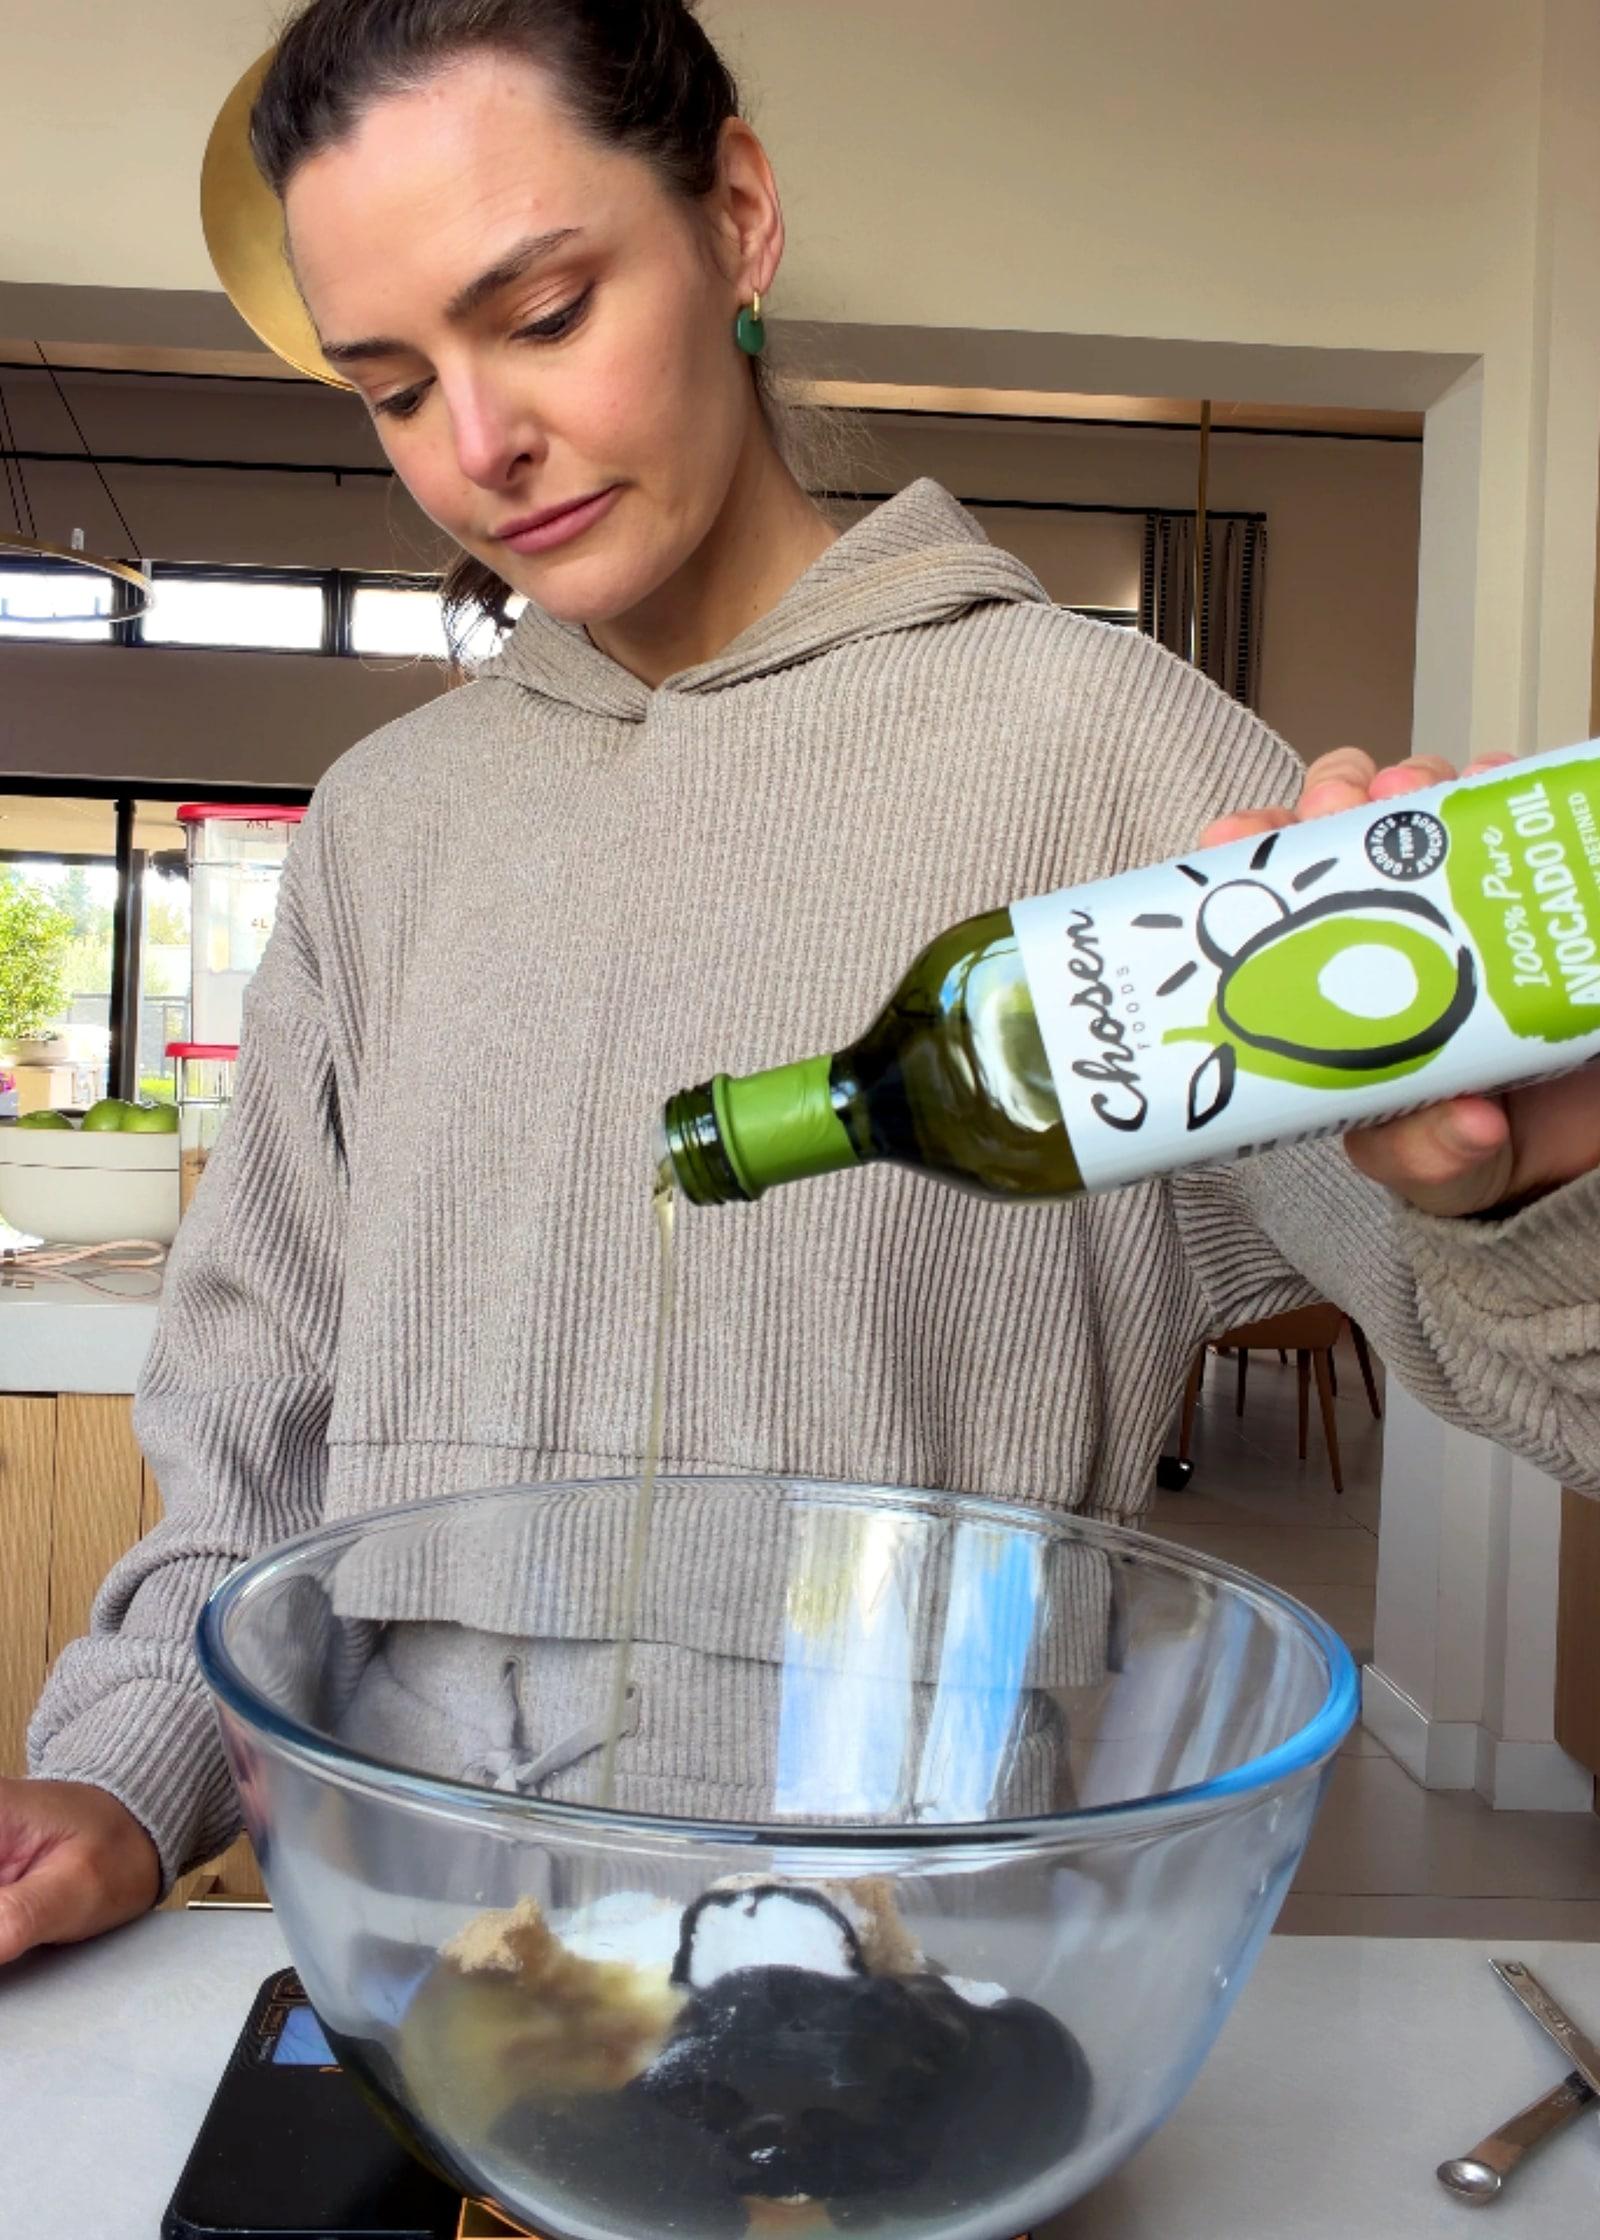
Add the oil with the remaining wet ingredients and sugars. 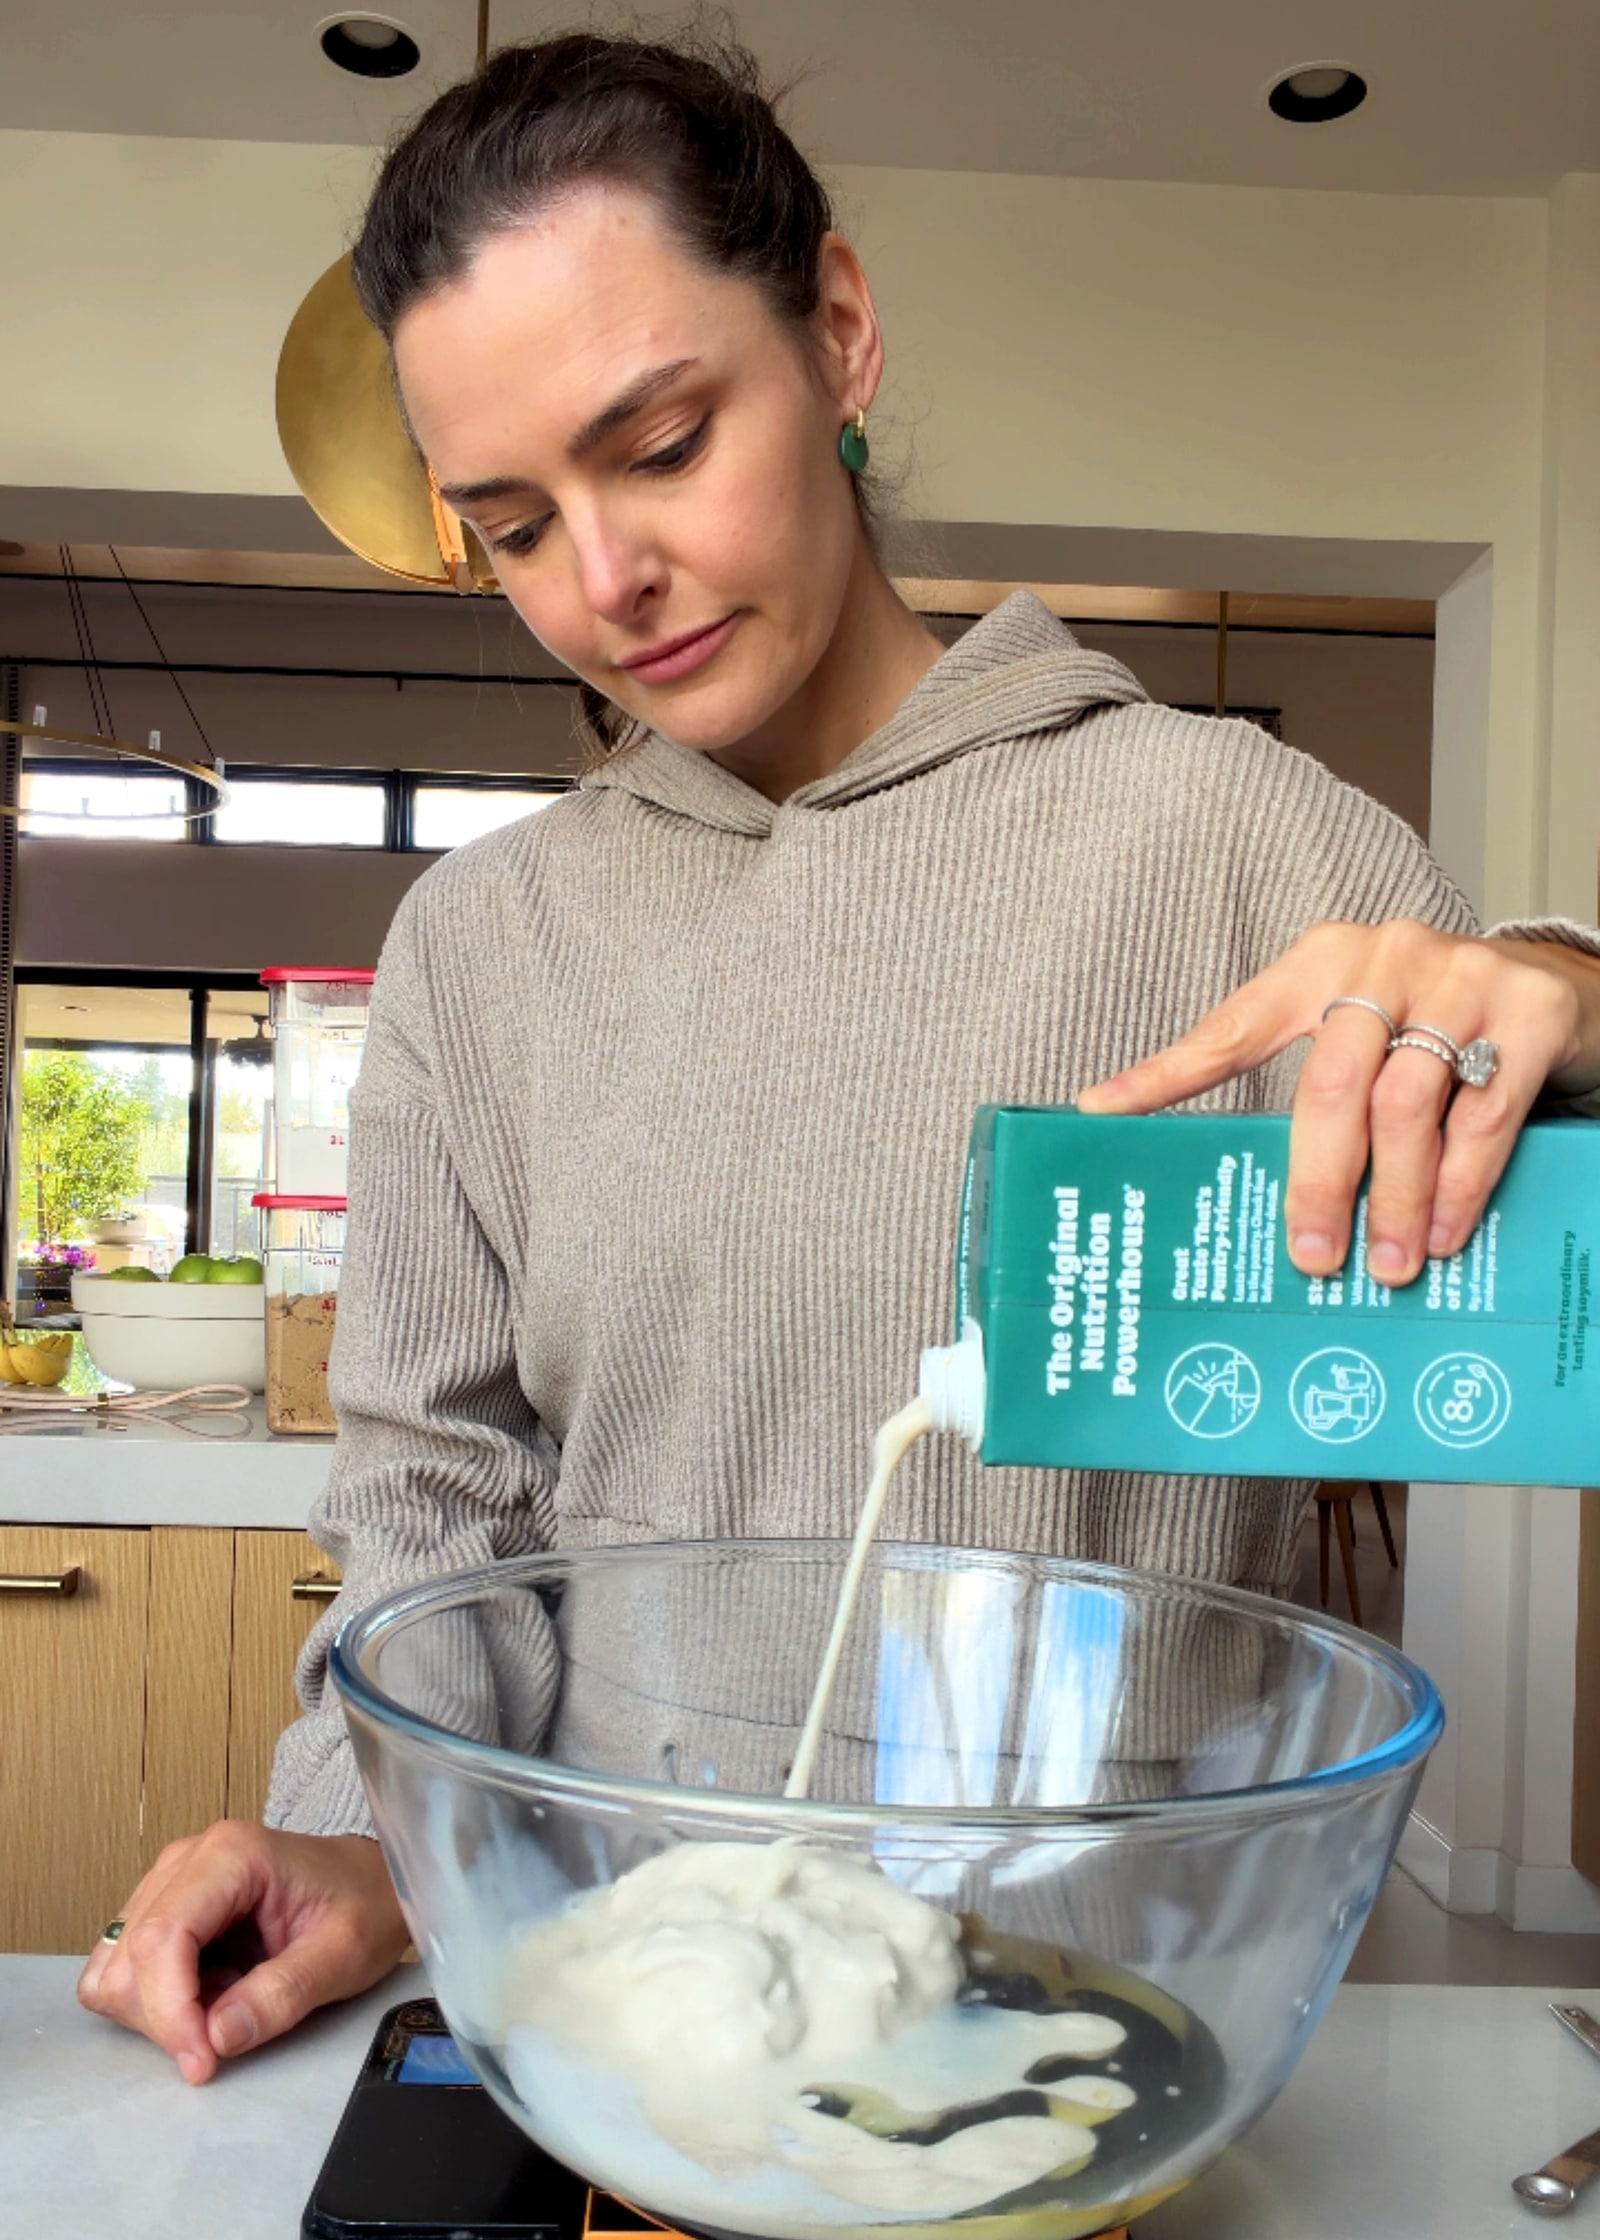
Use room-temperature milk and yogurt for the batter. 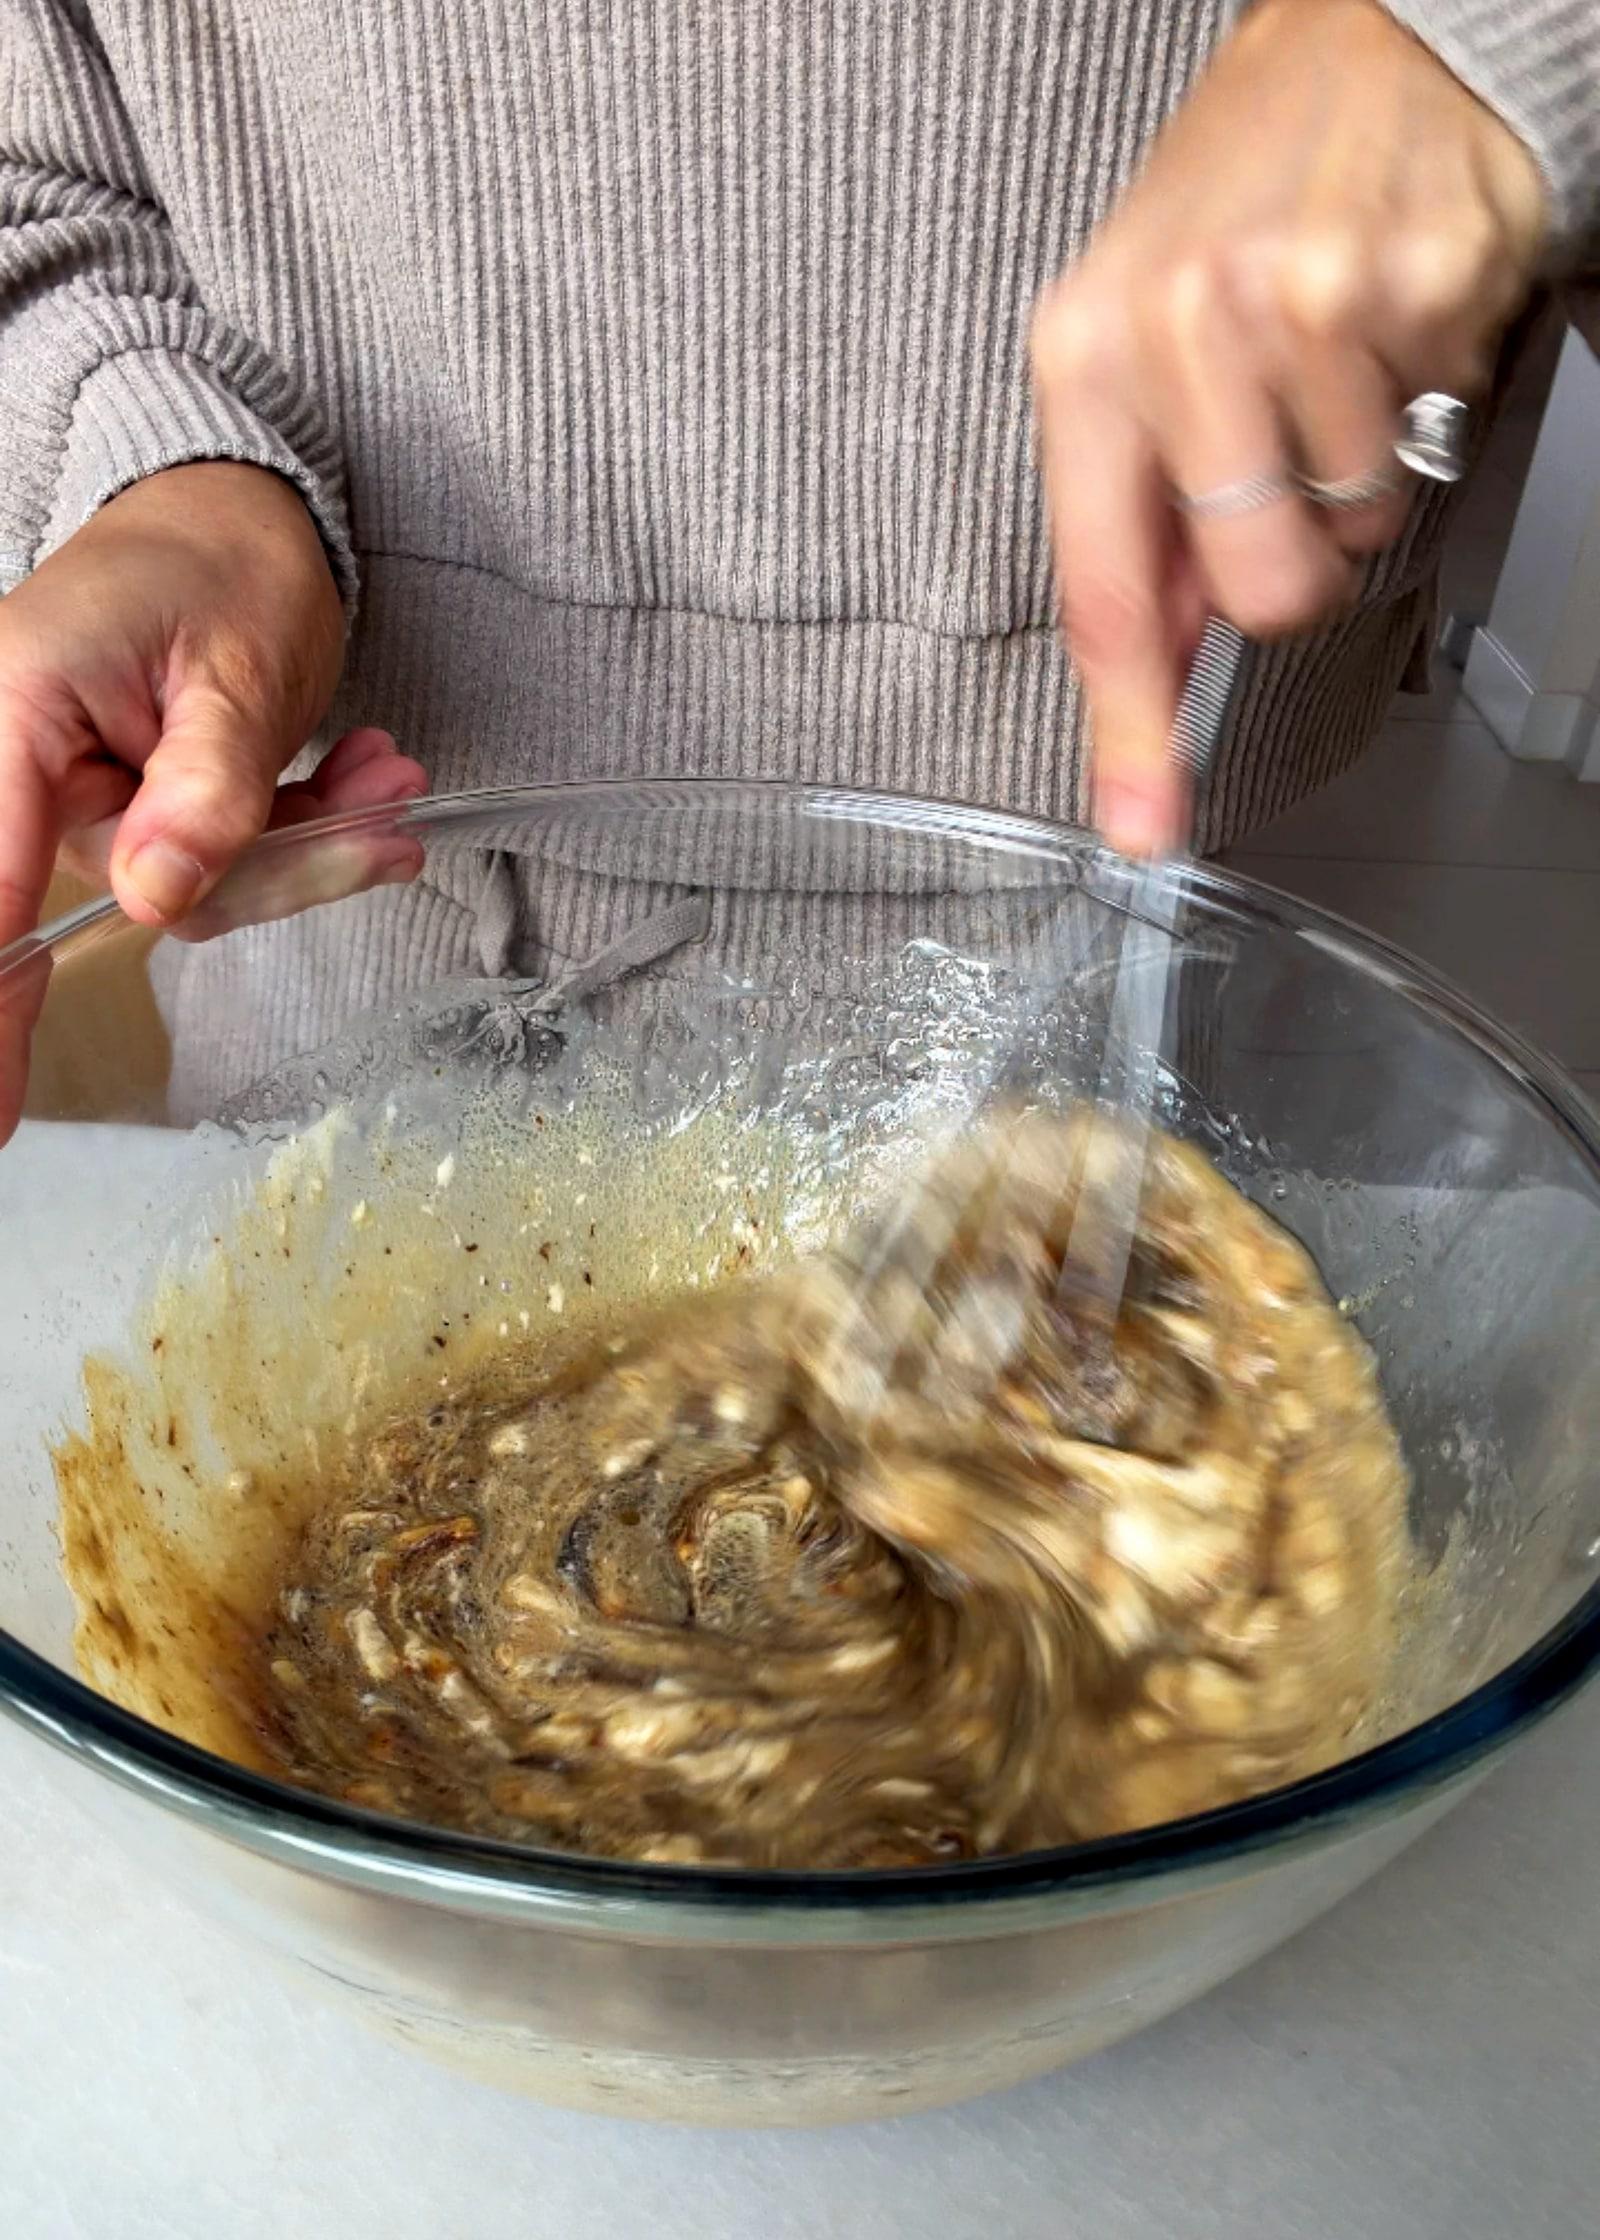
Whisk until the yogurt and molasses are fully combined. 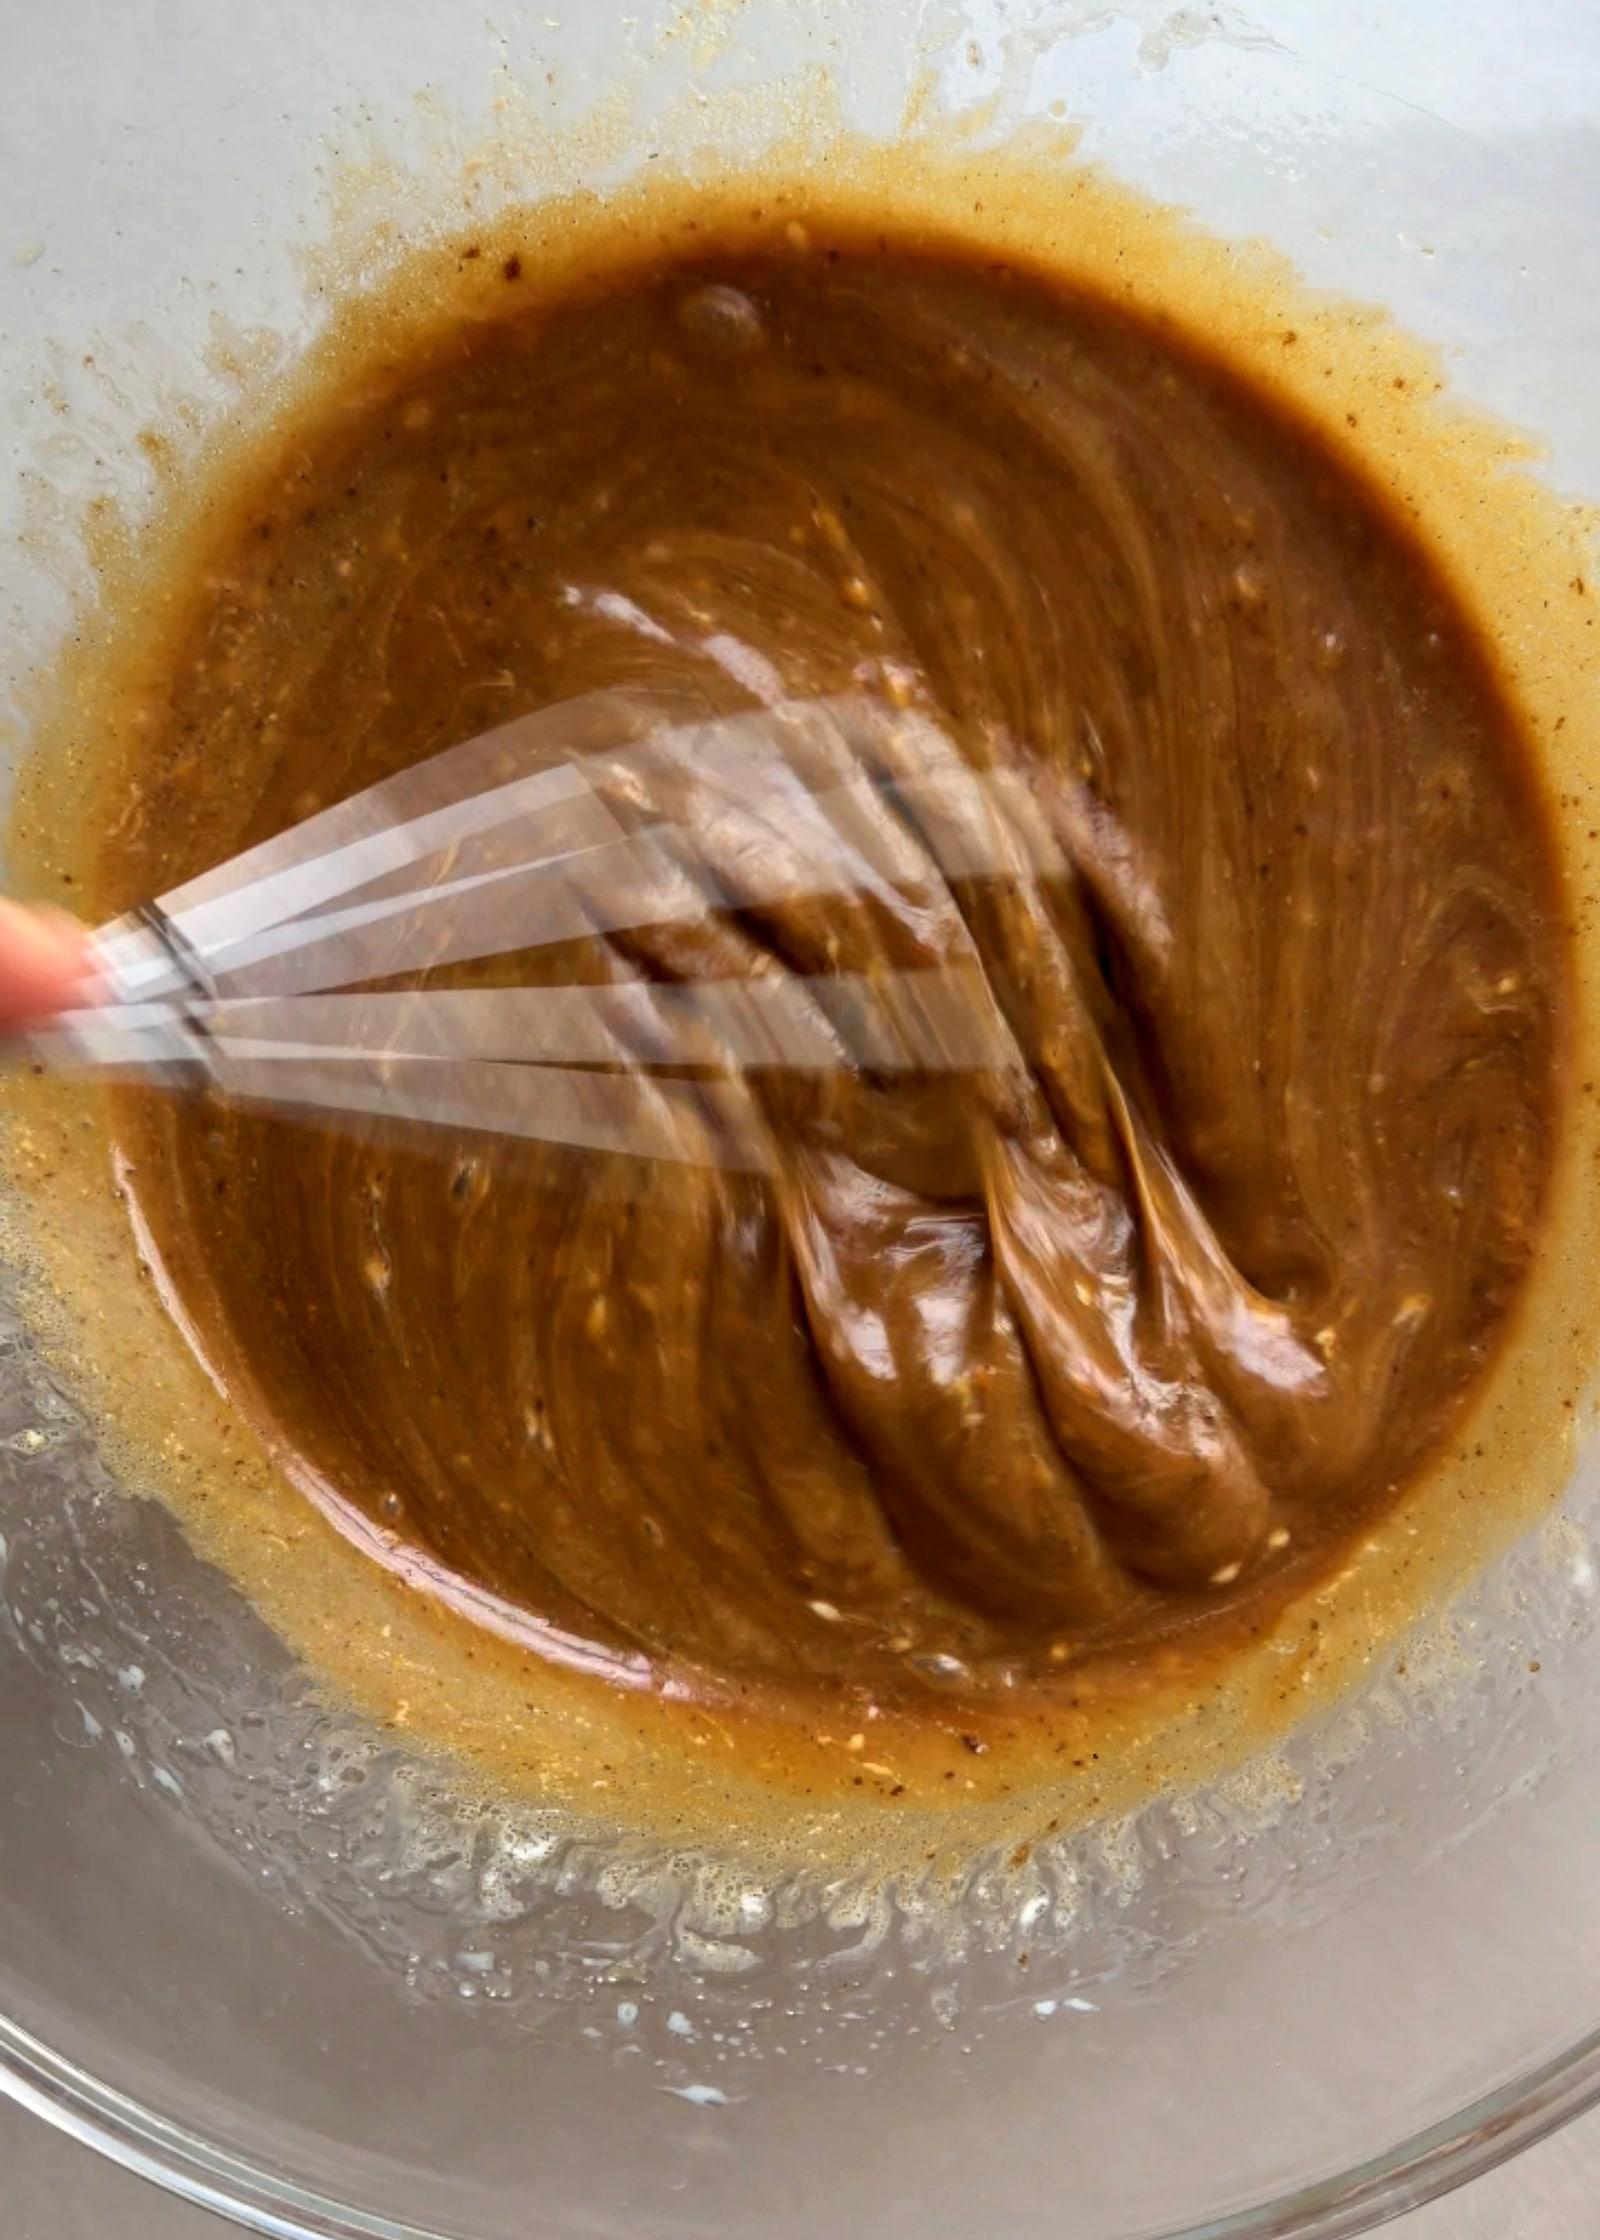
The wet mixture is smooth before the flour goes in. Step 5
Gently mix in the dry ingredients
Sift over the bowl, then gently whisk and fold until there are no remaining streaks of flour.
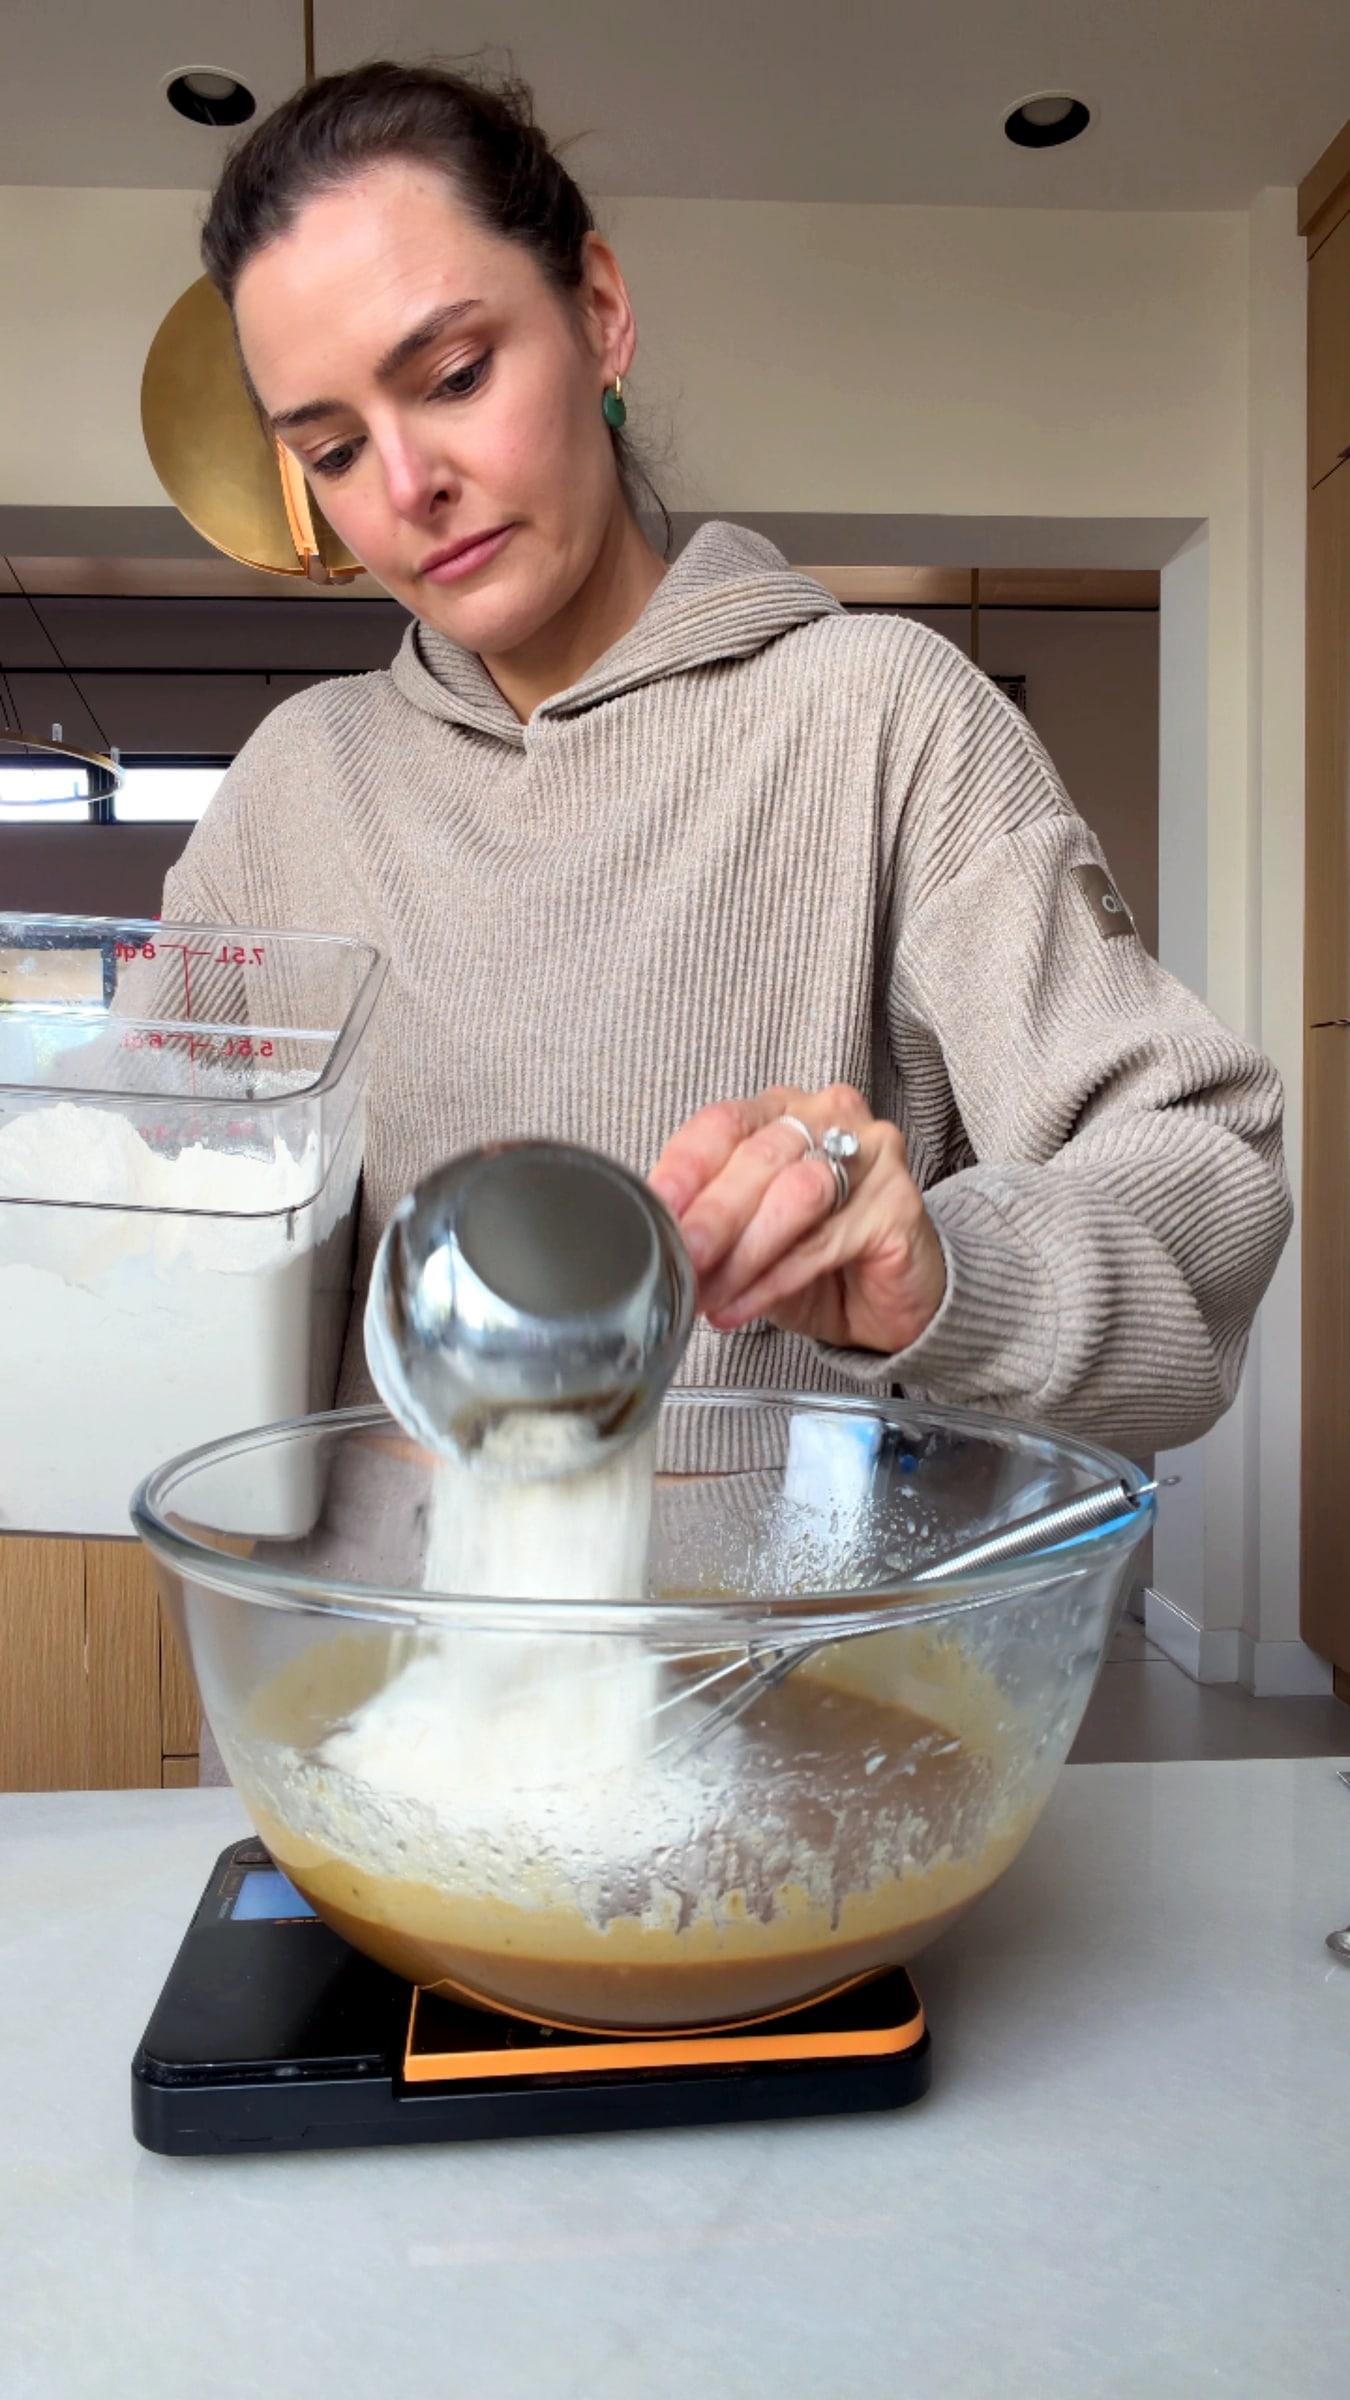
Sift the dry ingredients over the wet mixture. 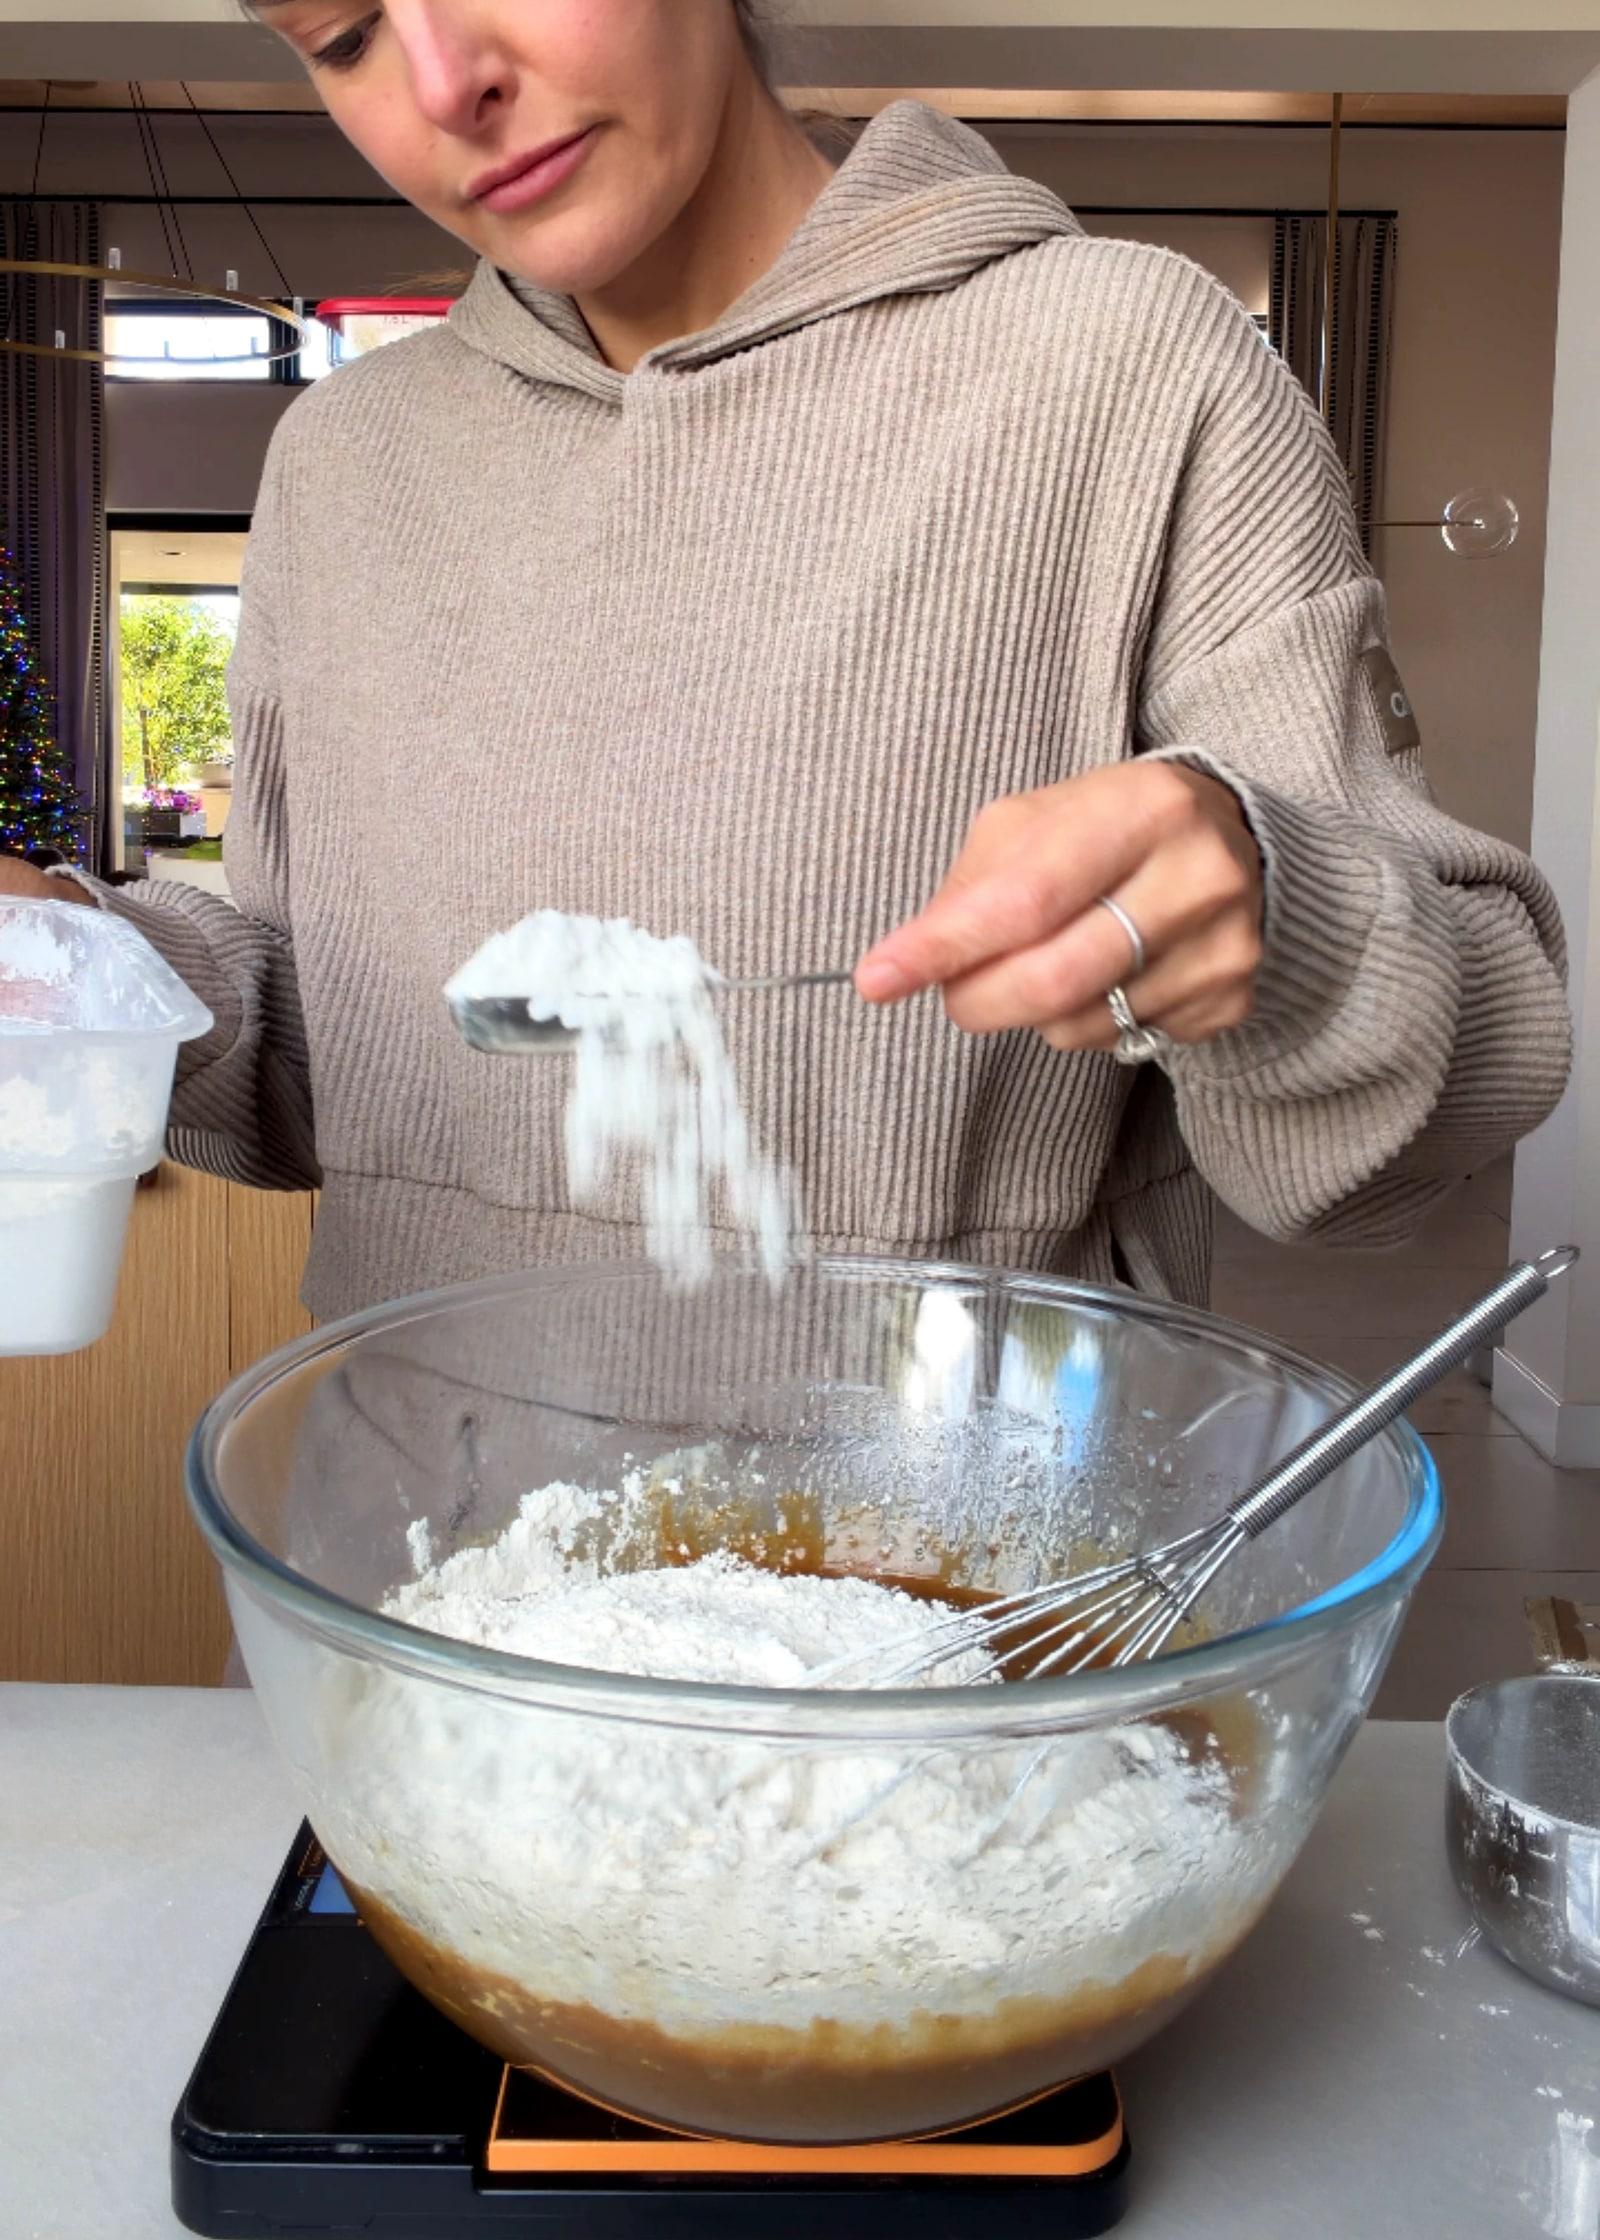
Include all the leaveners, cornstarch, salt, and spices. 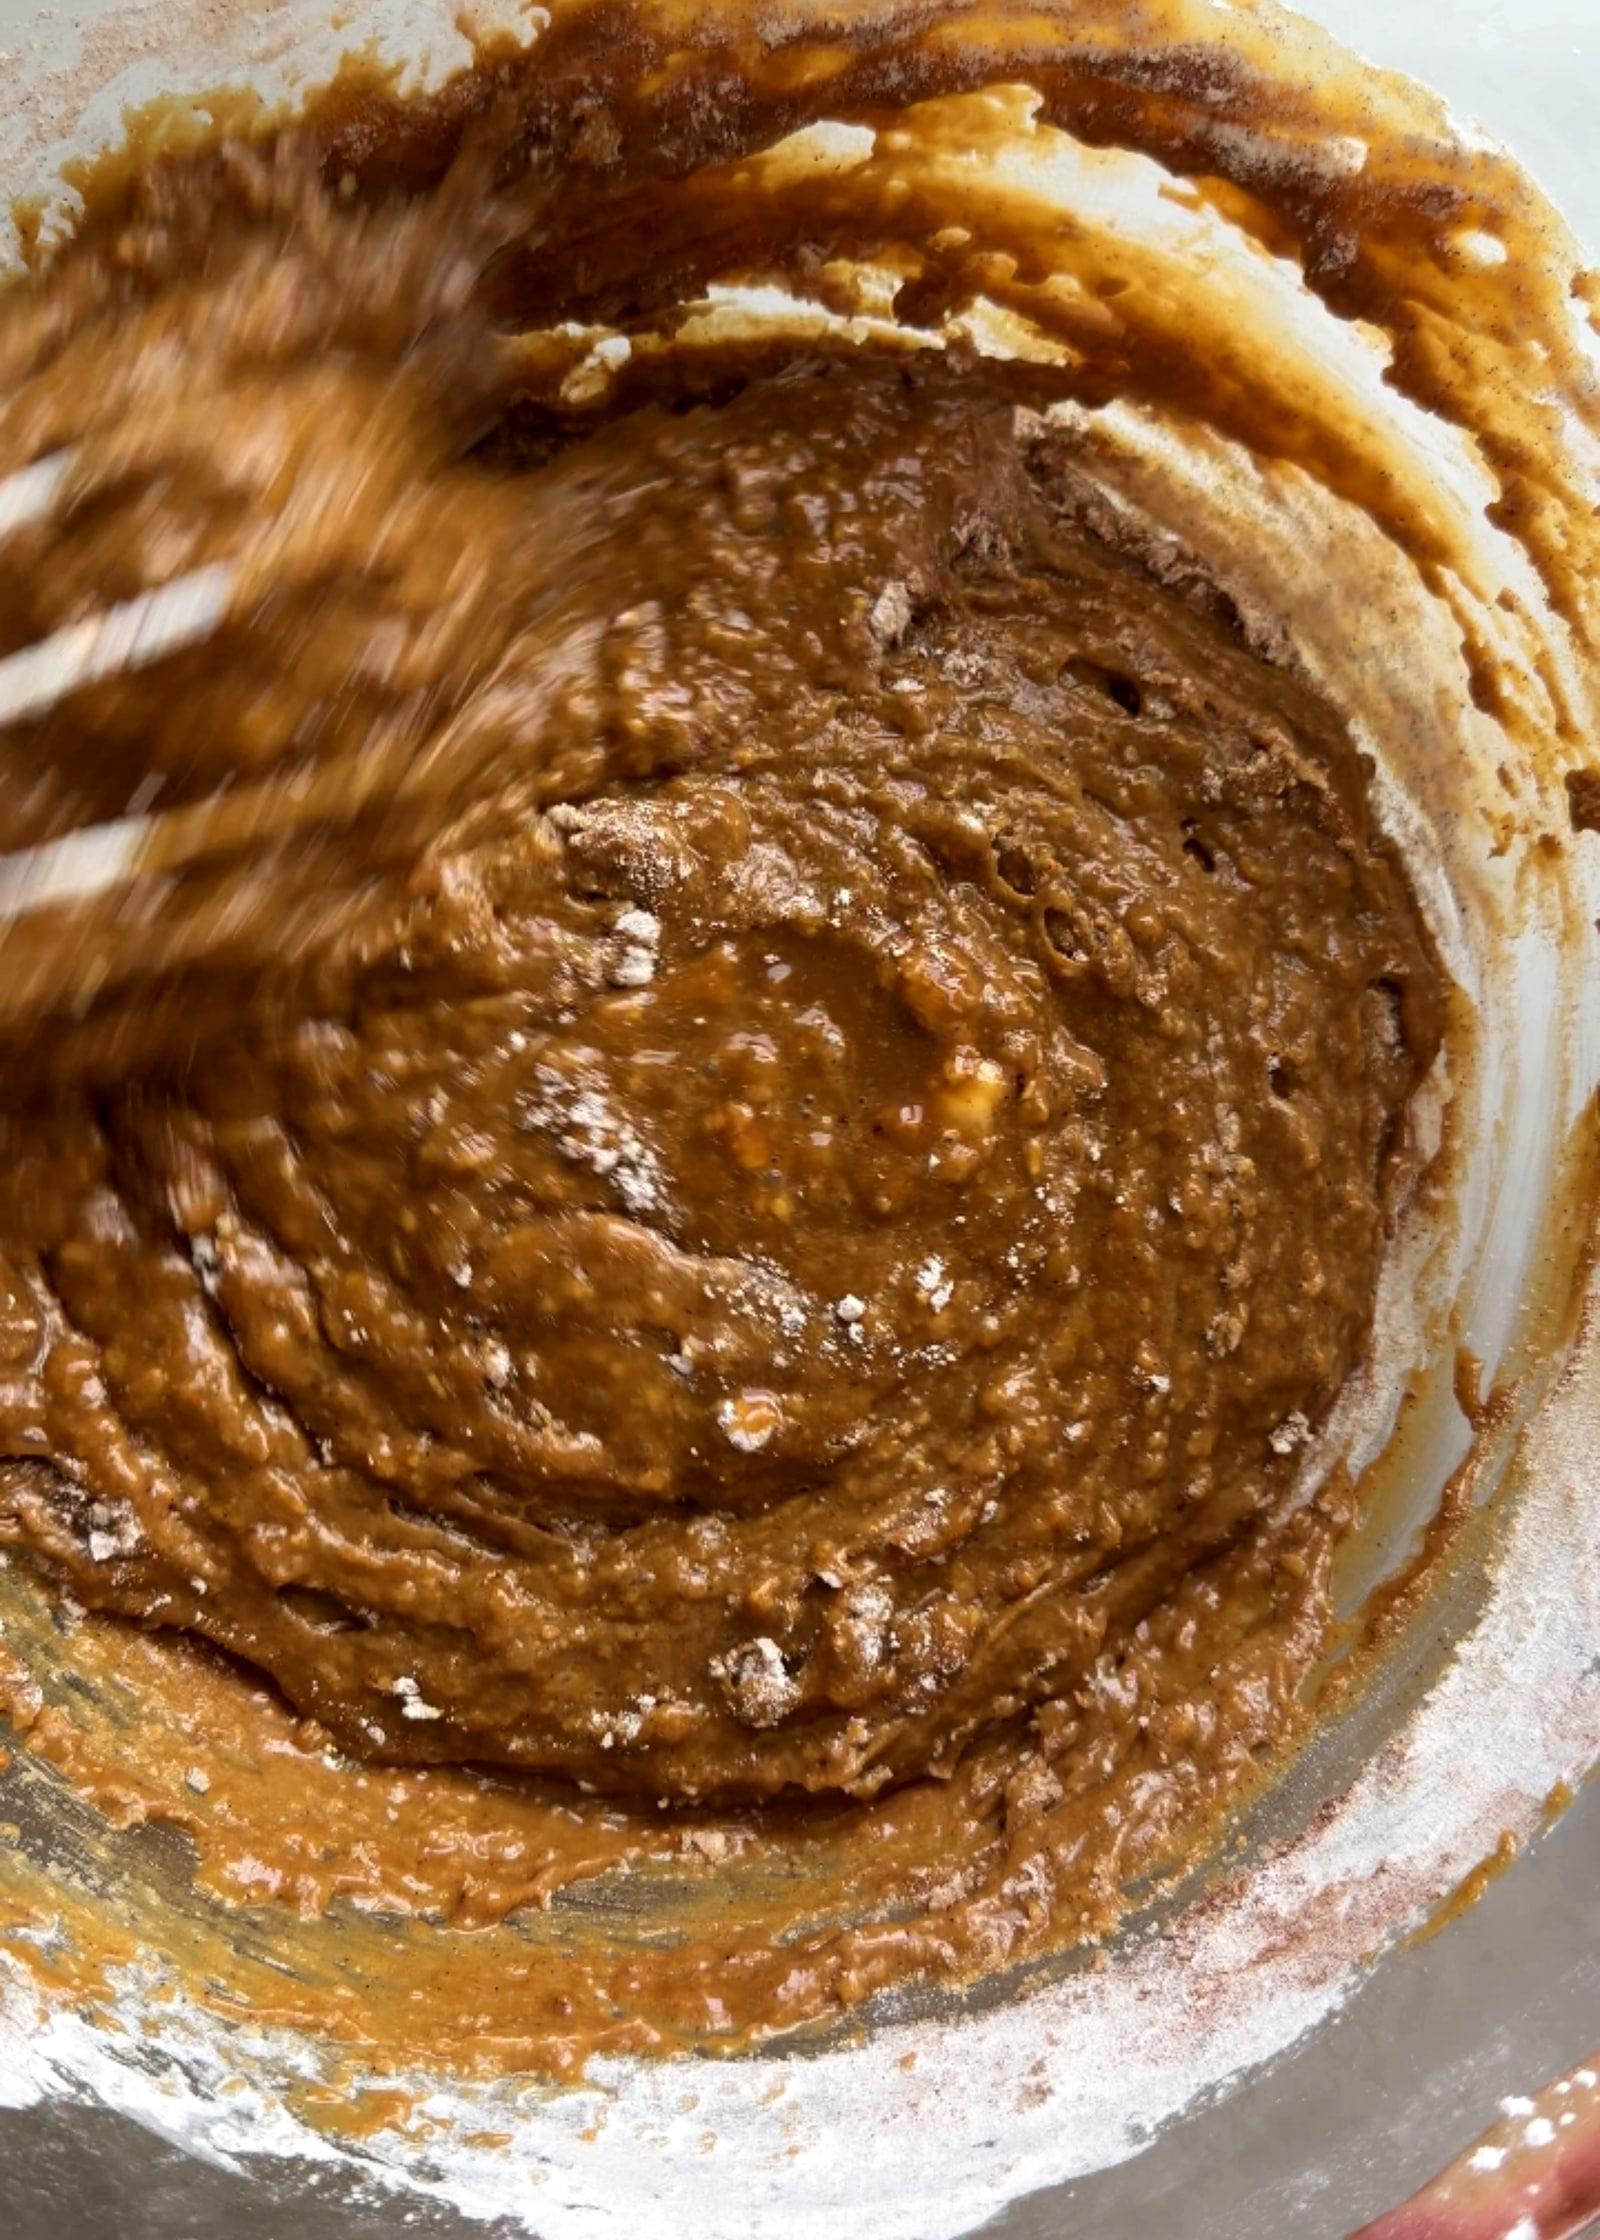
Scrape the sides and bottom to bring in the remaining flour. 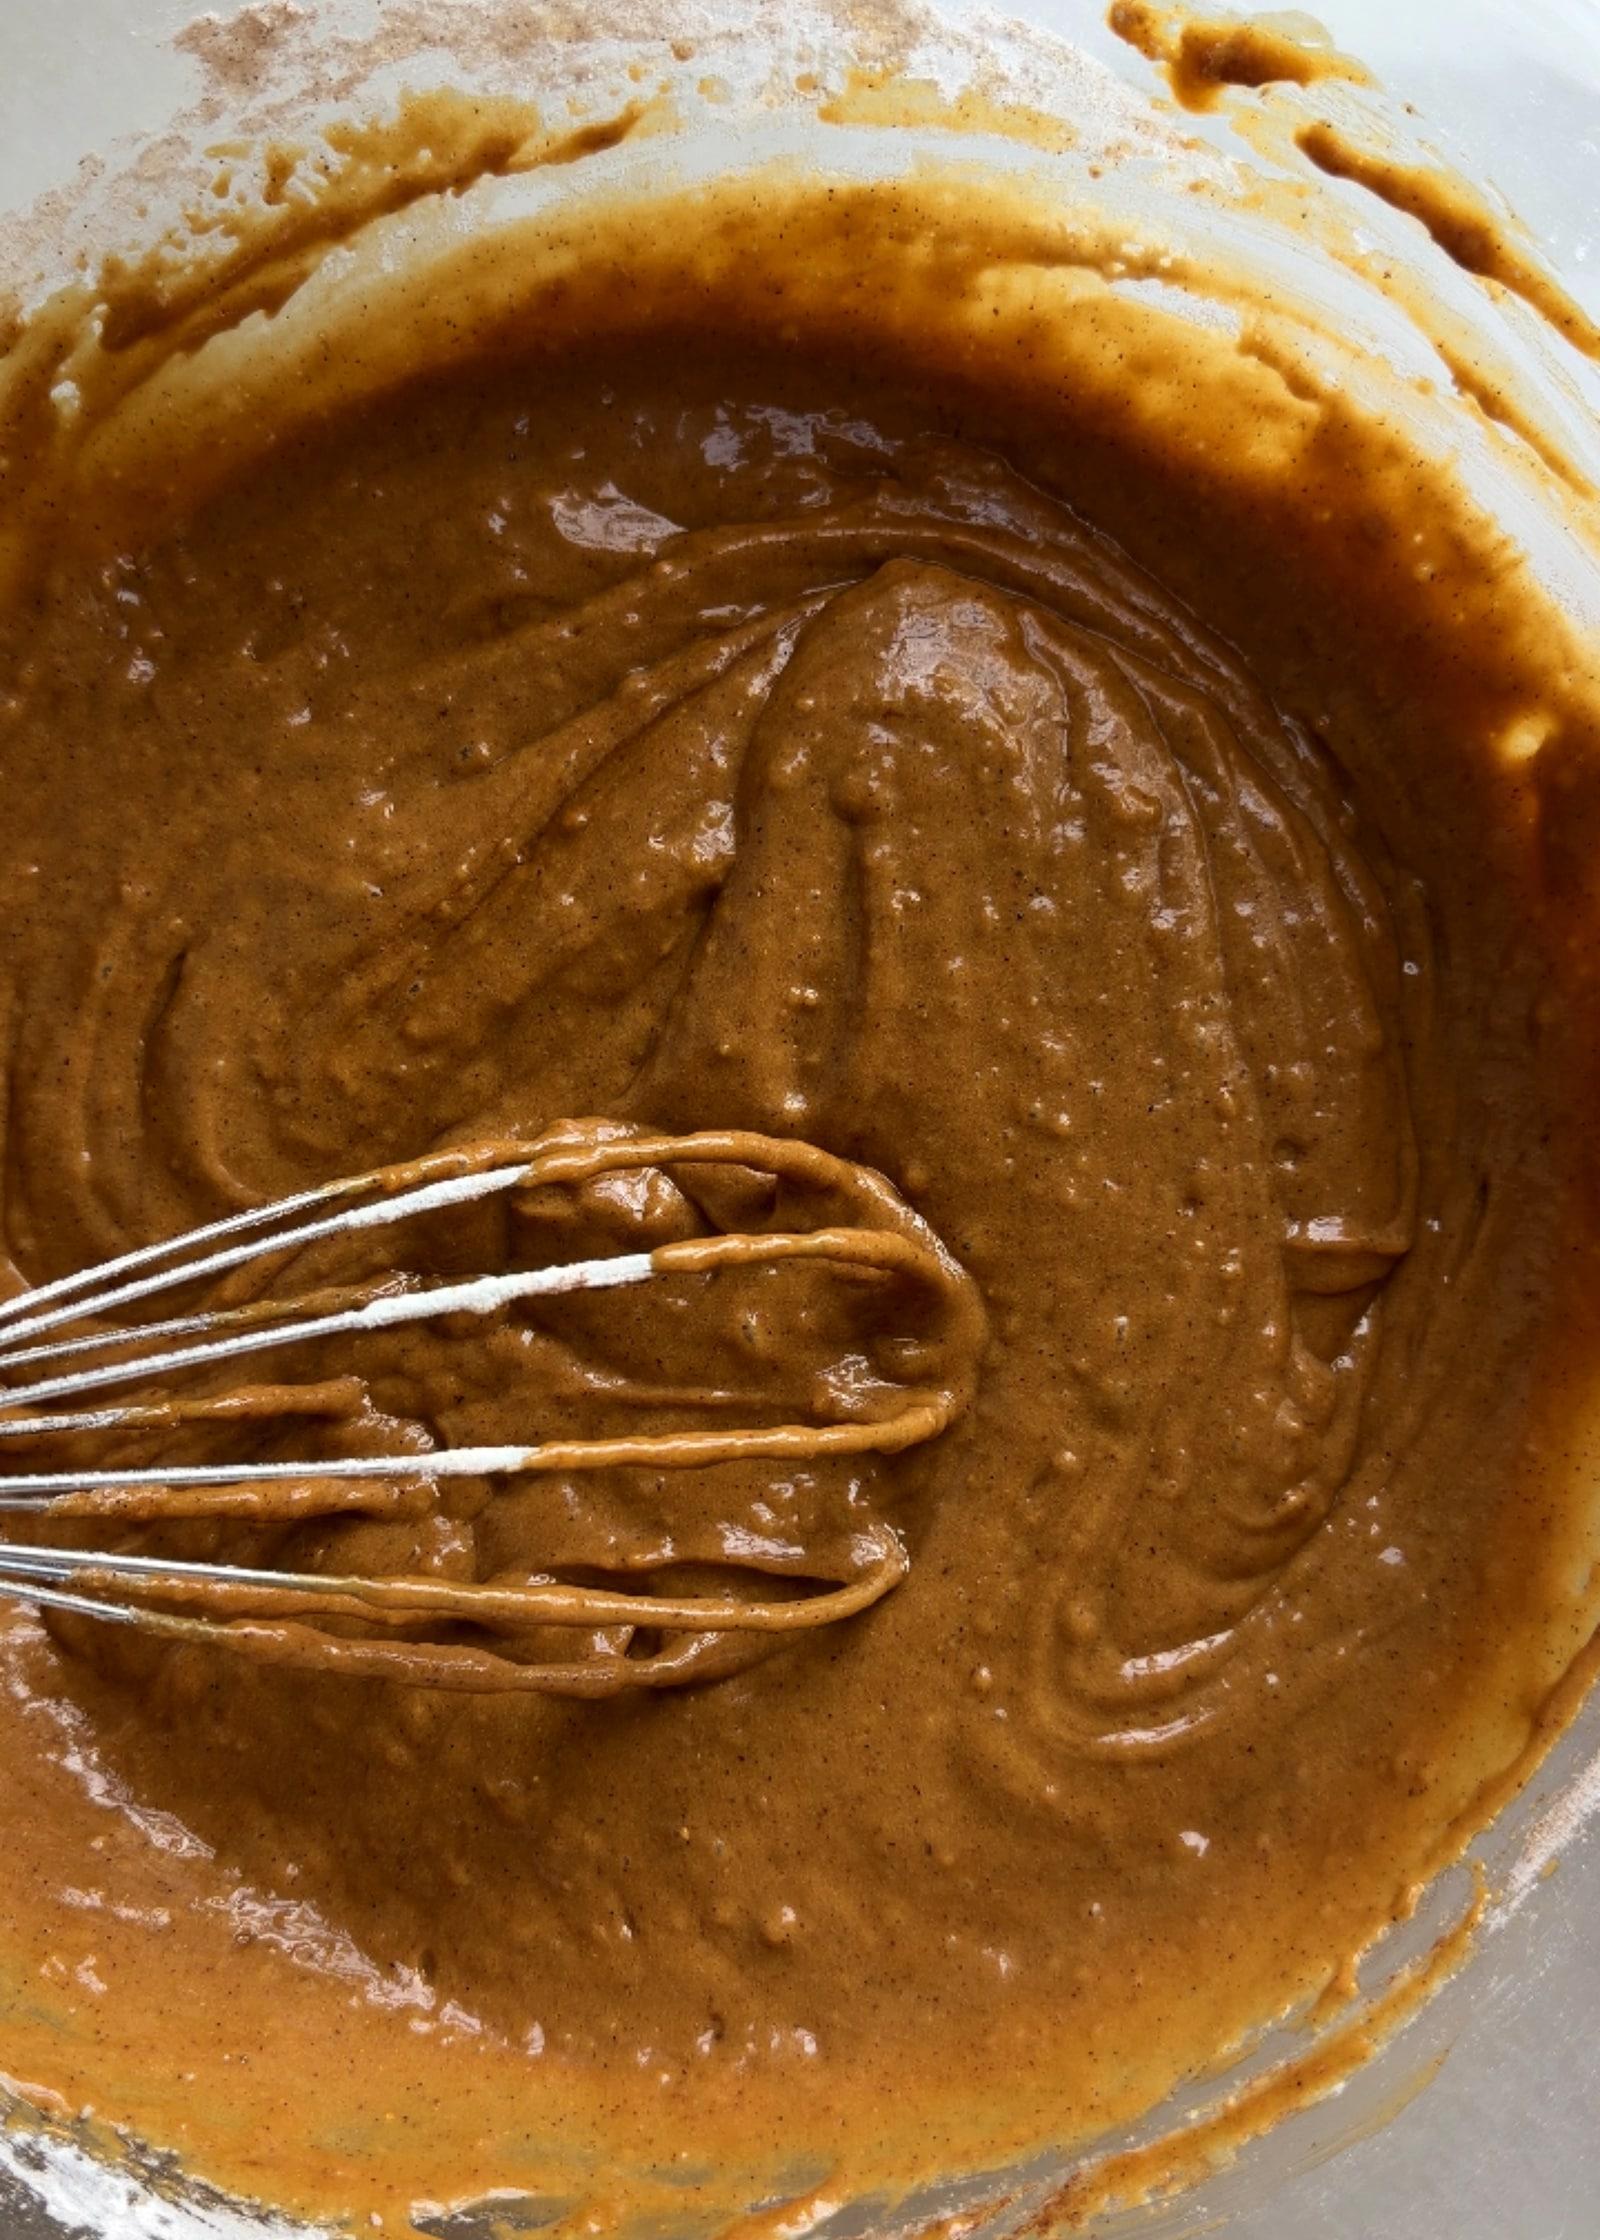
Stop mixing once no dry streaks remain. Step 6
Build the gingerbread layers
Spread about two-thirds of the batter across the base. Add small spoonfuls of filling and gently spread to the lined edges.
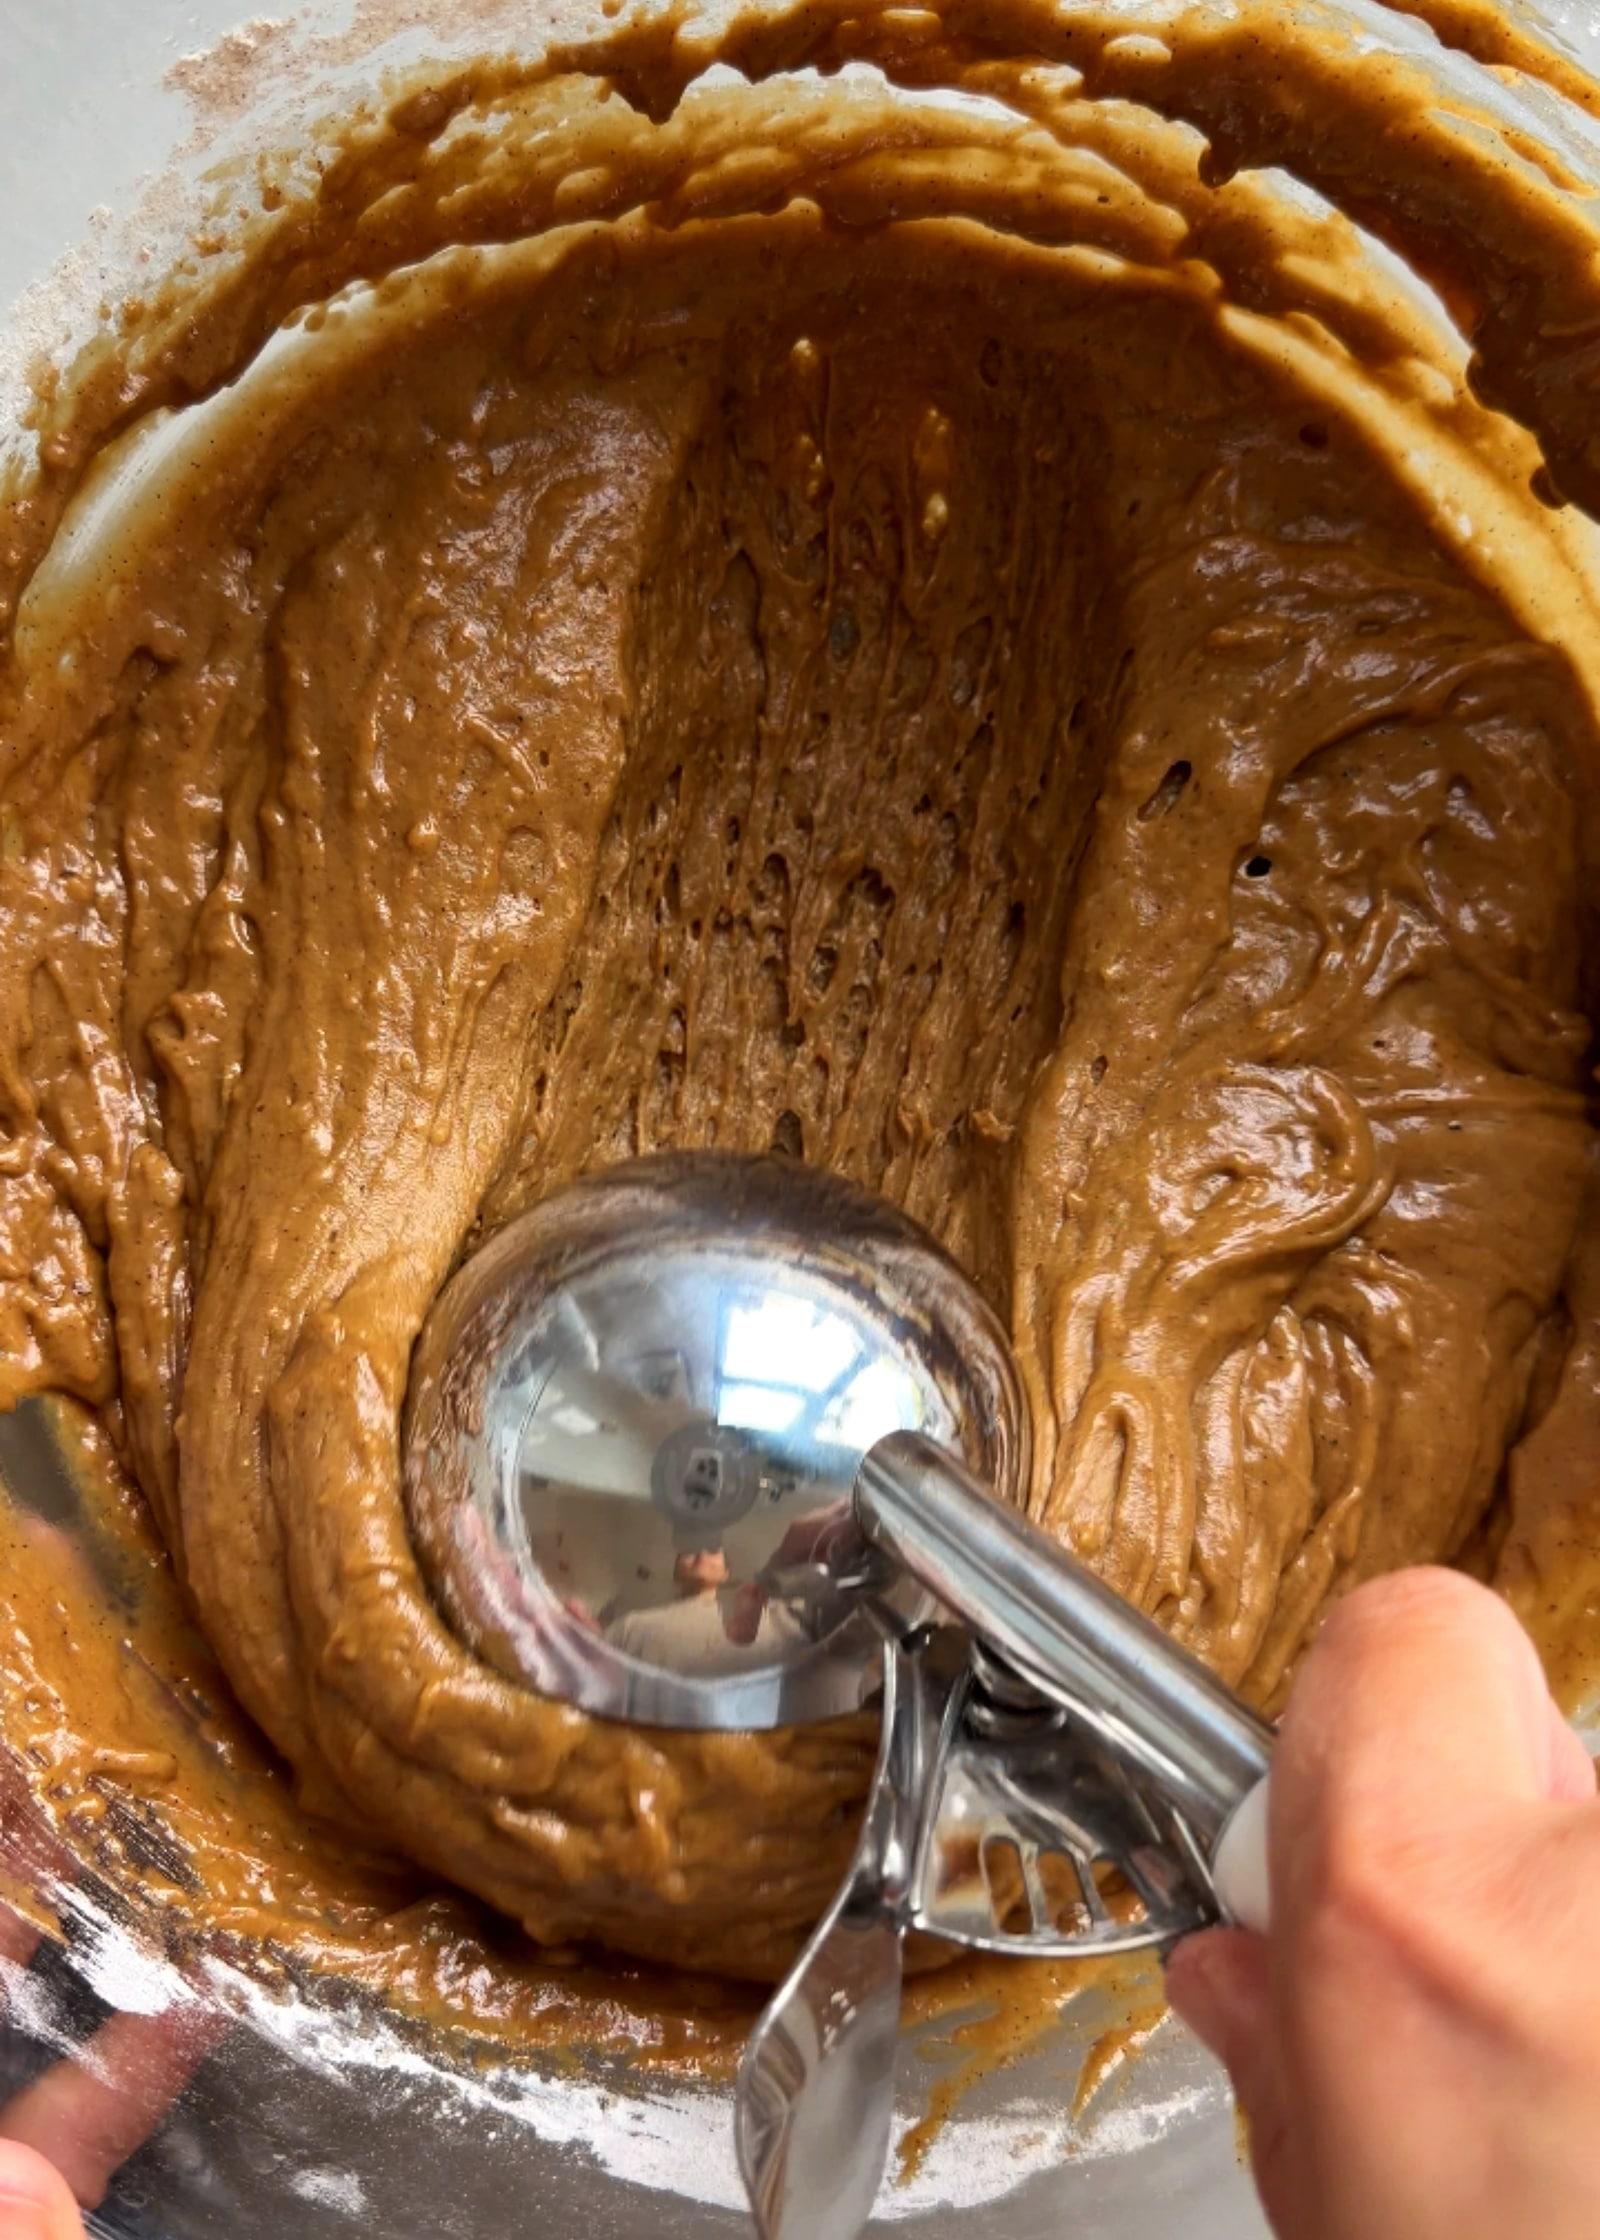
Reserve about one-third of the batter for the upper layer. 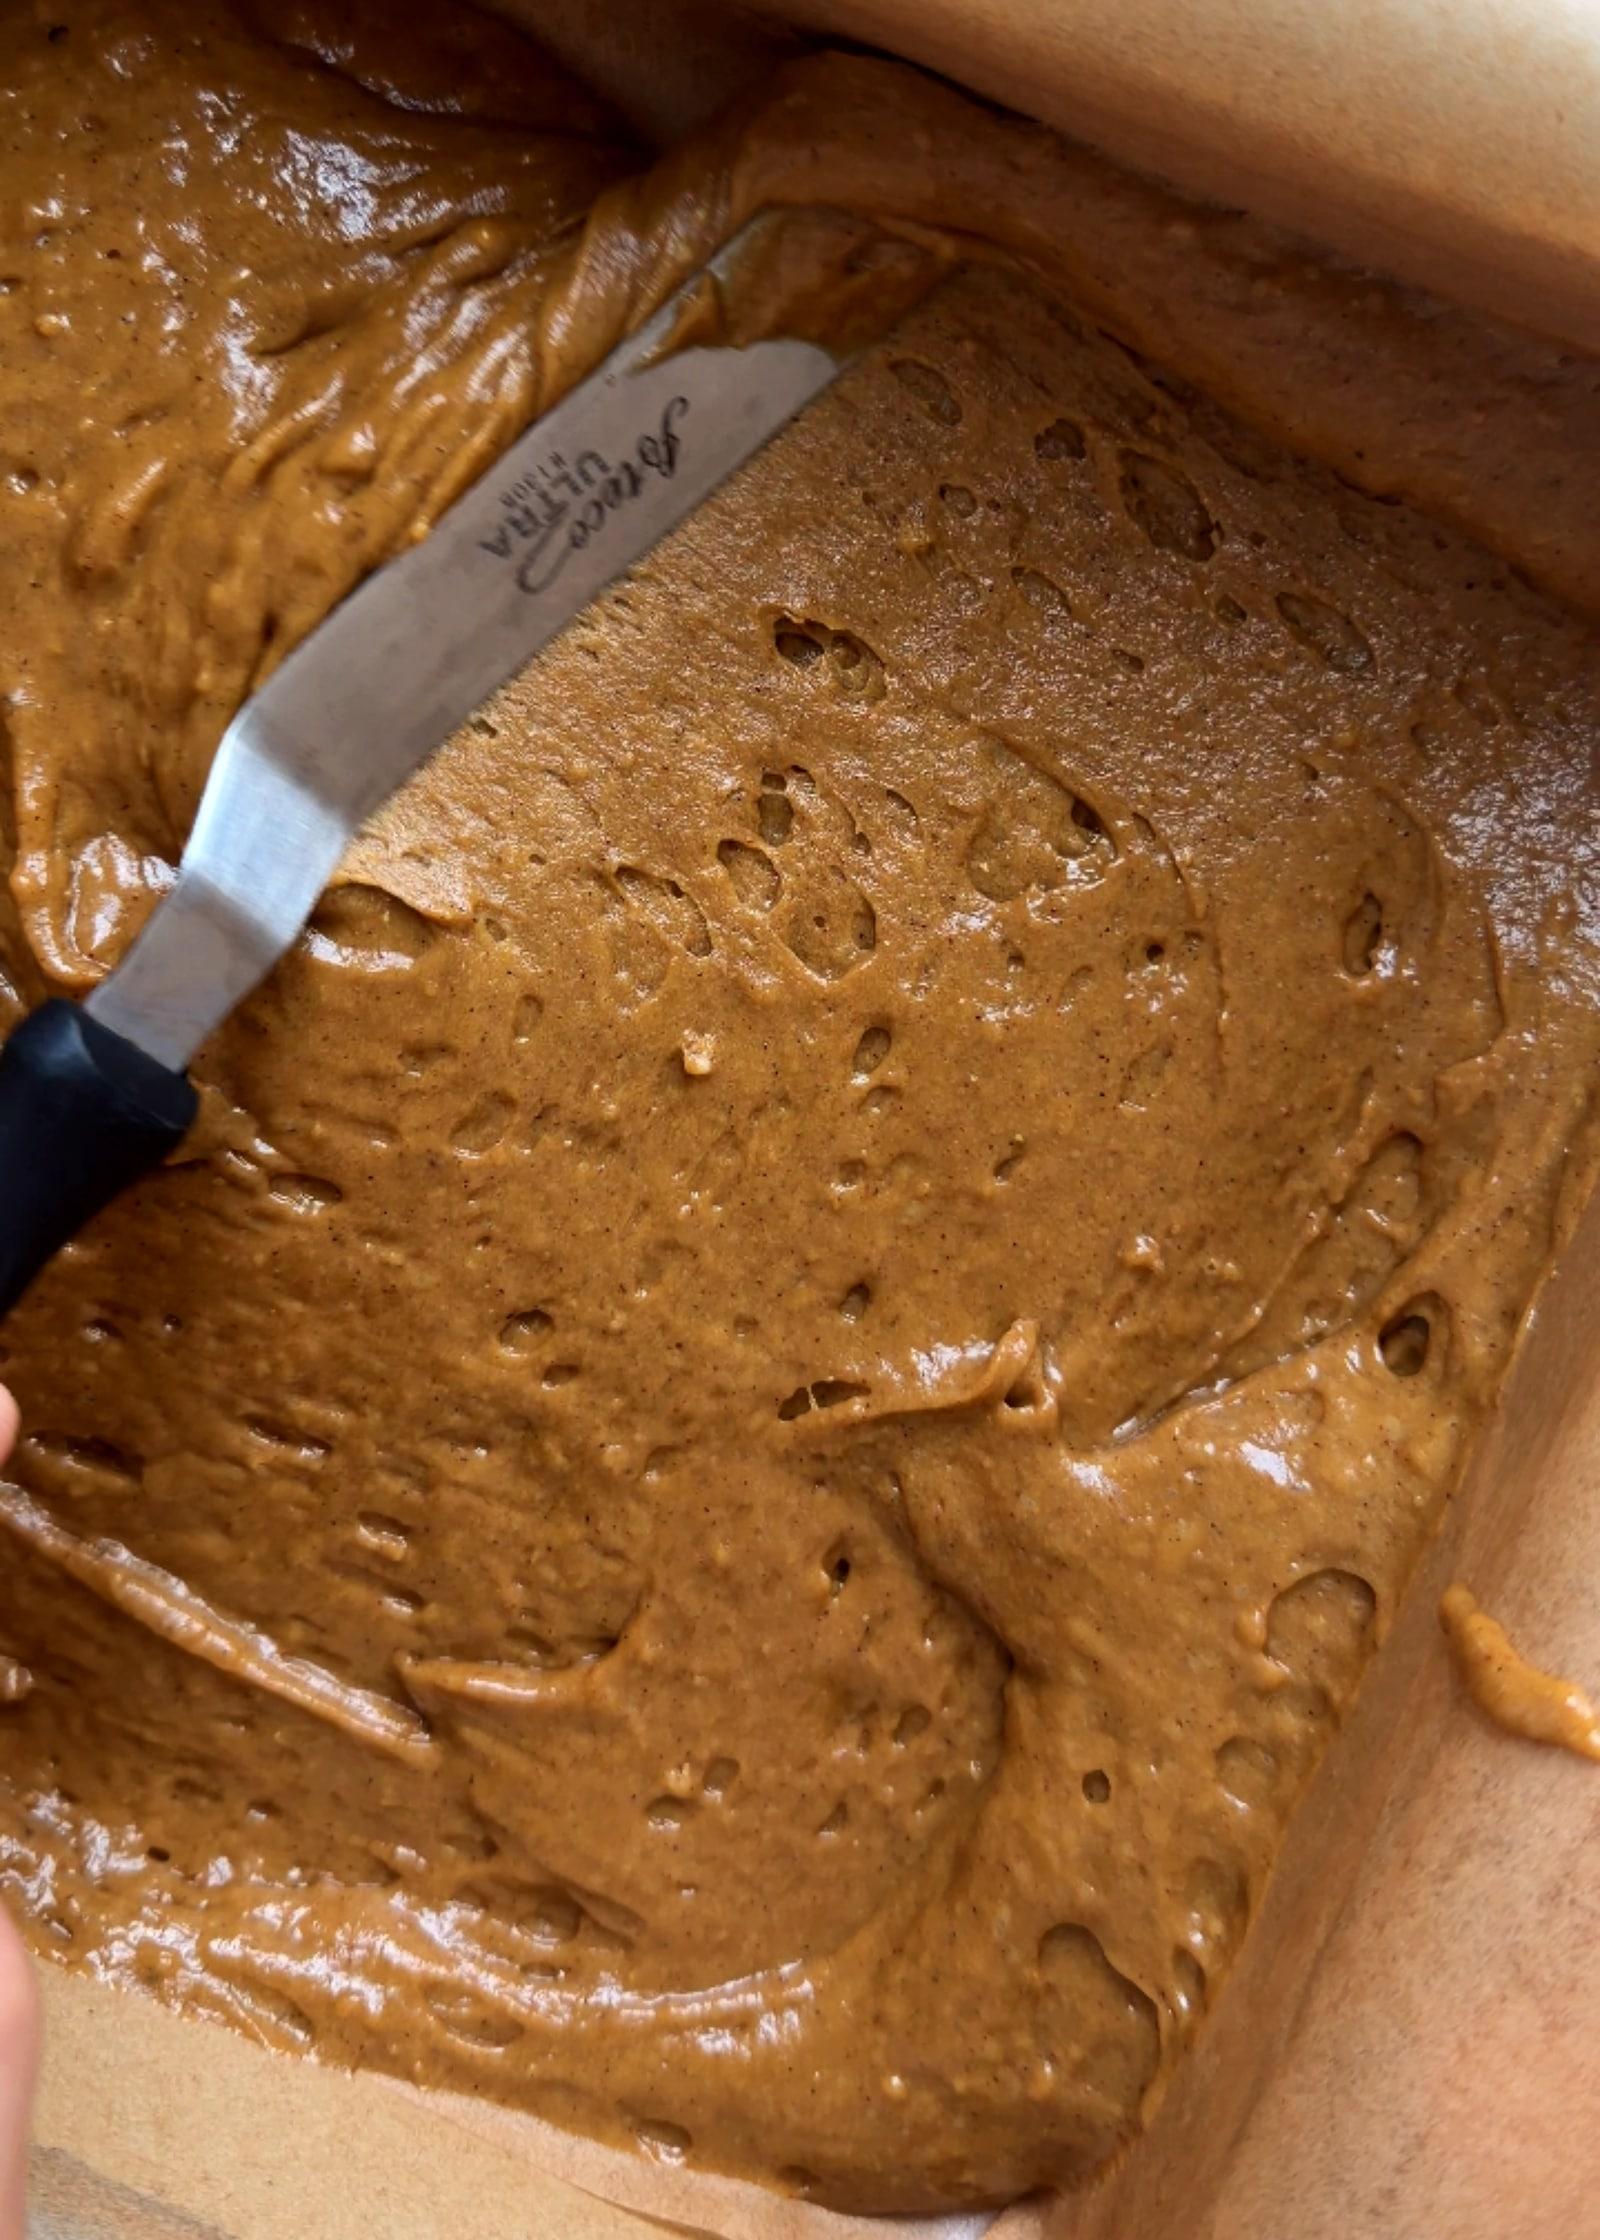
Spread about two-thirds of the batter into an even base. 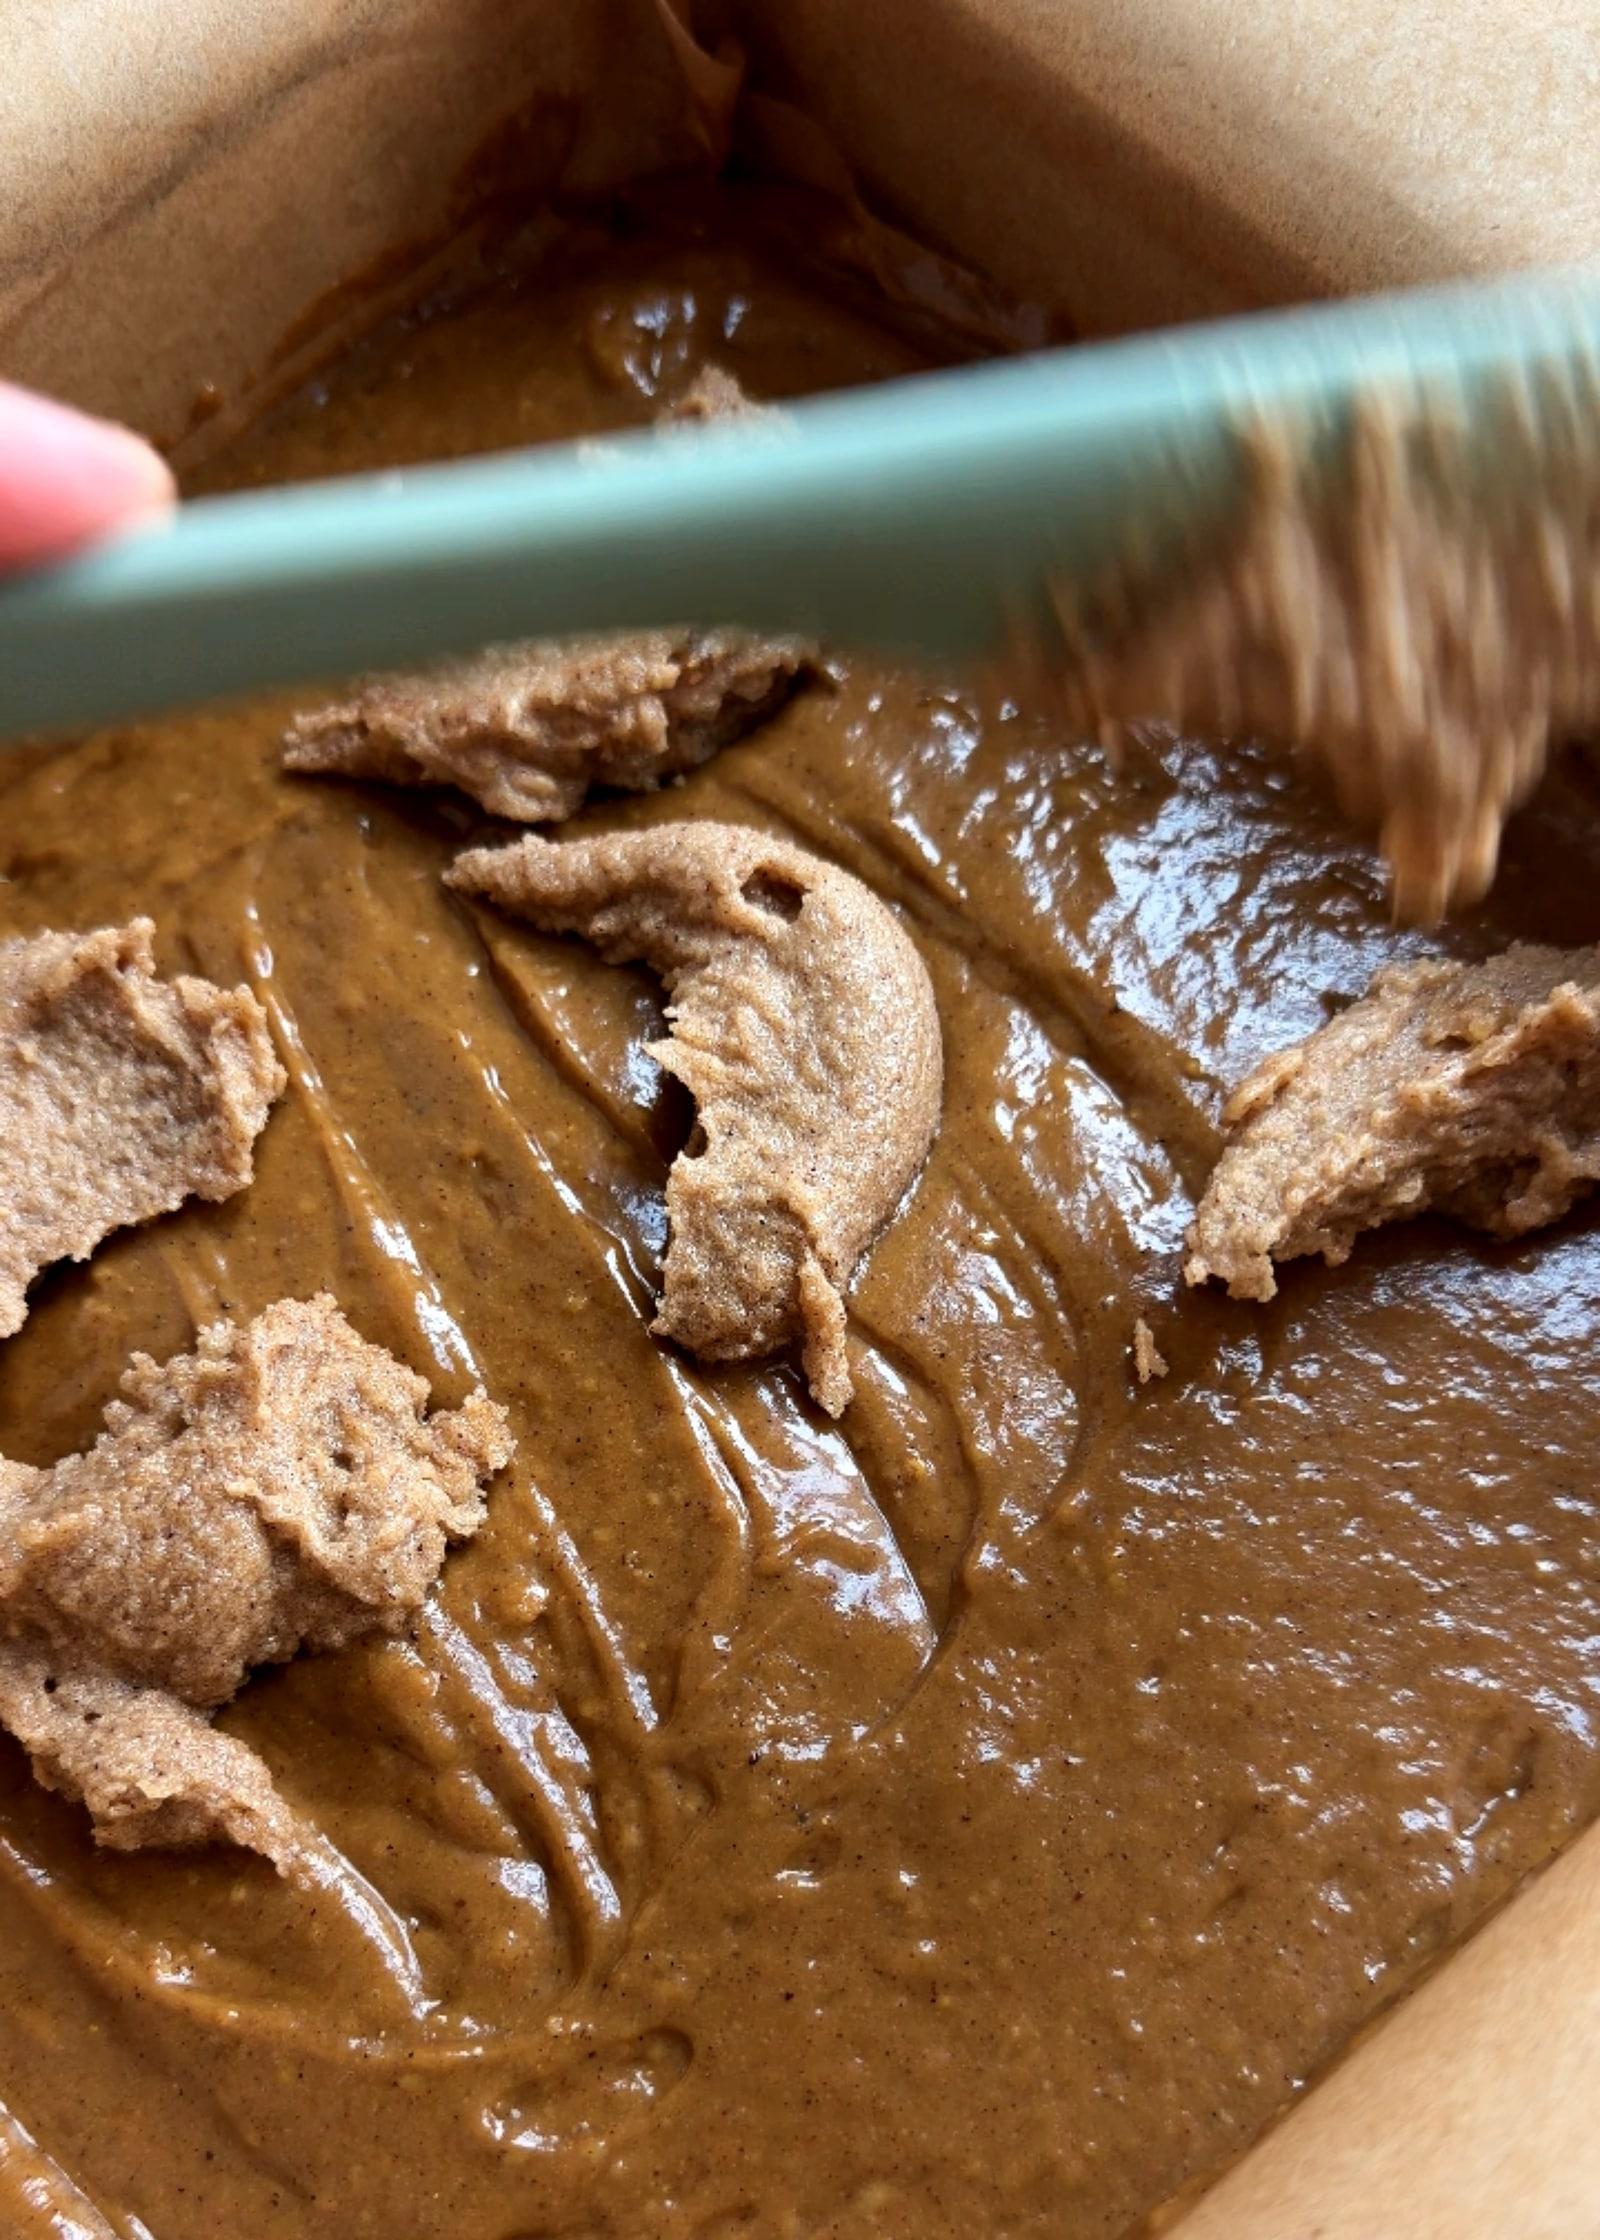
Small spoonfuls make the filling easier to spread gently. 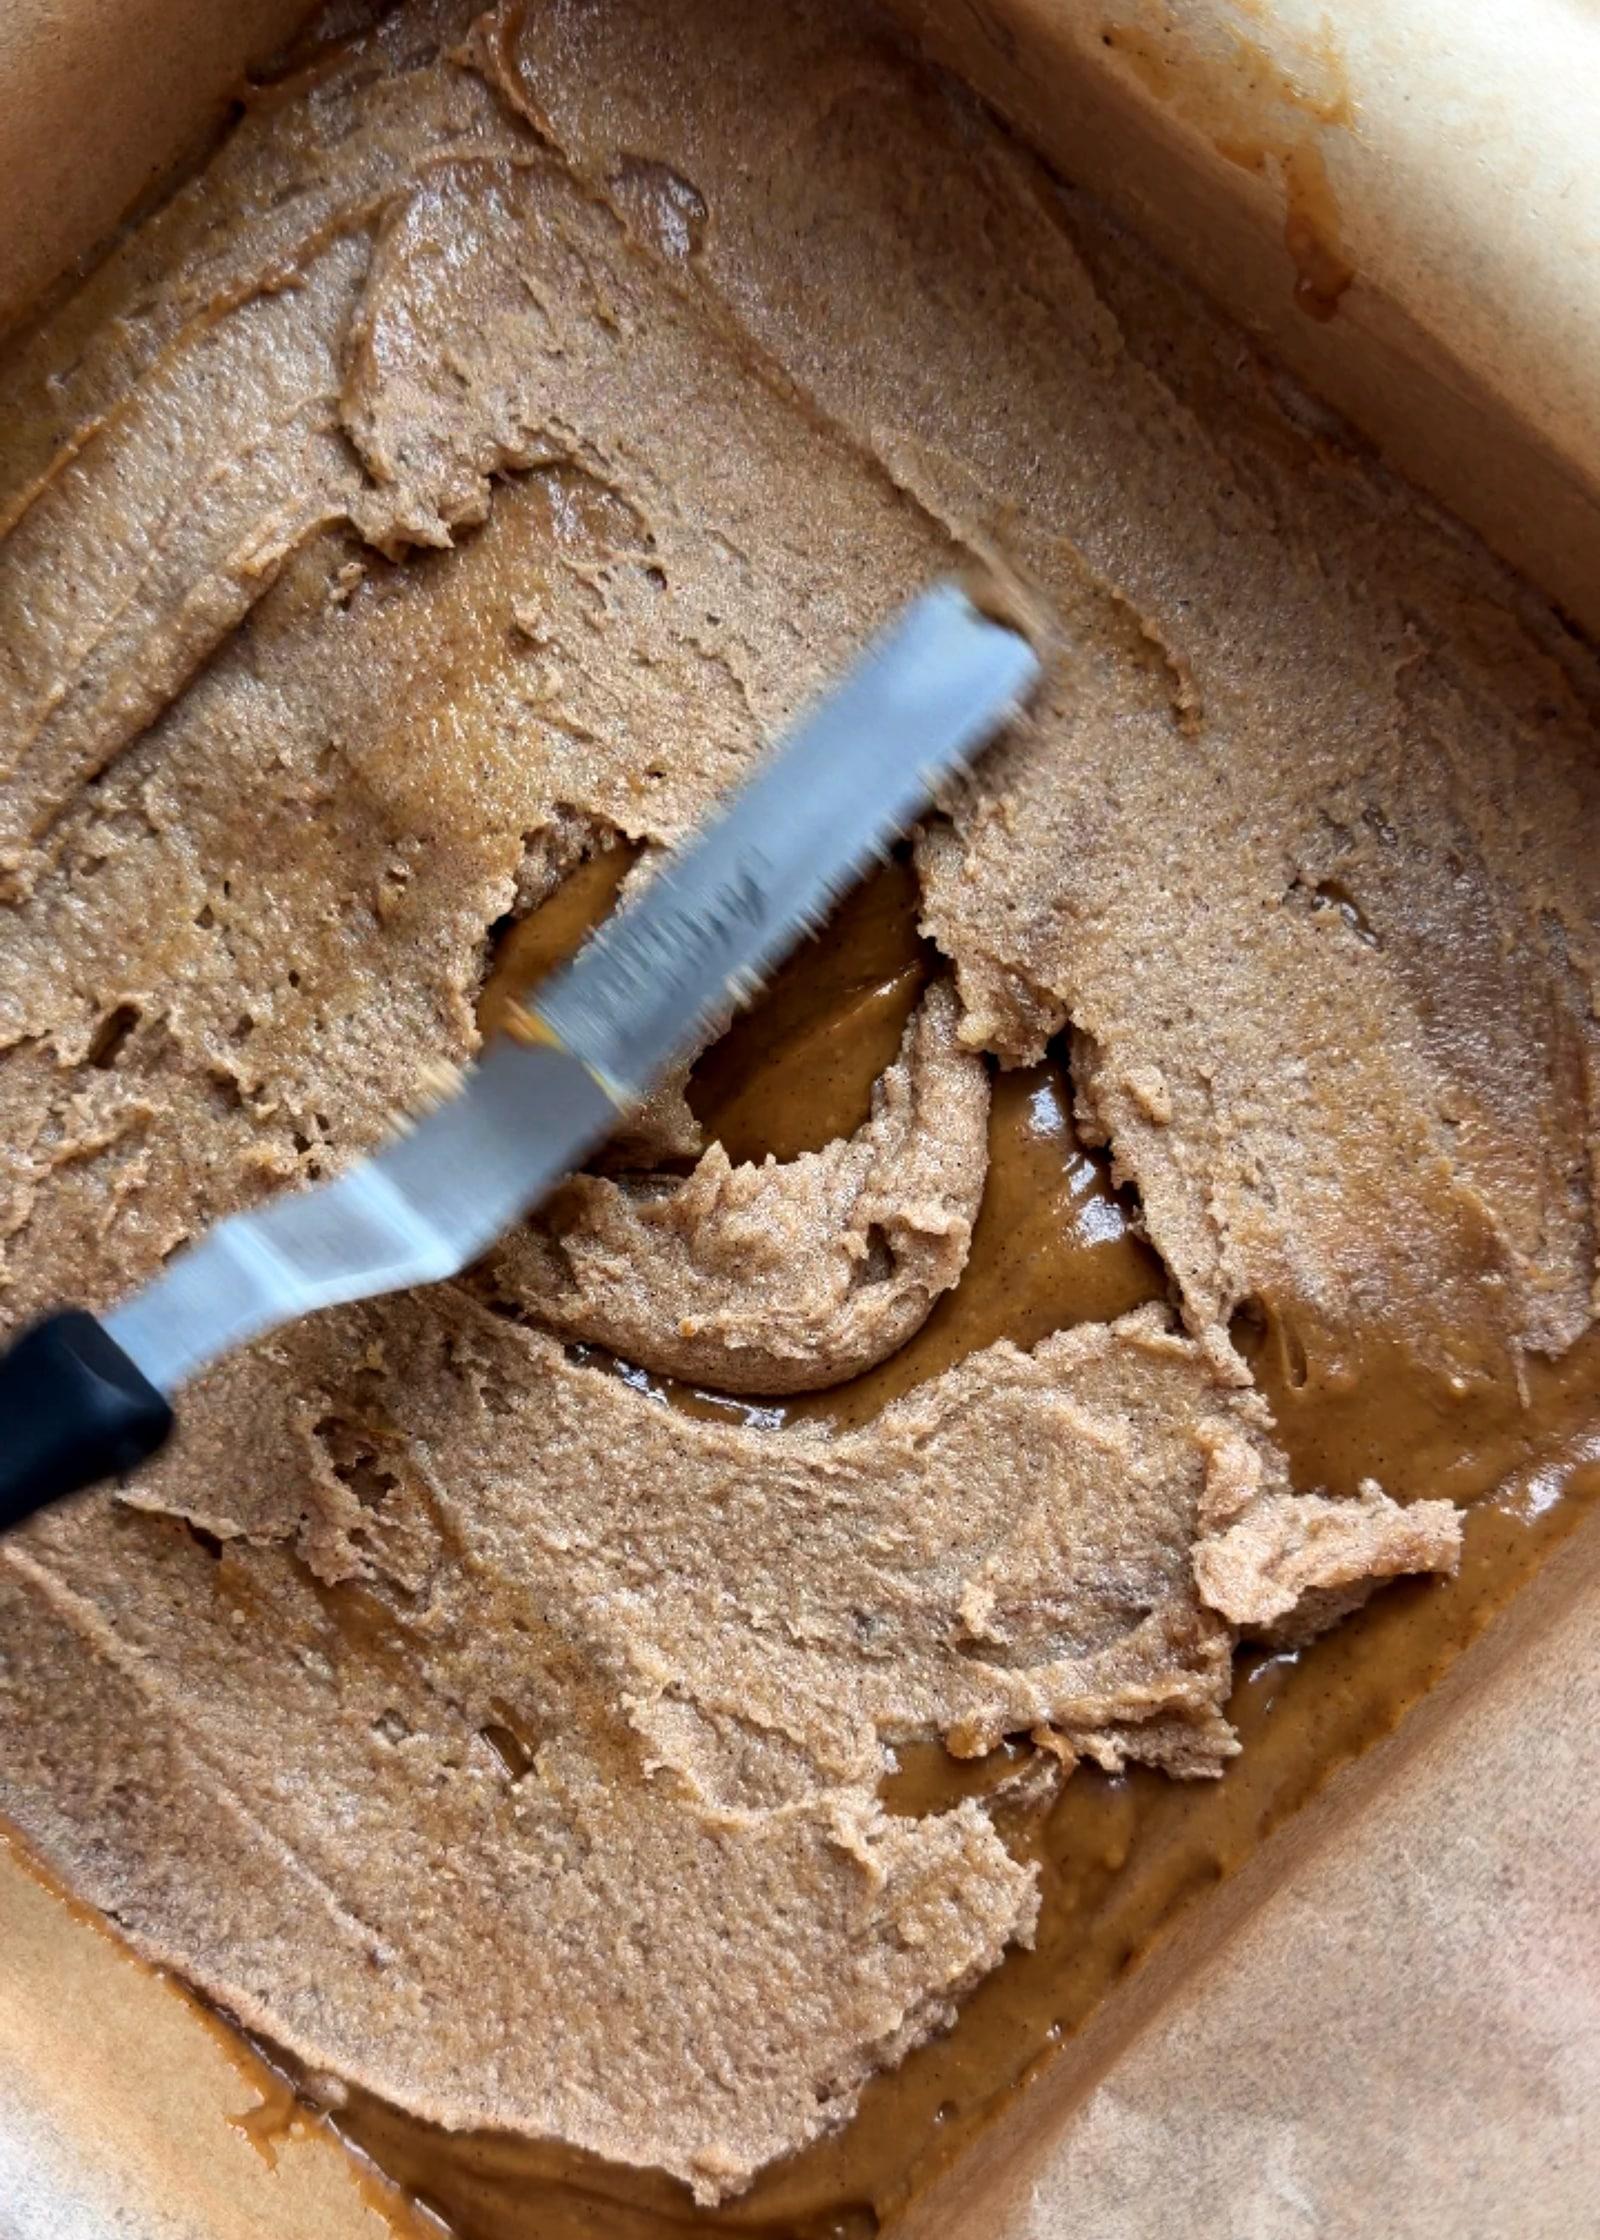
Take the filling to the parchment-lined edges. Step 7
Cover with batter and crumble
Dollop the remaining batter over the filling and connect the spoonfuls. Scatter all the chilled crumble over the top.
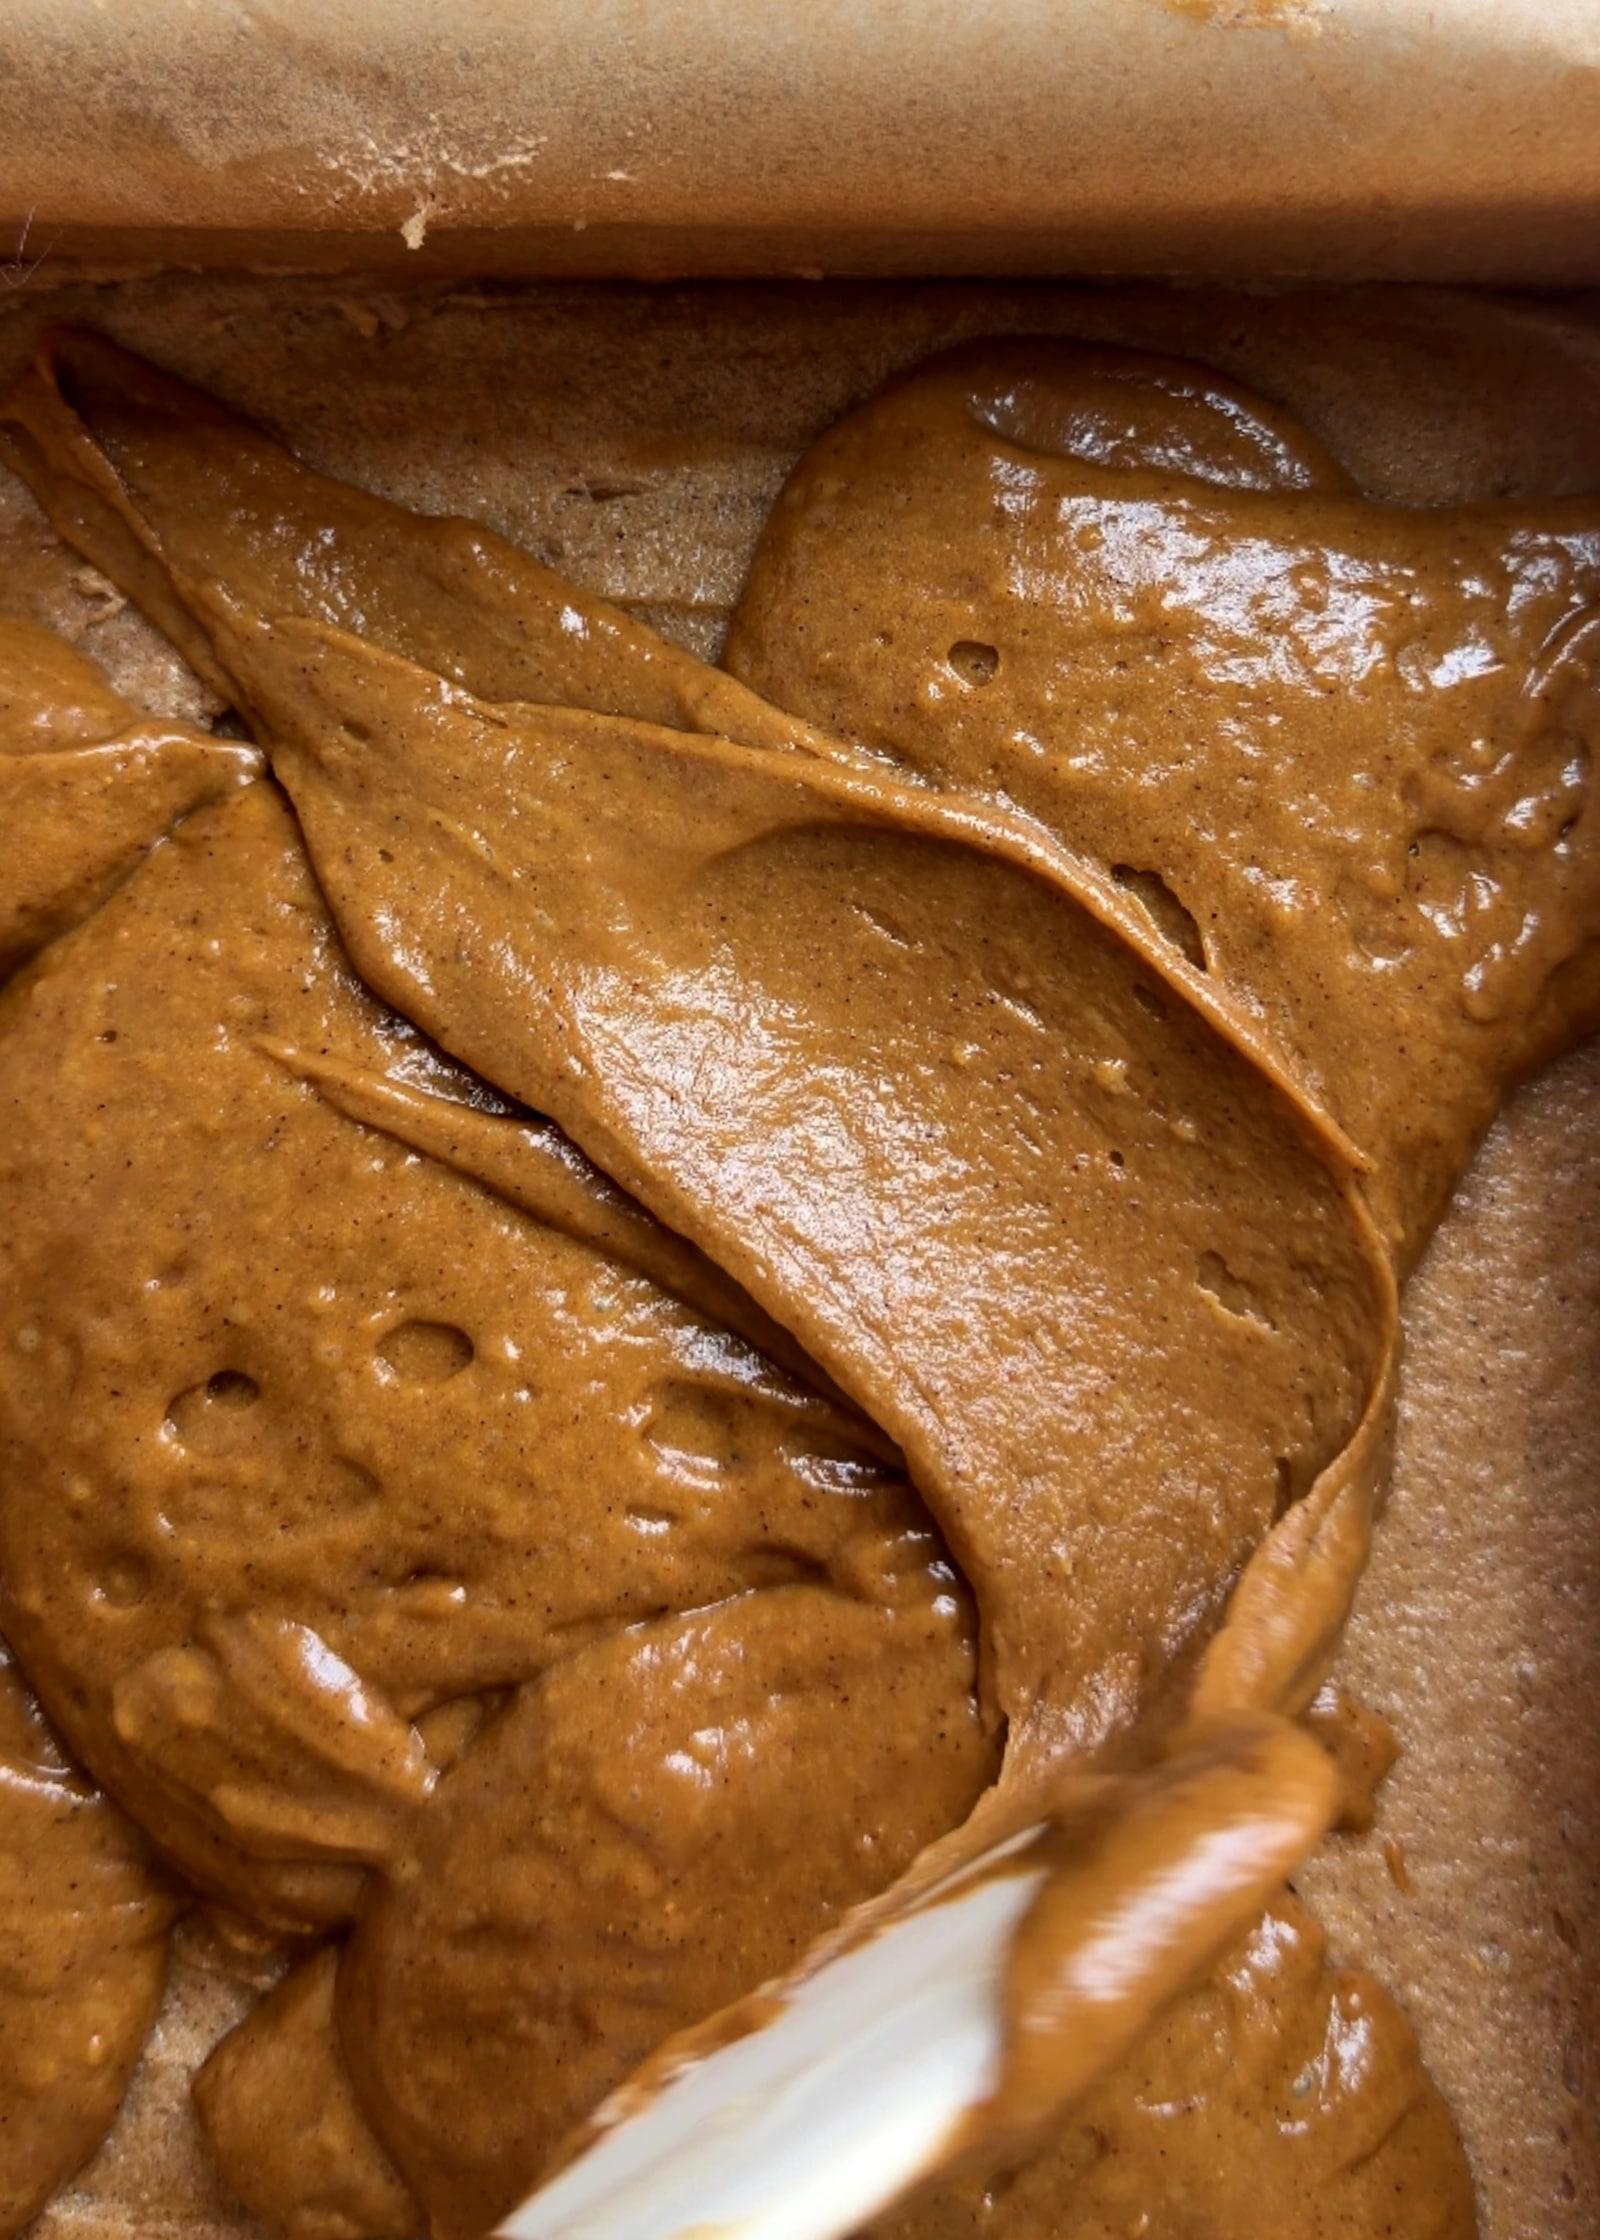
Connect the remaining batter dollops without mixing the layers. 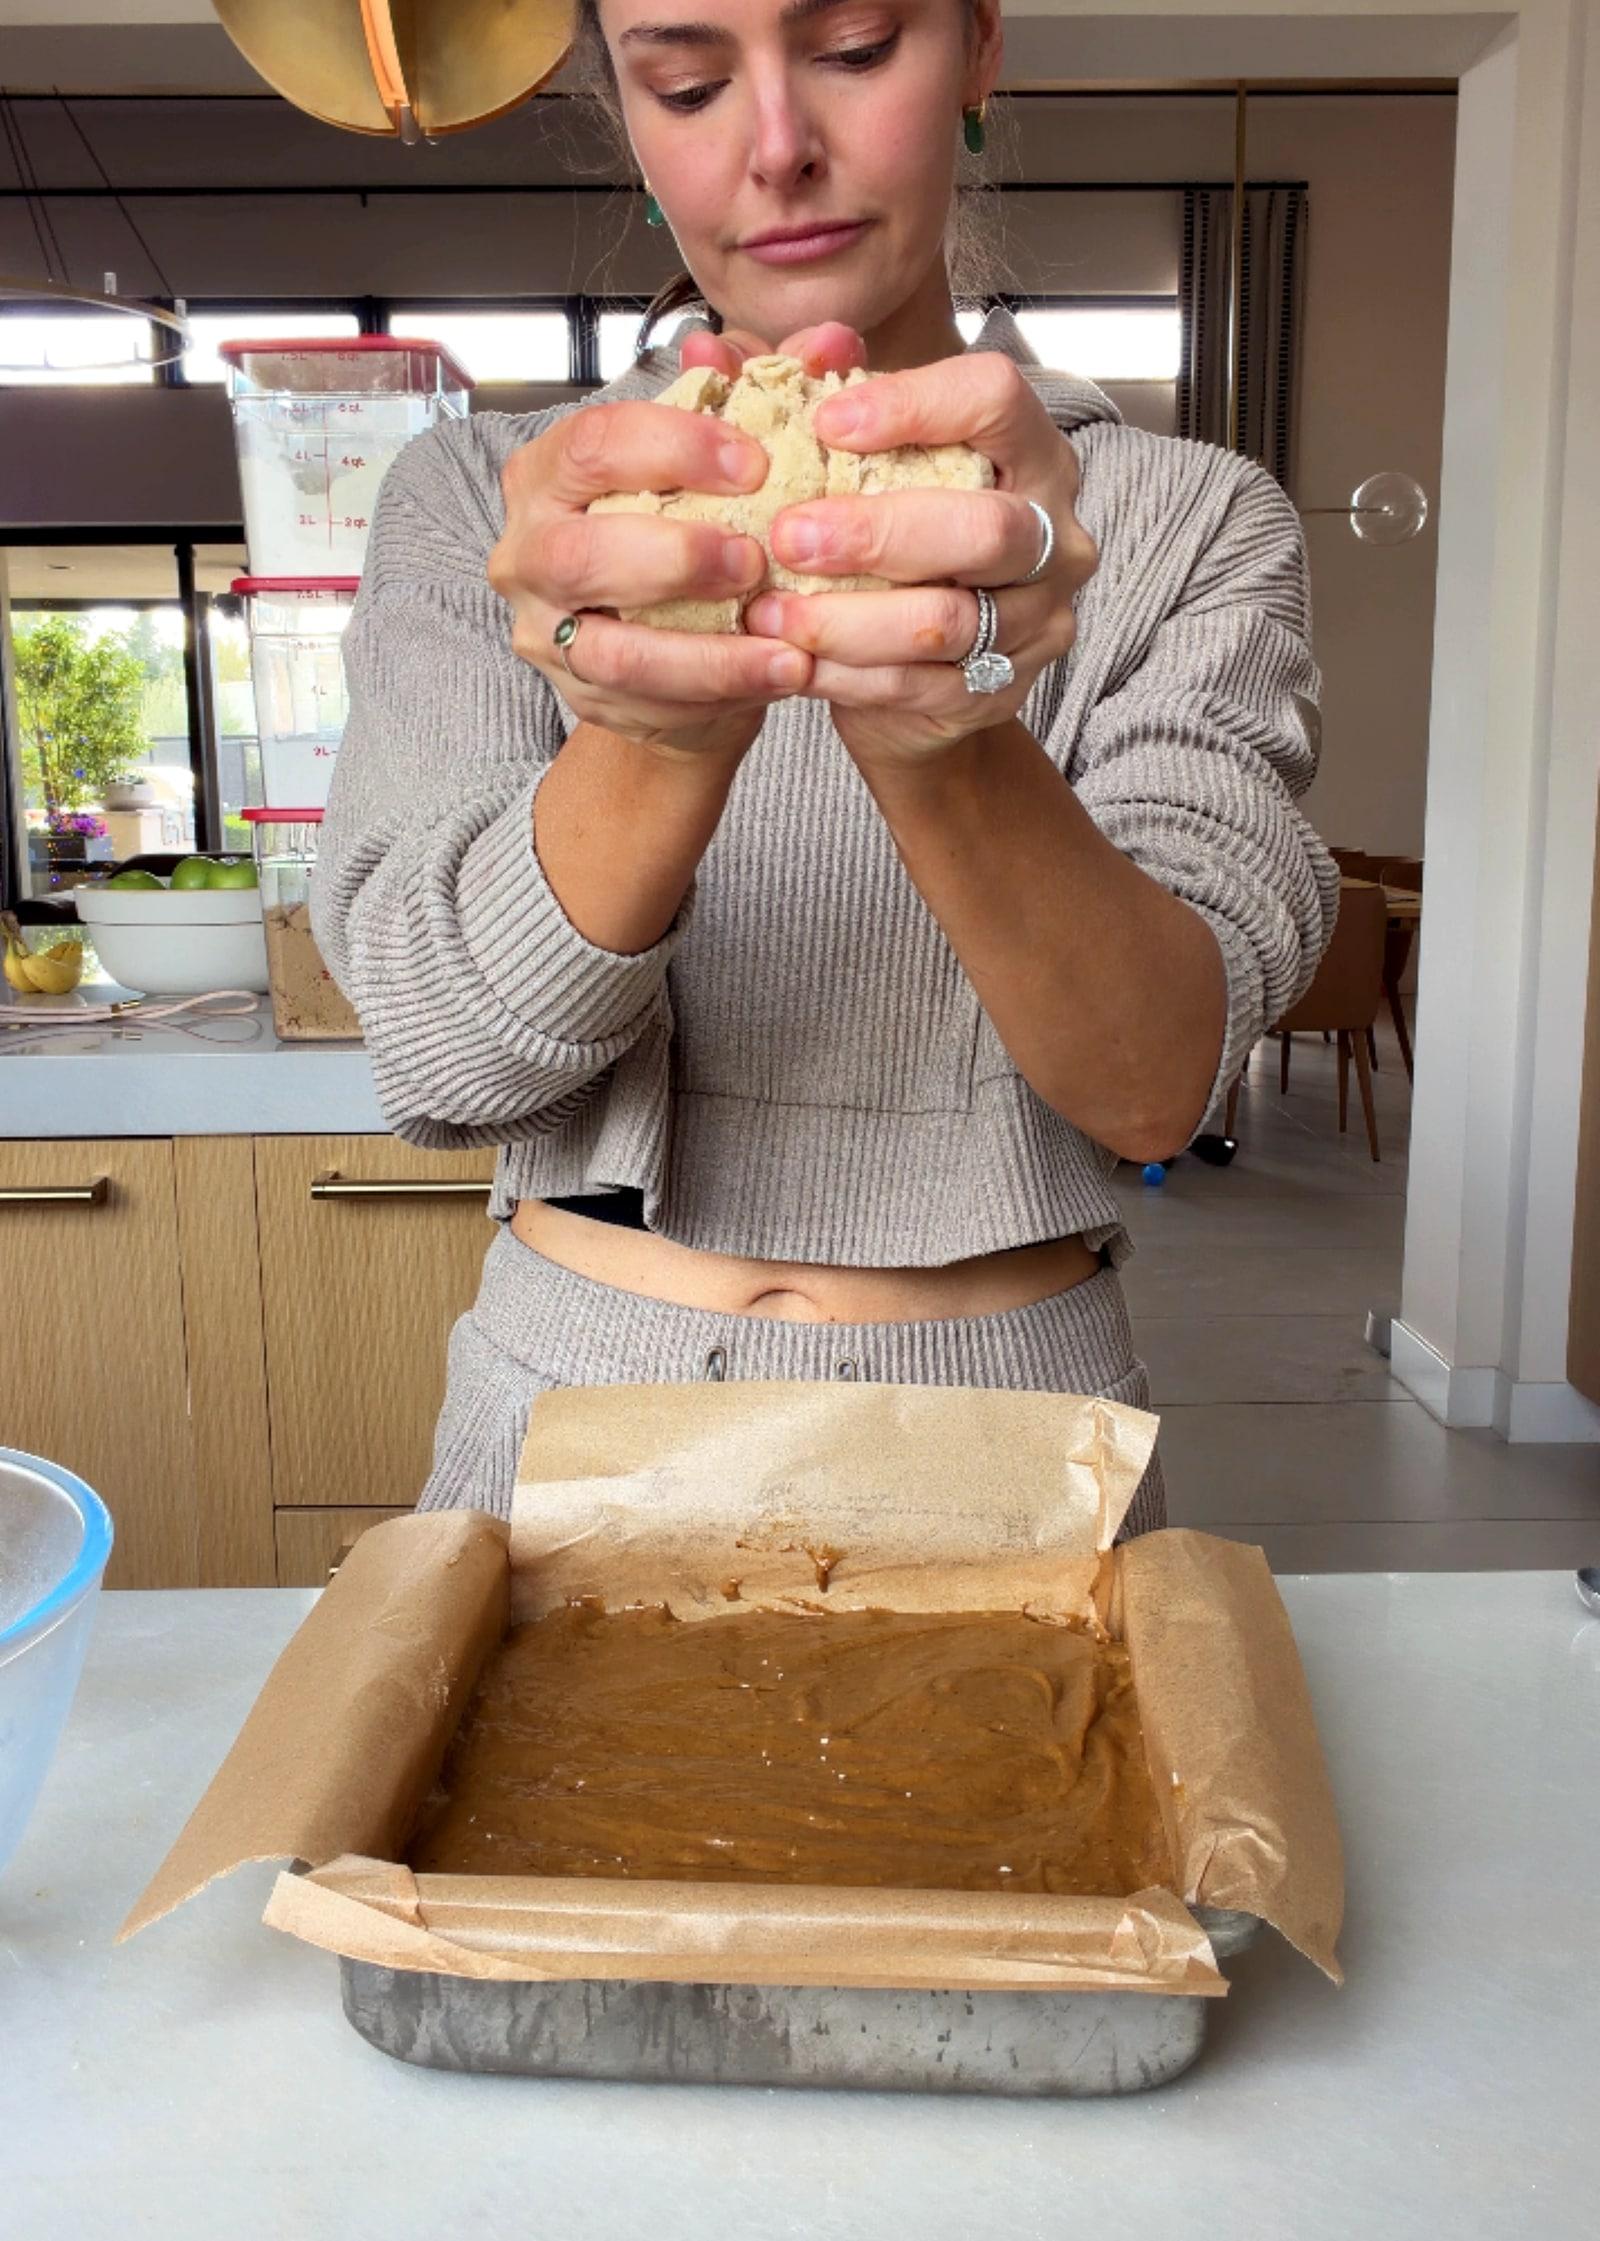
Break the chilled crumble into large pieces. 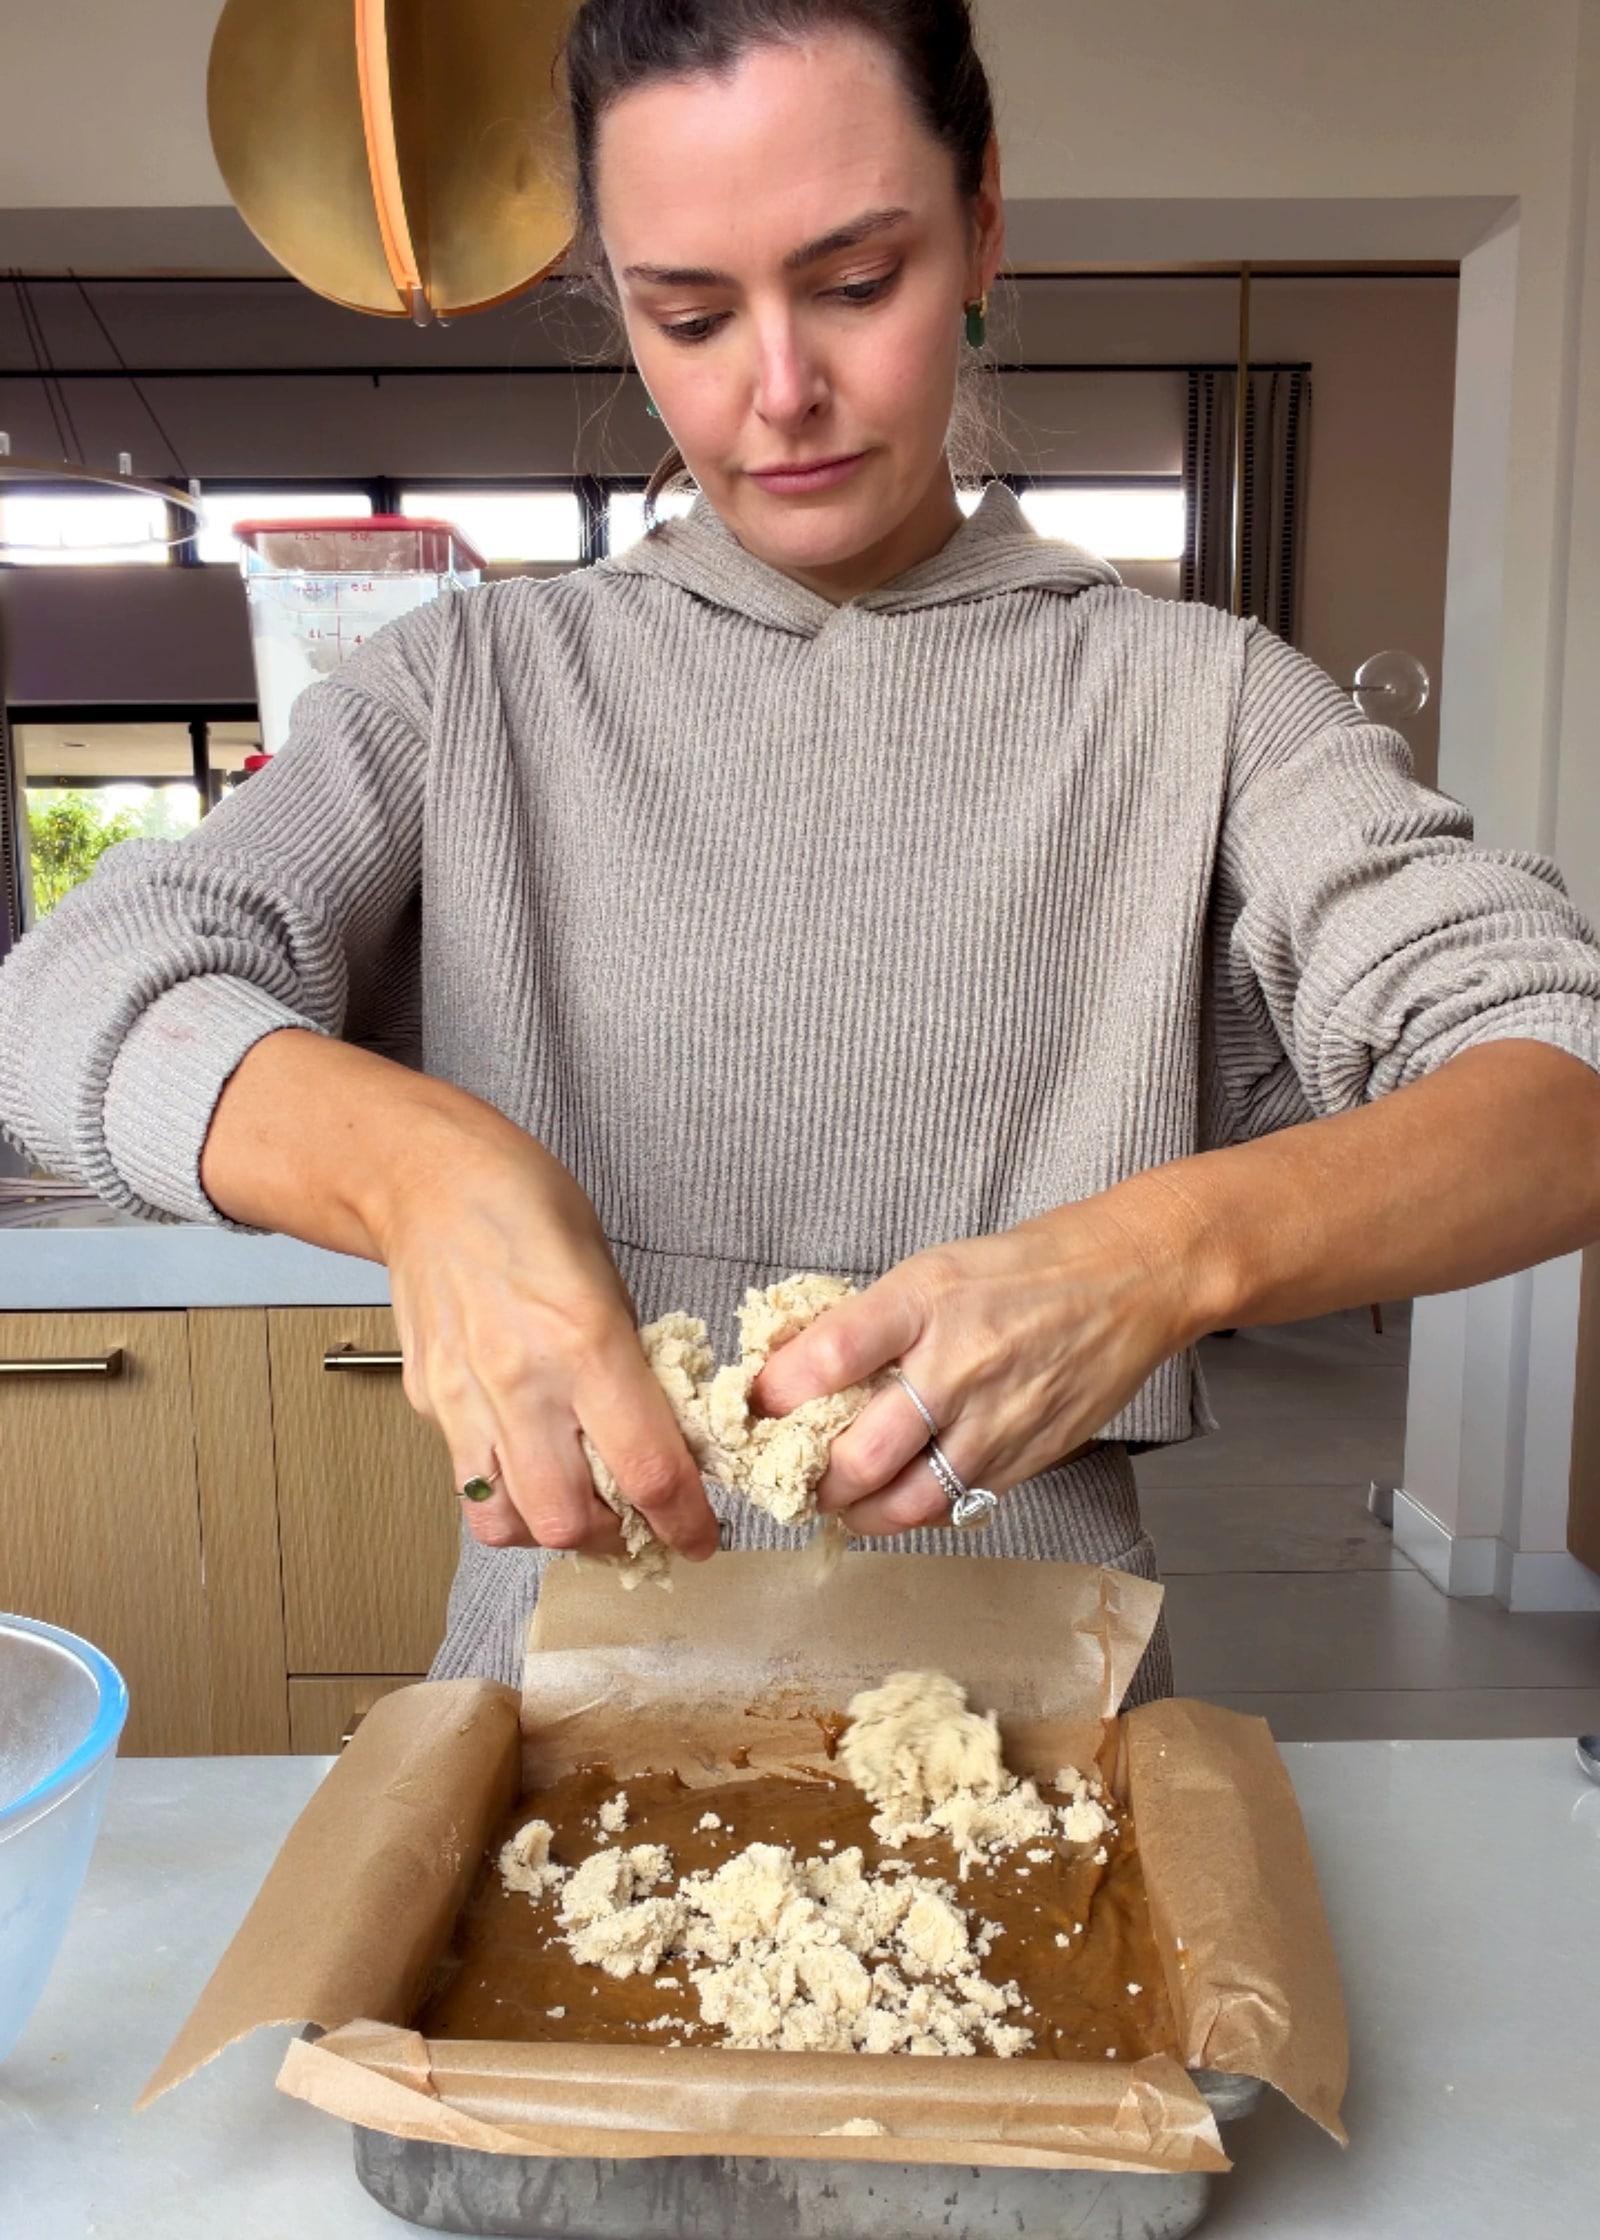
Distribute the crumble evenly, keeping the larger pieces intact. 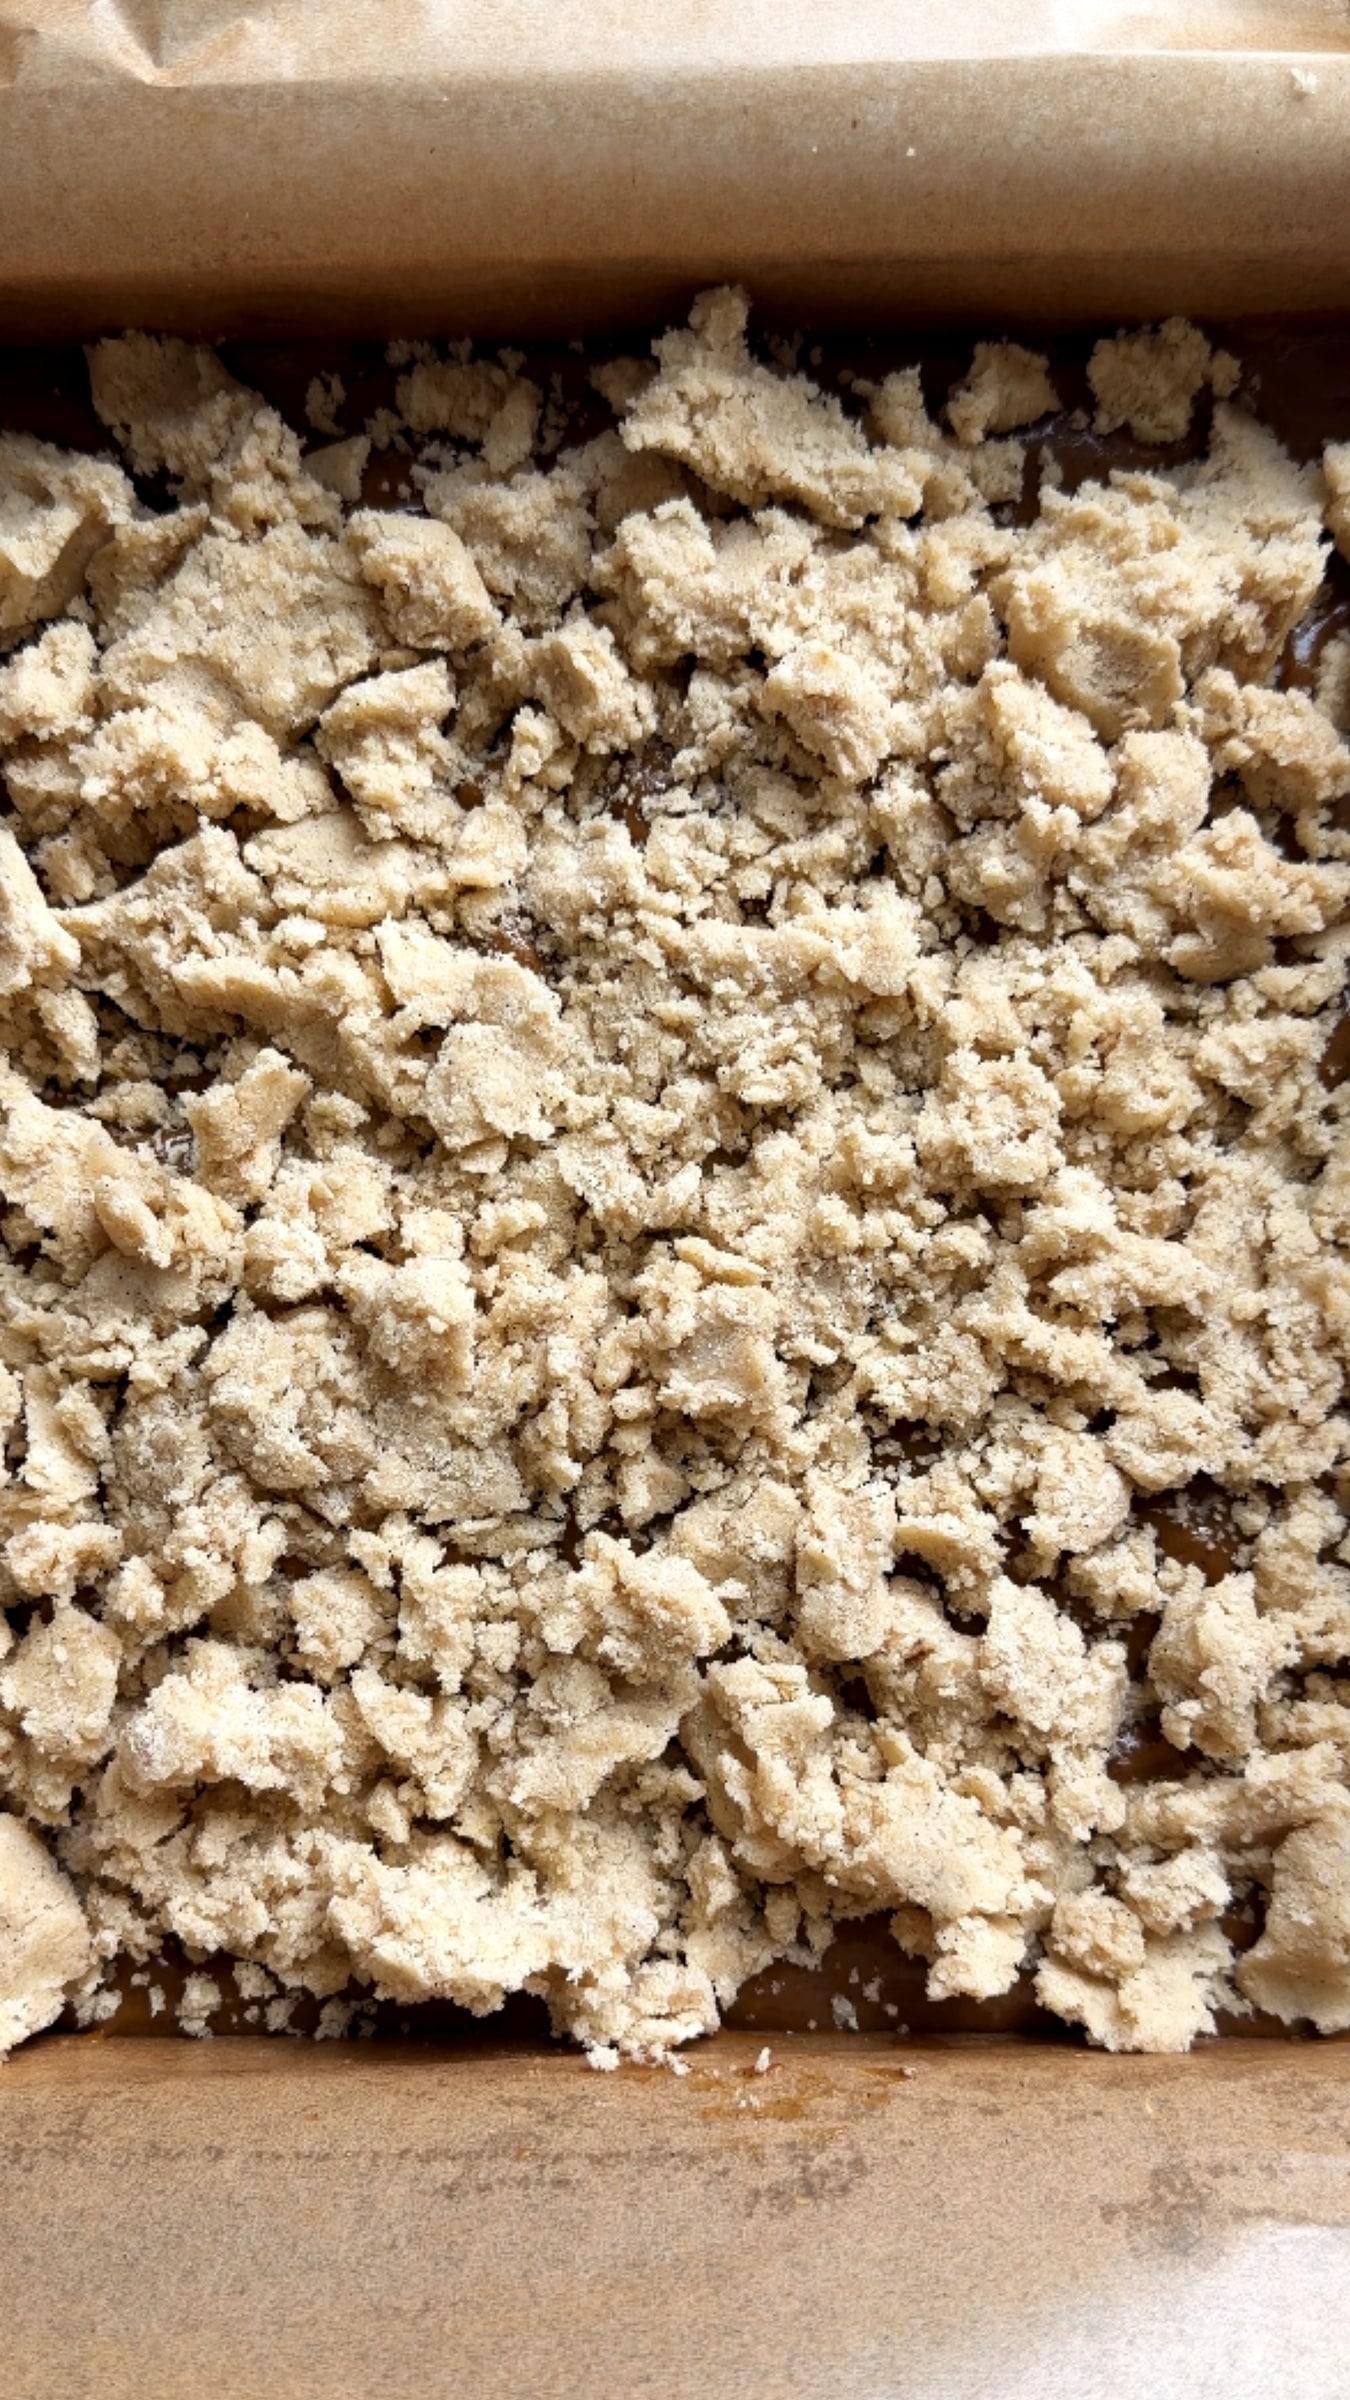
Use the full batch of crumble across the top. Step 8
Add optional sanding sugar and bake
Sprinkle on sanding sugar if you like. Mine baked for 65 minutes at 350°F, with a loose foil tent at 55 minutes.
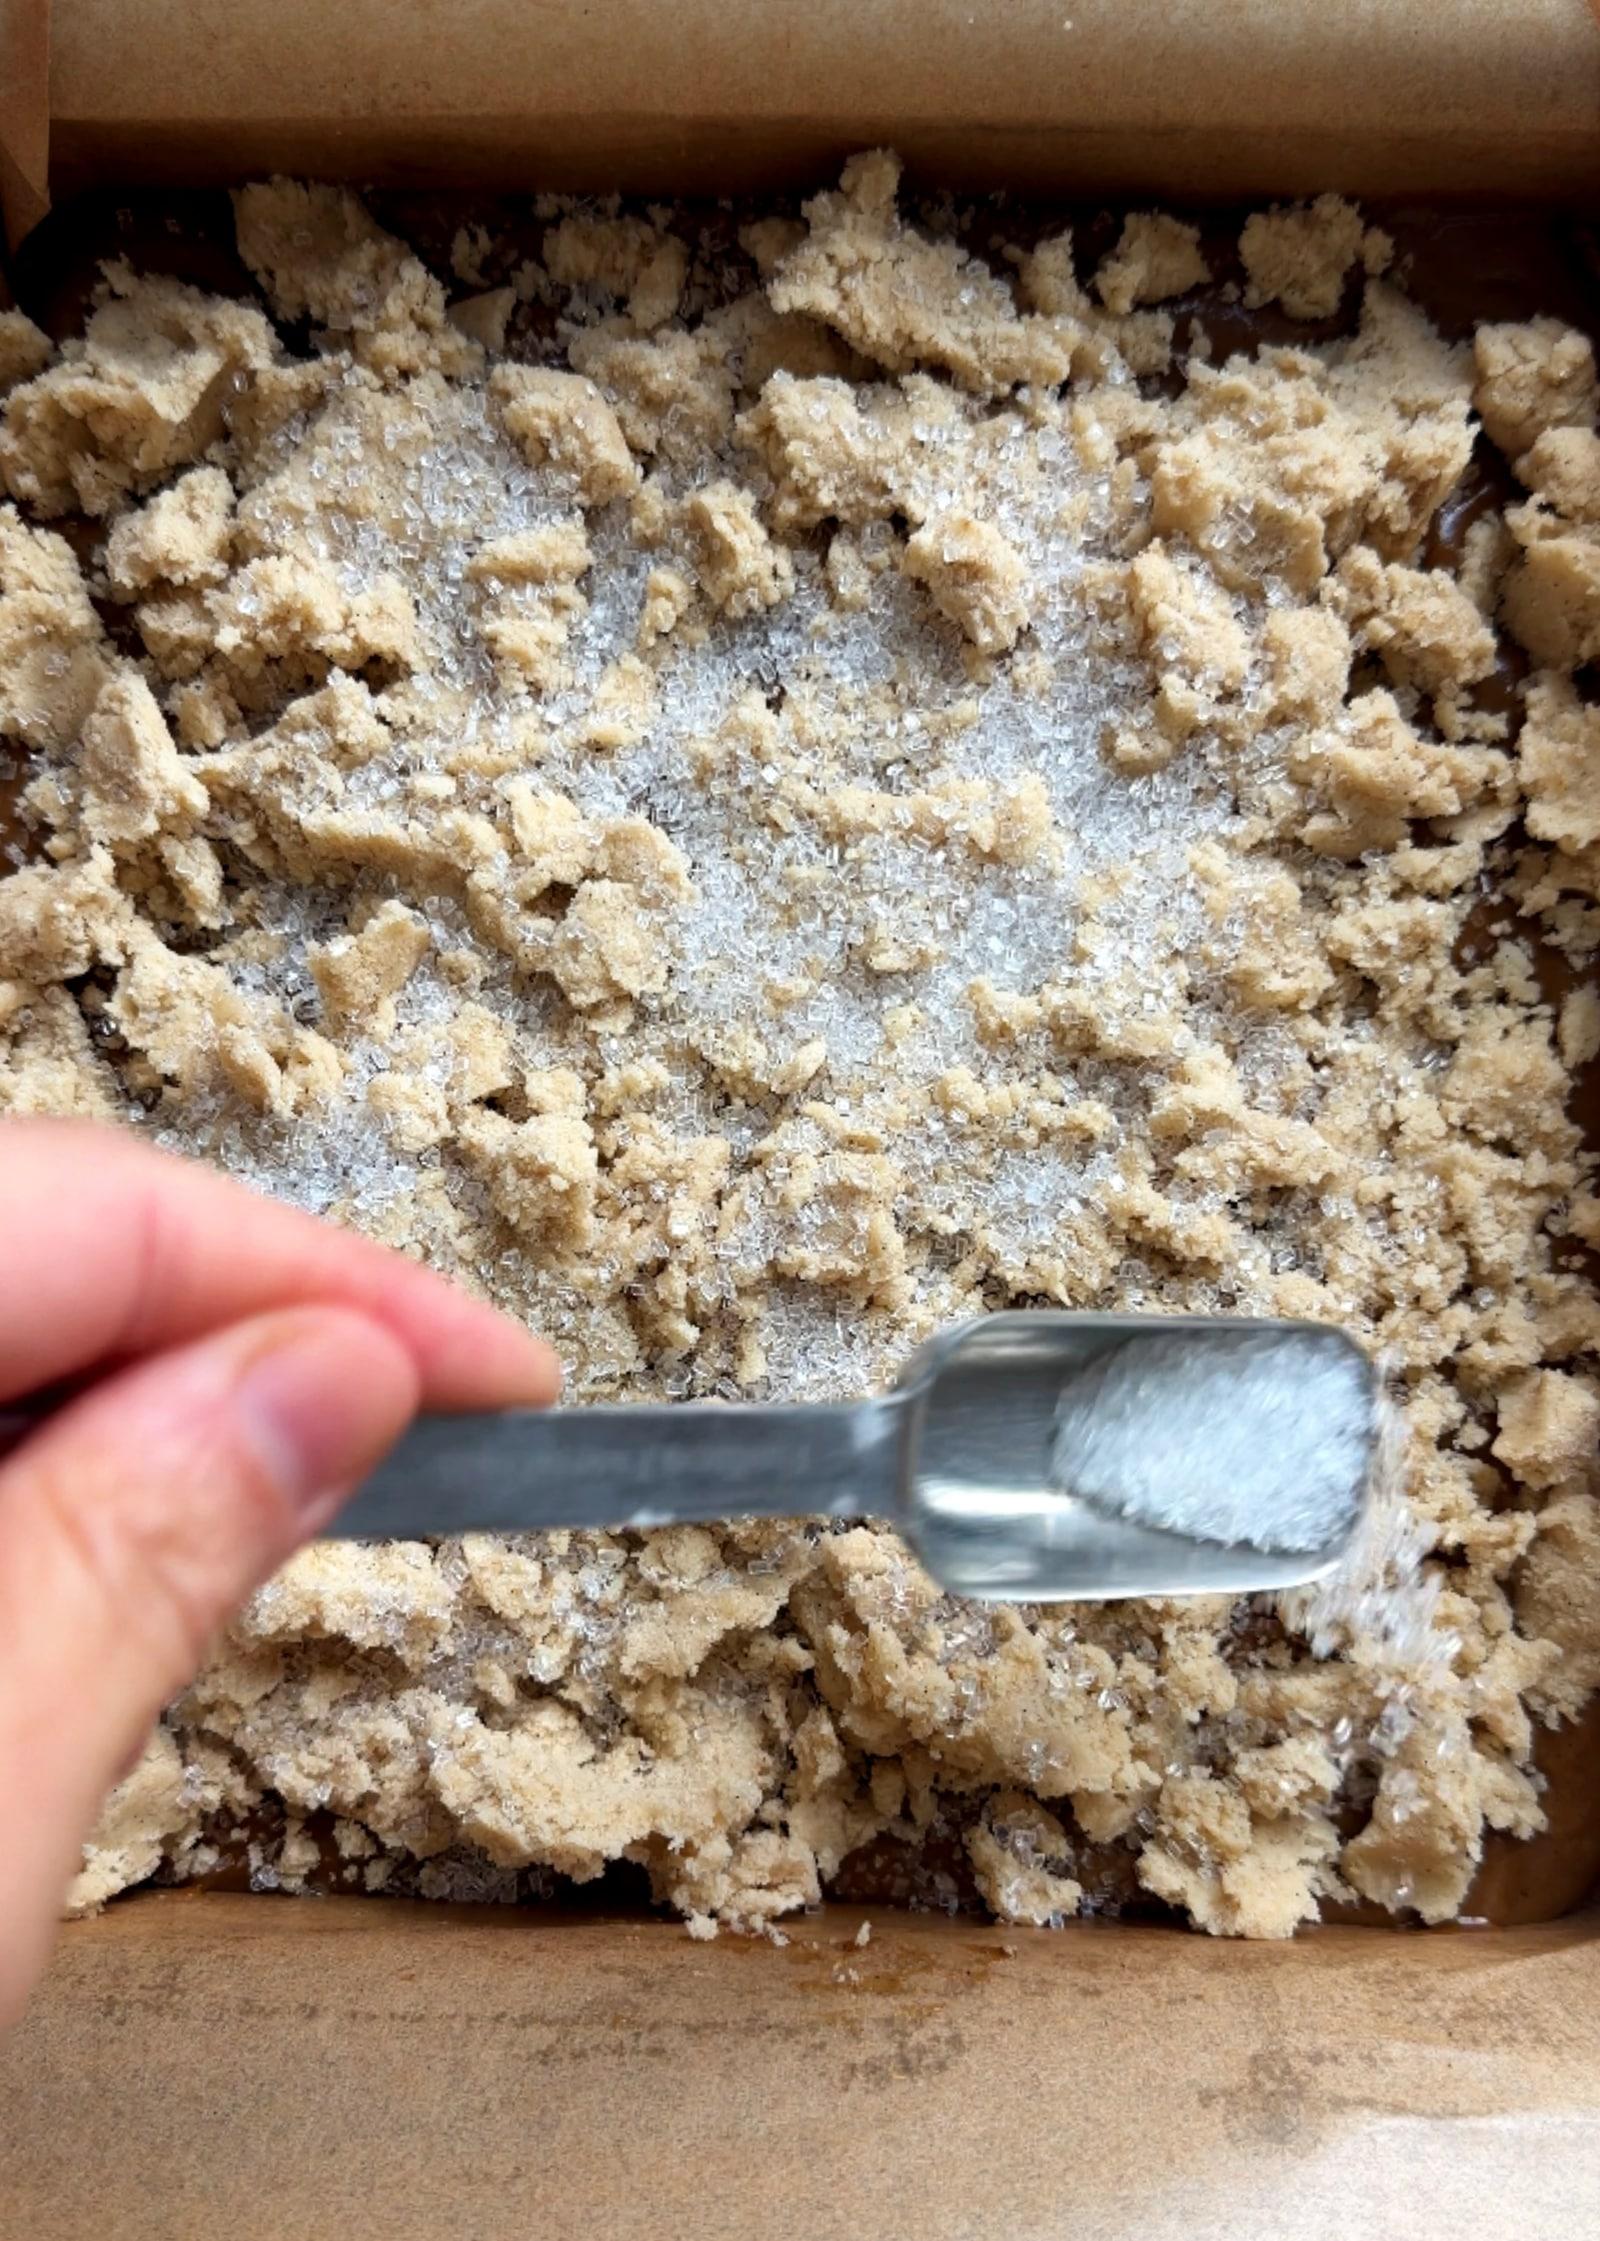
Optional sanding sugar adds a little festive crunch. 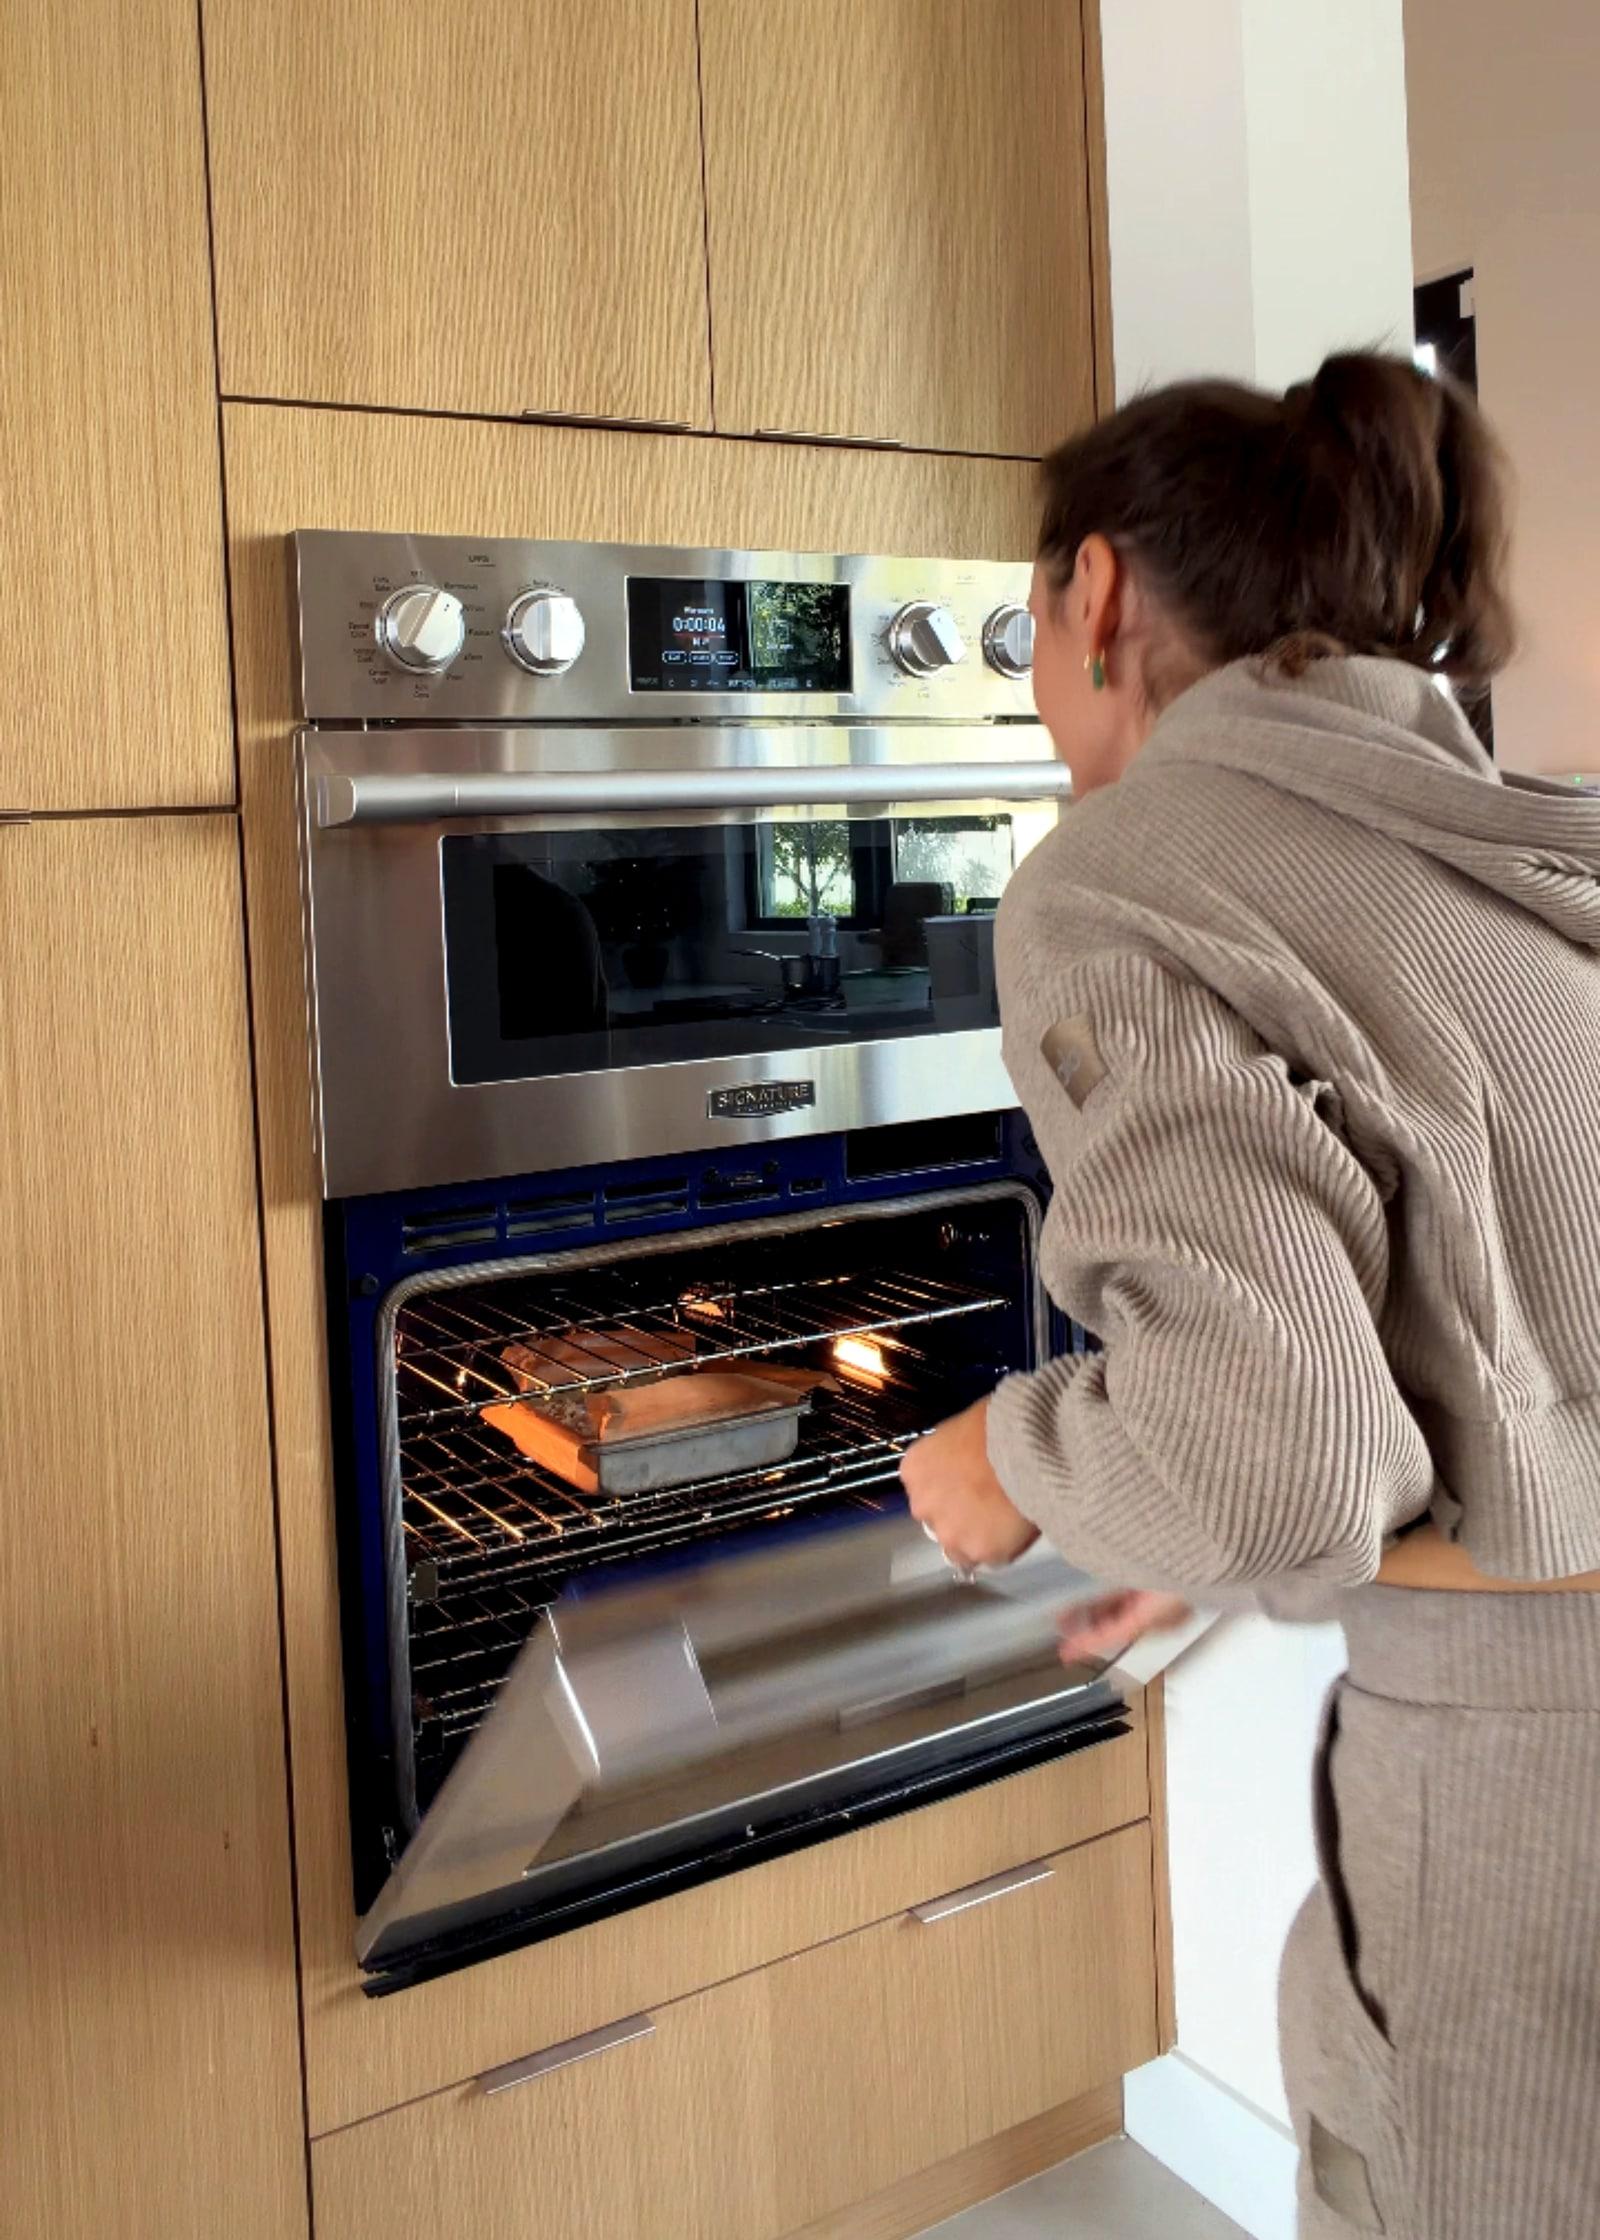
Bake on the center rack, with a sheet pan below to catch drips. Step 9
Rest before lifting
Give the cake at least 30 minutes in its pan. If it gives way too much as you begin lifting, stop and let it rest longer.
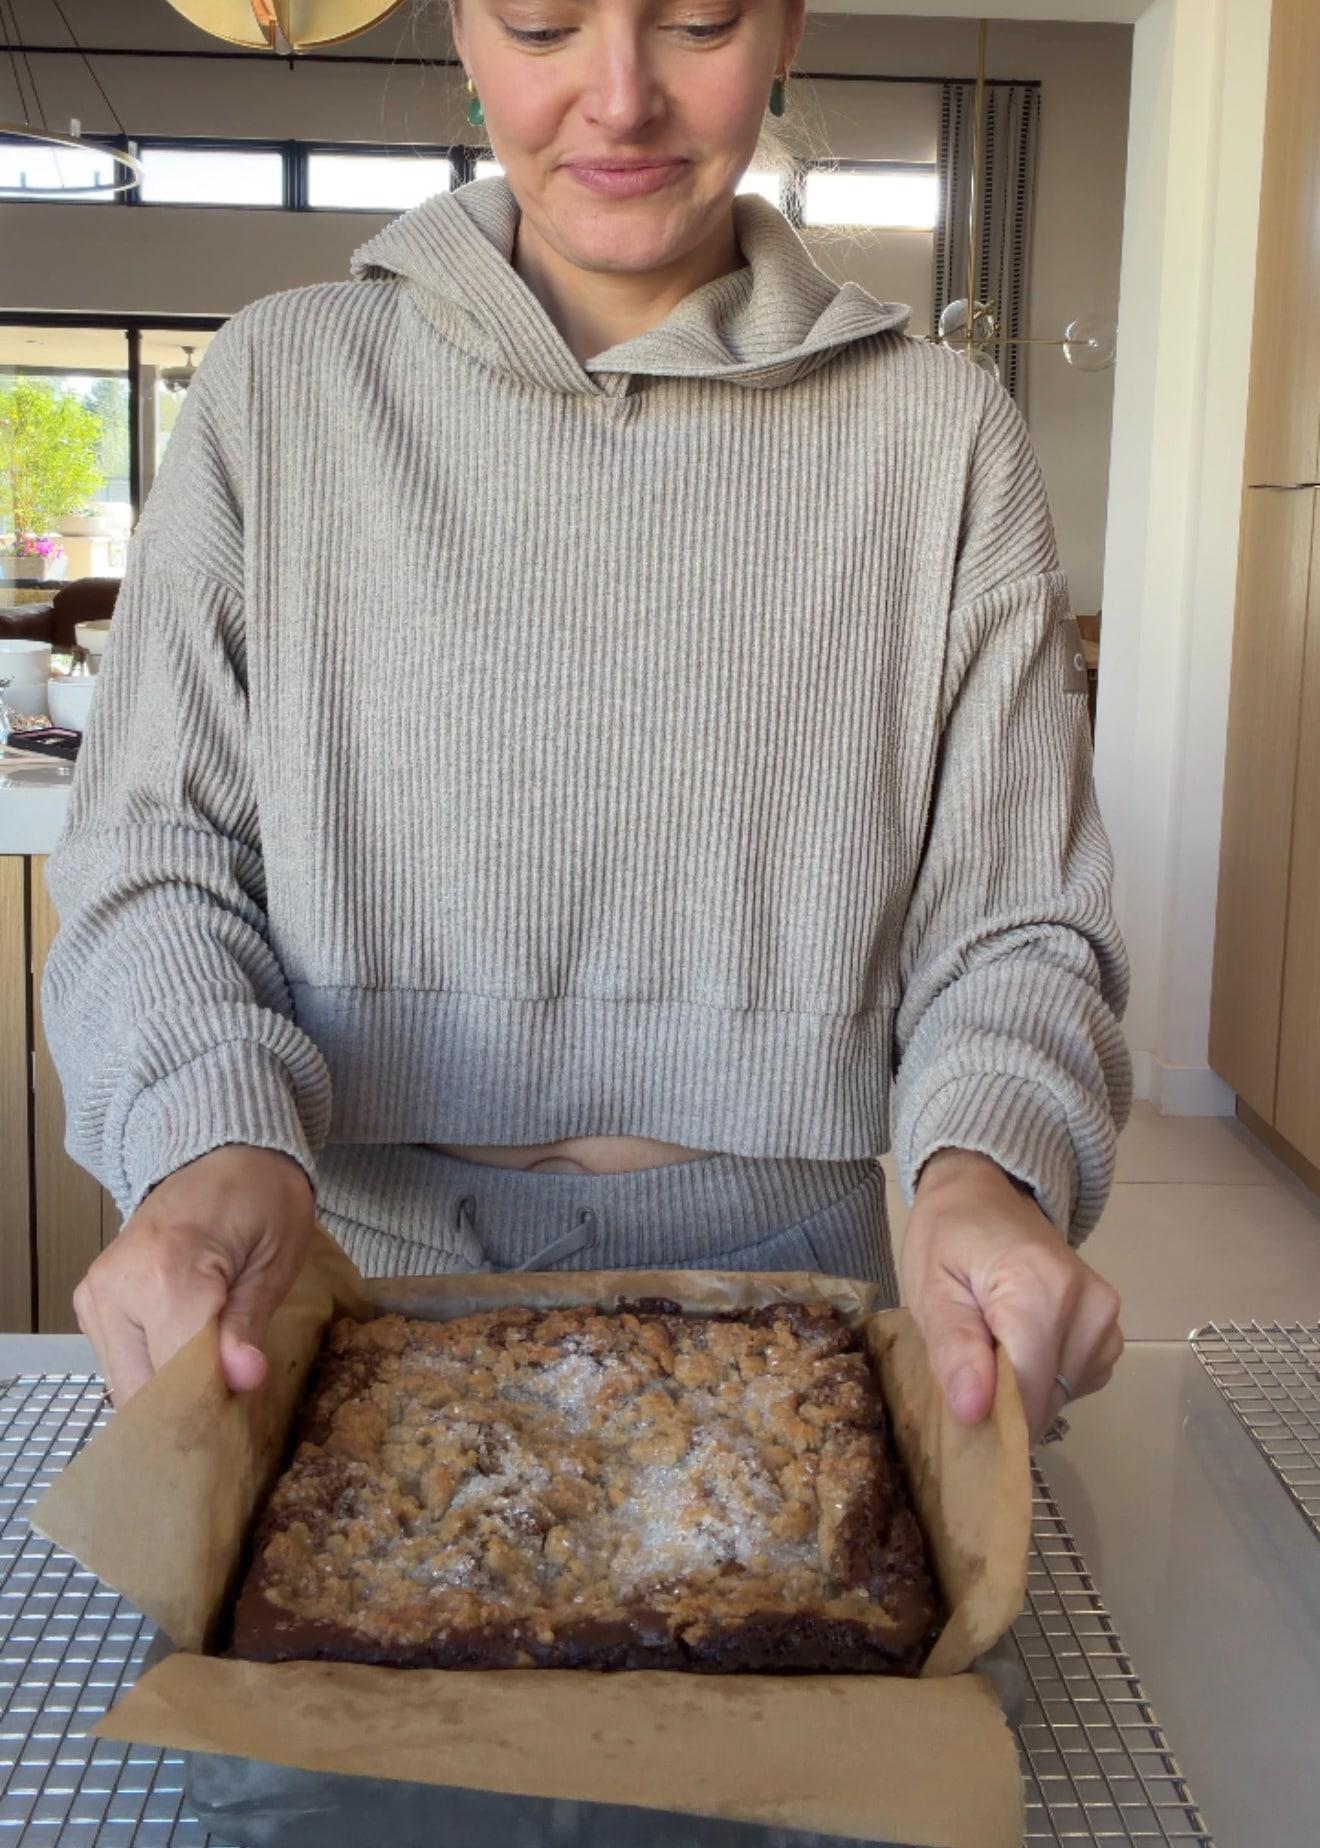
Wait at least 30 minutes, and longer if the cake still gives way as you lift. Step 10
Remove the bottom parchment
Once the cake is sturdy enough to handle, support it between two racks to turn it over. Peel away the paper and turn upright again.
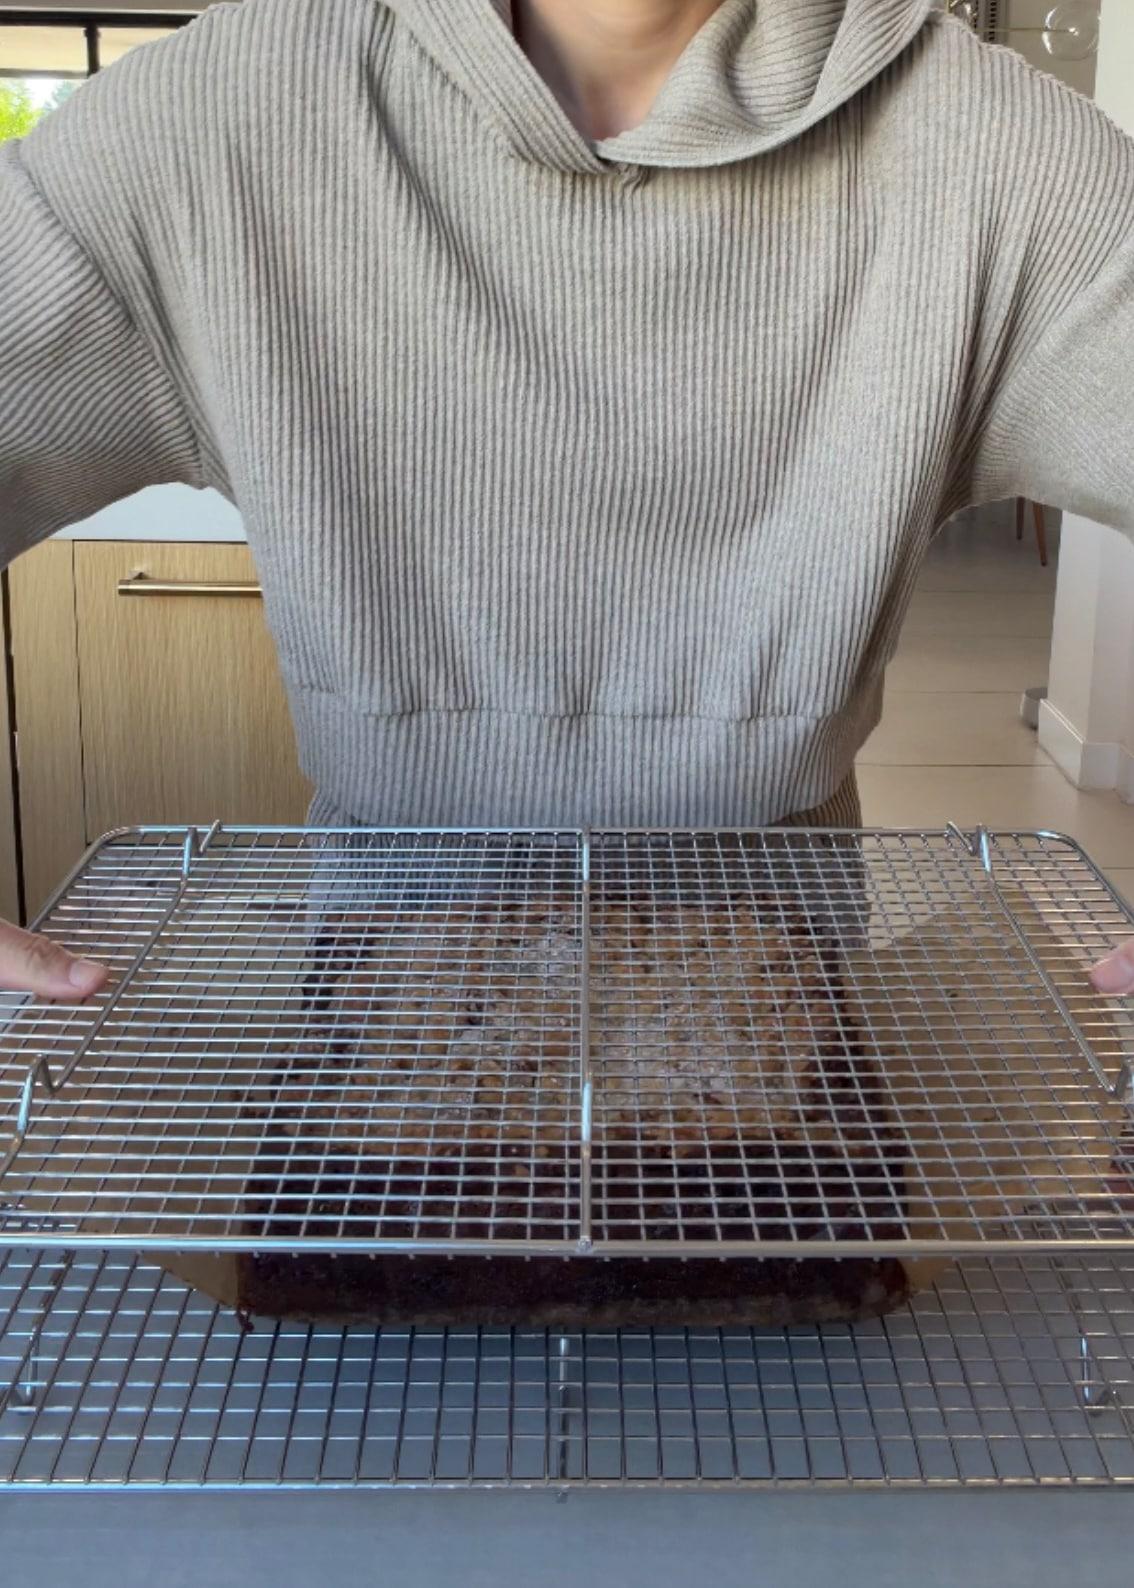
Two racks support the cake while turning it to remove the bottom paper. 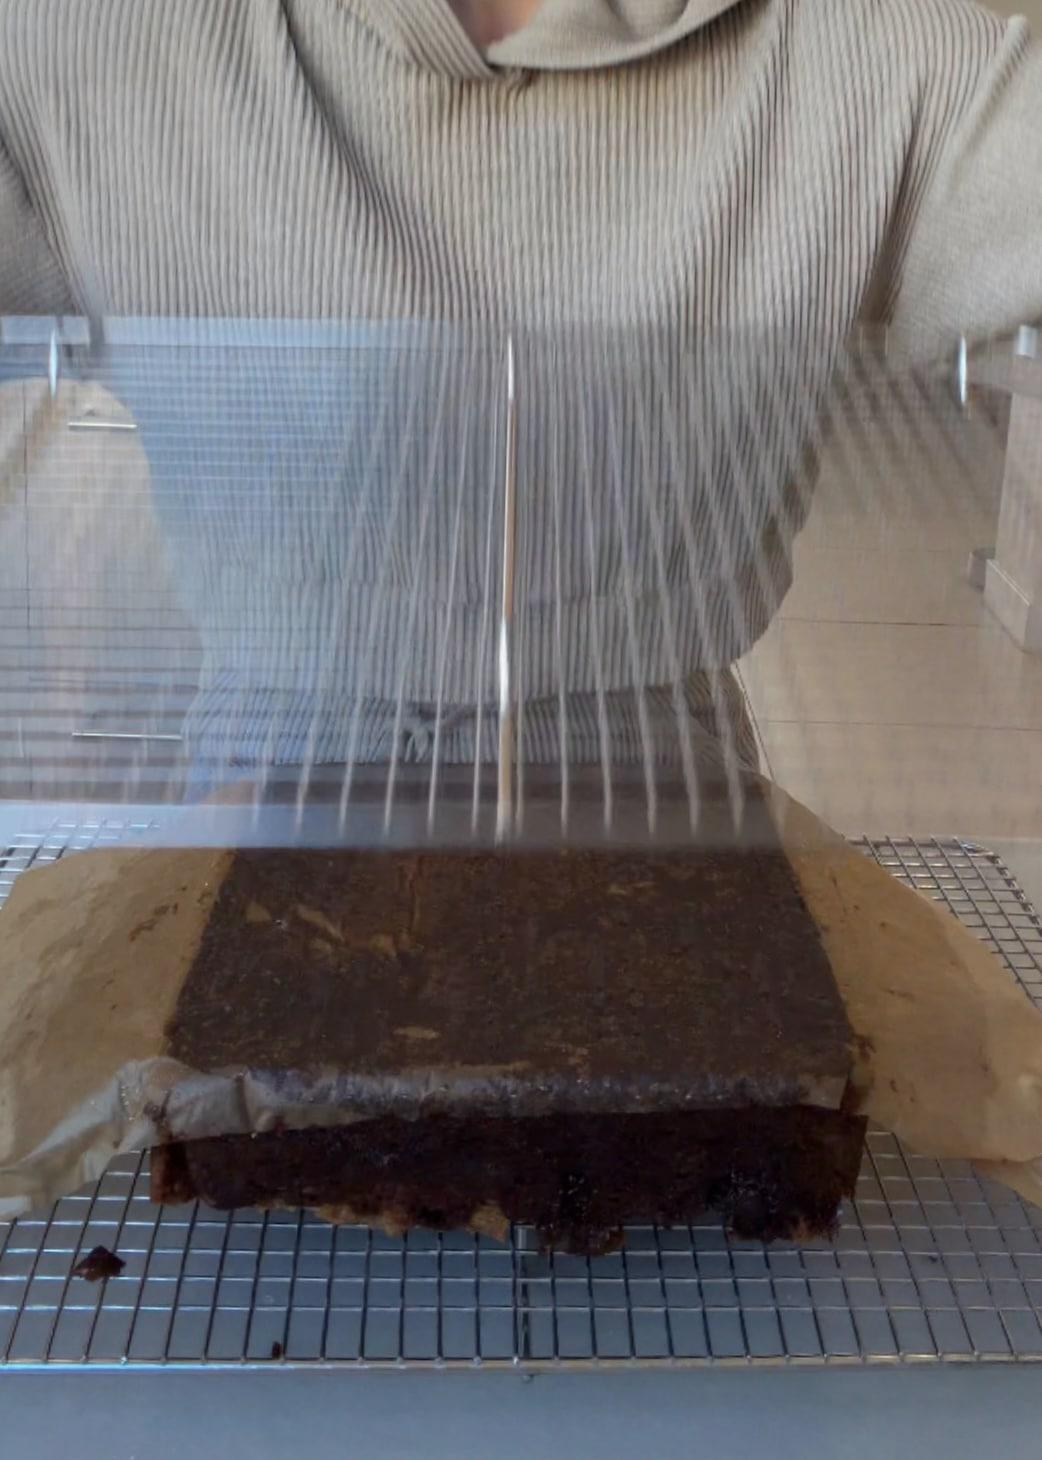
Keep the cake supported while removing the paper from the base. 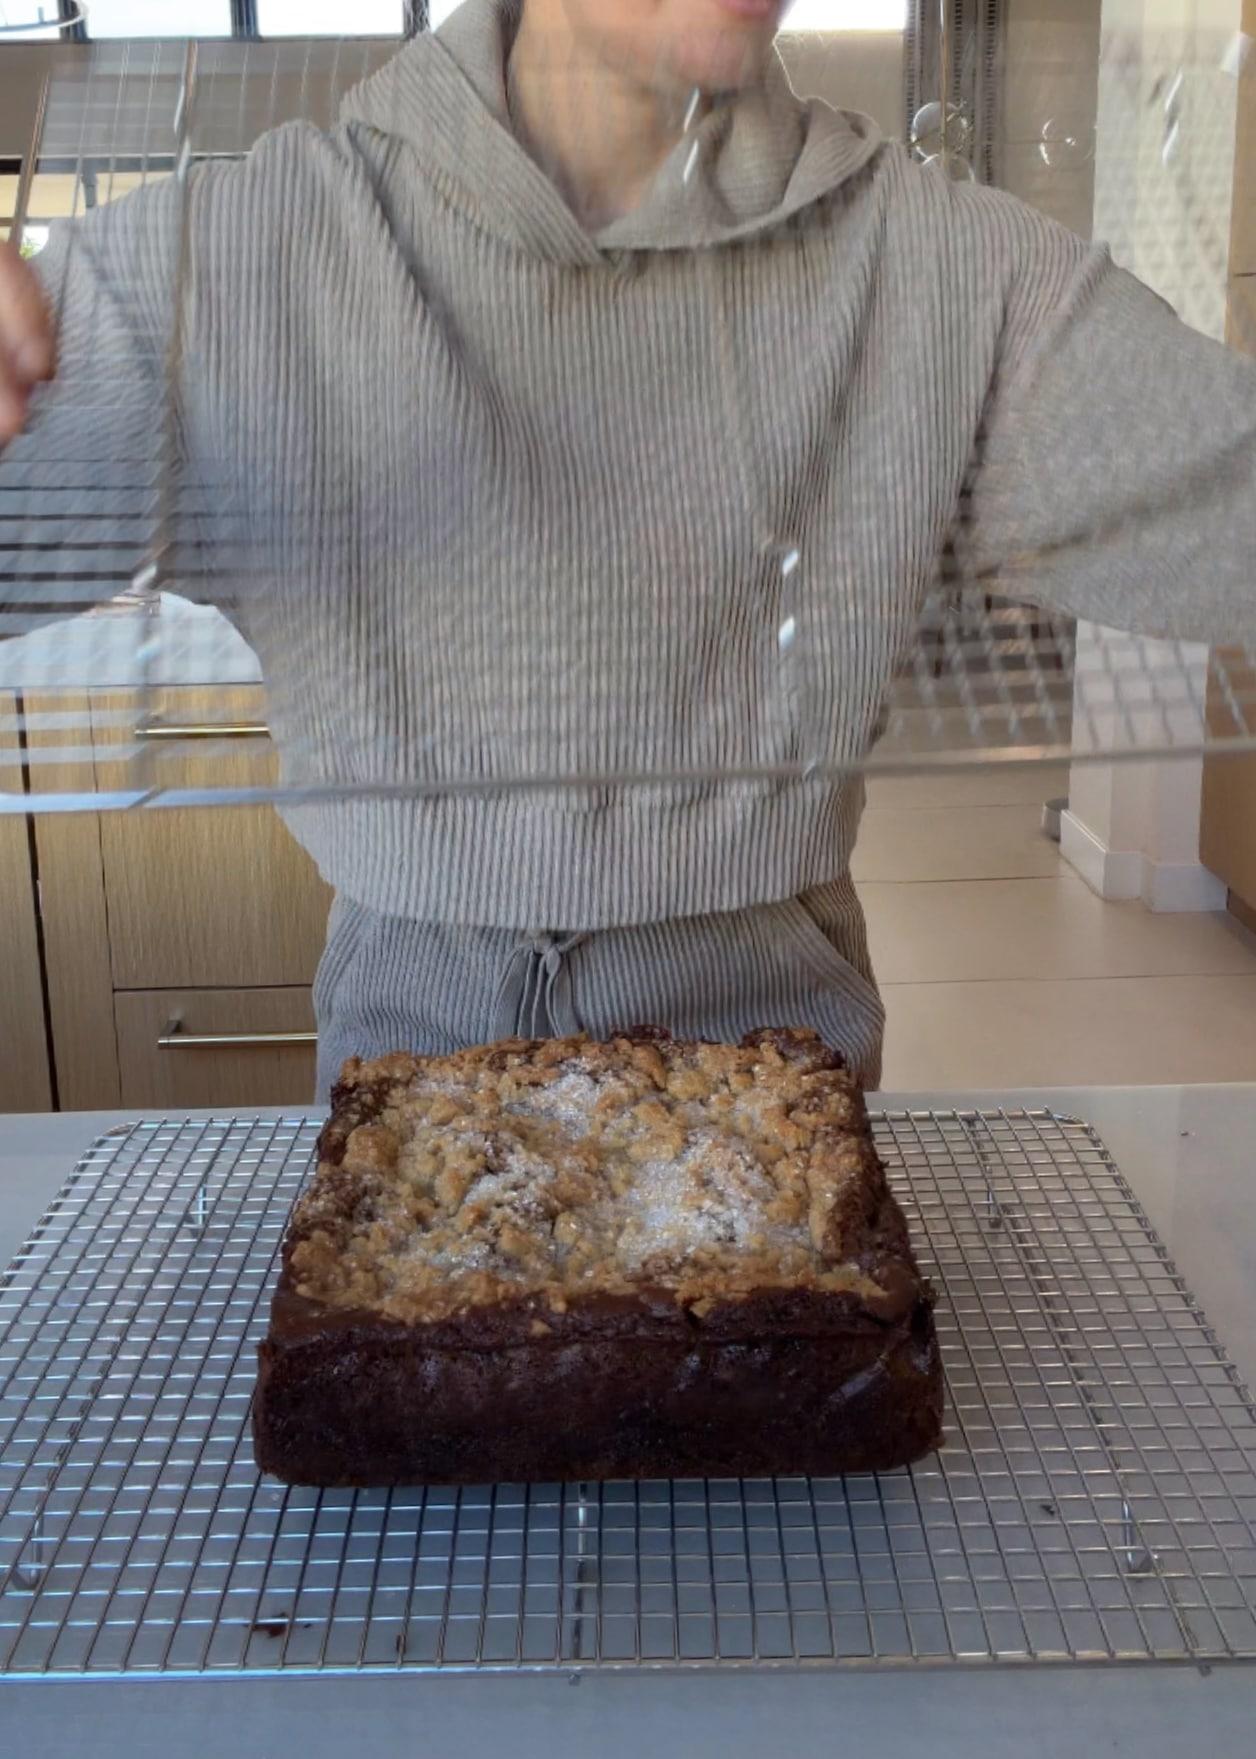
Turn the cake upright again before glazing. Step 11
Give it a thin vanilla glaze
Glaze on a rack over a tray so the extra can drain away. For a lighter finish, drizzle the top and brush a thin layer over the sides.
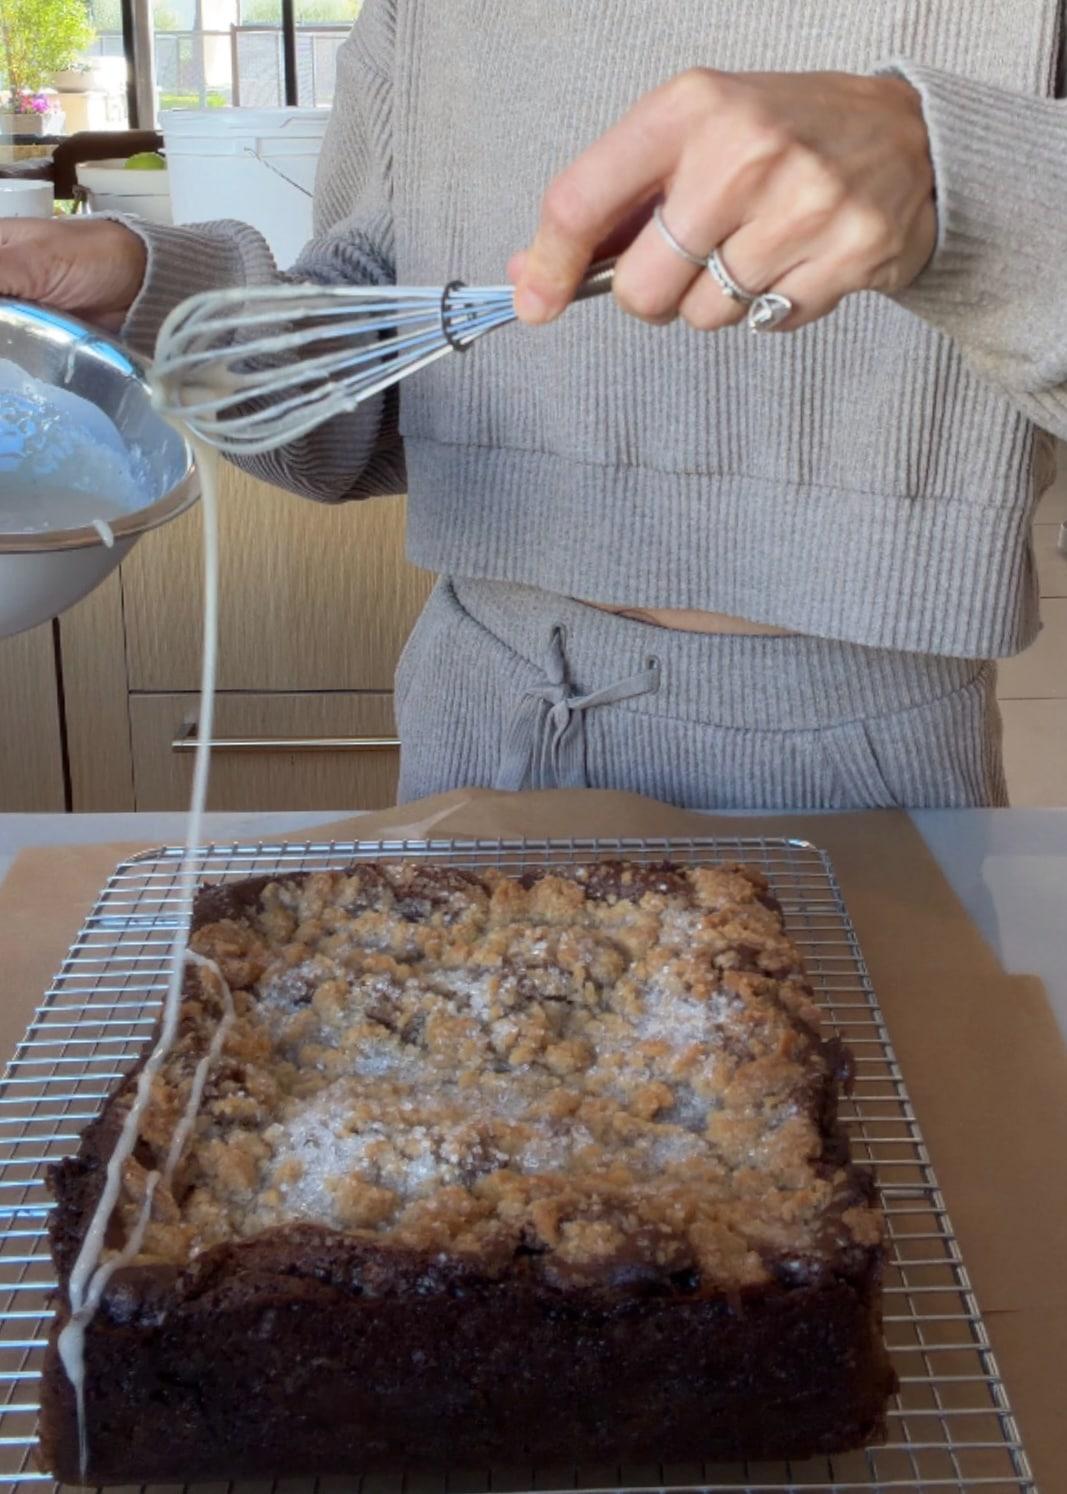
Set a tray underneath to catch the extra glaze. 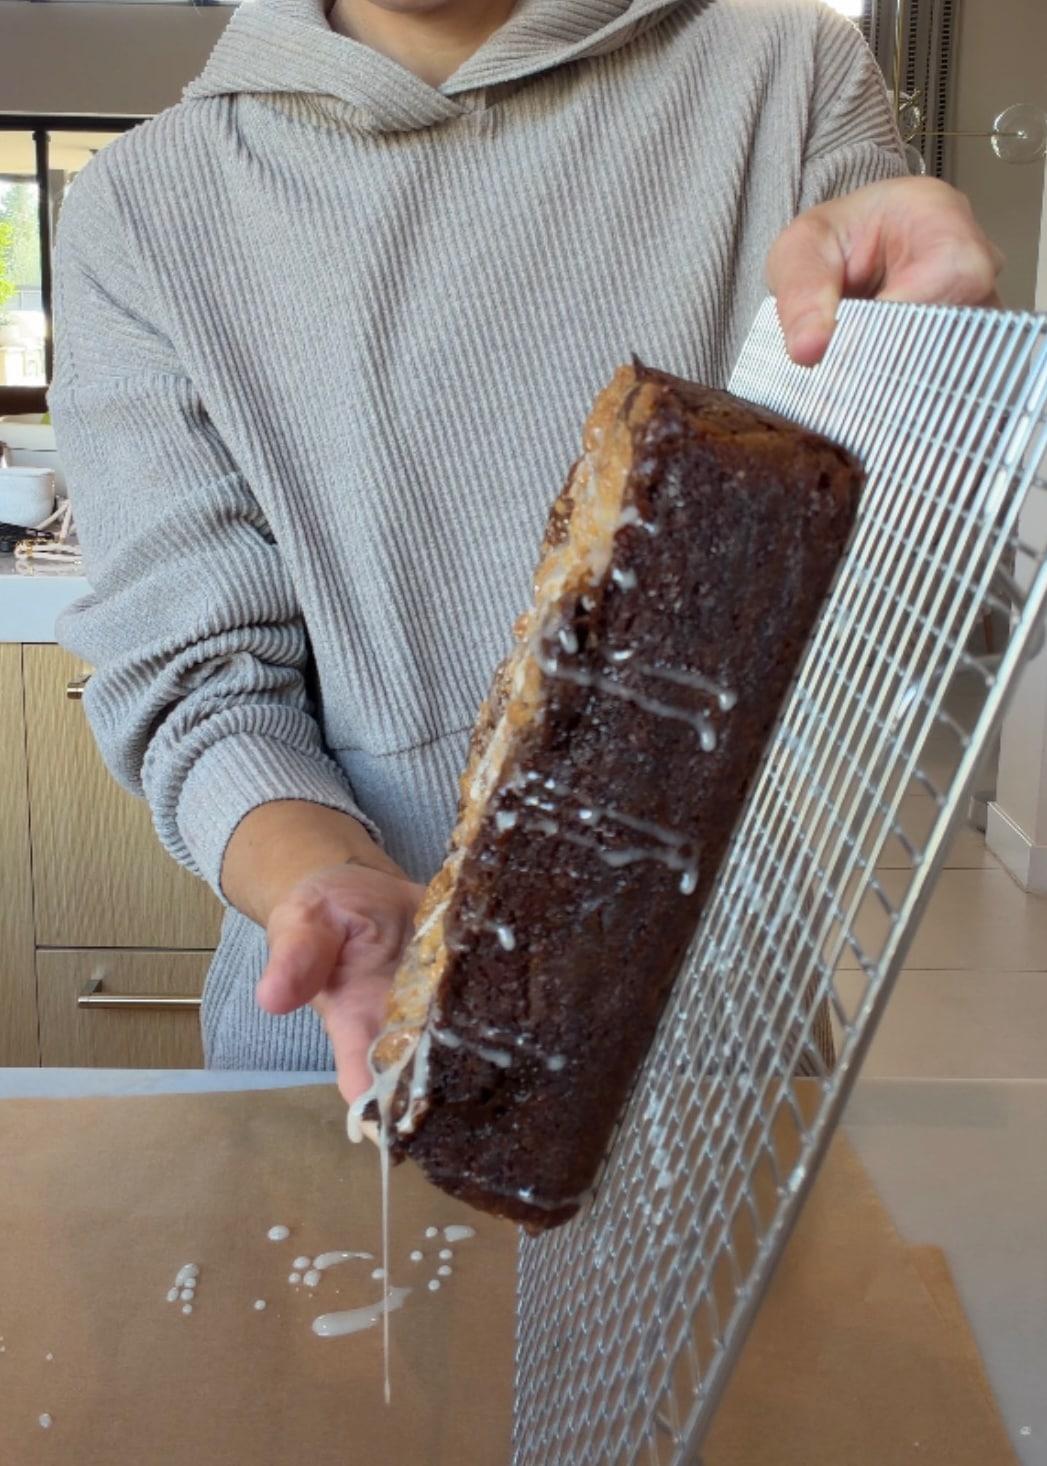
Let excess glaze drain away for a thin coating. 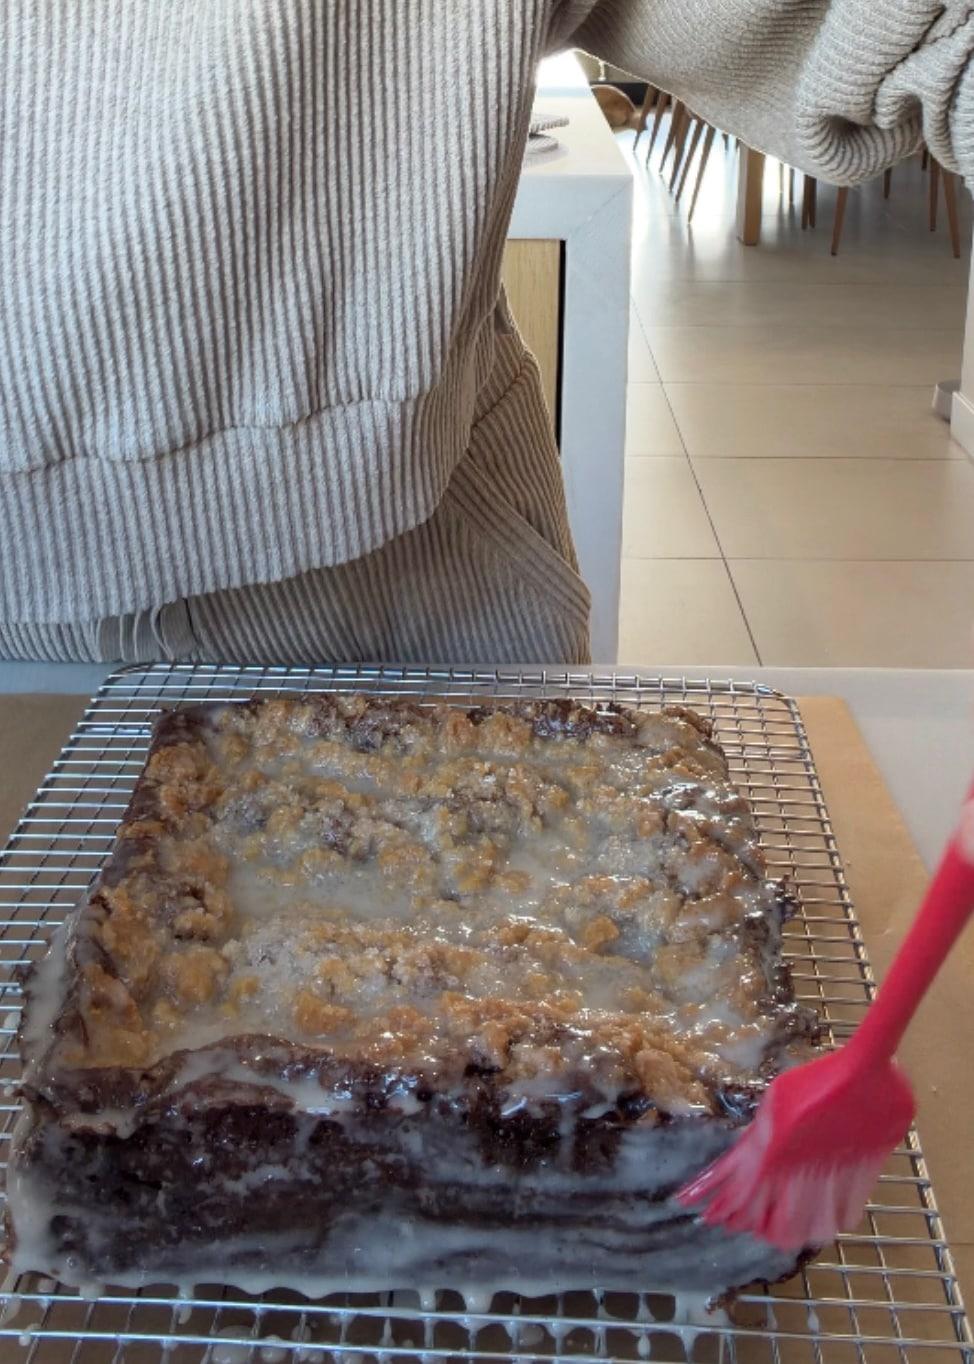
Brush a very thin layer over the caramelized sides. Step 12
Let it set, then cut into squares
Cool completely so the ribbon sets and the glaze forms its thin shell. Cut through the crumble, cake, and base.
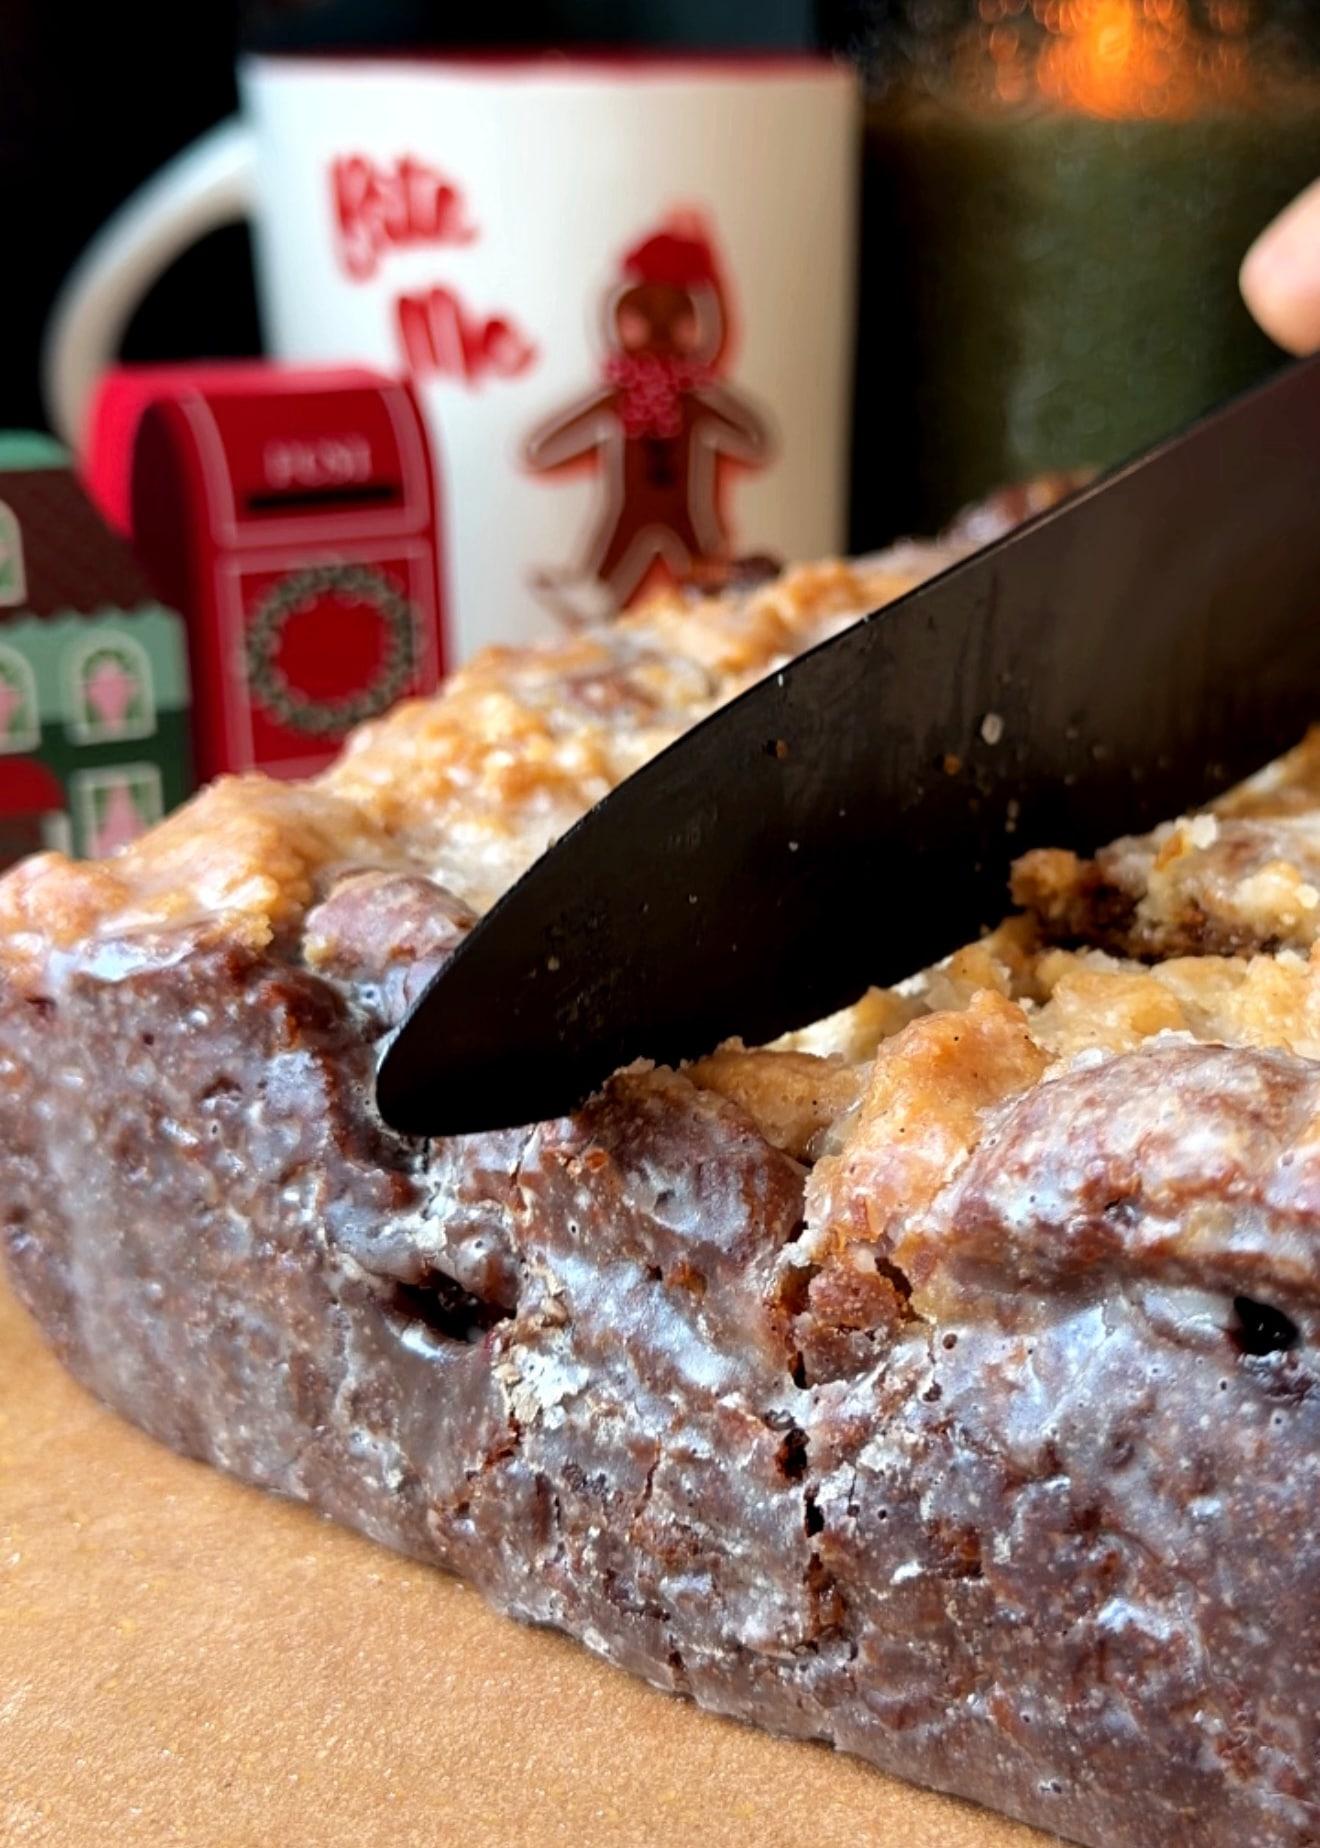
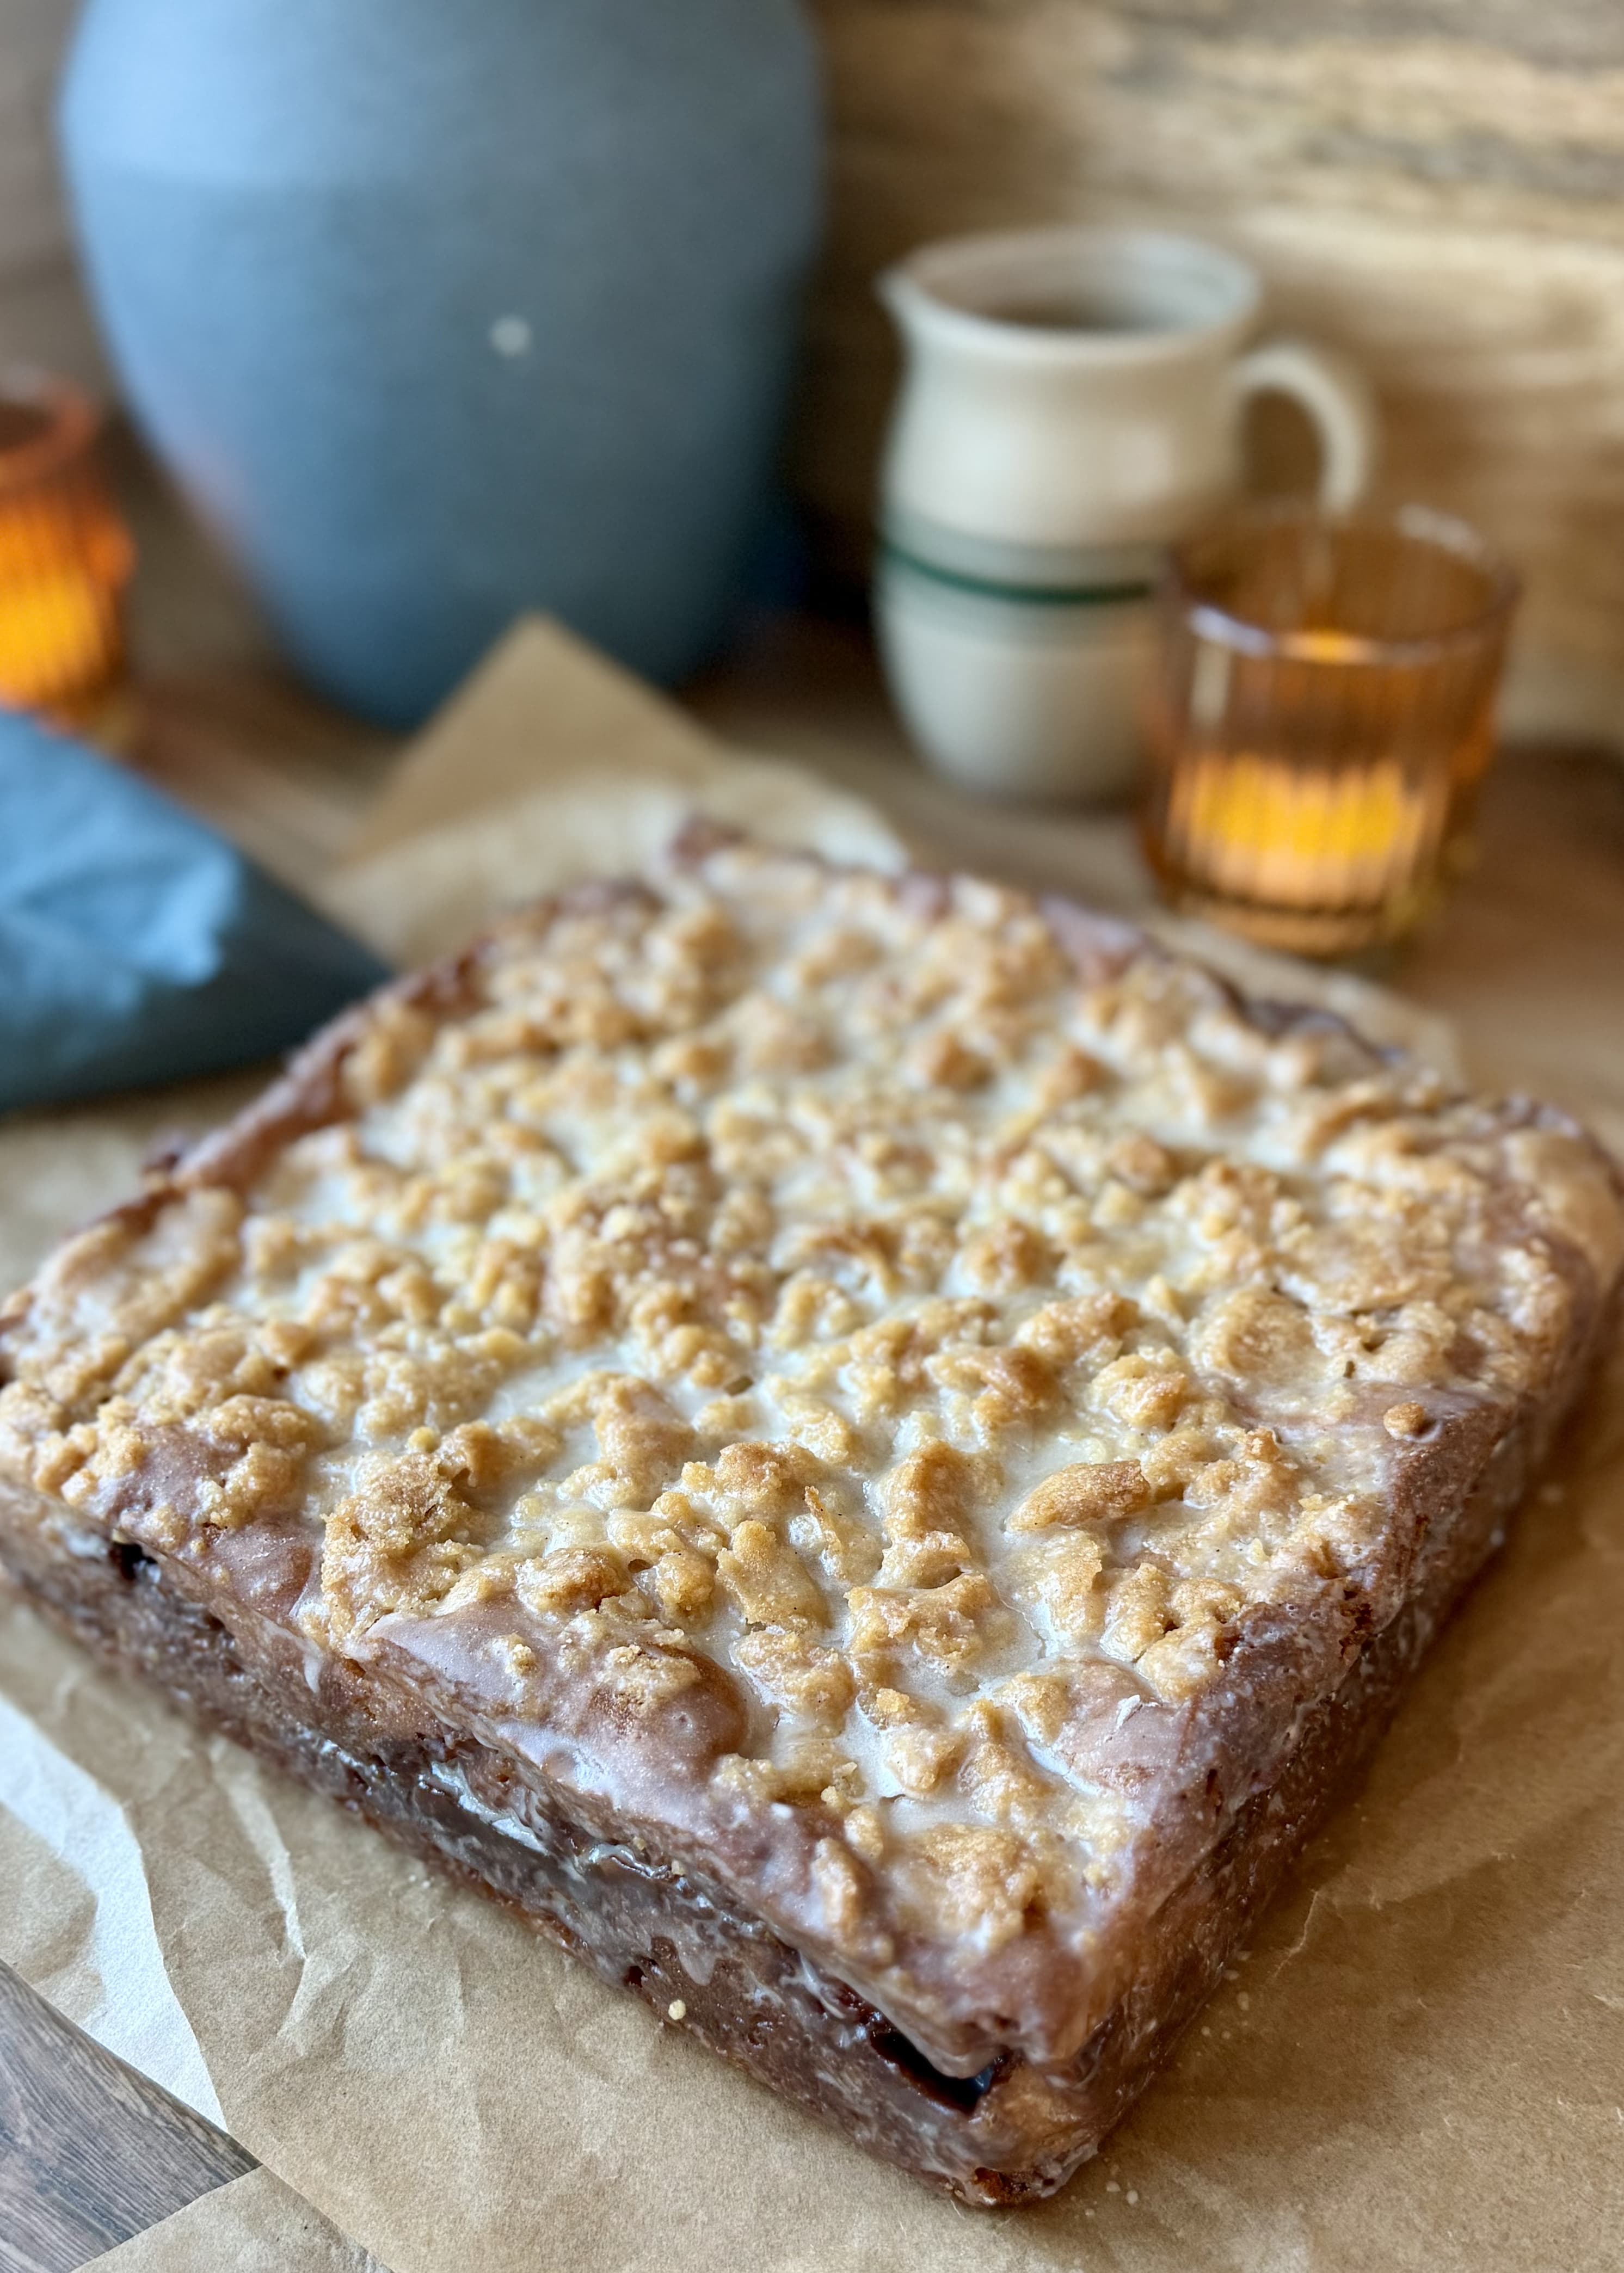
The thin glaze coats the crumble without hiding its golden color. 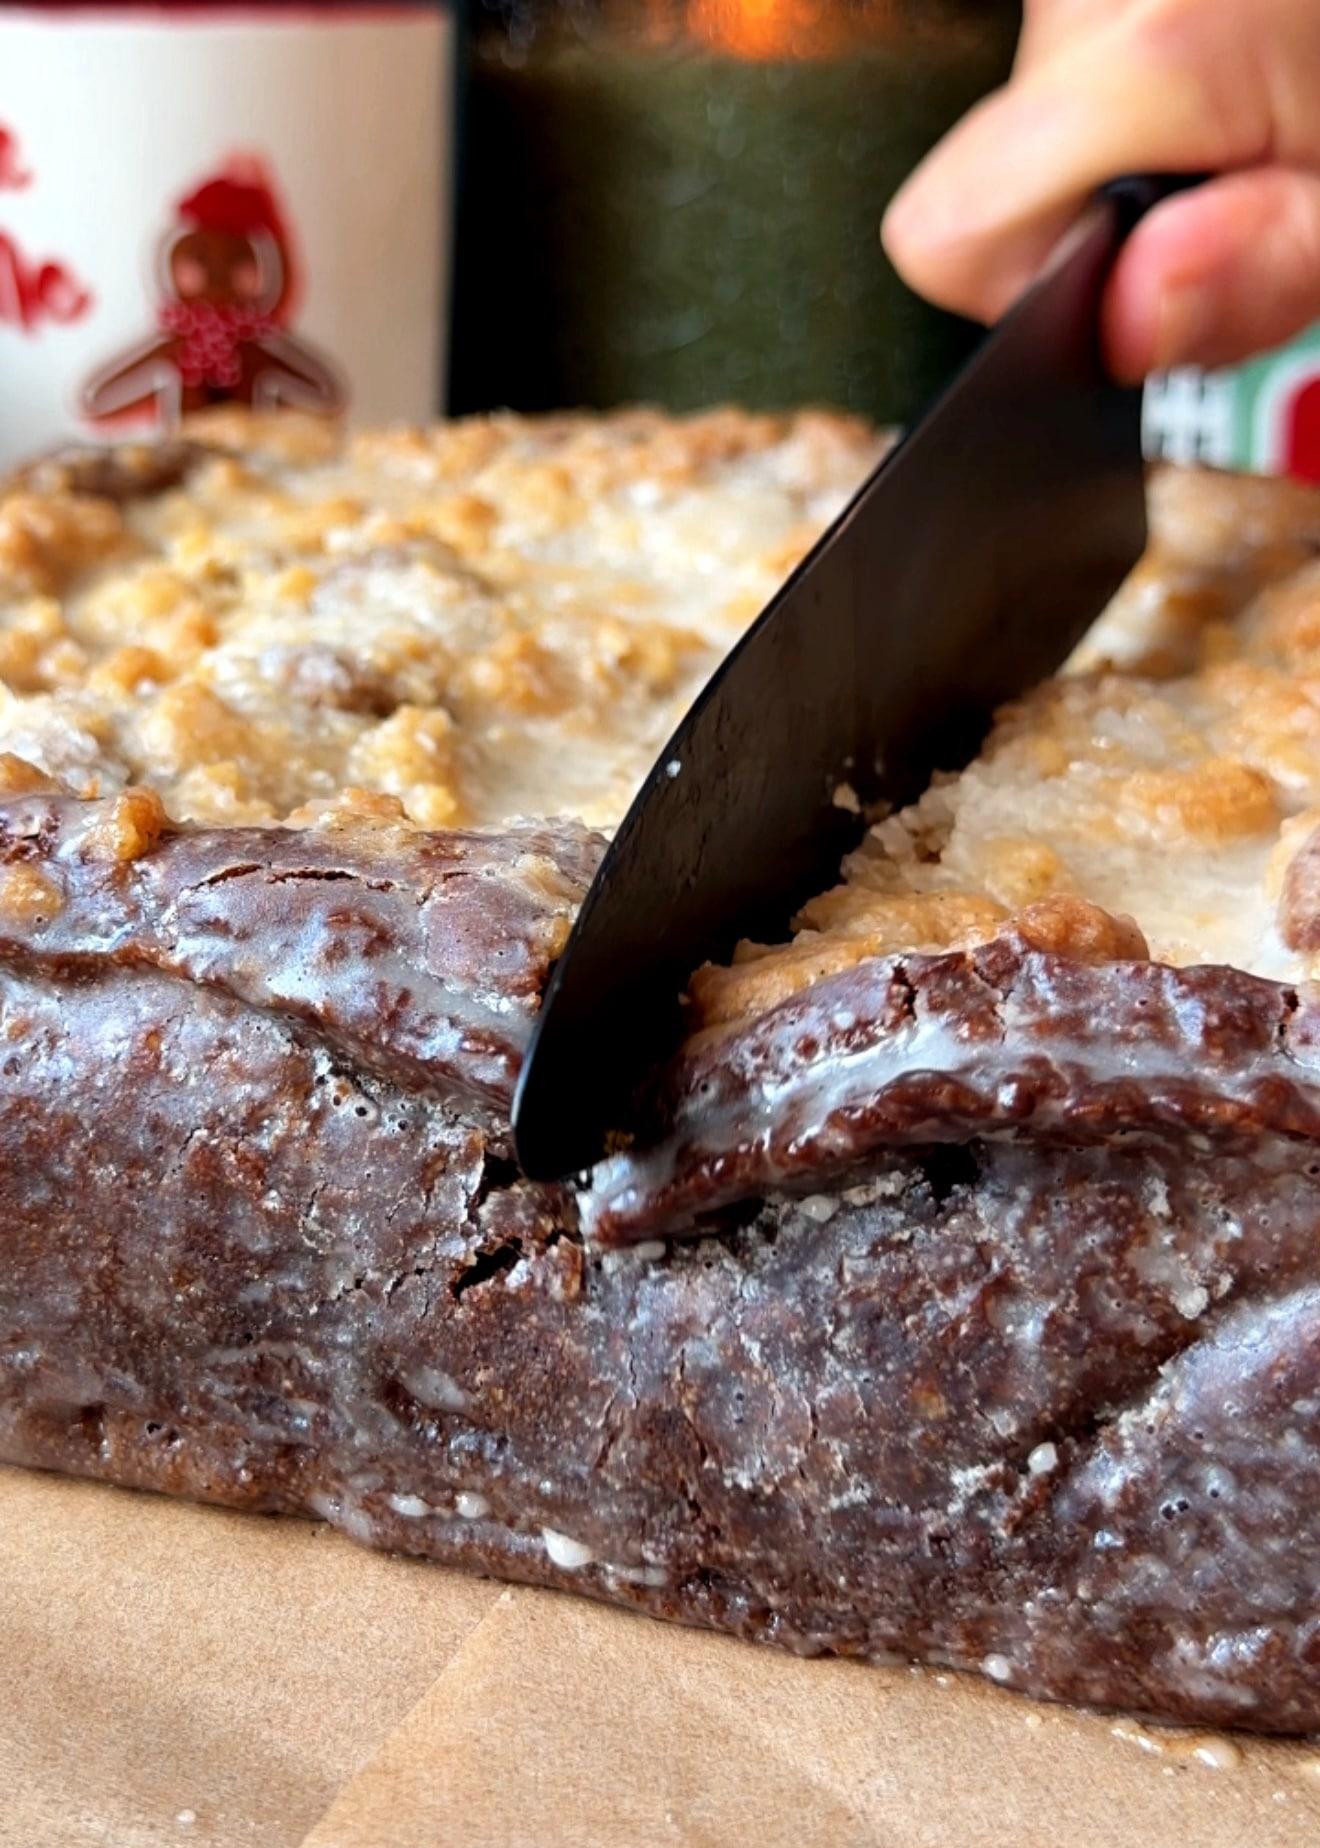
Cut through the caramelized edge and base before lifting a square. 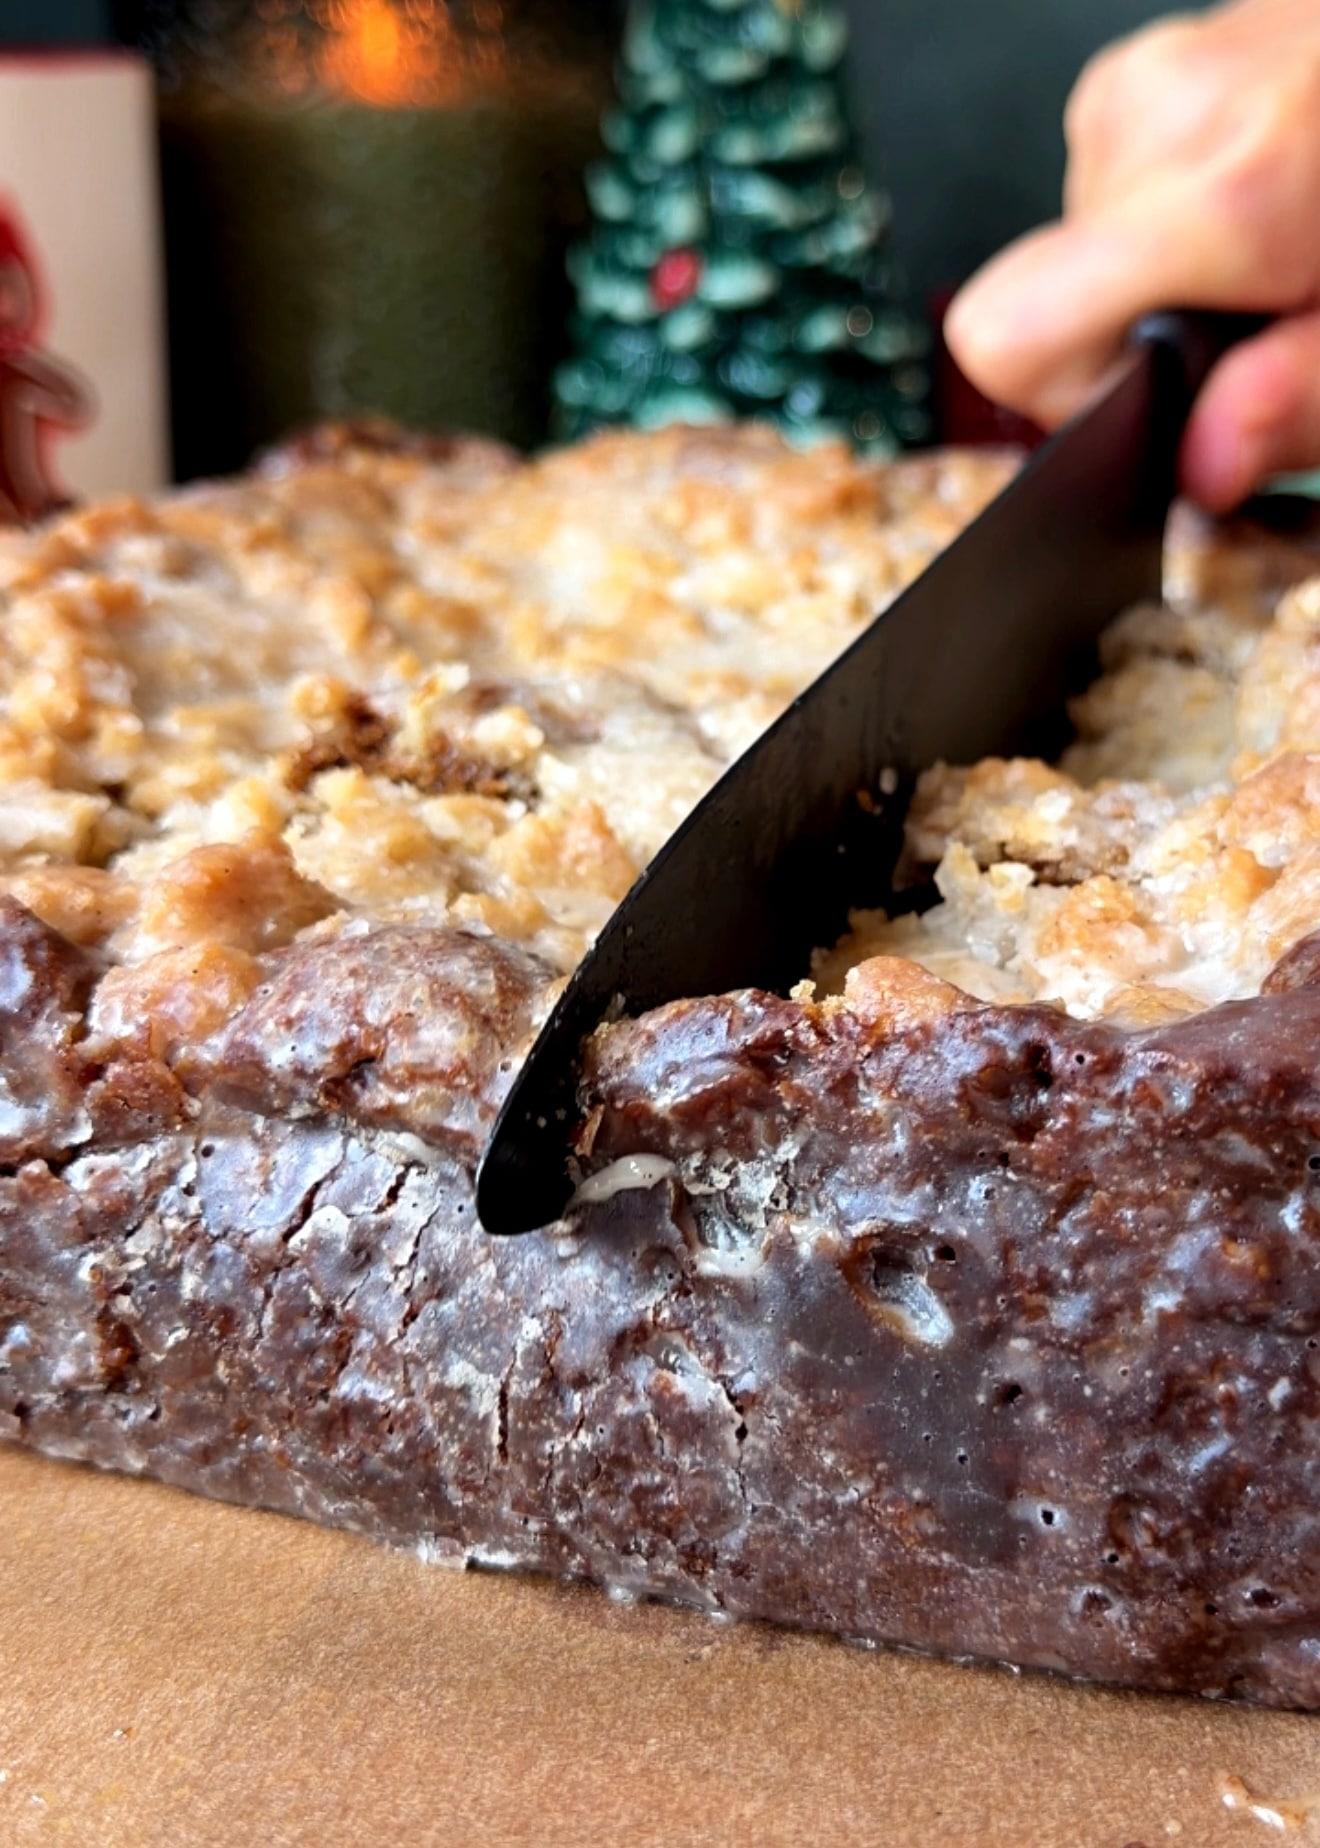
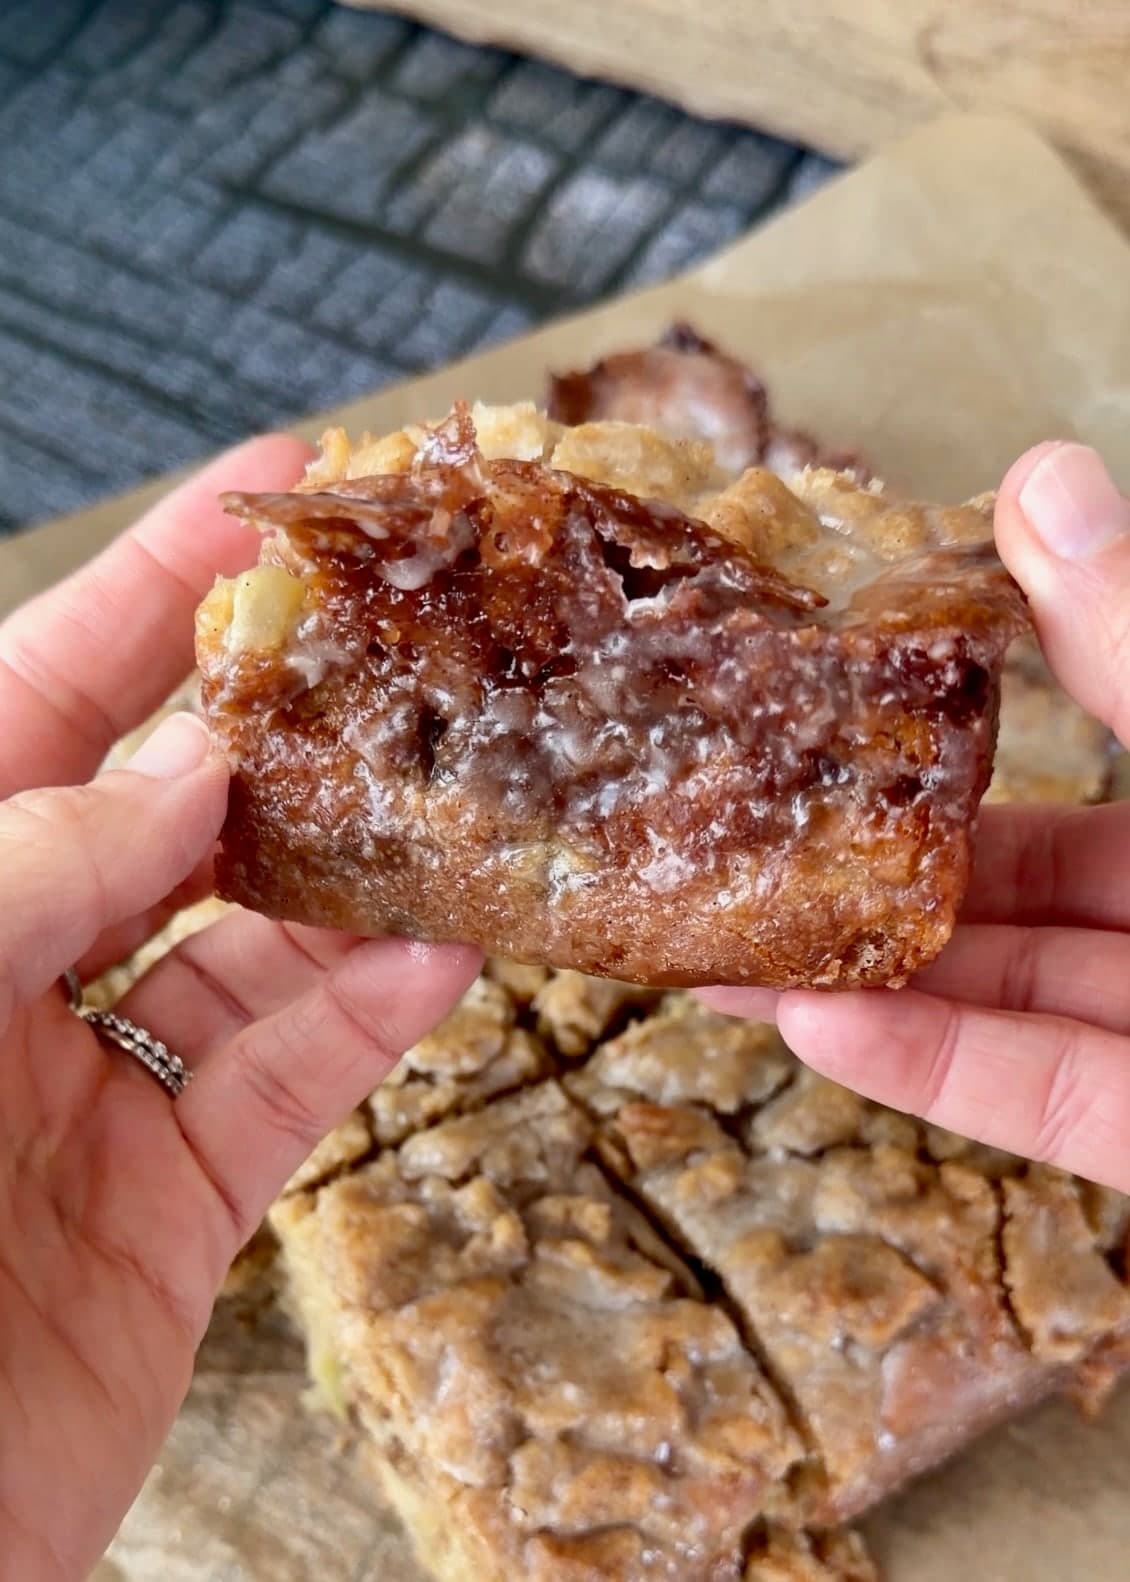
A close look at the glaze along the browned cake edge. 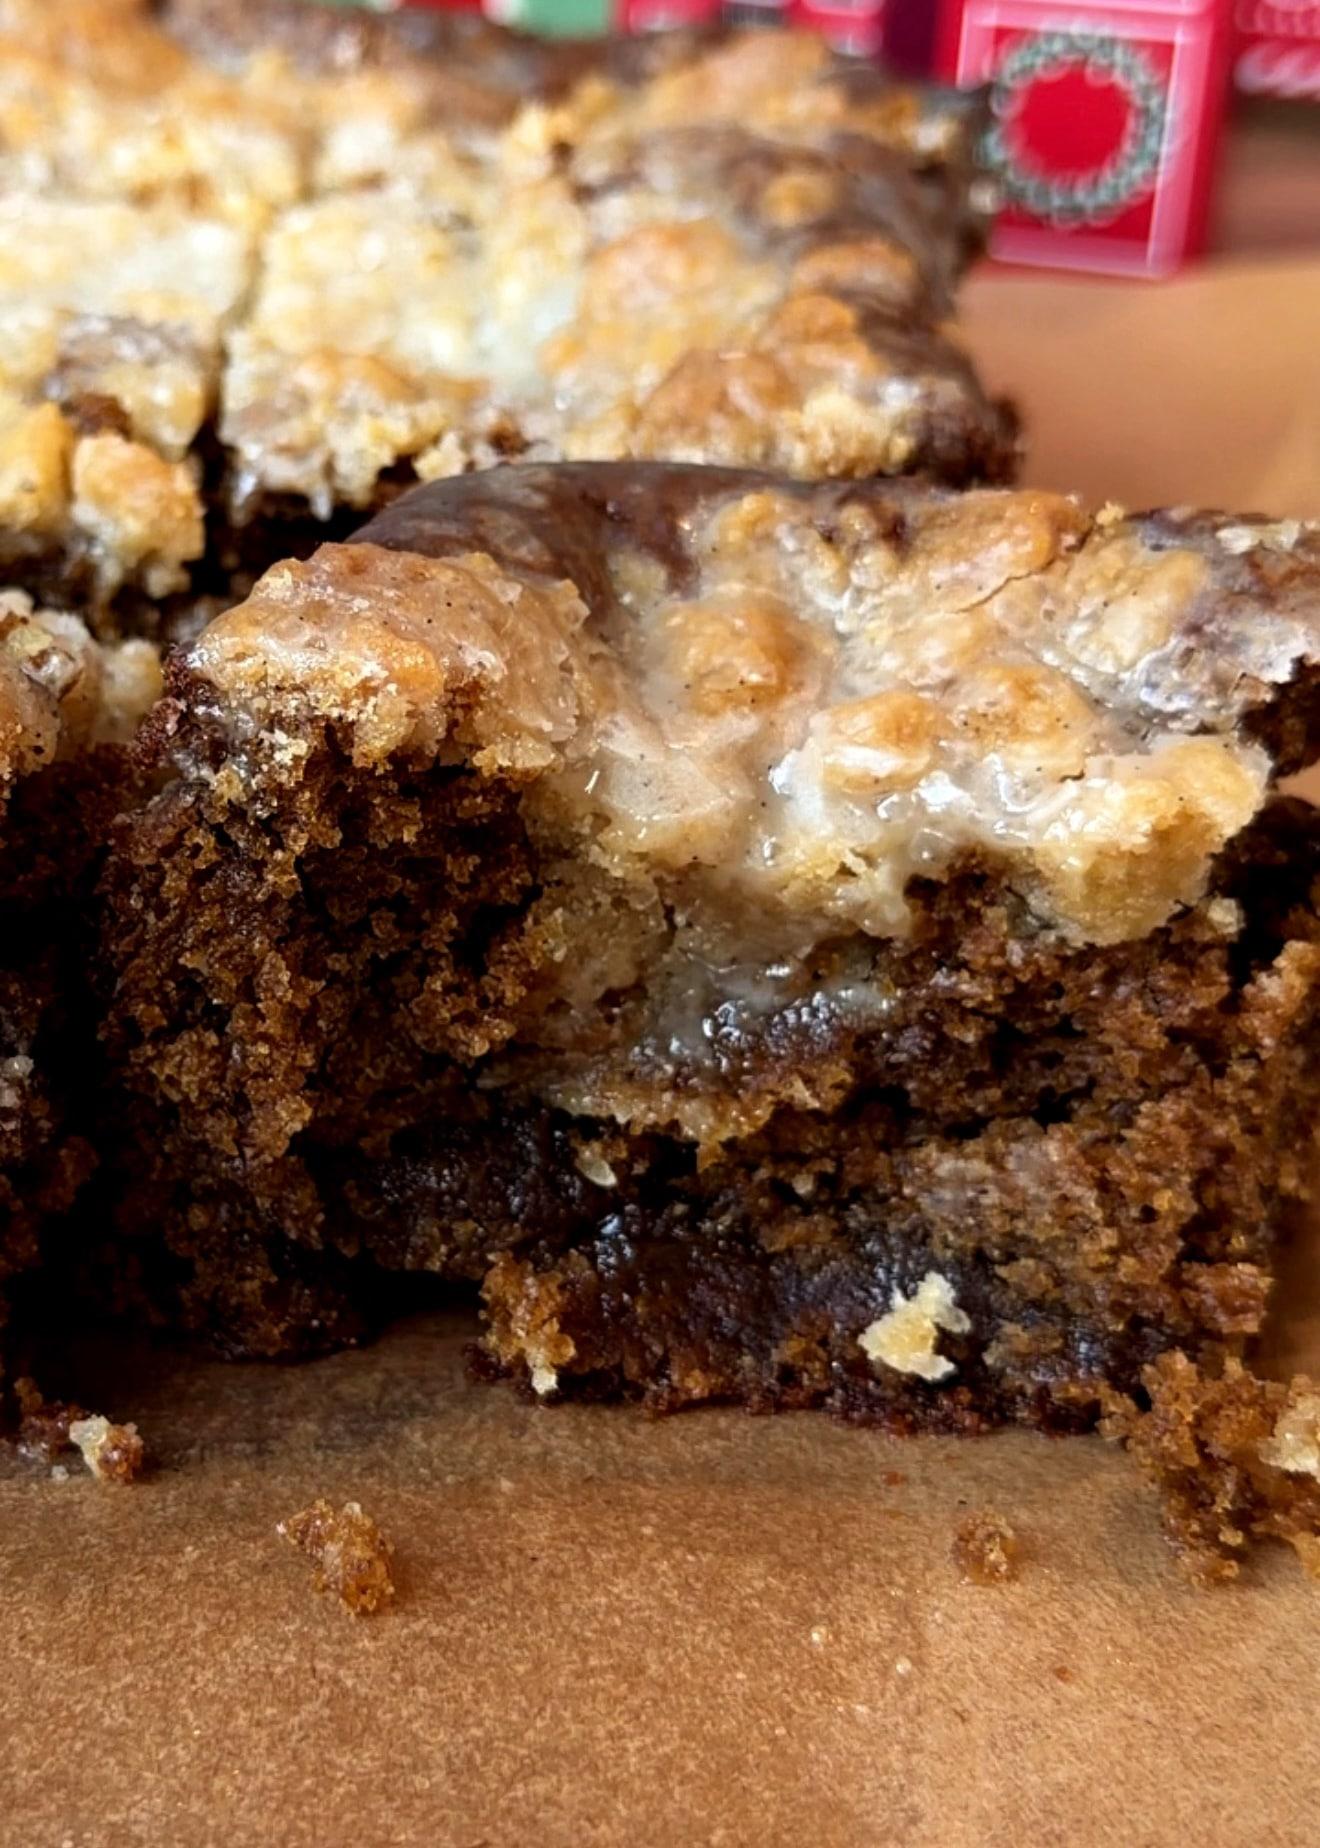
The cut edge reveals the gingerbread crumb beneath the crumble. Step 13
A closer look at the finished cake
These finished views show the soft gingerbread, darker brown sugar pockets, vanilla crumble, and delicate glaze.
Vanilla crumble and a thin glaze cover the soft gingerbread cake. 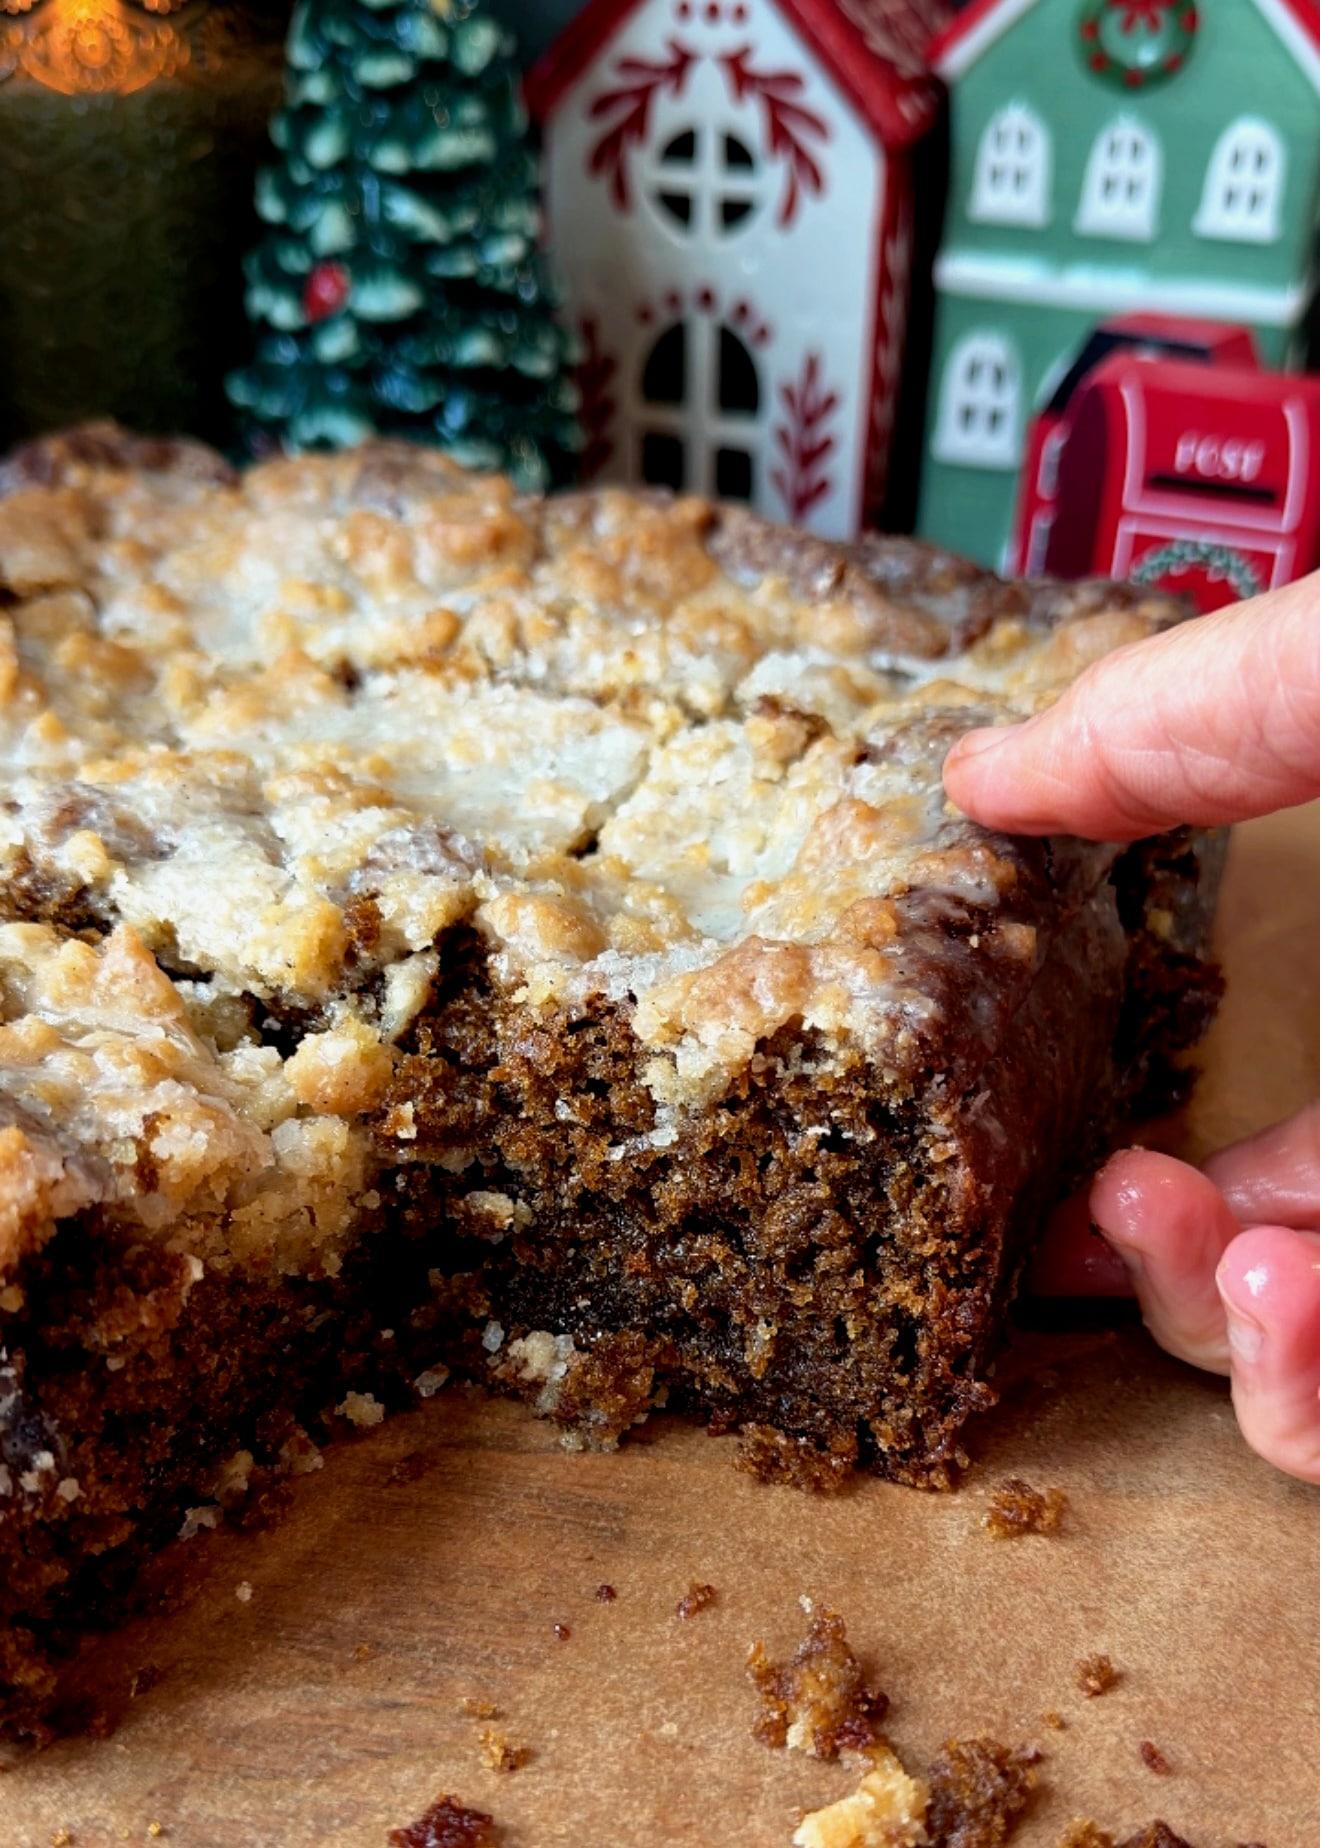
Lift each square from underneath to support the soft cake. 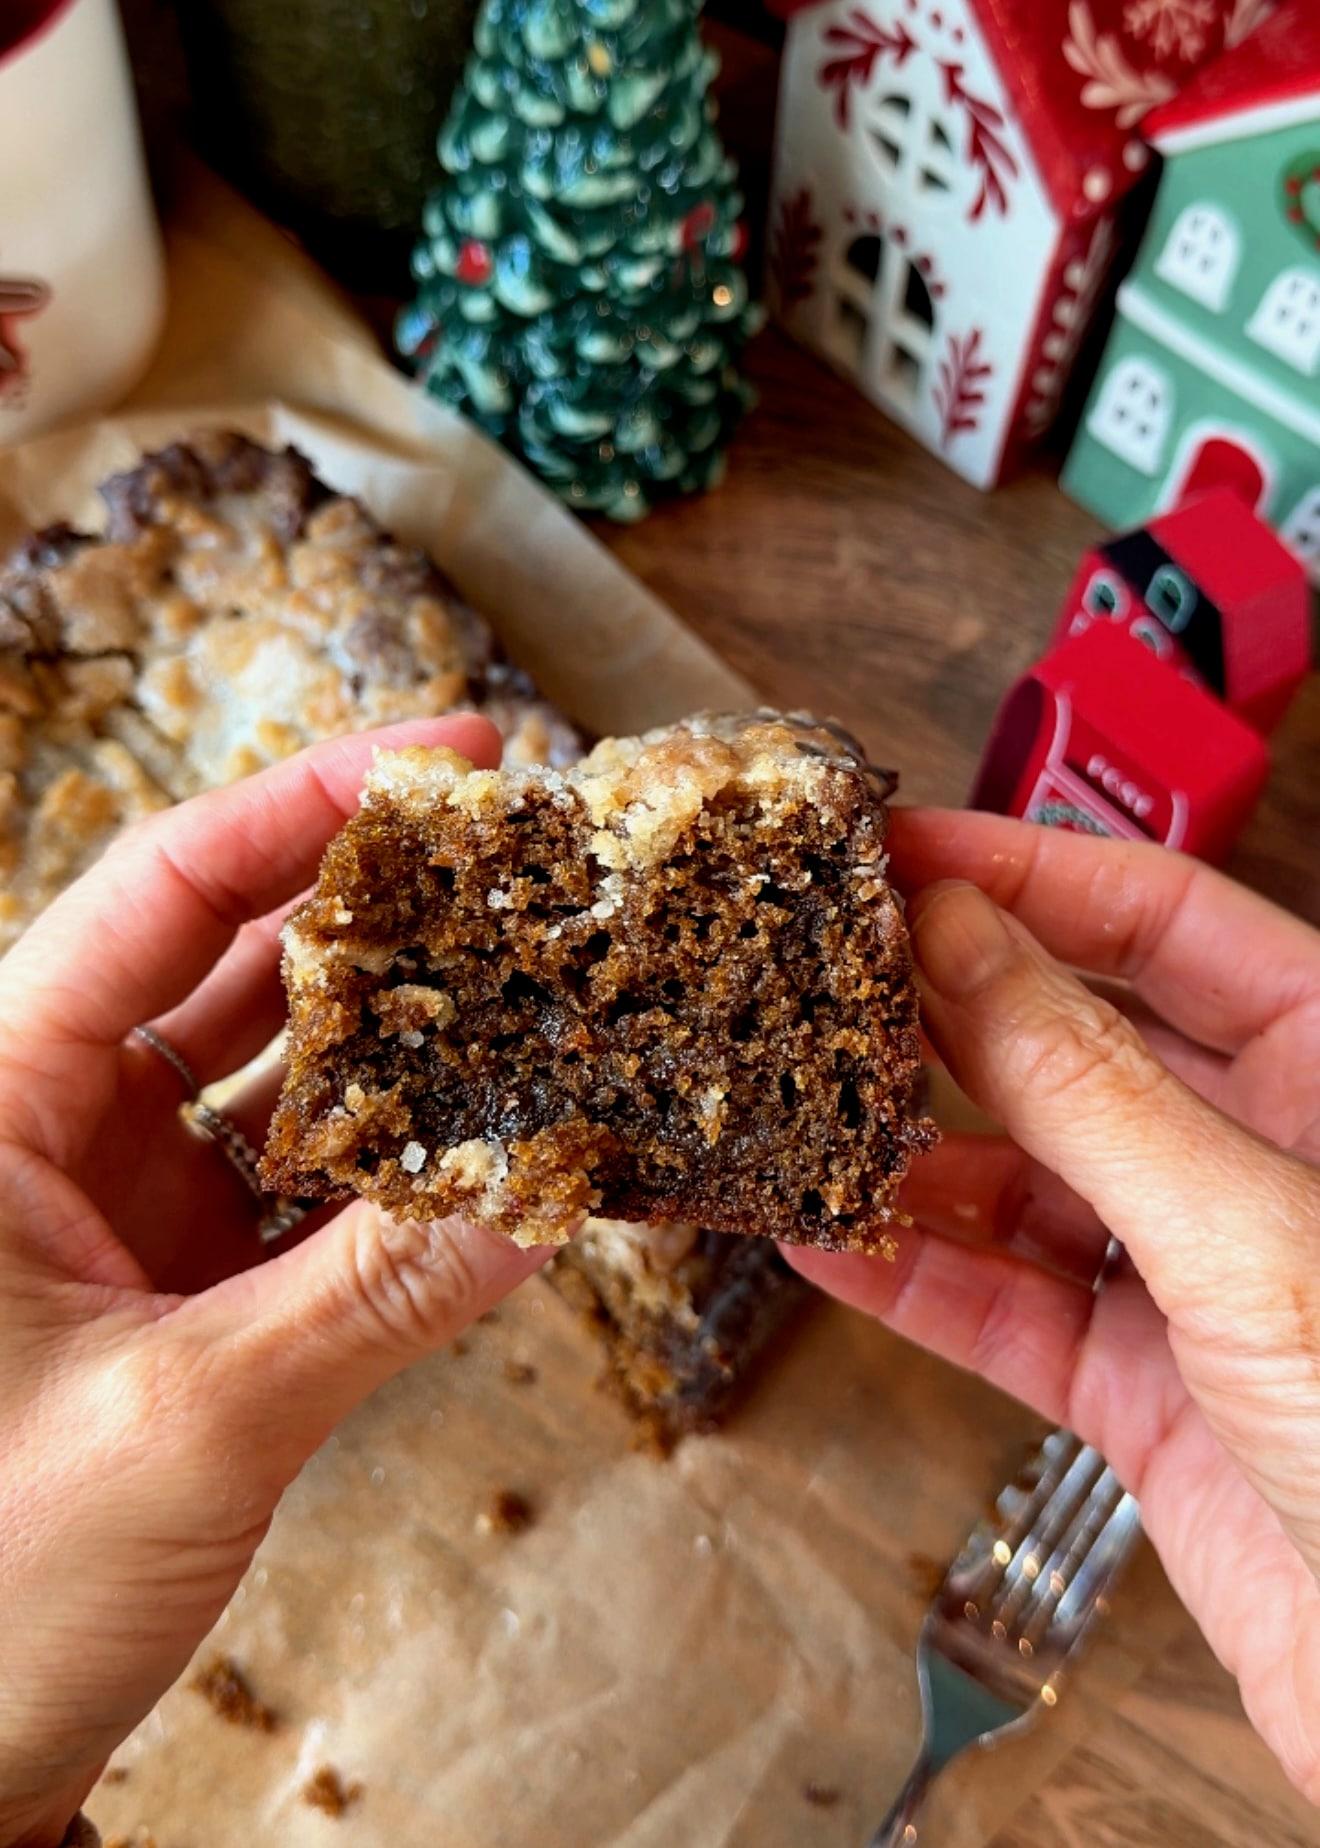
The brown sugar filling makes darker pockets in the gingerbread. 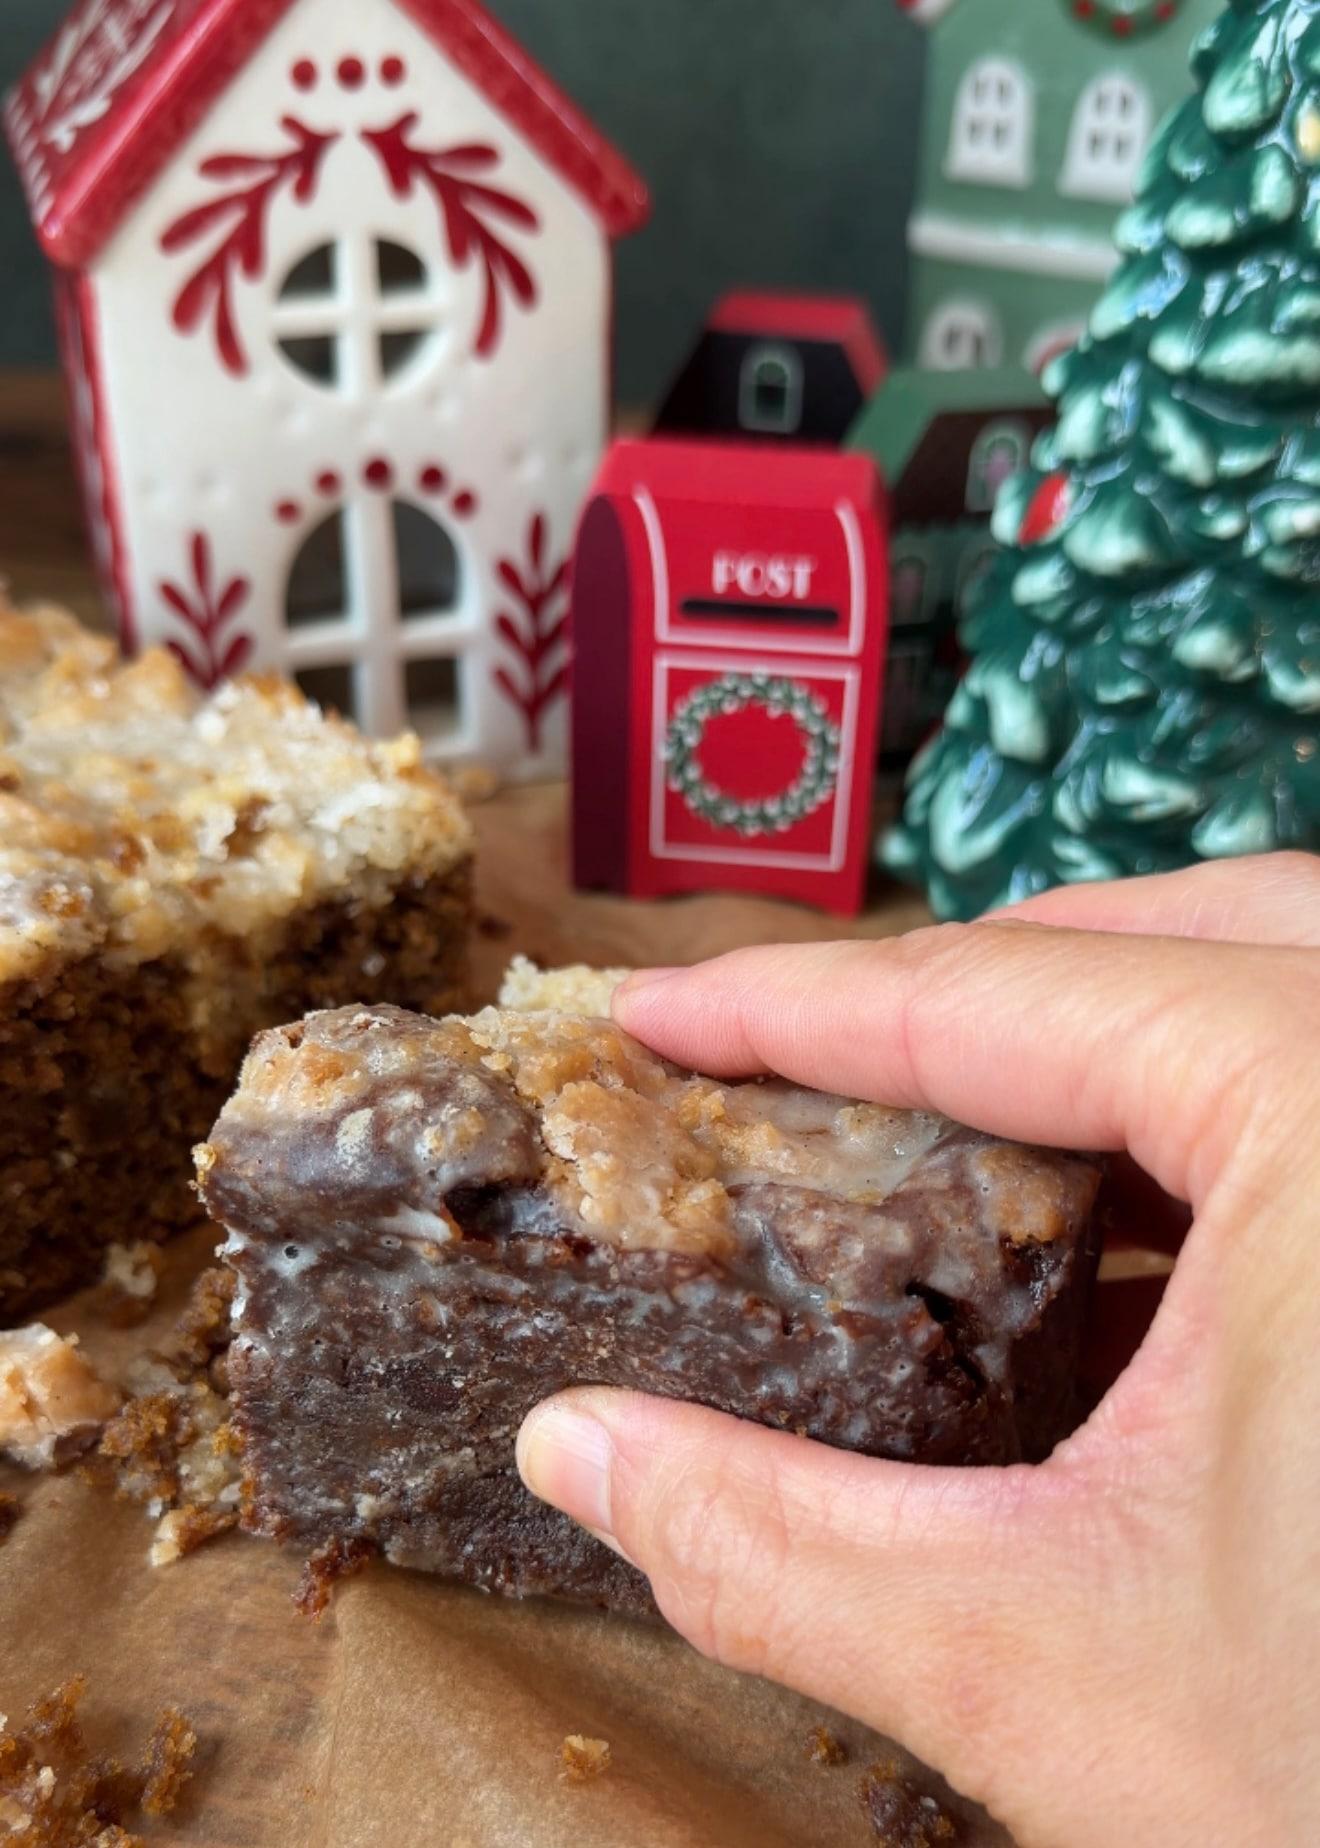
The glaze leaves a delicate shell around the caramelized sides. 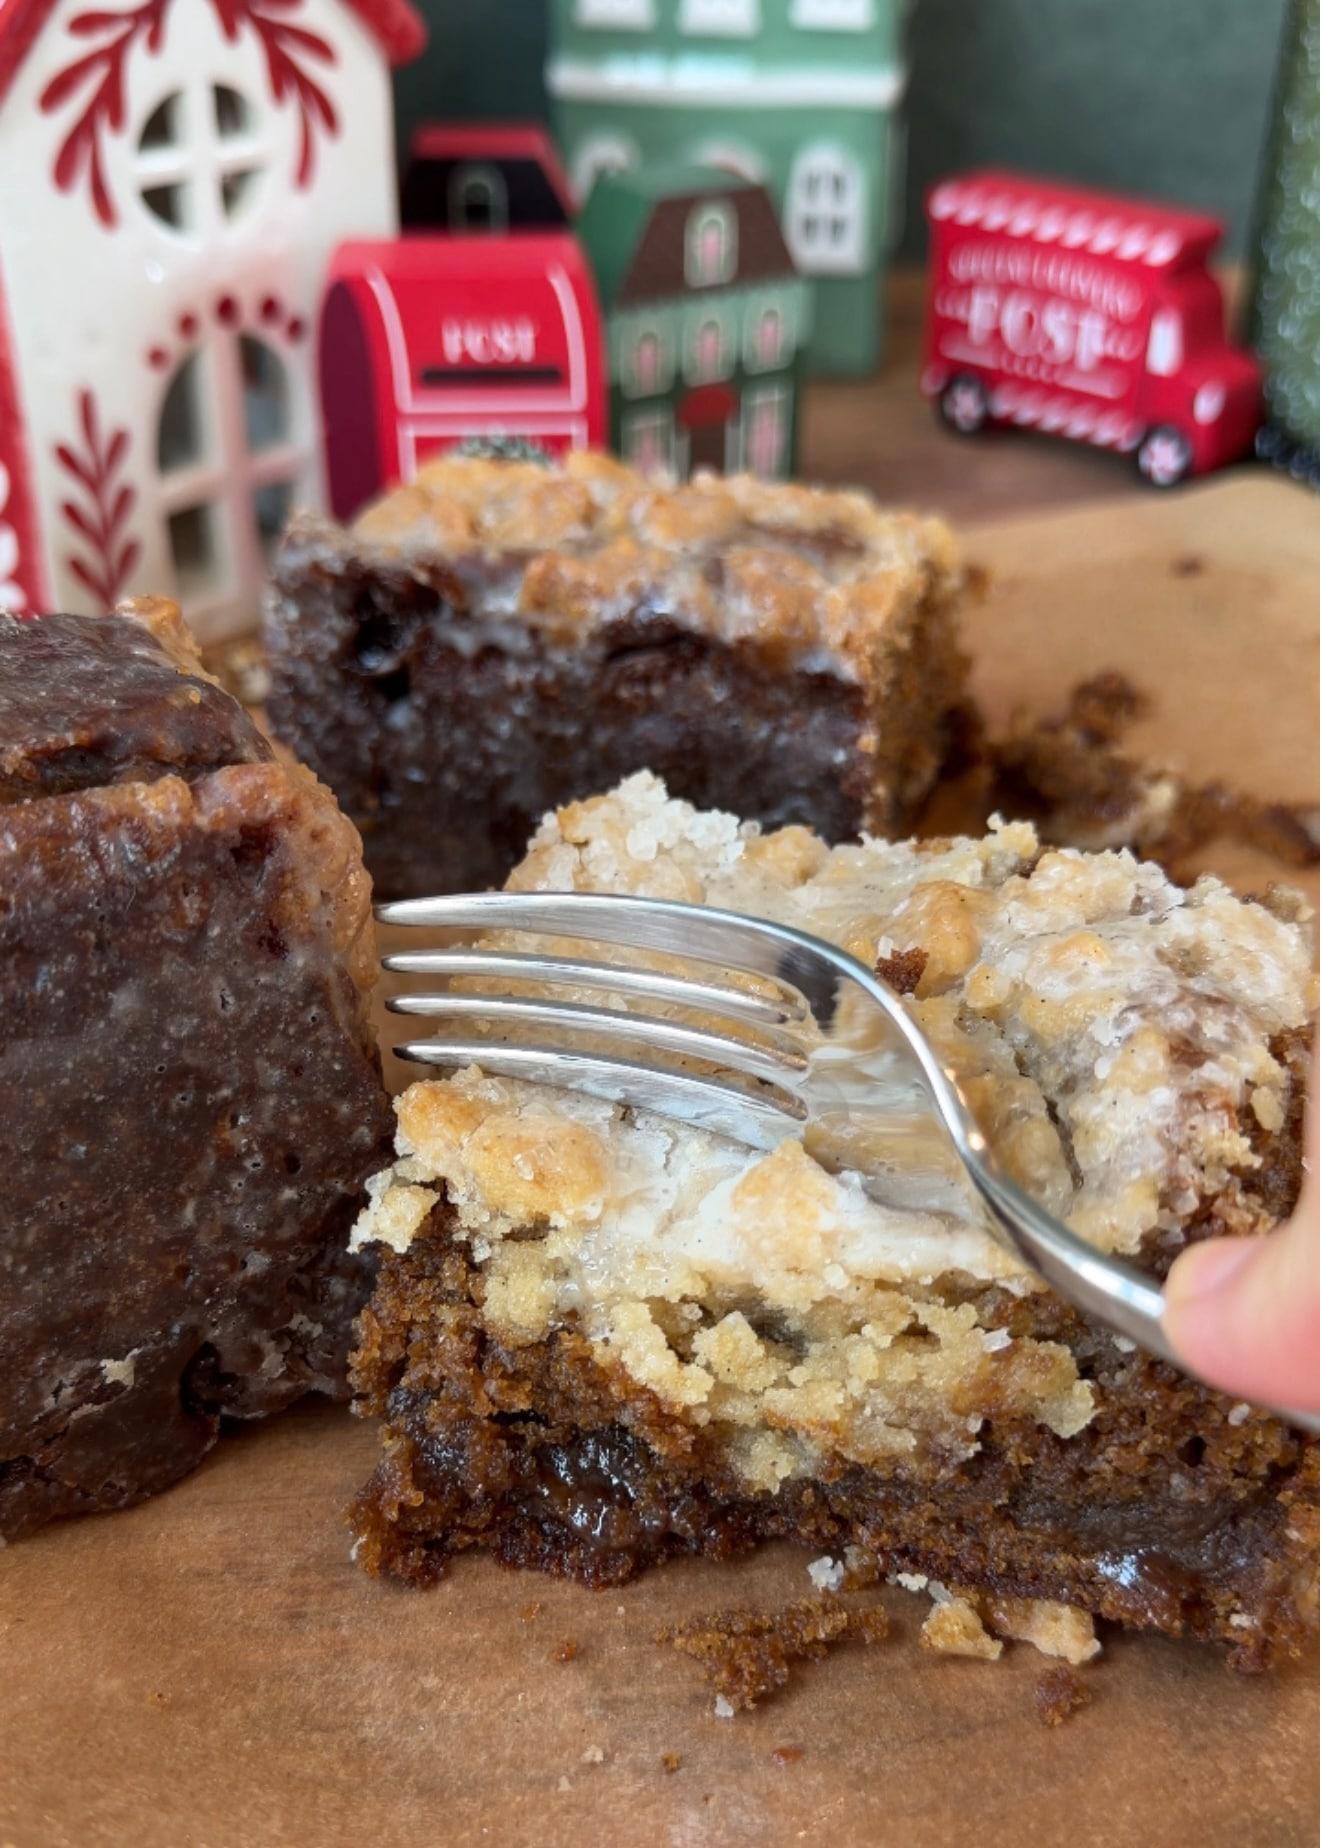
The filling and cake come together in each bite.
From my kitchen
Watch the reel
See the recipe come together before you make it.
Video not loading? Open the video.
Small things that matter
Tips for the best cake
Keep the crumble chilled while you make the filling and batter so the larger pieces stay intact.
Mine took 65 minutes, with a loose foil tent at 55 minutes. Start checking the center at 40 minutes, since ovens vary, and tent earlier if the crumble is already golden.
Check patiently in 5-minute increments if the center still has wet batter. Avoid judging doneness from a pocket of filling.
Optional sanding sugar goes over the crumble before baking. Use as much or as little as you like.
Let the cake cool completely after glazing before slicing, so the filling can set and the glaze can form its thin shell.
Troubleshooting
If This Happens
The thermometer looks ready but comes out coated in paste
Temperature alone is not the final answer. Check the cake in two spots near the middle, away from the ribbon. If you find pasty or wet batter, keep baking, loosely covered with foil if needed, and check again in 5 minutes.
The cake bends too much when I try to lift it
Lower it back into the pan and let it rest longer. Wait at least 30 minutes before trying, and do not lift it out until it feels stable enough to hold its shape.
The crumble is browning before the center sets
Loosely tent with foil once the crumble is golden and continue baking until the center is done. My tent went on at 55 minutes, but your cake may need it earlier.
Before you slice
Texture and serving notes
Cut into nine generous squares once the cake is completely cool and the glaze has set.
For a lighter glaze finish, drizzle a little over the crumble and brush the caramelized sides very thinly.
Make-ahead plan
For the freshest glaze finish, bake and freeze the cake first, then glaze after thawing.
| Plan | Prepare | Store | Finish |
|---|---|---|---|
| Serve the next day | Bake, rest, glaze, and cool completely. | Refrigerate airtight after the glaze sets. | Slice into squares; count this day toward the 4-day storage window. |
| Freeze the whole cake | Bake and cool completely, without glaze. | Wrap tightly in plastic wrap and foil or a sealed freezer bag; freeze up to 3 months. | Thaw wrapped overnight in the refrigerator. Let reach room temperature, then unwrap and glaze. |
| Freeze individual squares | Cool the unglazed cake completely, then cut and wrap each square. | Seal the wrapped squares in a freezer bag for up to 3 months. | Thaw only what you need, wrapped in the refrigerator, then bring to room temperature before glazing. |
Keep it good
Storage
Fridge
Once the cake is completely cool and the glaze has set, keep it in an airtight container in the refrigerator for up to 4 days.
Freezer
Freeze unglazed: let the cake cool completely before wrapping. Wrap the whole cake or individual squares tightly in plastic wrap, then foil or a sealed freezer bag. Freeze for up to 3 months. Thaw overnight in the refrigerator, still wrapped, then allow the cake to reach room temperature before unwrapping and glazing.
Recipe FAQ
Questions that come up
Can I use regular yogurt instead of Greek-style yogurt?
I have not tested regular plain unsweetened yogurt in this cake yet. It should work, but because it has more water, I would start by reducing the batter milk by 1 tablespoon, from 110 g to about 95 g. This is an untested suggestion, not a change to the tested recipe. Let me know how it goes if you try it.
Should I bake it to 220°F?
No. That was the reading from my finished cake, not a required target. Mine took 65 minutes, but the center and probe matter too. If the probe comes out with pasty batter, be patient and keep baking. Check the cake near the middle in two places, avoiding the filling.
Is the sanding sugar necessary?
It is optional, but I love it on this one. Sprinkle it over the crumble before baking for a little extra festive crunch.
Do I need all the glaze?
Use a thin coating and let the excess drain off the rack. For less glaze, drizzle a little on top and brush a very thin layer over the caramelized sides. You may not need the whole batch.
Can I make the whole cake ahead and freeze it?
Yes. Bake the cake, cool it completely, and freeze it without glaze, tightly wrapped, for up to 3 months. Thaw it overnight in the refrigerator while wrapped, then let it come to room temperature before unwrapping and glazing.
Can I use vanilla extract?
Vanilla extract is an acceptable substitute for vanilla bean paste at the same listed amounts.
Where can I find another fritter coffee cake?
My Maple Fritter Coffee Cake has a cinnamon ribbon, vanilla crumble, and the same thin crackle-glaze finish. Maple Fritter Coffee Cake
Should I weigh the ingredients or use volume measurements?
I strongly recommend weighing the ingredients in grams for the most reliable result. Volume measurements are included for convenience, but the amount in a cup can change depending on how an ingredient is filled, packed, or poured. These recipes are easy to follow, but their ratios are precise, so I cannot guarantee the exact same result when volume measurements are used. I still use teaspoons and tablespoons for small amounts like leaveners, salt, spices, and flavorings because those are the most practical measurements.
More coffee cakes to try
- Prep
- About 30 min (estimated)
- Bake
- 65 min in my oven; tented at 55 min
- Total
- About 3 hours or longer (estimated), including cooling and setting
- Yield
- One 9×9-inch cake, 9 generous squares
Measurement note
For the closest match to the recipe I tested, use grams. Volume measurements are included for convenience, but cups can vary, so I cannot guarantee the exact same result when measuring by volume.
Ingredients
Classic Vanilla Crumble
- 115 g all-purpose flour115 g (about 3/4 cup + 3 tablespoons + 1 teaspoon) all-purpose flour
- 40 g light brown sugar, packed40 g (about 3 tablespoons) light brown sugar, packed
- 40 g granulated sugar40 g (about 3 tablespoons + 3/4 teaspoon) granulated sugar
- 1/2 teaspoon fine sea salt1/2 teaspoon fine sea salt
- 85 g butter, cold and cubed85 g (about 6 tablespoons) butter, cold and cubed
- 1 teaspoon vanilla bean paste1 teaspoon vanilla bean paste
Gingerbread Filling
- 120 g dark brown sugar, packed120 g (about 1/2 cup + 1 tablespoon) dark brown sugar, packed
- 75 g butter, melted75 g (about 1/3 cup) butter, melted
- 1 tablespoon all-purpose flour1 tablespoon all-purpose flour
- 3/4 teaspoon ground ginger3/4 teaspoon ground ginger
- 1/2 teaspoon ground cinnamon1/2 teaspoon ground cinnamon
- 1/8 teaspoon ground allspice1/8 teaspoon ground allspice
- 1/4 teaspoon fine sea salt1/4 teaspoon fine sea salt
Gingerbread Cake
- 100 g light brown sugar, packed100 g (about 7 tablespoons + 1 1/2 teaspoons) light brown sugar, packed
- 60 g granulated sugar60 g (about 1/4 cup + 2 1/2 teaspoons) granulated sugar
- 85 g regular unsulphured molasses85 g (about 1/4 cup) regular unsulphured molasses
- 120 g avocado oil120 g (about 1/2 cup + 2 teaspoons) avocado oil
- 210 g plain unsweetened Greek-style yogurt, at room temperature210 g (about 2/3 cup + 4 tablespoons) plain unsweetened Greek-style yogurt, at room temperature
- 110 g milk, at room temperature110 g (about 1/3 cup + 2 tablespoons) milk, at room temperature
- 2 teaspoons vanilla bean paste2 teaspoons vanilla bean paste
- 260 g all-purpose flour260 g (about 2 cups + 3 tablespoons) all-purpose flour
- 15 g cornstarch15 g (about 2 tablespoons + 1/2 teaspoon) cornstarch
- 1 3/4 teaspoons baking powder1 3/4 teaspoons baking powder
- 1/2 teaspoon baking soda1/2 teaspoon baking soda
- 3/4 teaspoon fine sea salt3/4 teaspoon fine sea salt
- 1 tablespoon ground ginger1 tablespoon ground ginger
- 1 1/2 teaspoons ground cinnamon1 1/2 teaspoons ground cinnamon
- 1/2 teaspoon ground allspice1/2 teaspoon ground allspice
- 1/4 teaspoon ground nutmeg1/4 teaspoon ground nutmeg
Optional Finish Before Baking
- Sanding sugar, as desiredSanding sugar, as desired
Vanilla Crackle Glaze
- 220 g powdered sugar, sifted220 g (about 1 3/4 cups + 1 tablespoon) powdered sugar, sifted
- 2 teaspoons vanilla bean paste2 teaspoons vanilla bean paste
- Up to 70 g milk, starting with 55 g and adding more as neededUp to 70 g (about 1/4 cup + 2 teaspoons) milk, starting with 55 g and adding more as needed
Pan used
One 9×9-inch light-colored metal baking pan, lined across the bottom and all four sides with two crossed sheets of parchment.
Use the listed light-colored metal pan. A different pan can change how the edges and center bake.
Removing the parchment
Rest at least 30 minutes in the pan and wait longer if the cake gives way too much when lifted. Peel back the parchment only once the cake is stable enough to handle.
Instructions
- 1Heat the oven to 350°F (175°C). Lightly grease a 9×9-inch light-colored metal baking pan. Line it with two crossed strips of parchment so the bottom and all four sides are covered. Leave generous overhangs for lifting out the cake.
- 2Make the crumble: mix the flour, light brown sugar, granulated sugar, and salt. Add the cold butter and vanilla bean paste. Work together with your fingertips until evenly combined and the mixture holds together when squeezed. Break into large, uneven pieces and refrigerate while making the filling and batter.
- 3Make the gingerbread filling: stir the dark brown sugar, melted butter, flour, ginger, cinnamon, allspice, and salt into an evenly combined, spreadable paste. Set aside at room temperature.
- 4In a large bowl, whisk the cake sugars, molasses, avocado oil, yogurt, milk, and vanilla bean paste until smooth. Sift the flour, cornstarch, baking powder, baking soda, salt, ginger, cinnamon, allspice, and nutmeg over the bowl. Whisk gently, then scrape the bottom and fold in any remaining flour just until no dry streaks remain.
- 5Spread about two-thirds of the batter in the prepared pan. Dot the filling over the surface in small spoonfuls, then gently spread it to the parchment-lined edges. Add the remaining batter in small dollops and gently join them with the back of a spoon. Scatter all the chilled crumble over the top, keeping the larger pieces intact. Sprinkle with optional sanding sugar.
- 6Bake on the center rack, with a sheet pan on the rack below to catch any buttery drips. Mine took 65 minutes, with a loose foil tent at 55 minutes. Begin checking the center at 40 minutes because ovens vary, and tent earlier if the crumble is already golden. Check the cake in two spots near the middle, avoiding the filling. The center should be set, and a tester should come out clean or with a few moist crumbs, without wet or pasty batter. If needed, continue baking in 5-minute increments. A thermometer can help, but do not use its reading alone to decide the cake is done.
- 7Rest the cake in its pan for at least 30 minutes. Gently begin lifting with the parchment. If the cake gives way too much or starts to cave in, lower it back into the pan and wait longer. Once stable, lift onto a wire rack over a tray. When sturdy enough to handle, gently peel back the parchment. To remove the bottom paper, support the cake between two racks, turn over carefully, peel away the paper, and turn upright again.
- 8Whisk the powdered sugar and vanilla bean paste with 55 g (about 3 tablespoons + 2 teaspoons) milk. Add the remaining milk, up to 70 g total, a teaspoon at a time until the glaze pours in a thin, steady ribbon. Pour over the warm, stable cake and let the excess drain onto the tray. For a lighter finish, drizzle a little on top and brush a very thin layer over the caramelized sides.
- 9Cool completely so the gingerbread ribbon has time to set and the glaze forms its thin shell, then cut into nine generous squares. Once completely cool and the glaze is set, refrigerate leftovers in an airtight container for up to 4 days. For freezing and thawing before glazing, follow the storage notes.
Helpful notes
- Mine took 65 minutes at 350°F, with a loose foil tent at 55 minutes. Begin checking at 40 minutes and use the center texture checks; your oven may need a different total time.
- Mine reached 220°F and was perfect, but that is an observation from my bake, not a target temperature. If the probe comes out coated in pasty batter, the cake needs longer, even if the reading looks finished. Check the cake near the center in two spots, avoiding the filling, and keep baking until the cake is set with no wet batter.
- Wait at least 30 minutes before lifting, and longer if the cake still gives way too much. The cooling time is part of getting a stable slice.
- I tested this version with thick Greek-style yogurt. I have started using it in my recipes because it seems to be what most people have on hand. The regular-yogurt suggestion in the FAQ is untested.
- Optional sanding sugar goes on before baking. A light glaze drizzle and a thin brushed coating on the sides are another finish I recommend.

Meet the baker
Angela Heckler
Angela Heckler is the recipe developer, baker, and photographer behind Obsessed Cakes. Her Old-Fashioned Donut Loaf series is a growing collection of cake-donut-inspired loaves with soft, deeply moist crumbs, buttery streusel, and crackly glaze. Angela develops and tests every recipe in her Arizona kitchen. Follow Obsessed Cakes on Instagram, TikTok, and YouTube.
Made it? Tell us.
Ratings and reviews
Be the first to rate this recipe.
No reviews yet.
Make the recipe, leave a rating, and share how it turned out.Did you make this?
Share your bake on Instagram - tag @obsessedwithcashews and use #obsessedcakes.