Gluten-Free Old-Fashioned Donut Loaf
5.0 from 4 reviewsRecipe revised August 19, 2026.
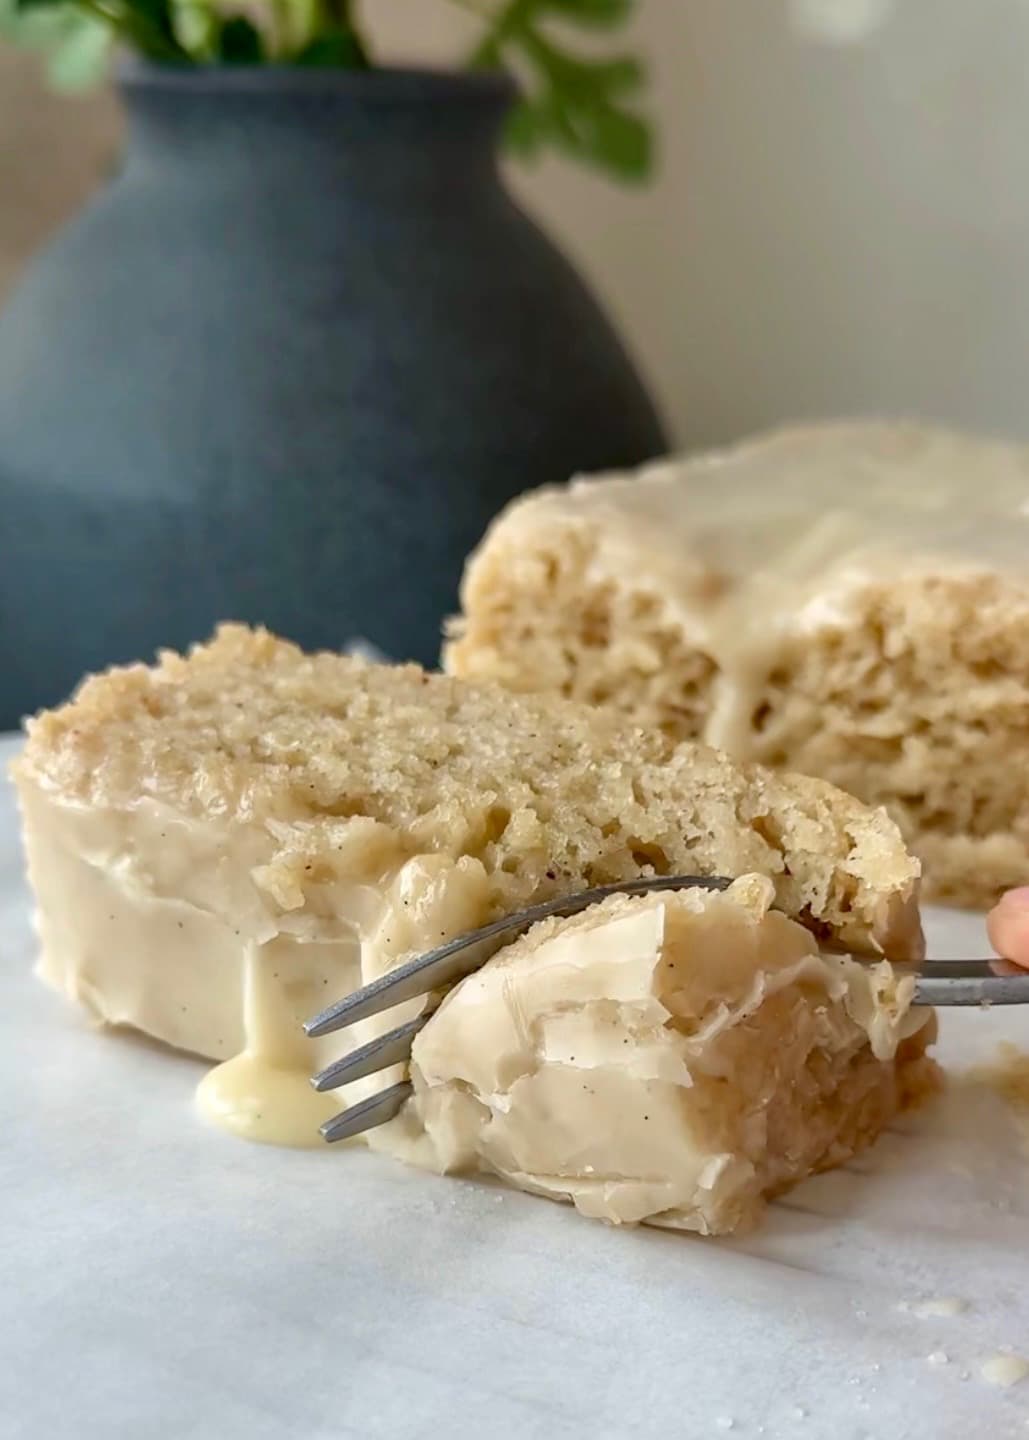
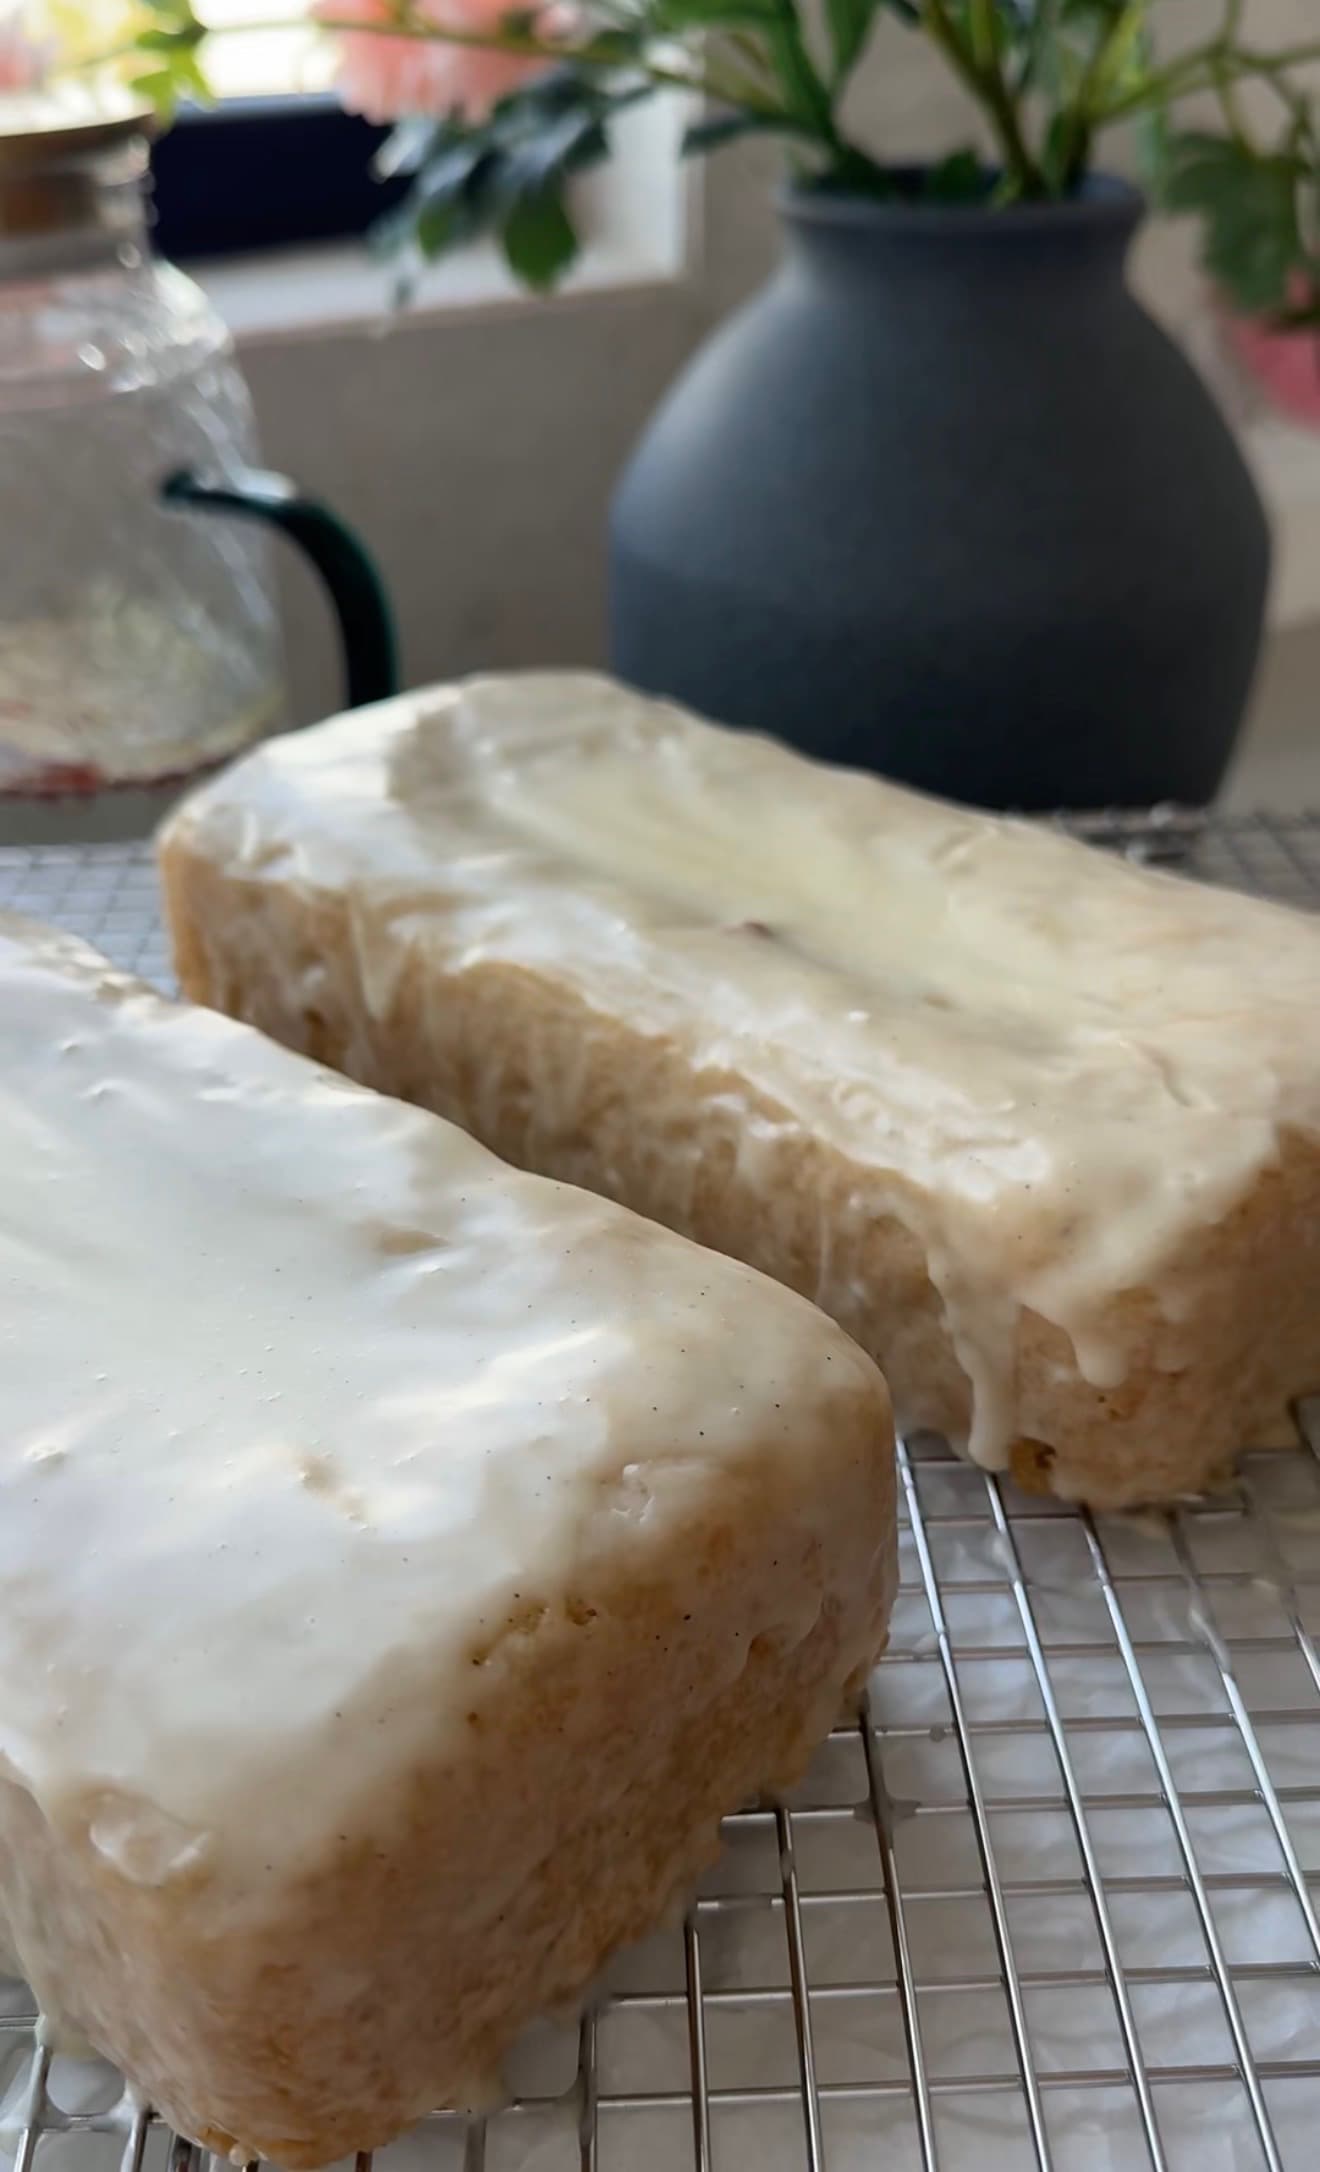
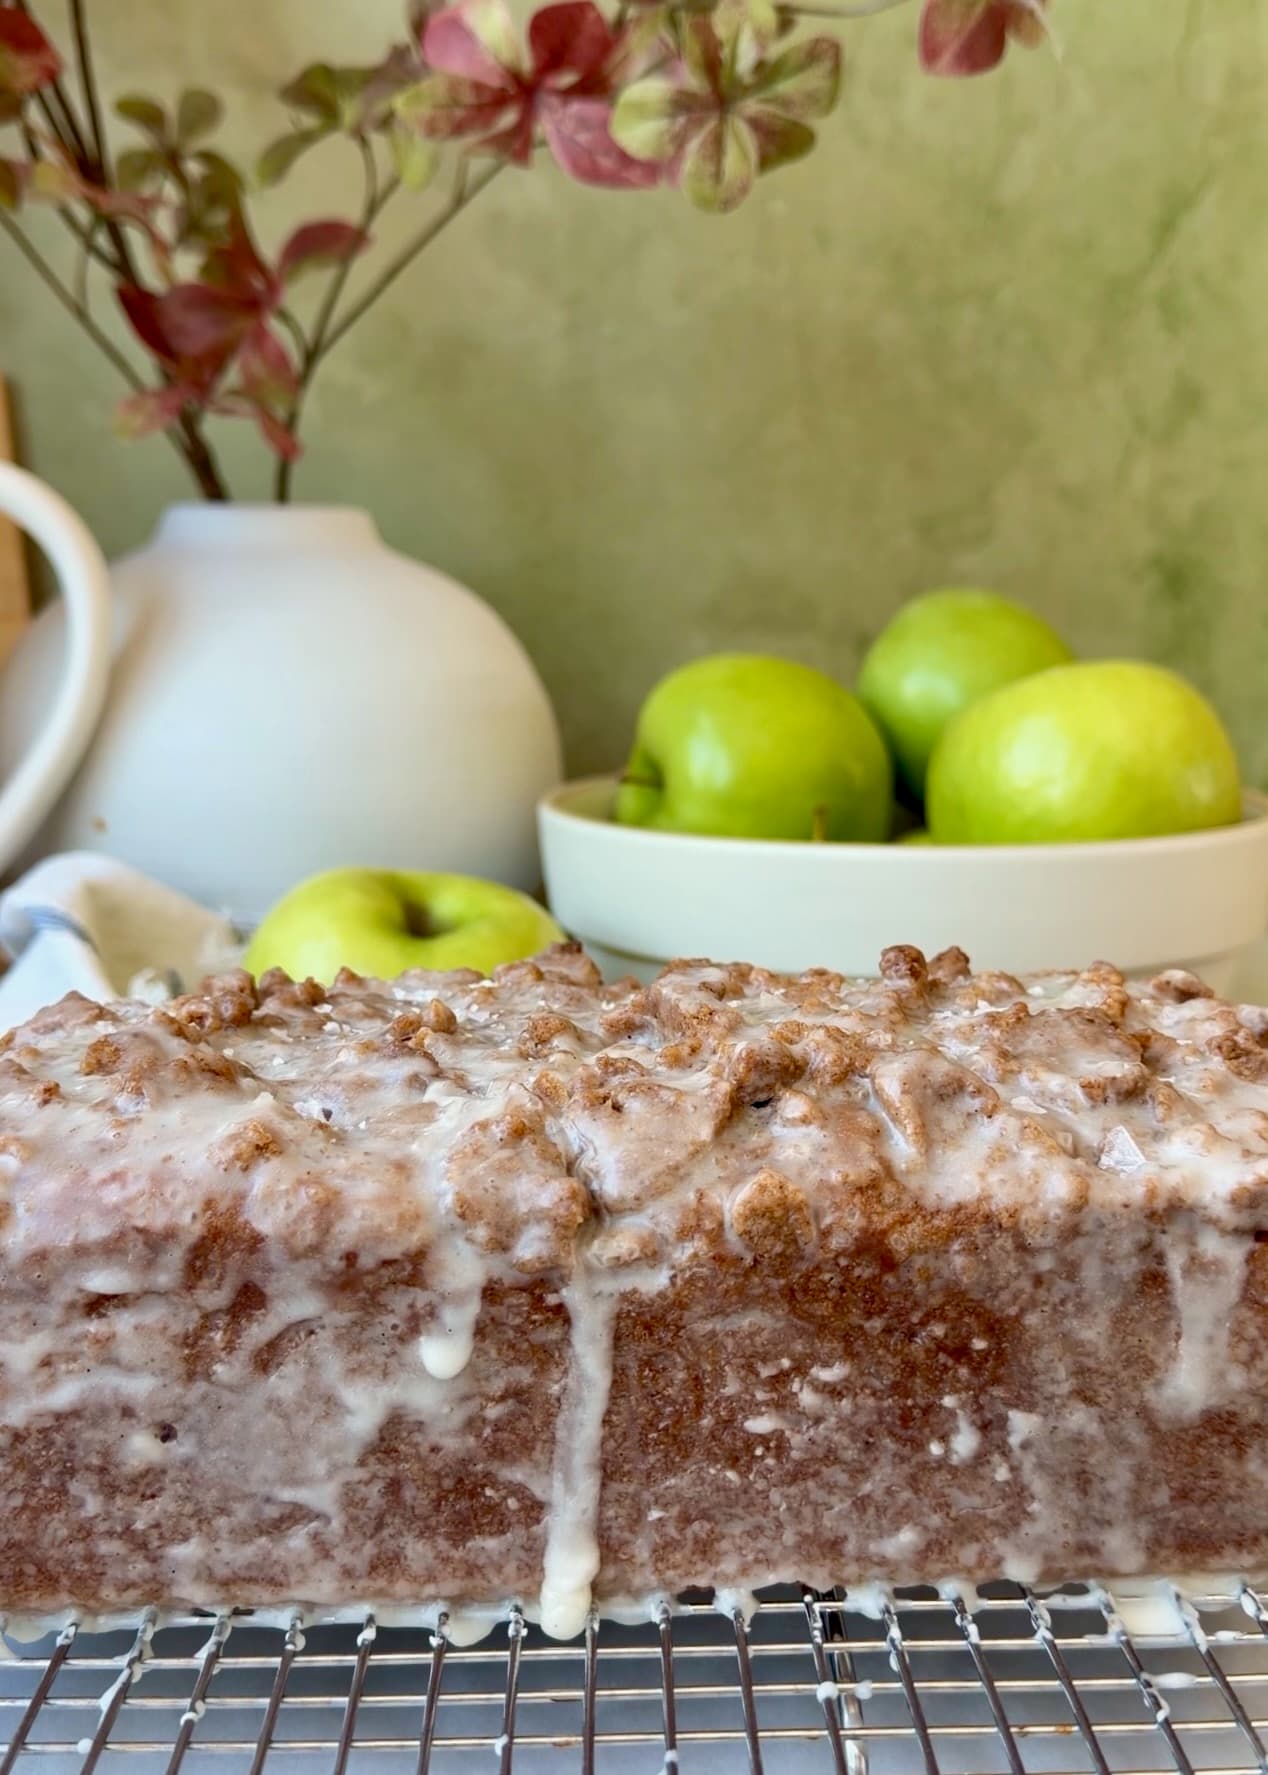
Vanilla bean, a little nutmeg, a soft crumb, and plenty of glaze - this is my gluten-free take on an old-fashioned donut.
Weigh the ingredients, whisk the dry mixture thoroughly, and keep the batter rest to exactly 5 minutes. The flour and psyllium need that short rest, but the batter can get stiff if you leave it longer.
Save this recipe
Want to save this recipe for later?
Enter your email and I’ll send it to your inbox.
Gluten-Free Baking Keeps Teaching Me
When it comes to gluten-free baking, I feel like it is impossible to stop learning. Every small step and every gram matters, and when everything works, it is incredible.
I have many people in my life who avoid gluten. Baking for them forced me to stop avoiding gluten-free options, too, and now there are times when I think the gluten-free version tastes even better. This loaf melted in my mouth and immediately reminded me of all the vanilla, nutmeg, tang, and glaze of an old-fashioned donut.
I love it as written, but it is also an easy loaf to take into a season. If you are craving warm spices, add a little cinnamon or your favorite gentle spice blend. The goal is to keep that old-fashioned donut flavor at the center and let the spices warm it up around the edges.
Ingredient notes
Key ingredients
King Arthur Gluten-Free Measure for Measure Flour
This recipe is tested with this 1:1 flour blend. Gluten-free flour blends vary, so weighing is especially important here and swapping blends can change the final texture.
Finely ground psyllium husk powder
Psyllium absorbs water and forms a gentle gel that helps bind the crumb, hold moisture, and add a little elasticity where gluten would normally provide structure. I use Konsyl Organic Psyllium Husk Powder, but that is simply my reference brand; any finely ground psyllium husk powder available to you can work.
Greek yogurt, liquid egg substitute, and oil
Greek yogurt gives the batter body and gentle tang, the liquid egg substitute supports the crumb, and oil keeps the loaf soft after it cools.
Nutmeg
A small amount gives the loaf its old-fashioned donut note. It should make the vanilla taste warmer without making the loaf taste spiced.
Classic vanilla glaze
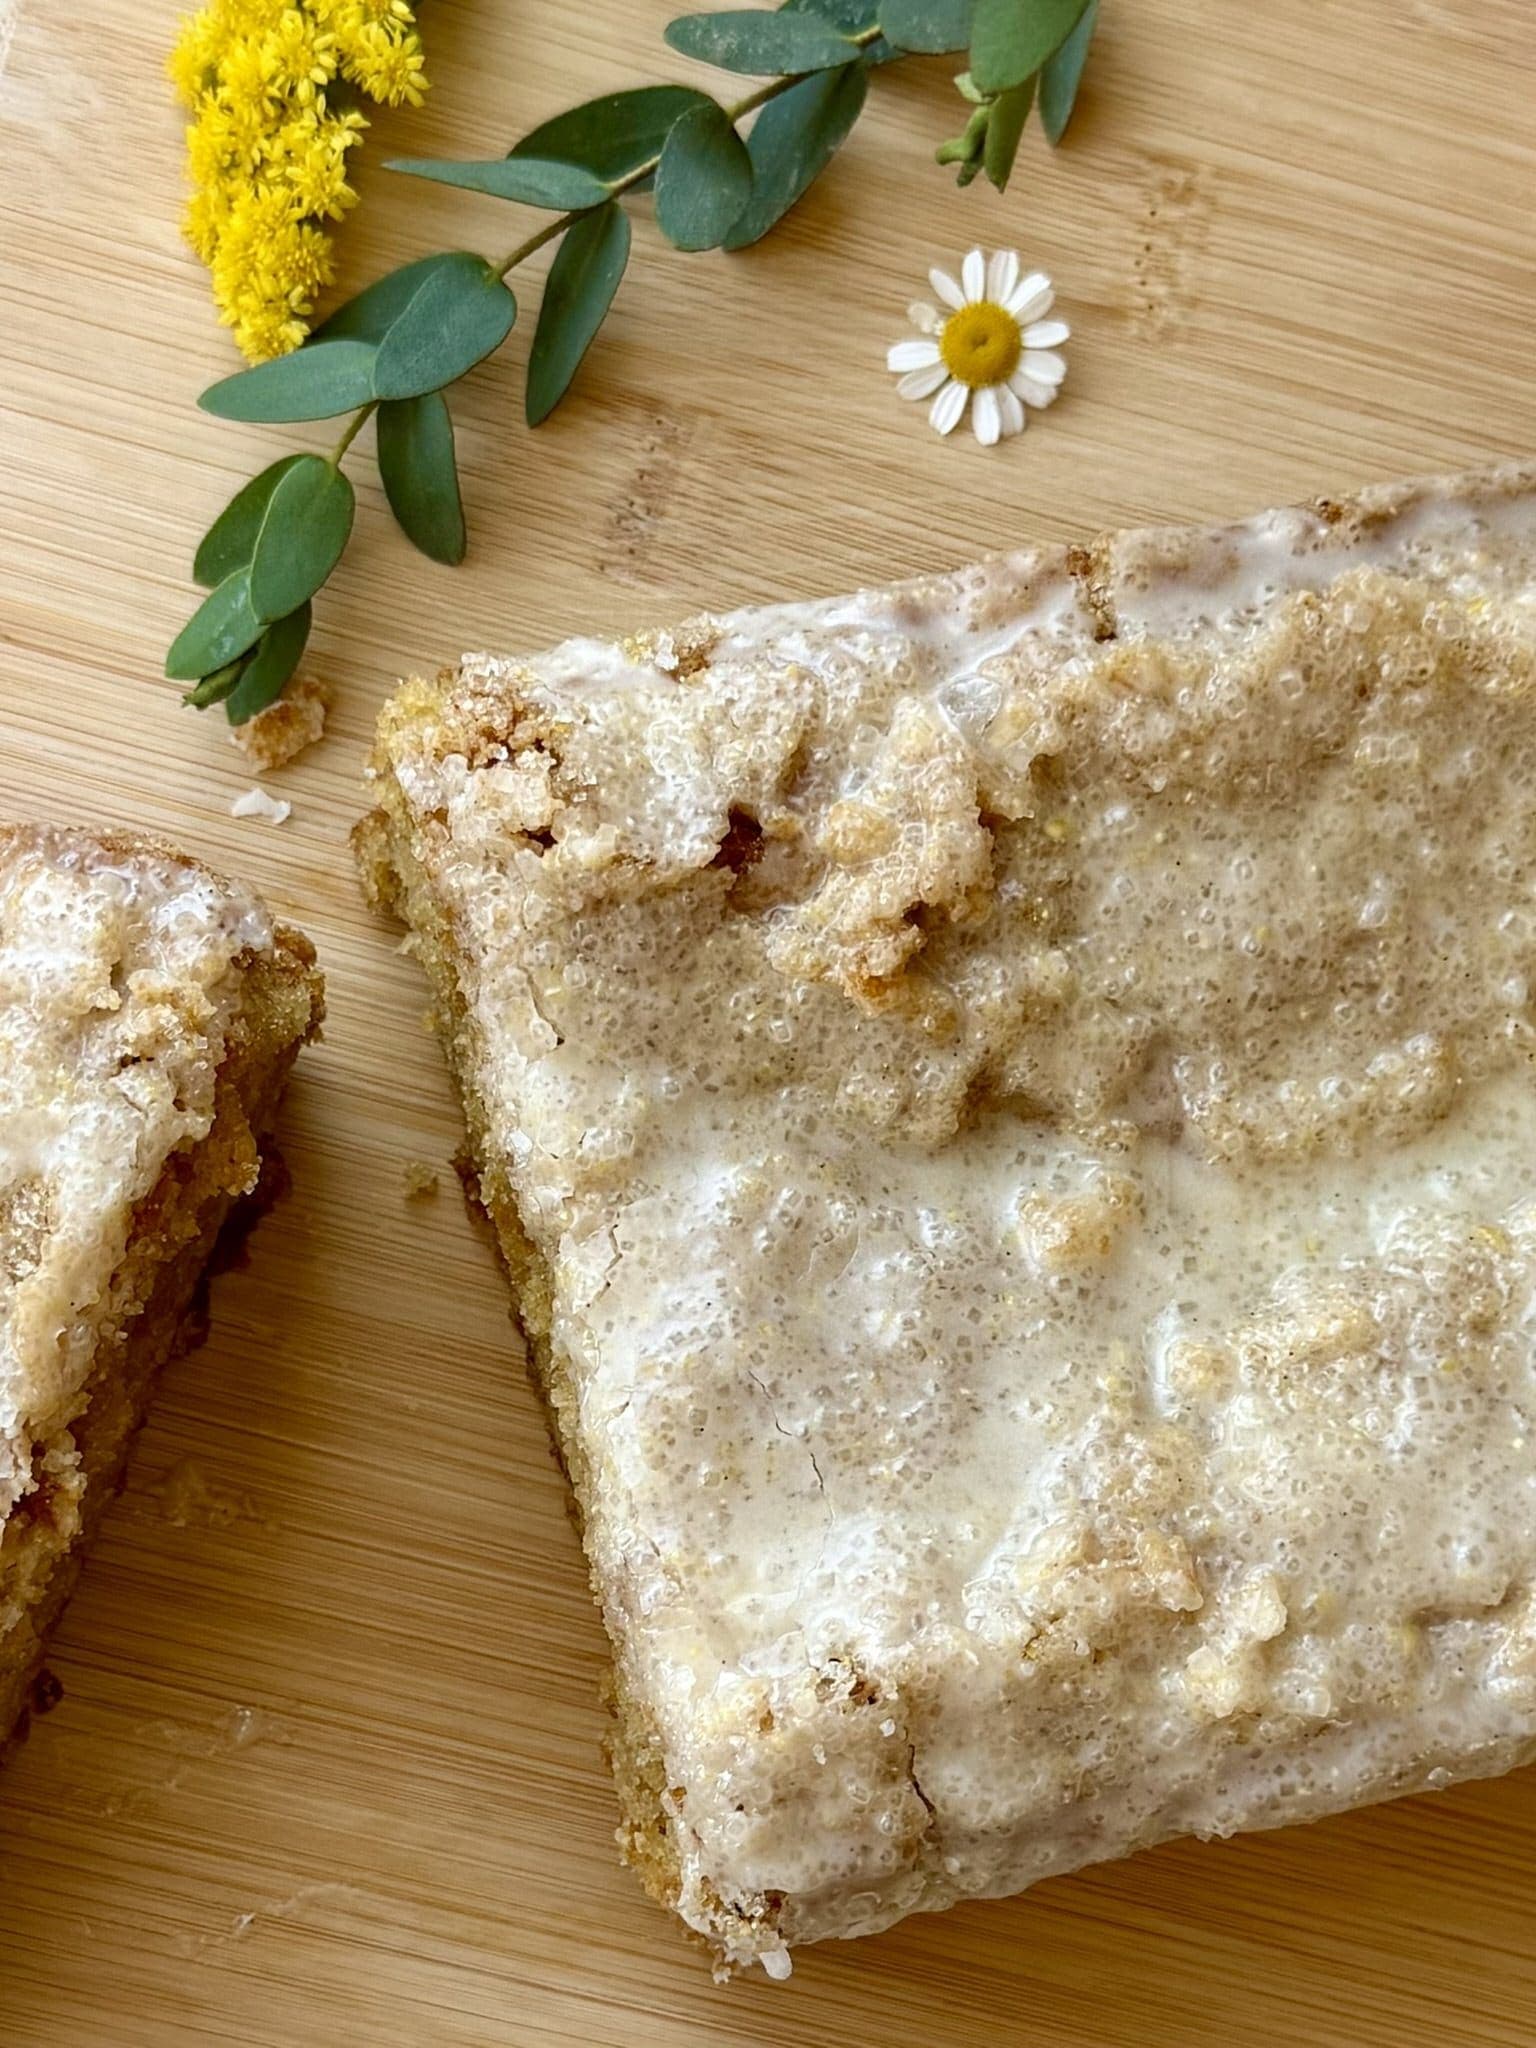
The glaze should be smooth and fluid enough to coat the top and sides generously. Once set, it gives the loaf that donut-case finish.
Brands I used for this recipe
These are preferences, not requirements. If you choose the non-dairy route, these are the products I test with. Dairy equivalents can be used at the same listed amounts and temperatures.
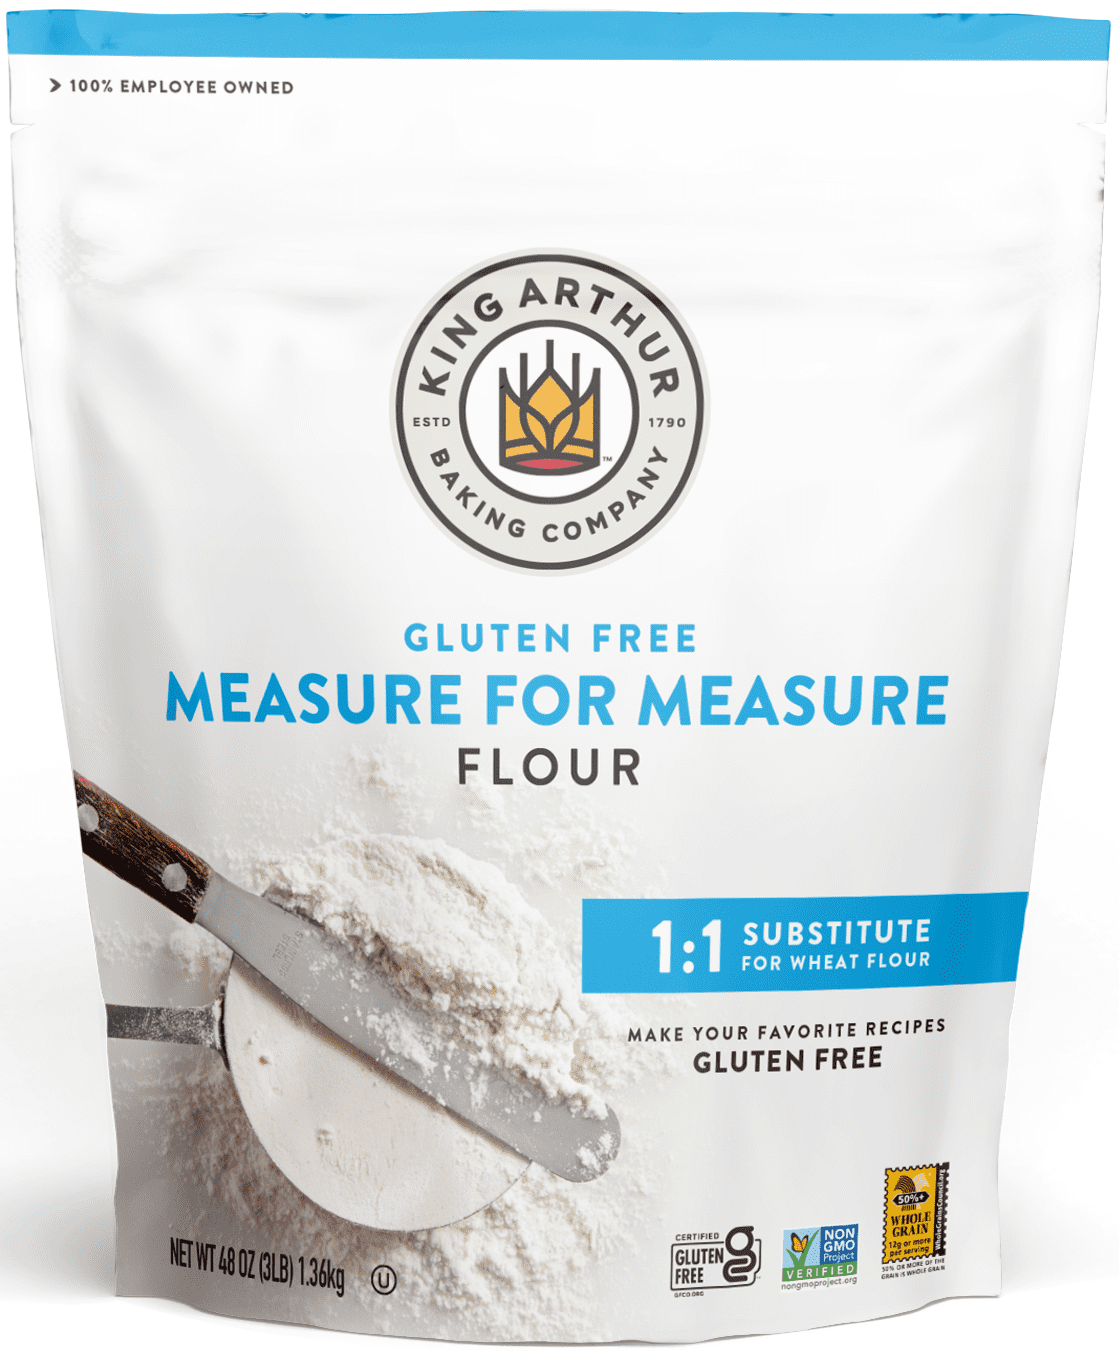
King Arthur Gluten-Free Measure for Measure Flour
The 1:1 gluten-free flour used to test this loaf.

Konsyl Organic Psyllium Husk Powder
The finely ground psyllium husk powder I use in this loaf.

JUST Egg Plant-Based Egg
The liquid egg substitute used to test this loaf.
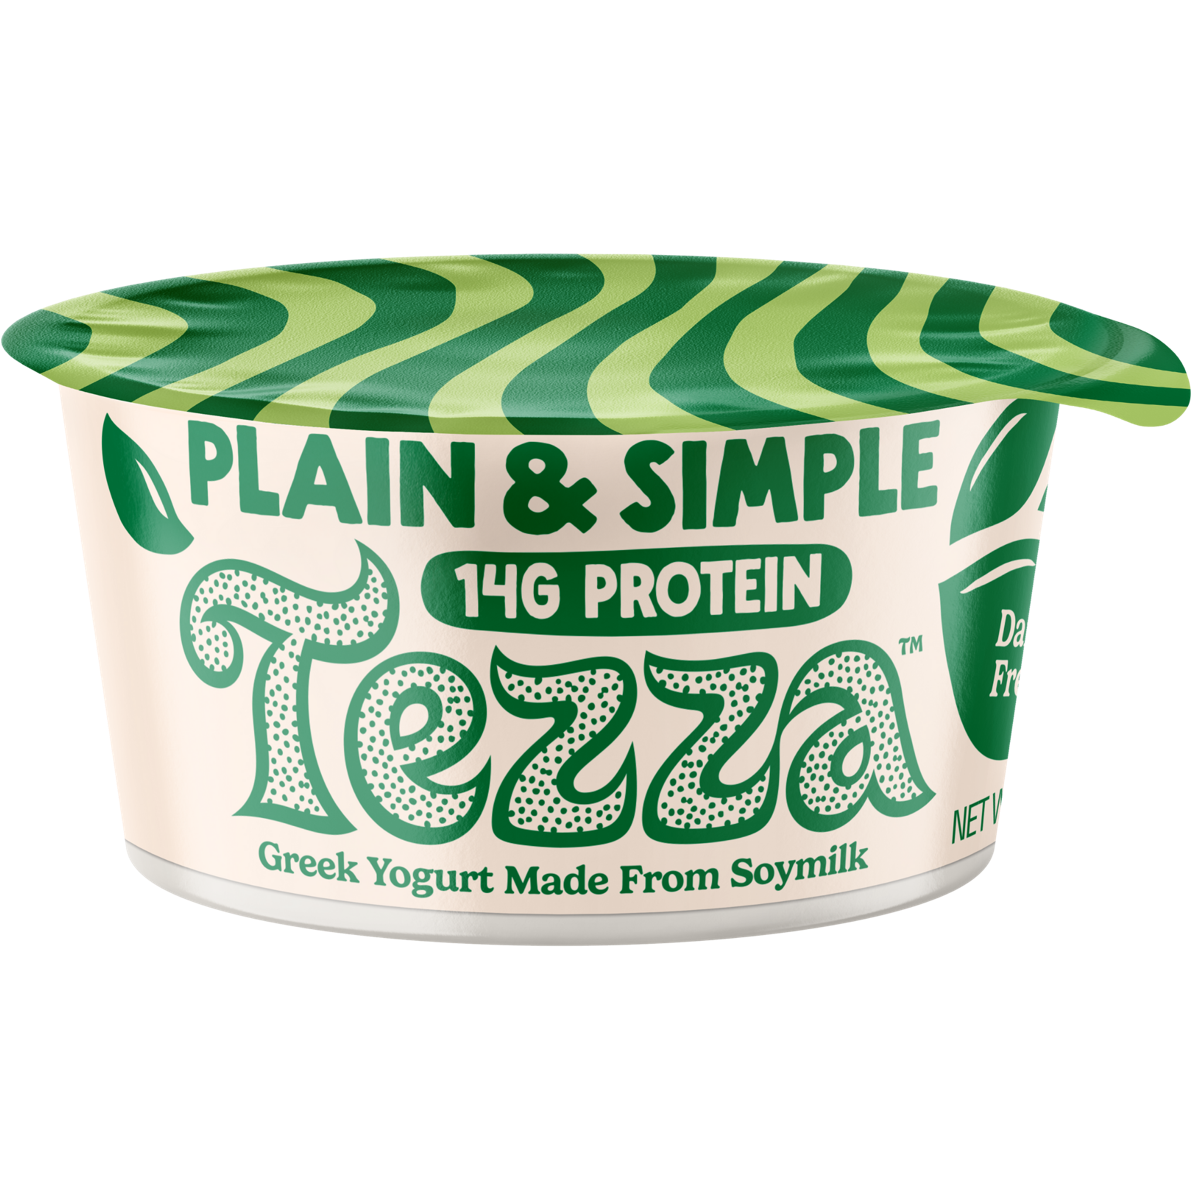
Tezza Plain Unsweetened Greek Yogurt
The thick plain Greek yogurt I use for this loaf.

Rising Star Baking Supply Vanilla Bean Paste
The vanilla bean paste I use in this recipe.
From this recipe
Tested notes
Revised August 19, 2026: After hearing from readers who experienced inconsistent results, I went back to the kitchen and reworked this loaf from the ground up. I'm genuinely glad the feedback sent me down that rabbit hole because I love where the recipe landed. This version has a more reliable rise, a tender crumb, and the old-fashioned donut texture I wanted everyone to experience.
This revised loaf is tested with 65 g JUST Egg Plant-Based Egg. I have not tested this formula with a chicken egg.
This recipe was developed and tested by weight. Because gluten-free flour and psyllium can compact differently from one scoop or brand to another, I cannot guarantee the same results when volume measurements are used.
Do not skip the psyllium husk powder; it is a small amount with a big job.
Inside the recipe
How It All Comes Together
From Instagram
Watch the reel
Watch the gluten-free batter rest, bake, and get covered in classic vanilla donut glaze.
Open the reelTroubleshooting
If This Happens
The batter looks thicker after resting
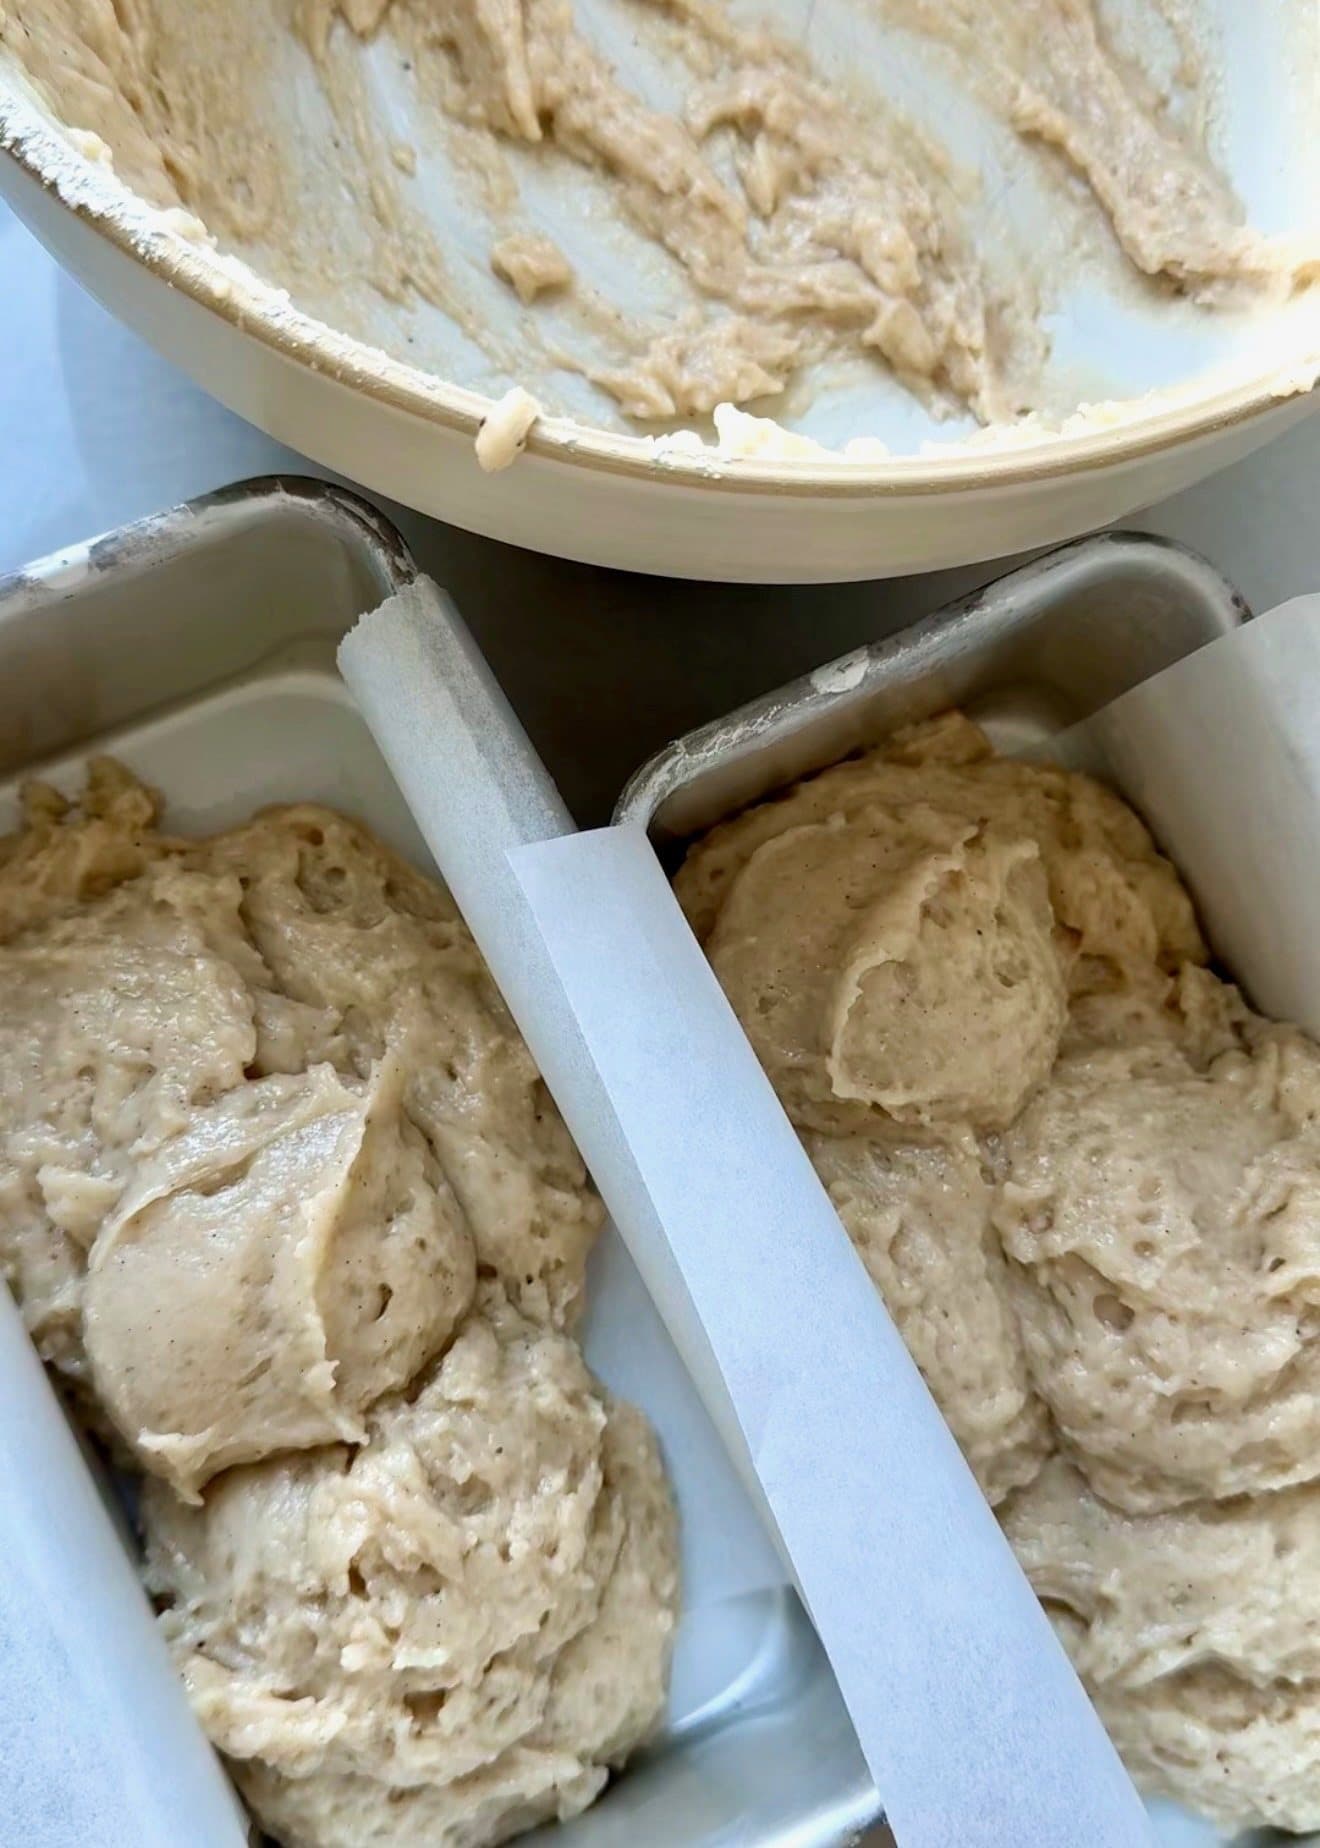
That is expected after exactly 5 minutes. It should look thick and cohesive but still scoop and spread easily. Transfer it to the pan as soon as the timer ends without adding more milk.
The rested batter is very stiff
The batter may have rested too long. Over-rested batter can hold firm ridges and feel resistant when you try to spread it. The timing matters in this gluten-free recipe, so set a timer and move the batter to the pan as soon as the 5-minute rest ends.
The batter has dry pockets
Use a spatula to cut through the center and fold from the bottom until the flour disappears. Stop as soon as the batter is evenly mixed.
The top is browning before the center is ready
Cover the loaf loosely with foil at about 35 minutes, then continue baking until the center springs back and reaches 203-205°F.
It is taking a long time to bake
Every oven is different. Make sure to keep the oven door closed instead of checking frequently. If the tester has a thick, paste-like residue, check again in 3-5 minutes. If it looks like wet unbaked batter, wait 7-10 minutes.
The glaze is disappearing into the loaf
Let the loaf cool on the wire rack until warm but no longer hot before glazing. A hot loaf can melt the glaze instead of letting it form a thin shell.
Before you slice
Texture and serving notes
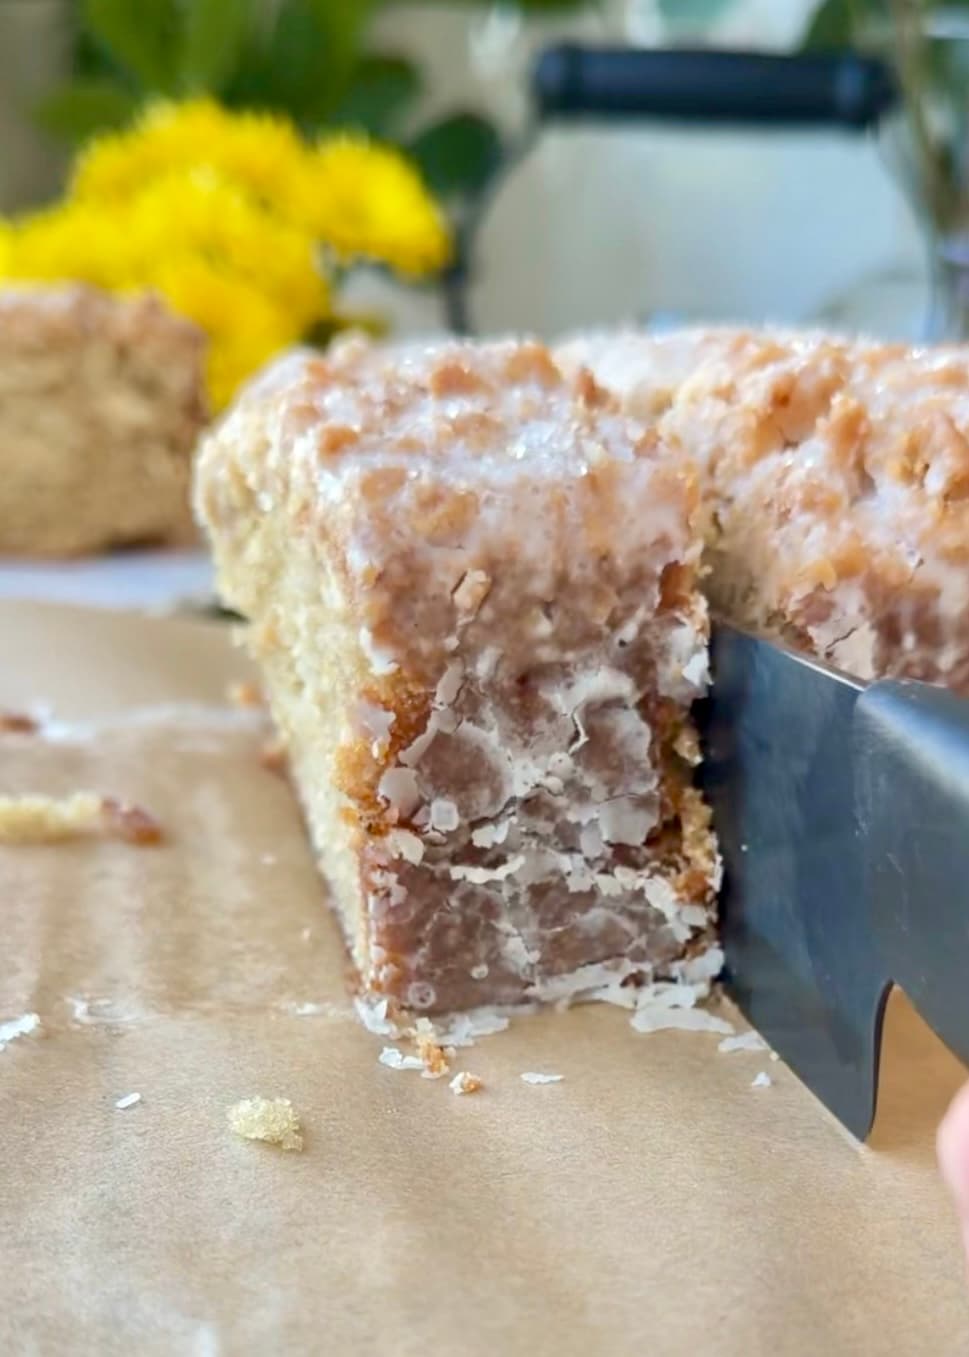
Serve the loaf warm for the softest crumb, or chill it fully for a denser, more traditional cake-donut bite.
Keep it good
Storage
Counter
Store covered at room temperature for up to 1 day.
Fridge
Refrigerate in an airtight container for up to 4 days.
Serve
Bring chilled slices toward room temperature before serving for the best texture.
Recipe FAQ
Questions that come up
Will I taste the psyllium husk?
No. At the 2 g used here, finely ground psyllium husk powder should disappear into the loaf rather than add a noticeable flavor or texture. It is here for structure and moisture: it forms a gentle gel that helps the crumb hold together and slice cleanly. I use Konsyl Organic Psyllium Husk Powder, but you can use any finely ground brand available to you.
What if I don’t have psyllium husk powder?
Do not leave it out. The 2 g of psyllium is part of the loaf’s structure: it absorbs moisture, helps bind the gluten-free crumb, and gives it enough flexibility to slice cleanly. Without it, the loaf may crumble, sink, or stay gummy. I have not tested a one-for-one substitute, and xanthan gum behaves differently, so I cannot recommend swapping it directly. Wait until you have psyllium husk powder for the most reliable result.
If I buy psyllium husk powder, what else can I use it for?
Psyllium husk powder can be useful in other gluten-free recipes, especially breads, rolls, pizza doughs, and some cakes, muffins, and quick breads where it helps with binding, moisture, and flexibility. It is not a universal one-for-one substitute for xanthan gum or another binder, and it absorbs a significant amount of liquid, so use it in recipes specifically developed or tested with psyllium rather than adding it freely to an existing formula.
Why do I need to rest gluten-free batter before baking?
The 5-minute rest gives the gluten-free flour and psyllium enough time to hydrate without letting the batter become too stiff. Be strict about the timing: set a timer as soon as the batter is fully mixed, then transfer it to the pan when the 5 minutes are up. Properly rested batter will be thick and cohesive but still easy to scoop and spread into the pan. If it rests too long, it can become noticeably stiffer, hold firm ridges, and resist spreading as the psyllium continues absorbing liquid.
Why whisk the dry ingredients so thoroughly?
Thorough whisking distributes the flour, cornstarch, leaveners, and psyllium evenly before the wet ingredients are added. It helps prevent dry streaks and uneven pockets in the finished crumb.
Can I swap the gluten-free flour blend?
This recipe is tested with King Arthur Gluten-Free Measure for Measure Flour. Other 1:1 blends may work, but they can absorb liquid differently and change the texture, rise, or bake time.
Can I use regular yogurt instead of Greek yogurt?
I recommend Greek yogurt because its thicker consistency is part of the tested hydration for this loaf. Regular yogurt is thinner, and I have not tested it in this formula, so I cannot promise the same rise or crumb.
Will it turn out the same if I use volume measurements?
For this gluten-free loaf, I recommend weighing. I developed and tested it by weight, and small differences in the flour and psyllium can change how the batter behaves. Volume measurements are included for convenience, but I cannot guarantee the same results with them.
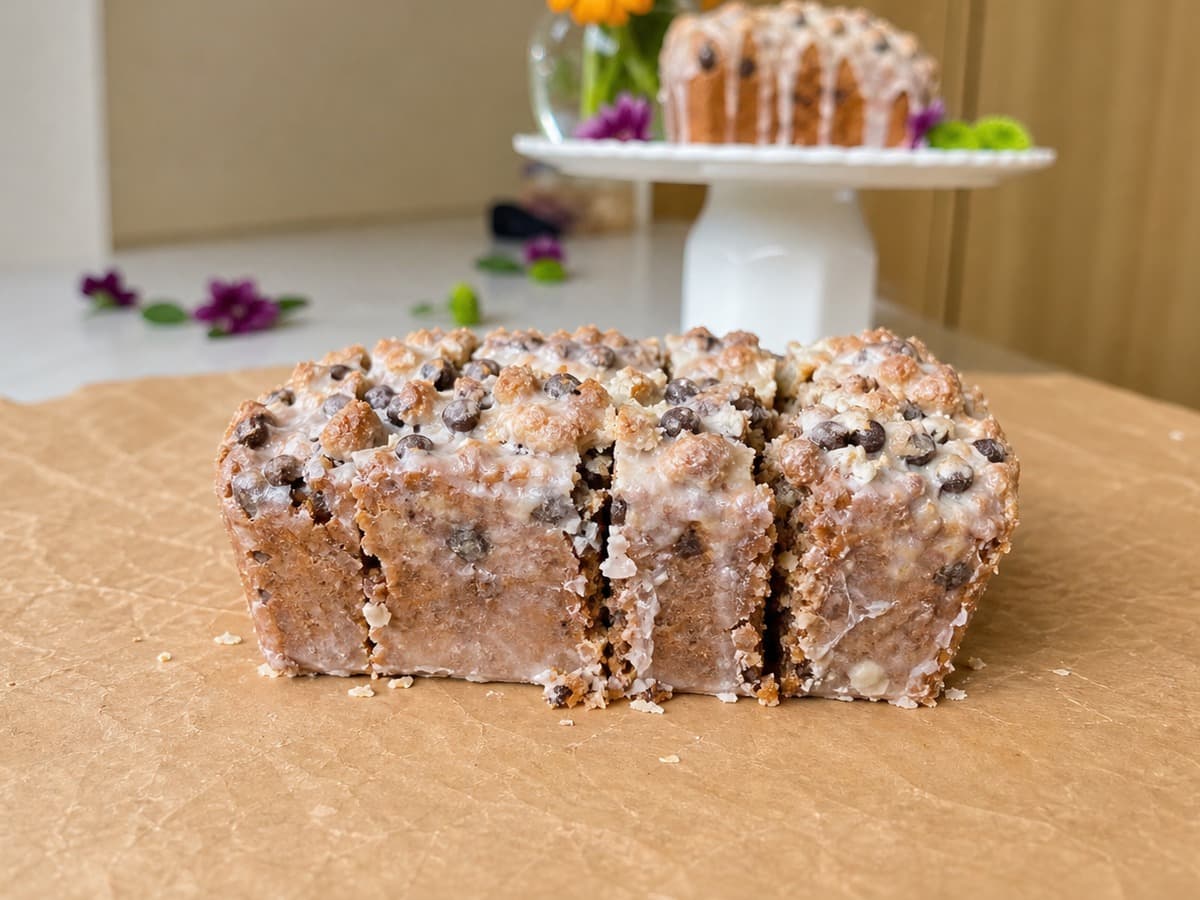
More donut loaves to try
- Prep
- 25 min
- Bake
- 40-90 min
- Total
- 1 hr 45 min
- Yield
- One 9x5-inch loaf
Measurement note
For the closest match to the recipe I tested, use grams. Volume measurements are included for convenience, but cups can vary, so I cannot guarantee the exact same result when measuring by volume.
Ingredients
Gluten-Free Old-Fashioned Loaf
- 255 g King Arthur Gluten-Free Measure for Measure Flour (1:1 blend)255 g (about 2 cups + 2 tablespoons) King Arthur Gluten-Free Measure for Measure Flour (1:1 blend)
- 15 g cornstarch15 g (about 2 tablespoons + 1/2 teaspoon) cornstarch
- 2 1/2 teaspoons baking powder2 1/2 teaspoons baking powder
- 1/2 teaspoon baking soda1/2 teaspoon baking soda
- 3/4 teaspoon fine sea salt3/4 teaspoon fine sea salt
- 2 g finely ground psyllium husk powder (depending on the brand) (weigh for accuracy)2 g finely ground psyllium husk powder (depending on the brand) (weigh for accuracy)
- 1/4 teaspoon ground nutmeg1/4 teaspoon ground nutmeg
- 210 g granulated sugar210 g (about 1 cup + 1 tablespoon) granulated sugar
- 160 g plain Greek yogurt160 g (about 2/3 cup + 2 teaspoons) plain Greek yogurt
- 65 g liquid egg substitute (weigh for accuracy)65 g liquid egg substitute (weigh for accuracy)
- 95 g milk95 g (about 1/3 cup + 1 tablespoon) milk
- 130 g neutral oil130 g (about 1/3 cup + 4 tablespoons) neutral oil
- 2 teaspoons vanilla bean paste2 teaspoons vanilla bean paste
- 1/8 teaspoon almond extract1/8 teaspoon almond extract
Classic Vanilla Donut Glaze
- 240 g powdered sugar, sifted240 g (about 2 cups) powdered sugar, sifted
- 45 g milk45 g (about 3 tablespoons) milk
- 1 teaspoon vanilla bean paste1 teaspoon vanilla bean paste
- Pinch fine sea saltPinch fine sea salt
Pan used
I personally prefer a light-colored aluminum pan for these loaves. Here is the one I use. Not sponsored. I don't earn a commission from this link.
Glass holds heat longer, so the edges can overbake before the center is done. If you use glass, loosely tent the loaf with foil early, as soon as the top starts to brown. The foil helps protect the top, but it does not stop the sides or bottom from baking too quickly.
Removing the parchment
Carefully lift the loaf onto a wire rack and remove the parchment from underneath. I carefully flip the loaf onto its side, then turn it upside down onto my forearm so I can peel away the parchment without damaging the loaf.
Instructions
- 1Preheat the oven to 350°F. Grease a 9x5-inch loaf pan and line it with parchment paper, leaving enough overhang for easy removal.
- 2In a medium bowl, thoroughly whisk together the gluten-free flour, cornstarch, baking powder, baking soda, salt, psyllium husk powder, and nutmeg until evenly combined.
- 3In a large bowl, whisk together the granulated sugar, Greek yogurt, liquid egg substitute, milk, neutral oil, vanilla bean paste, and almond extract until smooth and uniform.
- 4Add the dry ingredients to the wet ingredients. Use a spatula to cut and fold the batter just until fully mixed. Do not overmix.
- 5Set a timer and let the batter rest at room temperature for exactly 5 minutes. When properly rested, it should be thick and cohesive but still easy to scoop and spread. Transfer it to the pan as soon as the timer ends; a longer rest can make the batter stiff and difficult to spread as the psyllium continues absorbing liquid.
- 6Transfer all of the batter to the prepared loaf pan and smooth the top.
- 7Bake for 40-90 minutes at 350°F. Cover the loaf loosely with foil at 35 minutes, then continue baking. Depending on your oven, it may need up to 90 minutes.
- 8
Before you take the loaf out
Baking time is a guide, not a deadline.
Check the center: Insert a skewer or toothpick into the center of the loaf.
Ready to come out: The top springs back when lightly pressed and the tester comes out clean or with a few moist crumbs. No wet batter.
Keep baking: If the tester has wet batter or the top does not spring back, continue baking and check again before taking the loaf out.
For this gluten-free loaf, aim for approximately 203-205°F. Check the tester and the spring-back cue too, not the temperature alone.
An underbaked center can collapse as the loaf cools.
- 9Cool in the pan for 20 minutes, then lift the loaf out using the parchment overhang and transfer it to a wire rack. Let it cool until warm but no longer hot.
- 10Make the glaze by whisking the powdered sugar, milk, vanilla bean paste, and salt until completely smooth.
- 11Pour the glaze generously over the warm loaf once it no longer feels hot, allowing it to run naturally down the sides.
- 12Let the glaze set completely before slicing.
Helpful notes
- Revised August 19, 2026: After hearing from readers who experienced inconsistent results, I went back to the kitchen and reworked this loaf from the ground up. I'm genuinely glad the feedback sent me down that rabbit hole because I love where the recipe landed. This version has a more reliable rise, a tender crumb, and the old-fashioned donut texture I wanted everyone to experience.
- This revised loaf is tested with 65 g JUST Egg Plant-Based Egg. I have not tested this formula with a chicken egg.
- This recipe was developed and tested by weight. Because gluten-free flour and psyllium can compact differently from one scoop or brand to another, I cannot guarantee the same results when volume measurements are used.
- Do not skip the psyllium husk powder; it is a small amount with a big job.

Meet the baker
Angela Heckler
Angela Heckler is the recipe developer, baker, and photographer behind Obsessed Cakes. Her Old-Fashioned Donut Loaf series is a growing collection of cake-donut-inspired loaves with soft, deeply moist crumbs, buttery streusel, and crackly glaze. Angela develops and tests every recipe in her Arizona kitchen. Follow Obsessed Cakes on Instagram, TikTok, and YouTube.
Made it? Tell us.
Ratings and reviews
May I please have the old recipe as well?
Hi Alicia! Which one are you referring to? You can email me: angela@obsessedcakes.com :)
Amazing!
I'm so glad you liked it!! :)
So yummy!! Super good for a gf cake
yay! I'm so glad you enjoyed it! Thank you for sharing, Corinne :)
This recipe is amazing!!! I made it for my family with Gluten/Egg allergies and it was the perfect texture and flavor! They begged me to make it again soon because they haven’t had a dessert like this in a while. Soft, Sweet, and delicious!
Oh yay!! Thank you, Brooke! I love when allergen friendly recipes surprise people! So happy to hear it was a hit :)
Questions from readers
Recipe questions and answers
Have you ever made any GF/DF cakes using alternative sugars like monkfruit or using low glycemic index sweeteners?
Hi Elaina! I haven't attempted alternative sugars in my desserts yet <3
Can this gf recipe be used for the other flavors with those recipes flour ratios plus figuring the ratio for the psyllium powder? Also, have you tried this yet with chicken eggs?
I don't use eggs but you're more than welcome to test it. I would recommend using a 1:1 flour substitute for the recipes that interest you. I have heard people have had success, I just don't recall which ones those were. :)
Can you send me the old recipe ? I got all the ingredients for the old one and now I see it's changed.
Emailing you now :)
Did you make this?
Share your bake on Instagram - tag @obsessedwithcashews and use #obsessedcakes.